Needle Felt Jewelry

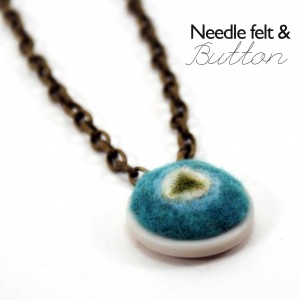
Needle felt pendant tutorial

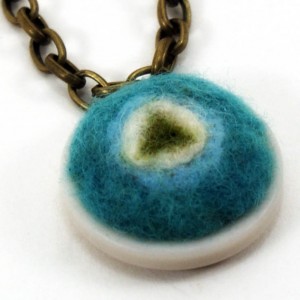
Inspired by this week’s felt project round-up, I gave needle felt jewelry a go.  I played with this briefly to add dots to this felt mushroom a couple of years back, so am a novice to this technique.  It is very easy to pick up, and pretty quick for small jewelry projects like this.

Needle Felt Jewelry

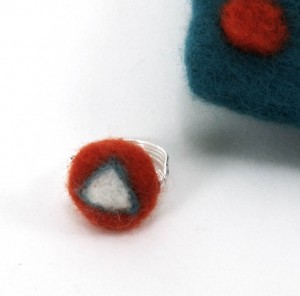
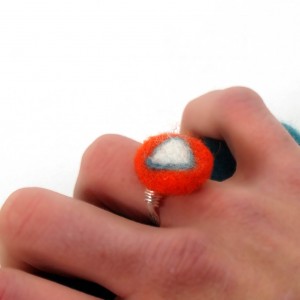
As with most things I create lately, I used my sizzix to cut shapes for these pieces.  For example, for the ring, I die cut 2 small orange circles from a sheet of wool felt and needle punched them together to form the disk shape.  I hand  cut a white felt triange and punched it to the top of the disk.  The blue outline is needle punched wool yarn.  I used a darning needle to create a hole in the disk and thread my wire through it to make a wire wrap ring.Needle felt wire wrap ring
For the pendant, I used 2 larger die cut circles for the base, then needle felted the inner and outer circle shapes and triangle on top of that.  The finished piece is glued to a button using E6000.

Needle felt pendant tutorial

I will definitely be doing more of this.  I wish there was a way I could needle felt without poking my fingers, but what is a little blood for the sake of crafting?

Thrifty Thursday Week 71


Welcome to Thrifty Thursday!!!

If you are new, we are thrilled to have you.  Take a look around at the awesome projects, and share your own.  If you are back, thank you for visiting again.  You are what makes this an inspiring DIY/craft project round-up!

LINKY STUFF:

How it Works: No giveaways, shop or links to your main blog, please. That way we know when we come to Thrifty Thursday, we will only encounter DIY projects and not end up sifting through a bunch of other links. Entries not related, or to main blog pages/shops/giveaways will be deleted.
Other stuff:
*Please add a text link or my button to your post!
*A few projects from the previous week’s linky will be spotlighted, so let them know they ROCK!
*Please visit the at least the 2 blogs above you and shower them with comment love.
*Leave me a comment and let me know you were here. I love hearing from you.
*Have fun and be inspired!
*My friend Nikki knows how to throw a great party too. Be there…
thrifty decorating 019 button 3 Thrifty Thursday Week 70 and $75 Amazon Gift Card Giveaway

FEATURES:

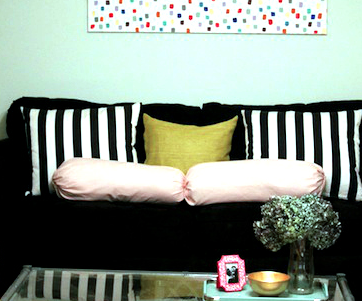
No Sew Pillows

I am all for these no sew bolster pillows at The Good Life Blog.  Again, I say “no sew”.

Wood Pallet Craft

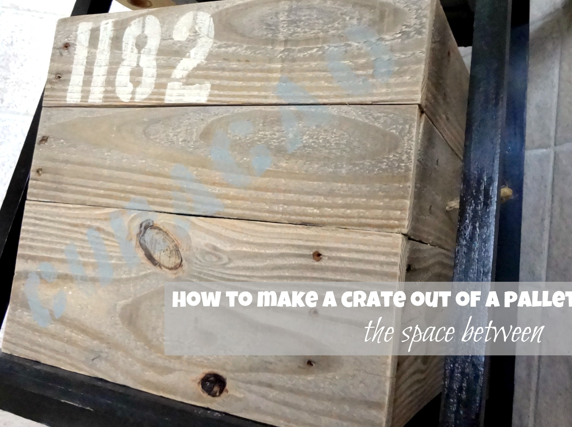
Go to The Space Between Blog for this wood pallet crate tutorial, Karah’s version of a pantry reveal.  I am right there with her in the no pantry club.  Way to innovate, Karah!

Monogram With Recycled Plastic & Paper Die Cut Flowers

Die Cut Flower Embellished Monogram ArtSizzix Die Cut Flower


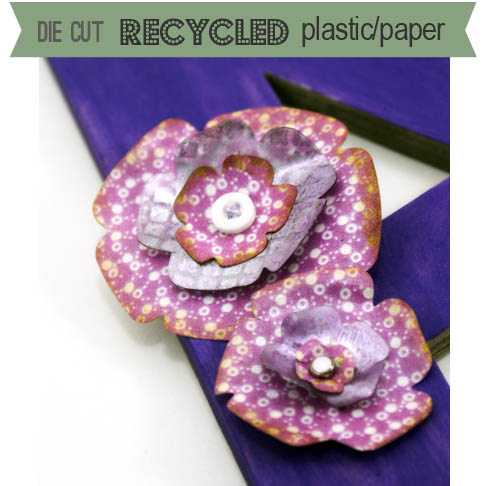
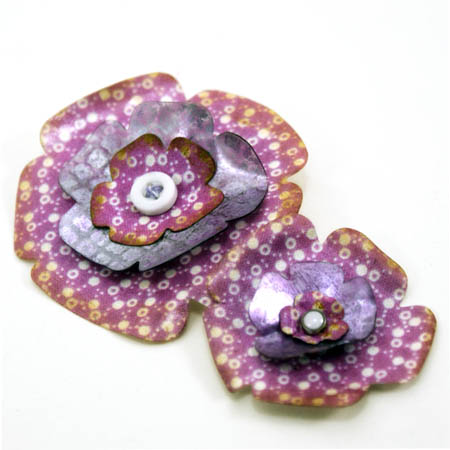
Easily make flowers from plastic packaging and old greeting cards!  Now that I have entered the world of Sizzix, no material is safe from getting cut.  This project is all thanks to my friend Amy, of Plucking Daisies.  I inquired about Kraft core paper used in one of her projects.  The next thing I know, I have a box of the stuff, and other goodies from her stash, with tips and tricks she took the time to write out for me.  Sweeeet!!  You will be seeing the supplies she sent me popping up in future posts.

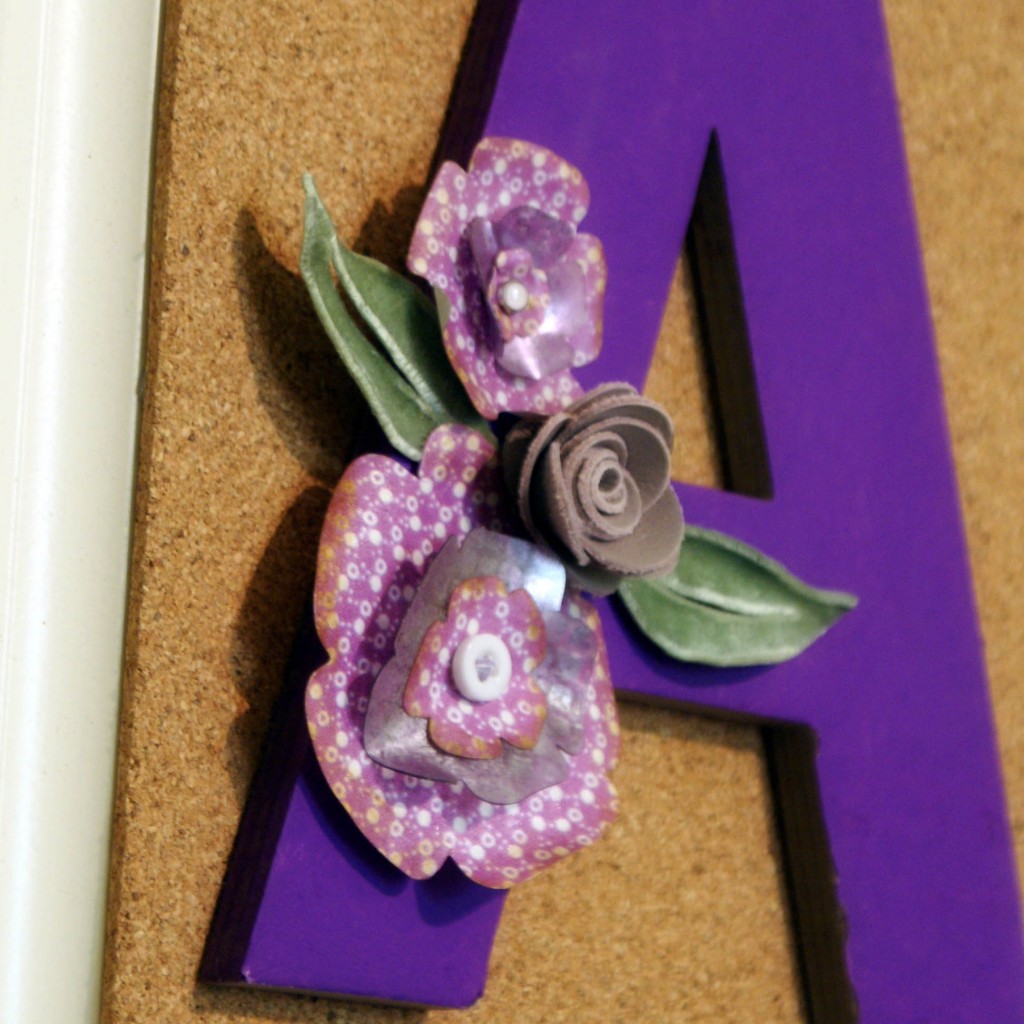
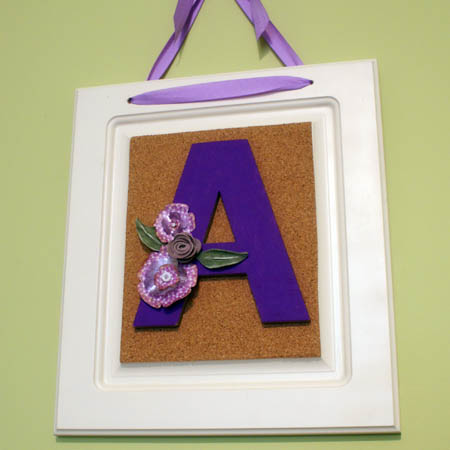
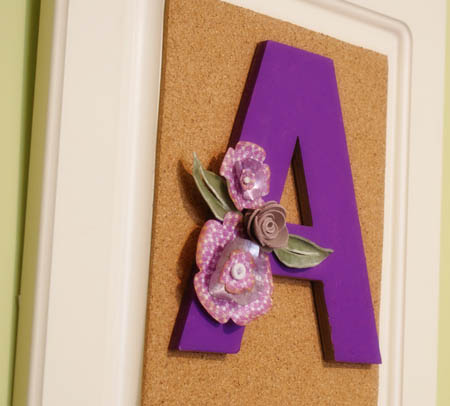
Here, I made flowers from the packaging containing a Tim Holtz embossing folders (Amy’s idea) and a greeting card, both from Amy’s stash.  I used them to embellish a monogram corkboard hanging wall plaque I made for my niece’s graduation gift.

Sizzix Wall Decor

Here is how I did it:

DIY Monogram Wall Art

I held the plastic die cuts over a flame to curl them and give dimension.  Walnut Distress Ink was used on the paper flower edges.   Then I layered and sewed on a button for one set, and inserted a brad for the other.

Recycled crafts

The leaves, I cut from velure, also Amy’s idea.  I sprayed them with “Stiffy” fabric stiffener to give form and prevent fraying.  The rose is leather cut with Sizzix and the 3D rose die.   The piece is a cabinet door I picked up at Habitat from Humanity Restore ($1.25), spray painted,  and adhered cork board to using hot glue.  I drilled holes for the purple ribbon hanging mechanism.  The letter is layered chipboard painted with Adirondack acrylic paint.

Monogram wall art

I love how it turned out!  Perfect for Ashlyn’s dorm room… not to mention how dang cool it was to get an awesome box of goodies from a fellow craft blogger.  Amy was organizing her studio and threw in a bunch of things for me to use.  What a great idea.  My studio is jam packed with supplies I will never get to, that someone else would love to have.  That is why I am passing on the love, and sending out a box to a reader who asked about clay.  I won’t even know it is gone, and if she is like me, the act will make her day.

Thanks Amy!!!  Here Amy shared a project using plastic packaging and alcohol inks, like I did from her tips for my flowers.  Be sure and visit Plucking Daisies for some rockin’ tutorials and creativity.

Fruit Pizza Variation Recipe

Fruit Pizza Recipe

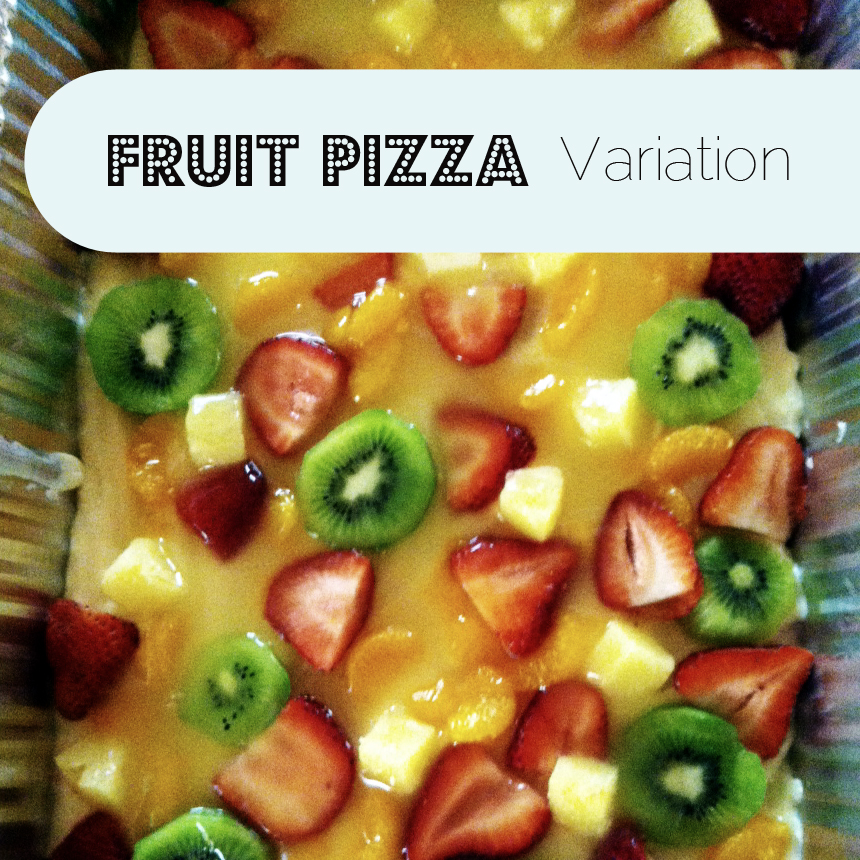
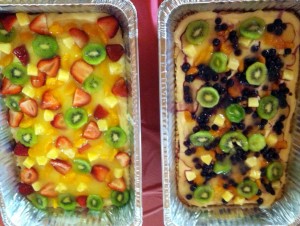
Taking a break from the regular craft tutorials here at SBLC, I thought I would share this awesome fruit pizza recipe that I got from my momma.  Not sure where she got it, but it is super yummy.  The pictures of the finished dish show this recipe doubled, and in a rectangular dish instead of the round cookie sheet.

Fruit Pizza Variation

This recipe makes 10-12 servings

Crust:

3/4 cup butter or margarine, softened

1/2 cup powdered sugar

1 1/2 cups flour

Topping:

1/4 cup sugar

1 Tbsp cornstarch

1/2 cup pineapple juice

1/2 teaspoon lemon juice

Filling:

10 oz package Hershey’s vanilla milk chips

1/4 cup cream

8 oz package cream cheese, softened

assortment of fruit pieces (strawberries, kiwi, mandarin oranges, blueberries… anything you want)

Fruit Pizza Recipe


Preparation:

  • For crust, cream together butter and powdered sugar, blend in flour and press mixture onto bottom and sides of  12 inch round pizza pan (pictures show bigger rectangle pan with this recipe doubled).
  • Bake at 300° for 20 min until lightly browned.  Cool completely.
  • For filling, melt chips in cream in a saucepan.  Beat in cream cheese until smooth.  Spread over cooled crust.  Chill.
  • For topping, combine sugar and cornstarch in saucepan.  Stir in juices and cook, stirring constantly until thickened.  Cool.
  • Slice and arrange an assortment of fruits over chilled filling mixture.  Pour cooled topping over fruit and serve immediately, or store in fridge.

Enjoy!  Tune in tomorrow for 8 superfoods to incorporate into your diet.

Scribble Shop Challenge Project

popsicle stick crafts

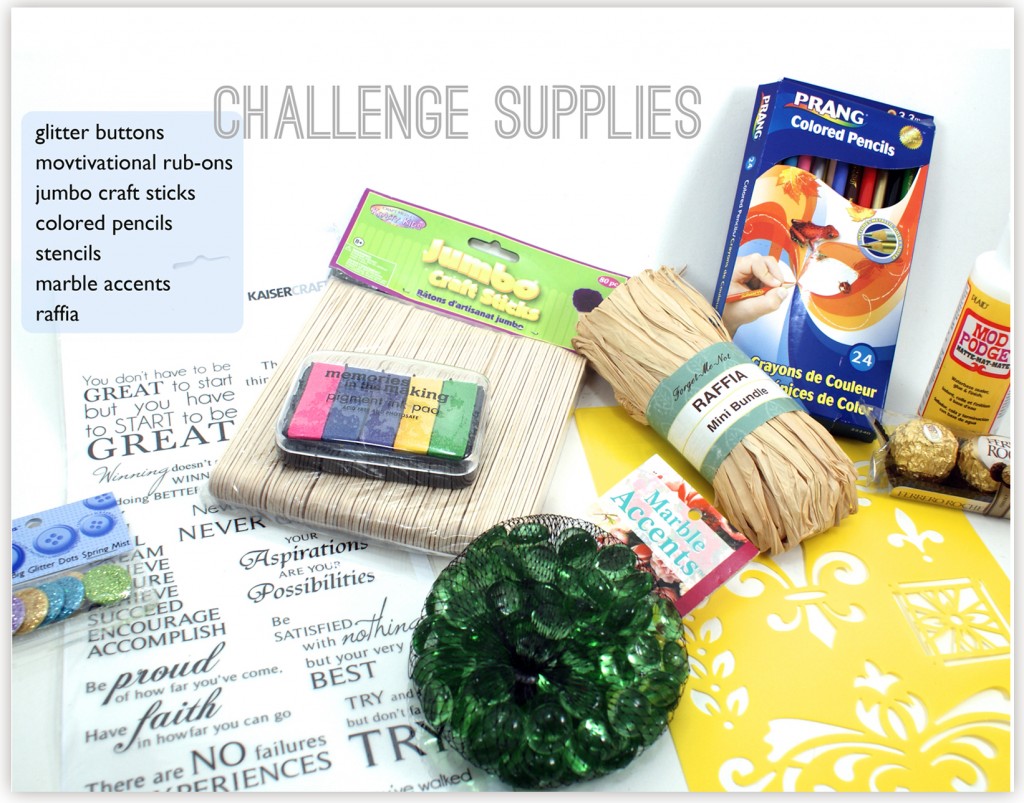
How excited was I when the box of craft supplies from Scribble Shop showed up at my door?!  Very… until I opened it.  For this challenge, a group of bloggers are to use as many of the supplies in the box as possible to create a project. I am not sure what I expected to be inside, but when I saw what I had to work with, I was unmoved.  What was I going to do with a ton of jumbo craft sticks, raffia, colored pencils, marbles, glitter buttons, stencils, pigment ink pad and rub-ons?
Scribble Shop online crafts


 SUPPLIES IN BOX:

Metallic Stamp Pad

Dress It Up Embellishments

Mod Podge

Stencil

Raffia

Glass Gems

Motivational Quotes

Popsicle Sticks

Colored Pencils

OTHER SUPPLIES I USED:

Vintaj Natural Brass Cable Chain

Crop a Dile

Eyelets

Sizzix 3D Flower Die

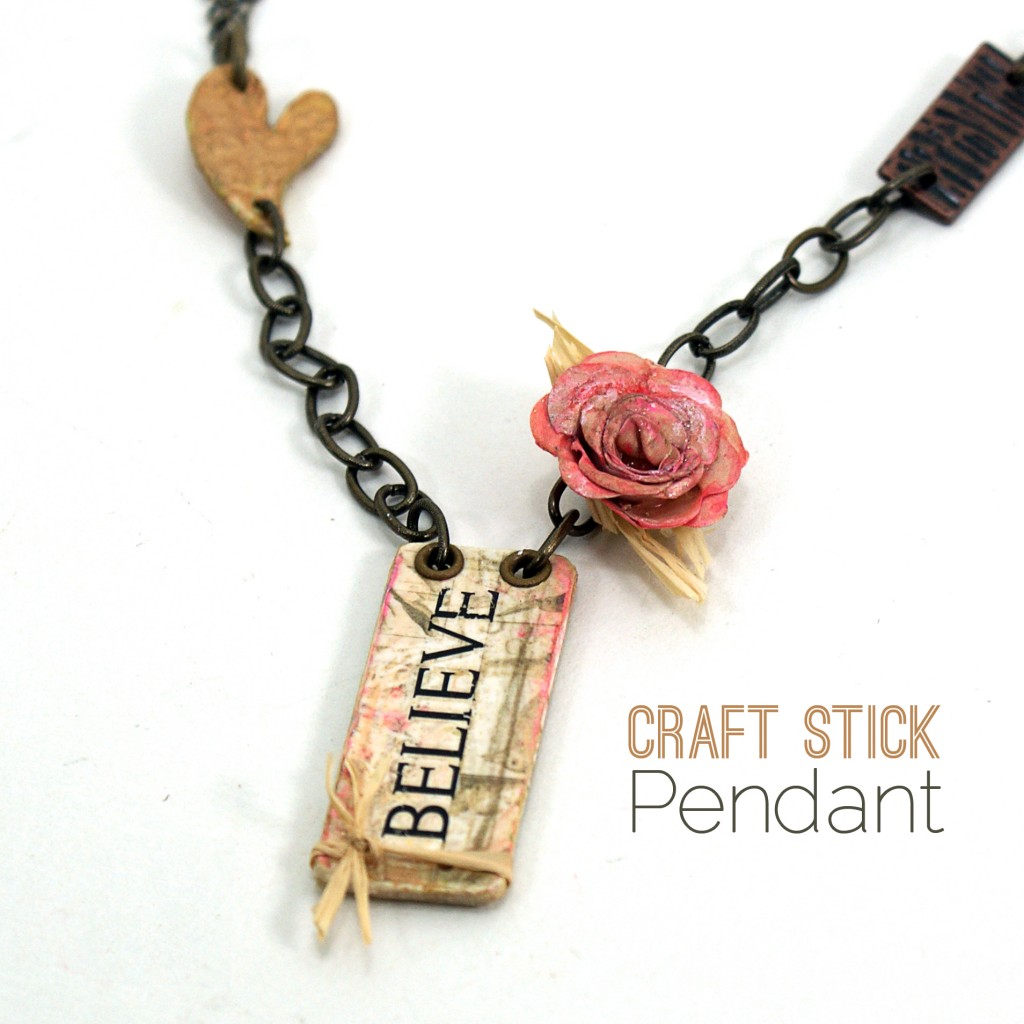
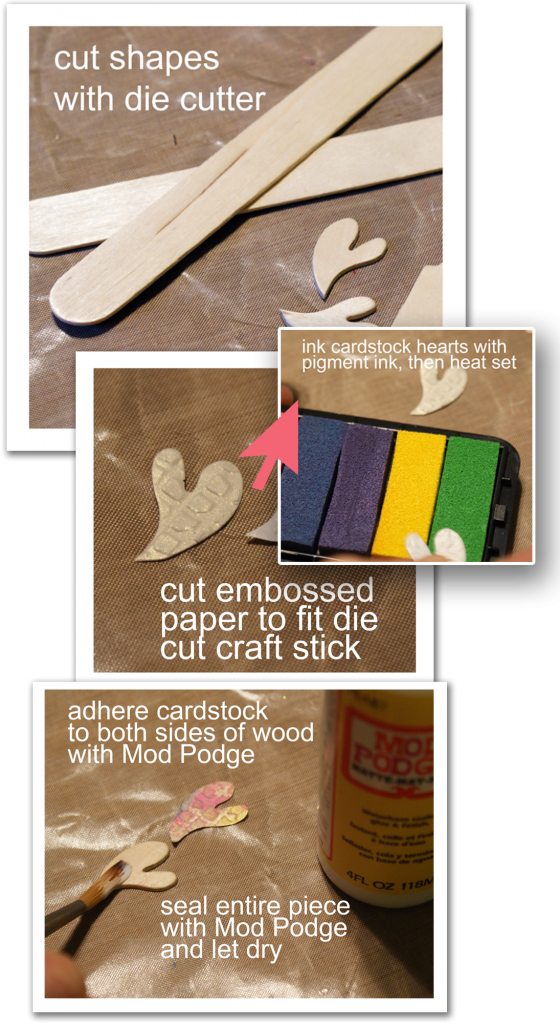
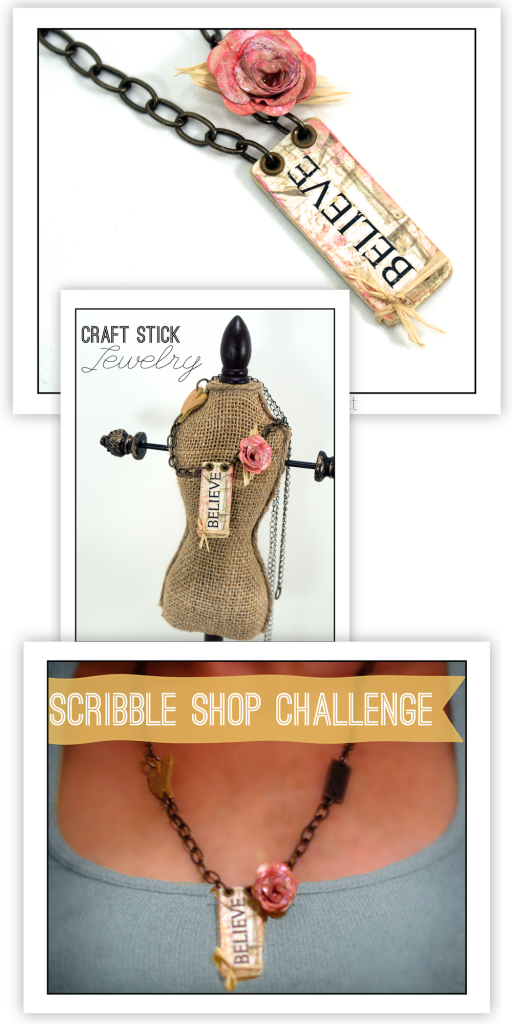
 As I pondered the various frames and coasters I could make from these sticks, I was thinking about how I am so inspired to make jewelry right now, and how annoying it was to have to take a break from that for this challenge.  That is when the idea came to me to die cut the craft sticks into pendant and charm shapes.

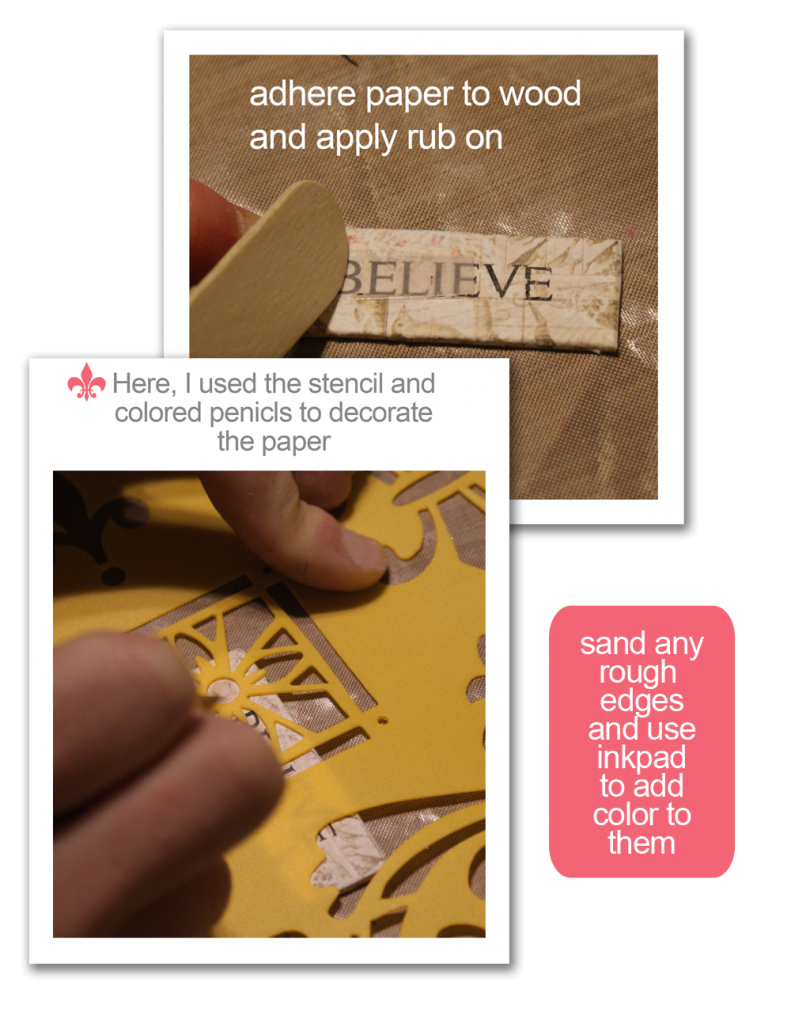
Here is what I did.

Altered pendant tutorial

For the rectangle shape, I didn’t have a die that was the size I wanted, so I went primitive and used scissors.  Sanding takescare of the rough edges that result.

Scrapbook paper jewelry
To finish, I sealed the rectangle with Mod Podge.  When that dried, I hole punched the pendant at the top and added the 2 eyelets for attaching to the chain.

The rose is made from cardstock cut with Sizzix 3-D flower die, with raffia leaves.  I am so glad I was forced to try to incorporate raffia.  I love it for the rose leaves, and I also tied a piece of it at

the bottom of the pendant.

Die cut jewelry tutorial

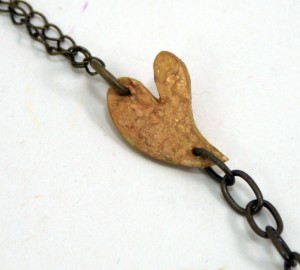
Here is the heart charm, which I ended up painting with gold acrylic paint, along with the pink pigment ink.  I punched a hole at each end to add the jumprings.

Upcycled Jewelry Tutorial

Big thanks to Scribble Shop, for forcing me to stretch the creativity!

To find everything I used for this project, visit the links in the supply list.  Scribble Shop has teamed up with SBLC to offer you 15% off of your entire order.  This offer expires 4/30/12.  Enter dicount code SVDLVCR8.  Be sure and visit them on facebook, twitter, and google + to keep updated.

***Disclosure: I received the challenge supplies at no cost and was compensated for my time.

Z Gallerie Finds

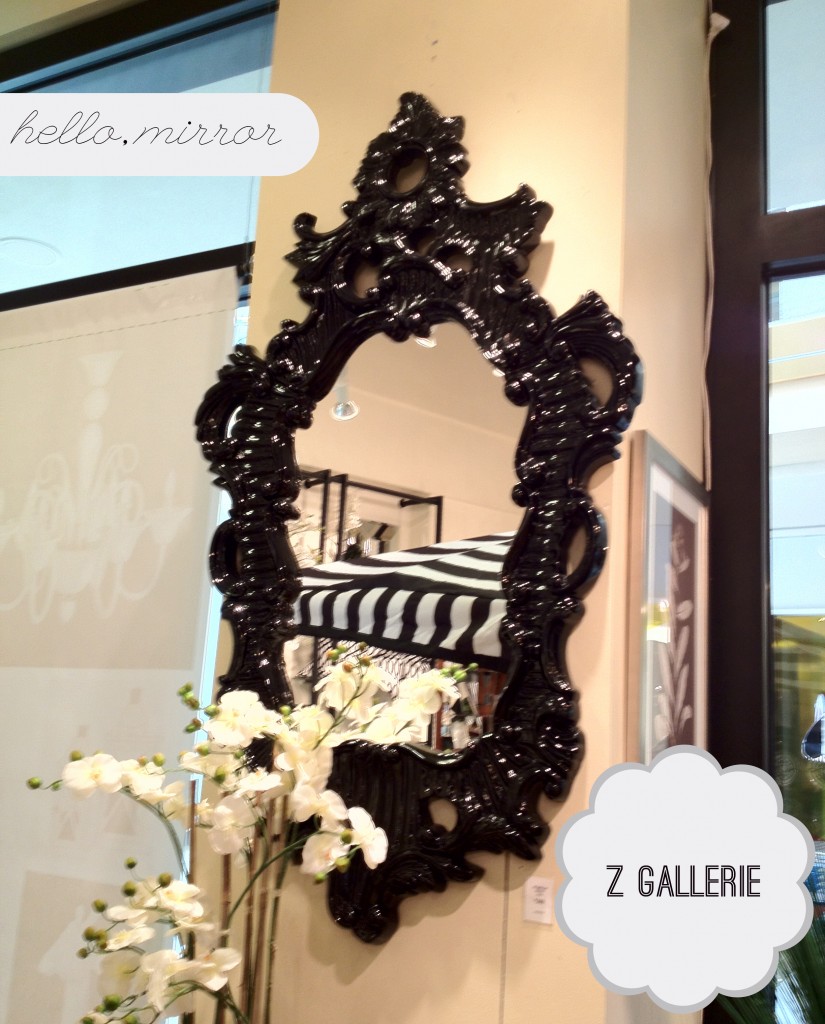
Z Gallerie Mirror

I had the opportunity to check out Z Gallerie in person a couple of weeks ago.  My phone camera was busy!  Interior decorating is not my gift, so I love soaking in the display settings for fantastic arrangement ideas that I would never come up with on my own.

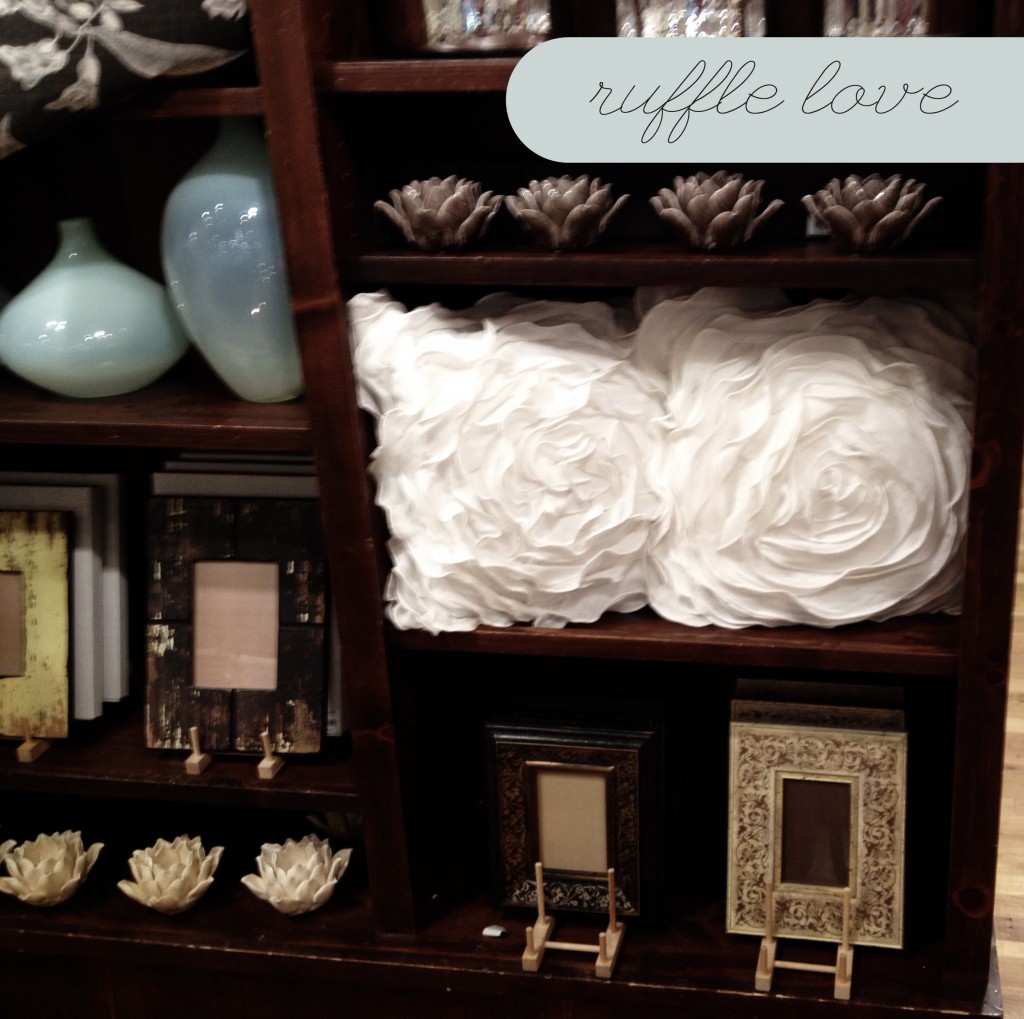
Z Gallerie Ruffle Pillow

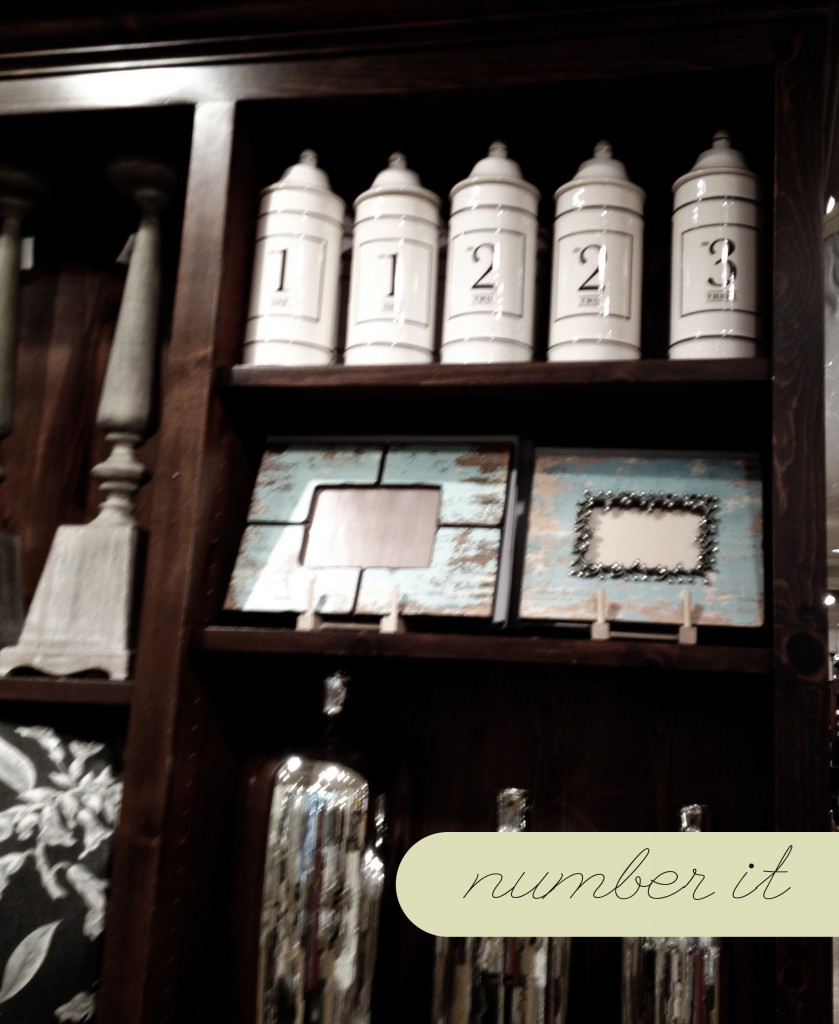
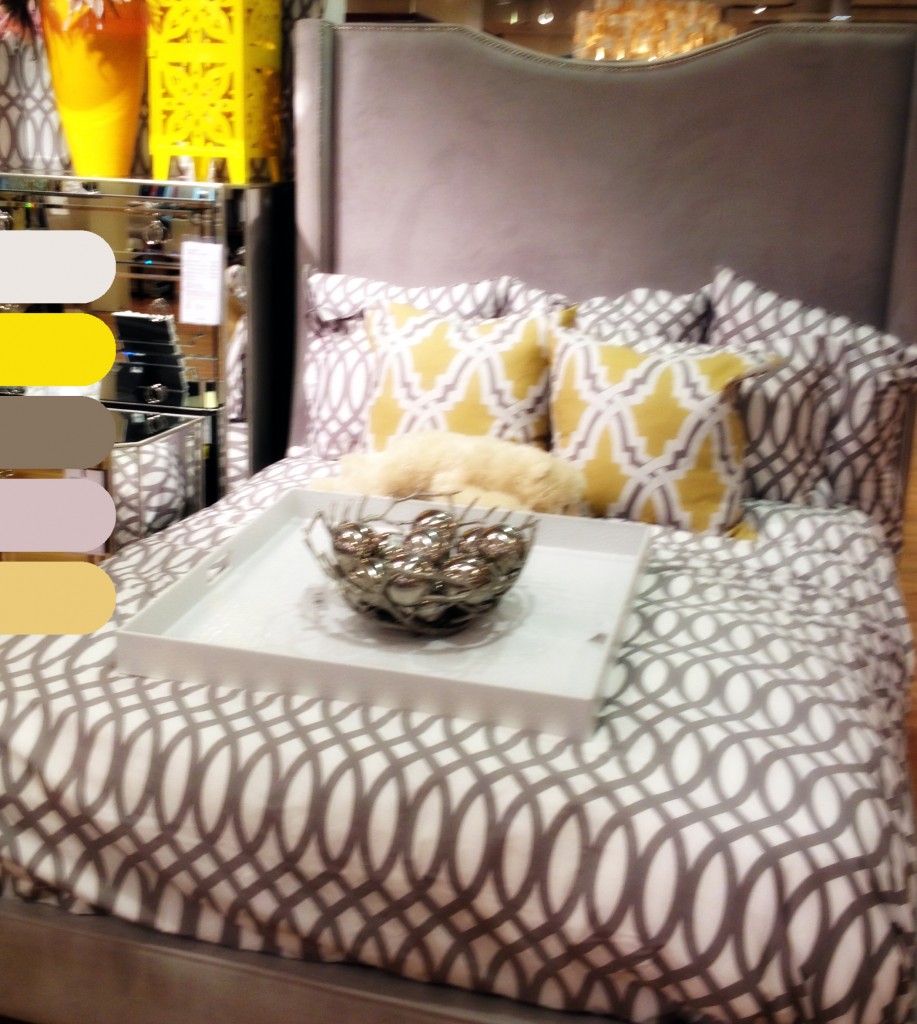
A few things that caught my eye are; luscious black ornate mirror ($399), ruffle pillows, yummy color pallets, fabric designs, numbered accessories, distressed frames, lotus flowers…

ZGallerieAccessories

Z Gallerie Bedding

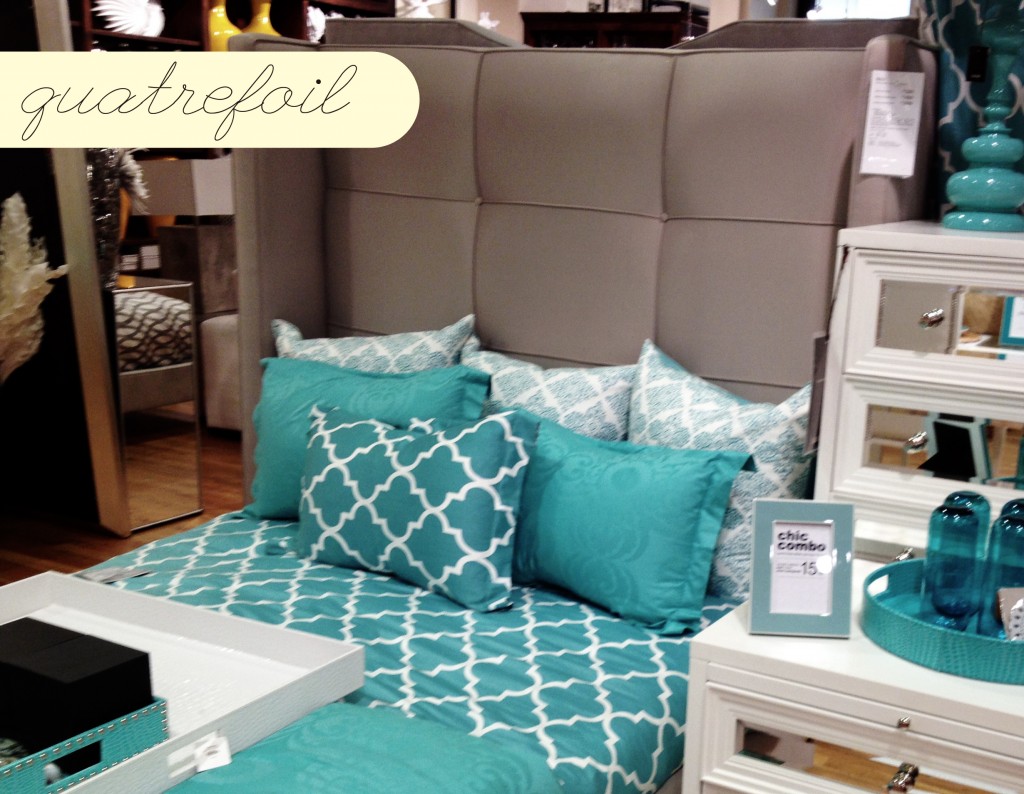
Quatrefoil always does it for me!

Quatrefoil pattern

What are your favorite design trends?  Are you sick of chevron and quatrefoil yet?  Not I!

Flowers You Can Make and How to Have Fabulous Blog Post Photo Layout

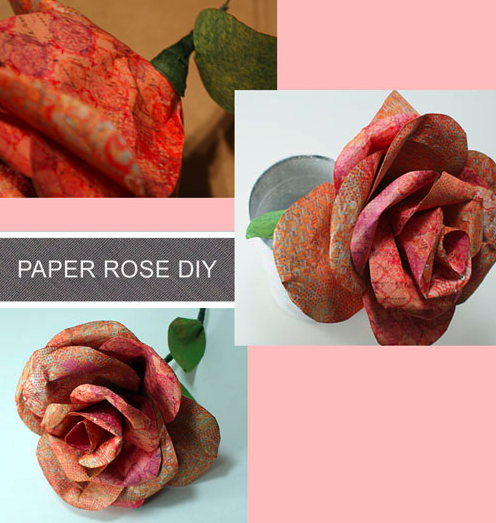
Organza flowers

Since getting my new iPhone, I am a photo snapping fool. How fun is Instagram, by the way.  Best photo app ever. 

Paper Flowers

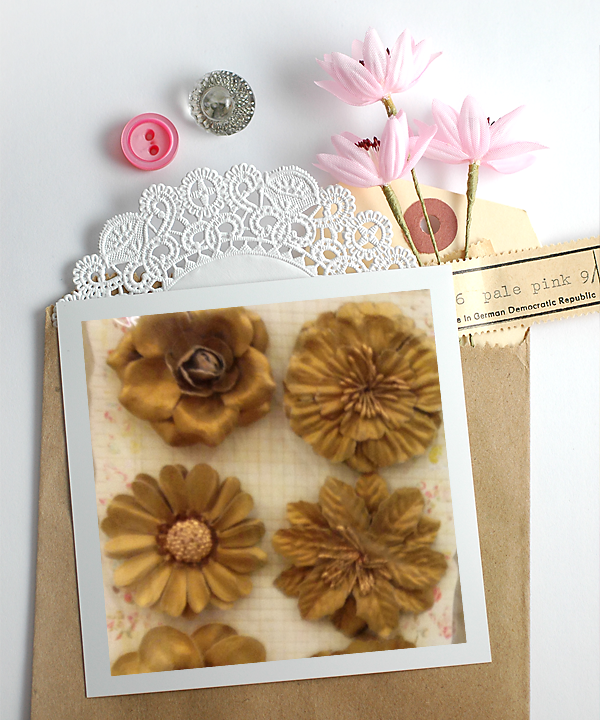
These flowers come from Hobby Lobby, and a wonderful craft store in St. Pete called Whim-So-Doodle. I am going way more in depth about this jewel of a shop in a future post, where I will show you a Tim Holtz tissue tape make and take I got to photograph.


Flower embellishment

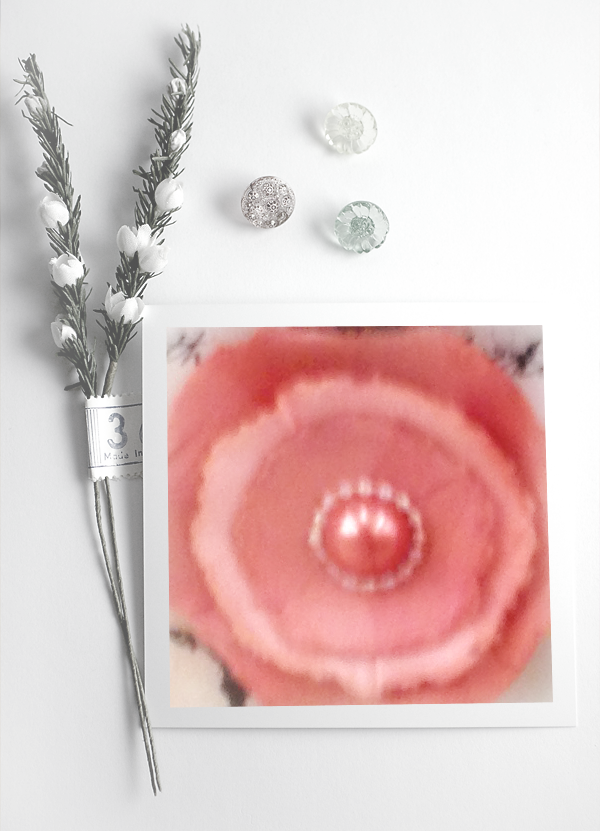
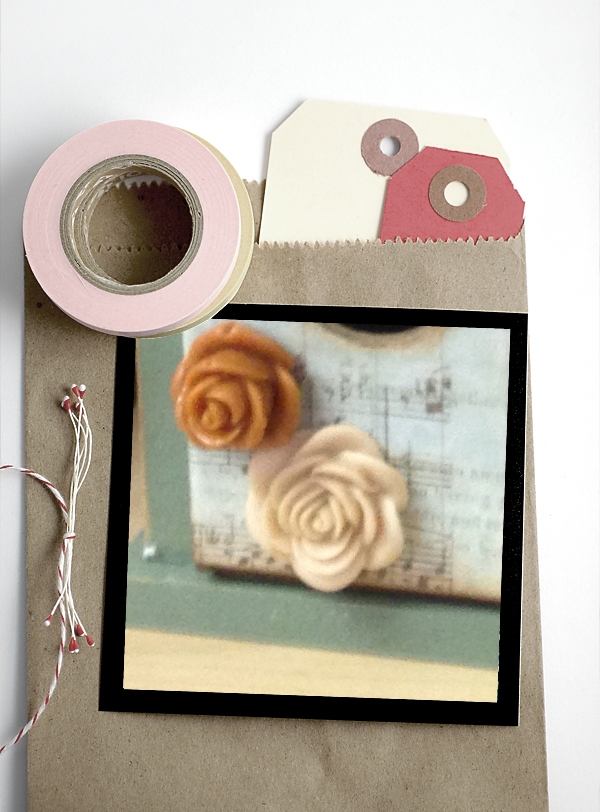
With the gorgeous spring weather stretch we are enjoying here in the mid west, some flower inspiration seemed like the perfect thing to share. Aren’t these gorgeous? You can totally make them (and then send them to me, if you would like, or whatever).


Flower embellishment

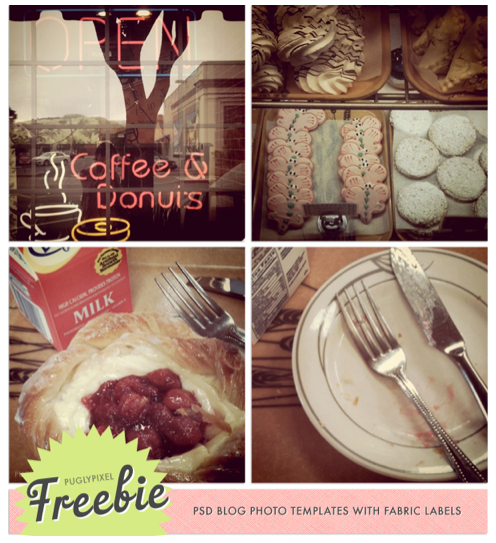
Are you thinking to yourself, “How did she get her photos in those cool overlays?”? I have been dying to post about Pugly Pixel for the past month. If you don’t know about this awesome blog, you are in for a treat. Katrina shares her love for photography and design in the form of beautiful blog post photos, tons of graphic elements for you to make your blog pop, photoshop tutorials you can easily follow, and much more. There are many freebies (including the photo overlays you asked about above, in the post you are reading right now), photoshop brushes/shapes, blog post photo layouts… I could go on and on, but just go there. There is a membership option that is very reasonable. I purchased a blog bling package, which is what I used in my recent blog design makeover that many of you have complimented. Katrina truly shares what she loves, so you will find posts that lead you to other great design finds and tips. Grab some coffee and get comfy. I get lost in her posts every time I visit.


Flower embellishment

My favorite download from Pugley Pixel has been the blog photo post layouts, which are available both free and for purchase. I have been using a couple of the free sets to style my posts, and I LOVE them. The templates are fully customizable (PSD layers), allowing  you to drop your photos in various collage windows, and add text and label shapes easily,for interesting, modern, clean post layouts everytime.  If that sounds intimidating to you, take comfort in the fact that Katrina walks you through how to use her downloads, in detailed screencasts.

 Not only do I love the design of my articles, but the time saved by using the templates is significant. Love… yes, love.

 Here is a photo from the first time I used the templates…


Blog post photo tips

Check out this example from Pugley Pixel using her freebie photo layout found here.

Make your posts look great

There are a million more things I want to show you from this site. I just found new brushes for enumerating your pictures that I must download now, so you are on your own to explore Pugley Pixel. See you there.

Thank you so much for your beautiful graphics and information, Katrina!

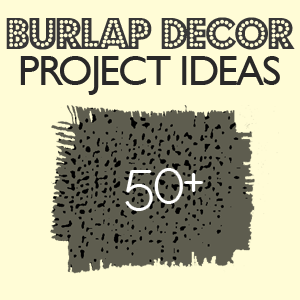
50+ Burlap Decor Projects

[pinit]
Burlap DIY Decor

This has been my favorite 50+ list to date.  Let’s just say, I have burlap coffee bags coming in the mail from all over.  I can’t wait to get to work on some of these beautiful burlap creations.  From wedding decor to curtains to coasters, let this round-up stretch your mind and help bust through your burlap stash (or cause you to order some, like I did)!

UPDATE:

I have had so many inquiries about where to get burlap, that I wanted to share with you a great source for all things burlap:

Order Burlap at low prices

You can find them on Pinterest to keep up with burlap decor projects and more!


Thrifty Thursday Week 66


follow on pinterest button Thrifty Thursday Week 65

LINKY STUFF:

How it Works: No giveaways, shop or links to your main blog, please. That way we know when we come to Thrifty Thursday, we will only encounter DIY projects and not end up sifting through a bunch of other links. Entries not related, or to main blog pages/shops/giveaways will be deleted.
Other stuff:
*Please add a text link or my button to your post!
*A few projects from the previous week’s linky will be spotlighted, so let them know they ROCK!
*Please visit the at least the 2 blogs above you and shower them with comment love.
*Leave me a comment and let me know you were here. I love hearing from you.
*Have fun and be inspired!
*My friend Nikki knows how to throw a great party too. Be there…
thrifty decorating 019 button 3 Thrifty Thursday Week 65

FEATURES:

Gallery wall

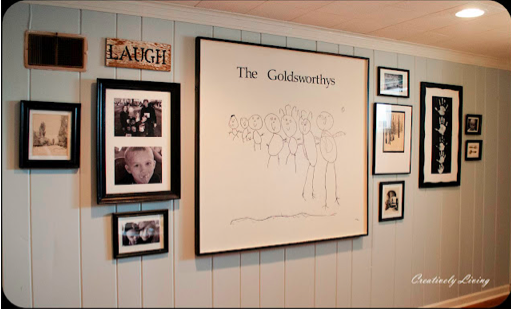
I am coveting this gallery wall from Katie at Creatively Living.  It is even more impressive when you see the room’s before pic.

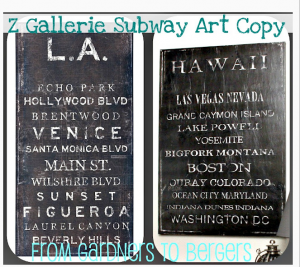
Z. Gallerie Subway art Knock off

Becca at Gardners 2 Bergers walks you step by step through this Z. Gallerie subway art knock-off.

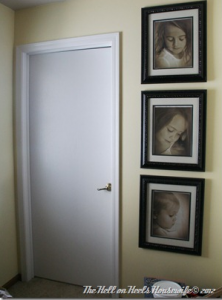
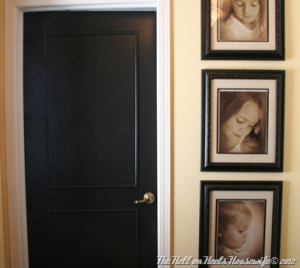
DIY fancy door

Go visit the Hell on Heels Housewife to see how Maggie took her boring stock doors from drab to fabulous.  I

am so excited to try this!  Check out the before…

door makeover

PARTY!!

Daily DIY: Cool New Site Alert

DIY projects

I was so excited when first learned of Daily Do It Yourself.  It is a site that was launched in November of 2011 by Jenna of SAS Interiors.

She wanted to create a place to showcase simple and easy DIY projects that anyone can create, complete with the functionality  for DIYers to submit their own creations.

“Through this interactive do-it-yourself blog, you will learn techniques, see solutions, and be inspired to do-it-yourself!  There is nothing like the motivation and inspiration of other DIYers to spark an idea or get your creative juices flowing, and DDIY will be the source for do-it-yourself inspiration pertaining to home decor, furniture, crafts, recipes, clothing, sewing, and holiday.”

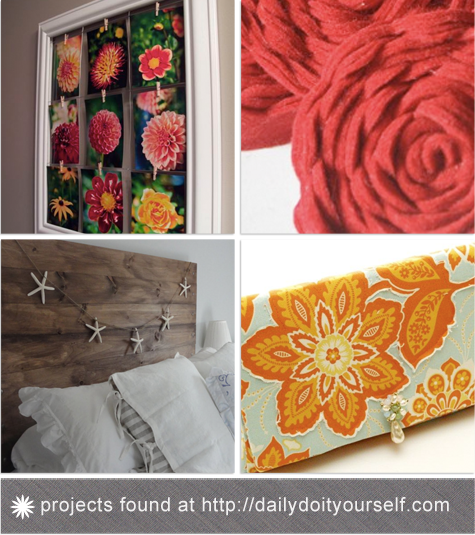
Jenna features DIY projects in several categories, including Home Decor, Furniture, Crafts, Recipes, Clothing, Sewing and Holiday.  Here are just a few of the things you will find to get your creative wheels spinning…

Daily Do it Yourself Projects

Be sure to visit DDIY for tons more inspiration.  Say hello to Jenna, and check out SAS for amazing design projects that will leave you burning to get started on your own masterpiece!

Privacy Policy