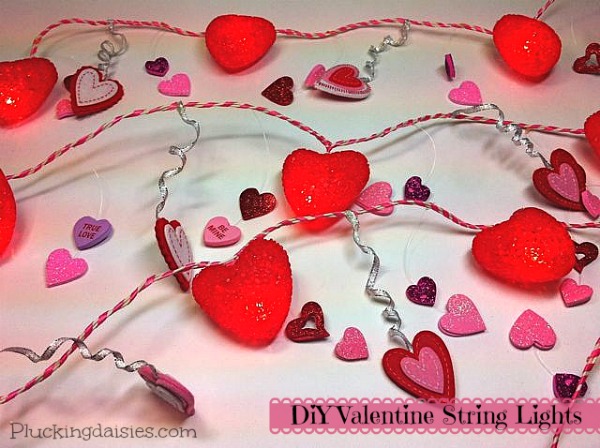
I’m in the midst of a MAJOR studio purge and found this beat up set of heart lights (among other things) squirreled away in my stash. These heart lights were looking less than “lovely” so I decided to give them a makeover.

Upcycling DIY home decor, woodworking and Crafts


[pinit]
All the talk of repurposed dishes in this week’s 50+ ways to upcycle dishes roundup got me thinking. I was at my local dollar store and scooped up three glass dishes in small, medium and large. In a project that took all of 5 minutes, I created a fun tiered display stand with them. This is great for decorating seasonally since I can fill it with various colored stones and decor to go with the holidays. Now I have it filled with plastic hearts (also from the dollar store) and ceramic hearts from the local fair trade store.
The spindles I scored at Habitat For Humanity Restore… a whole box of them! I wasn’t sure what I would do with them, but I knew I would use them somehow. I have like 40 more of them, so this is not the last project they will appear in!
Glue spindles to dishes, with largest dish on bottom, working up to smallest dish.
I used Flora Bond that I got at Joann Fabrics.
[pinit]
This post was originally shared at Fox Hollow Cottage.
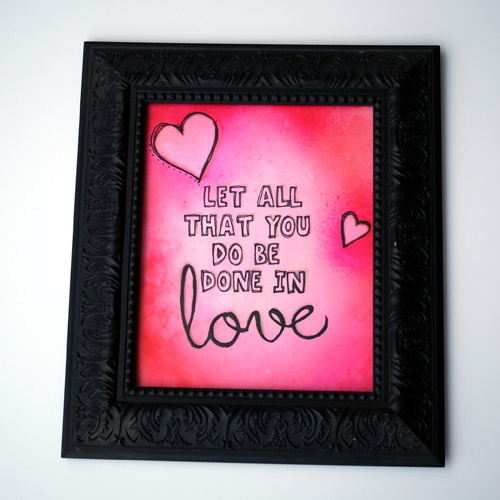
I have been playing with Dylusions spray inks lately, and am in love. Why? Because you can create gorgeous art with the spray of a bottle. Using a background I created in about 1 minute with this dye, I made you a Corinthians love verse printable to download and frame. Want to make your own? Scroll down for the video and get creating.
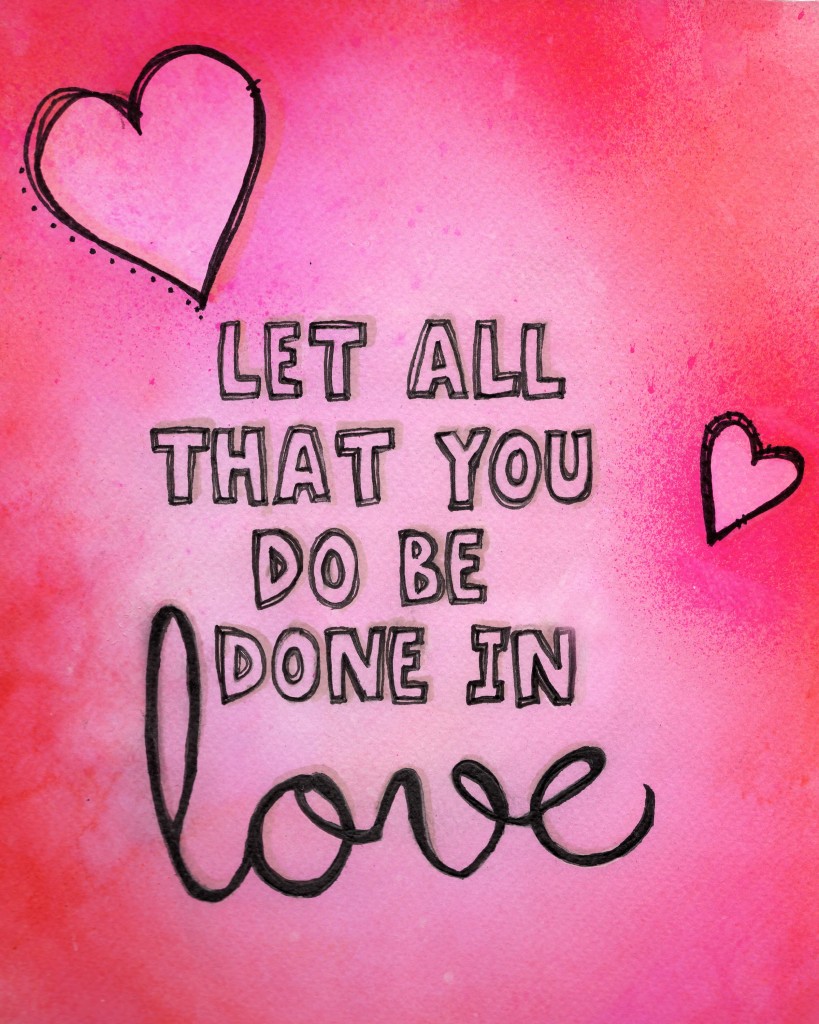
Right click the image to pull up the full res 8×10, download and print!
Maybe you wish it were a different color, or had a specific saying. That is why I am going to show you how to create your own vibrant, watercolor background using spray inks, and how to get your custom text/designs on there.
Dylusions spray ink (Bubble Gum pink and Post Box red used here)
Watercolor paper
Water spritzer
Paper towels
Stencils of your choice (I used hearts to go with my love theme)
Hair dryer or heat tool
Transfer paper, design to transfer, and pencil (or just pencil if you want to freehand your design)
Micron artist pen in black or other permanent black pen (size 03 used here)
If you scan the background, the editing possibilities are unending. Use it as the base for subway art with my DIY subway art tutorial.
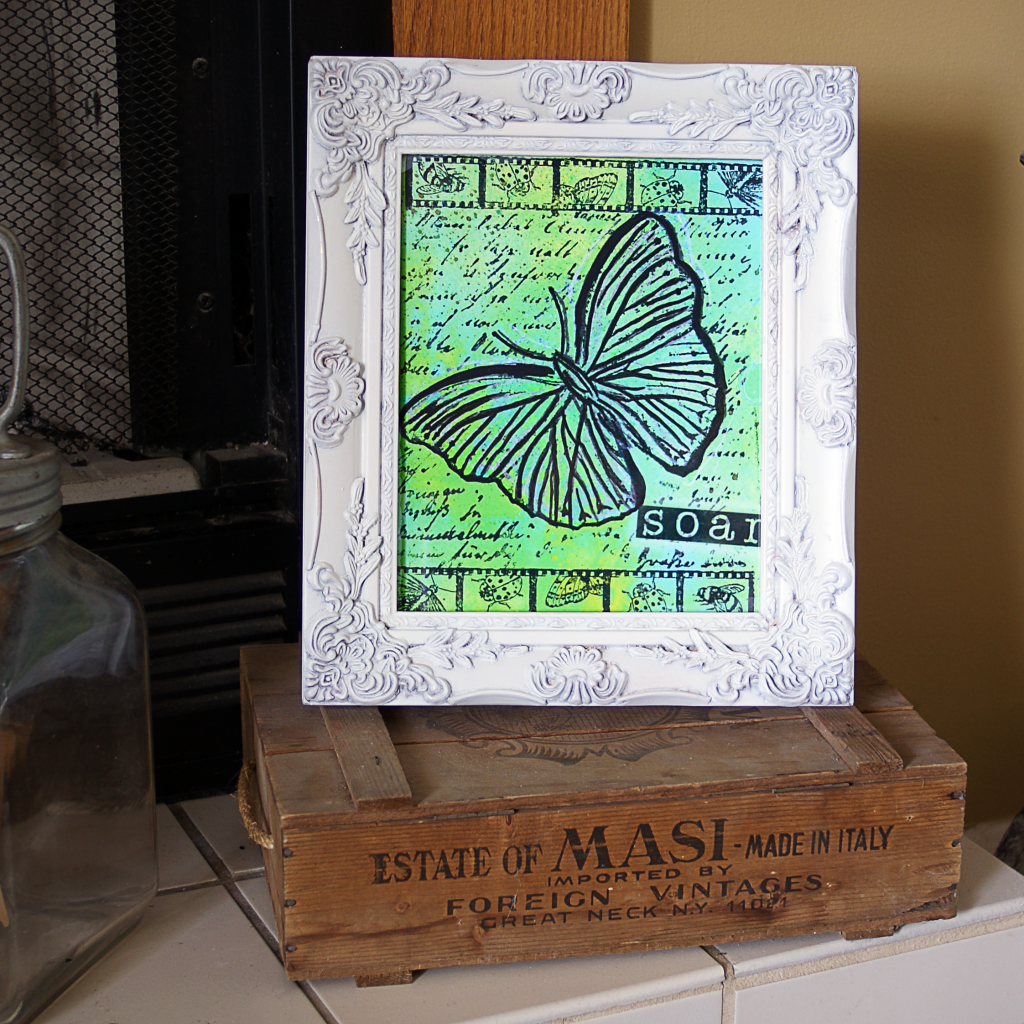
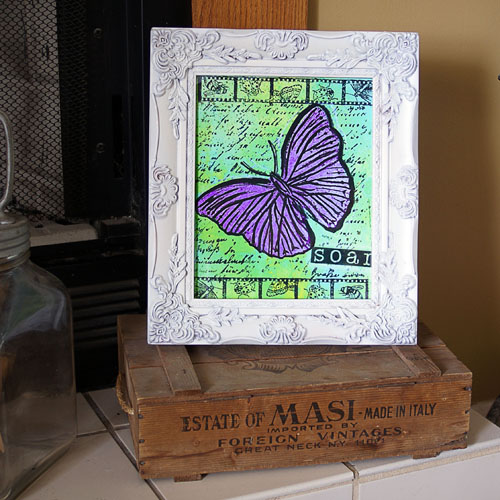
Change the hues, add text and images, digital scrapbooking, even use it as your blog background. Here is an example of a Dylusions background that I hand stamped, scanned, and altered the color of the butterfly:

[pinit]
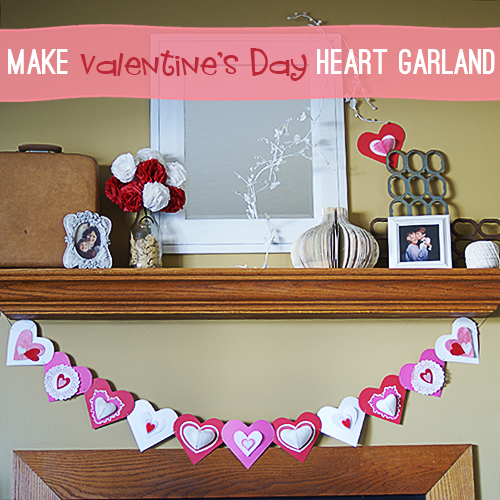
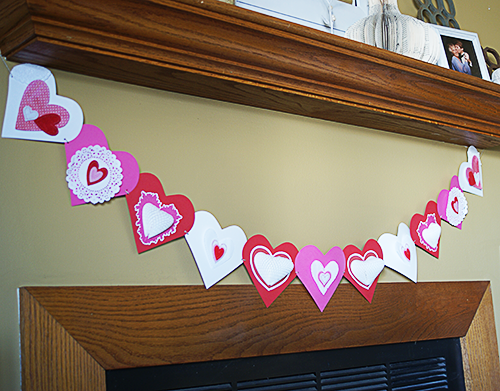
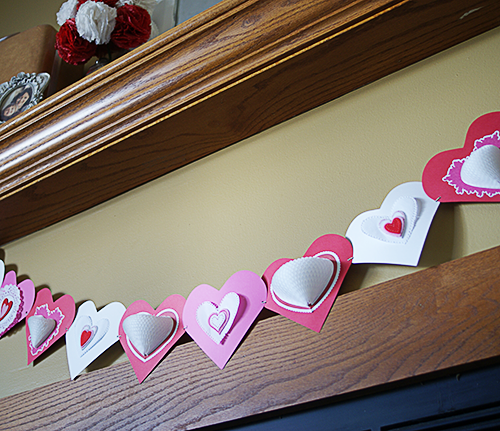
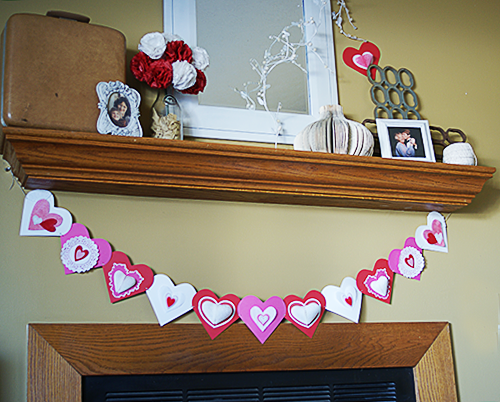
Cupid’s arrow hit me in the decorate muscle, and I’ve been making paper hearts zealously ever since. I stacked and strung some paper hearts and scrapbook embellishments together for this pink, red and white Valentine’s Day heart garland. It is quick, easy to make, and I am digging it. See how to make your own…
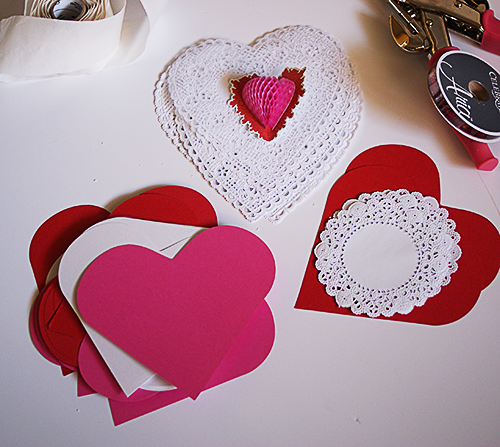
Red, white and pink cardstock paper hearts
Valentine’s day themed scrapbooking embellishements (I got felt sticker hearts and pop up hearts at Michael’s)
Paper Doilies
Glue dots or other adhesive
Hole punch
Twine or other string
Scissors
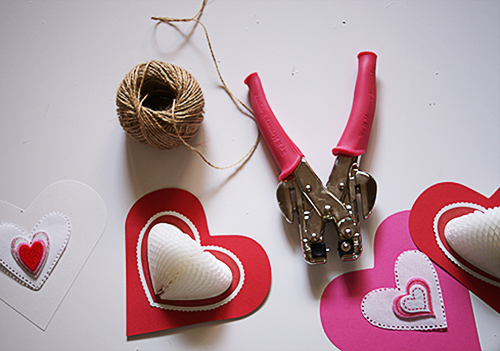
Adhere smaller heart embellishments onto larger cardstock hearts.
Create enough layered hearts to make your garland the length needed for its intended space.
Take a leftover scrap bigger background heart, fold in half and hole punch on outer edge (both sides at same time in same spot since folded in half) where you want to thread for hanging.
Unfold and use as template for placement of holes in layered hearts by lining up on back of layered heart and using holes as guide for hole puncher.
Lay out the hearts and move them around until you are happy with the order.
String and hang!
It is no secret I love a great repurpose project. Outside of the box thinking is all over this washer monogram art by Love Grows Wild! Liz gives a detailed step by step so you can make your own.
[pinit]
If you are looking to get festive for Valentine’s Day, and decorate quickly for little cost, this is the project for you! I made it to the dollar store yesterday for the first time in way too long (ok, since Christmas), and found myself in a wonderland of pink, red, LOVE and hearts. I noticed some fun Valentine’s Day gift bags, and the wheels started turning. It occurred to me that I could frame them for a lovely mantel, cupid style. I grabbed three bags, 2 frames. For that $5 + some items I already had, and about 10 minutes of my time, I created a lovetastic scene. So can you!
Frames (one I had on hand, the other 2 are from Dollar Tree), bags from dollar store, scissors
Cut area of bag to fit frame and insert. The end!
For the smaller frame, I removed the 3D heart that was on one side of the gift bag and placed it on the outside of the frame for depth and interest.
The little pink and red heart scatter are from Dollar Tree too.
Not bad for under $10, huh? I have the other sides of the bags to create with too!
IF you want to see more Dollar Store Valentine’s day projects, or want to share your own, be sure to visit the Dollar Store Themed Valentine’s Day Link Up hosted by Fox Hollow Cottage and Debbidoo’s! Click the thumbnail below…
[pinit]
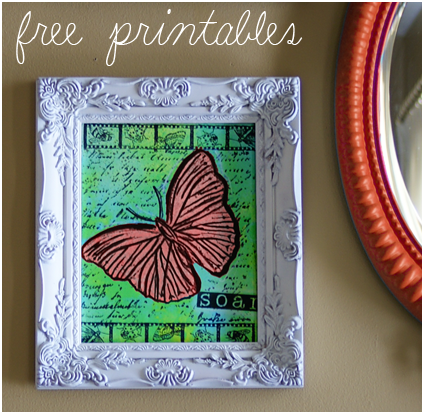
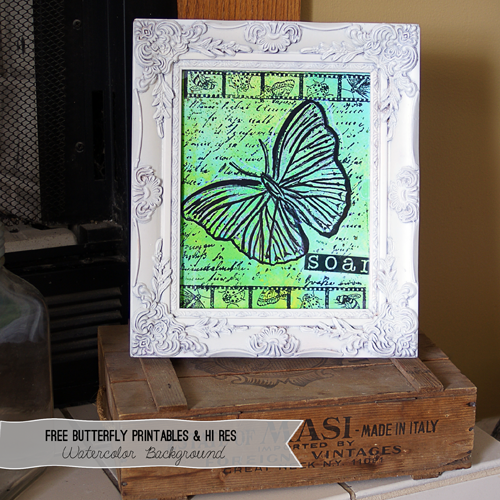

I have been a busy girl, playing with spray inks, stamps and my new printer (which I scored over the holiday for a steal)! As a result, here are a couple of free printables for you to enjoy! This is a watercolor paper sprayed with Dylusions for the background, stamped with inkadinkado Insect Amalgam cling stamp, and touched up with white gel pin and black Pitt pen for depth.
Just right click the link under the thumbnails to pull up the full res file and save it to your computer or print. I also included just a watercolor background for you to play with in Photoshop.
***UPDATE: After much research on printers for mixed media art, I landed on the Epson Artisan 837, and am loving it! Gorgeous scans, prints, wireless, vibrant, perfect so far.
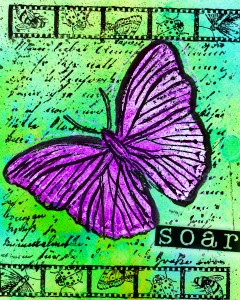
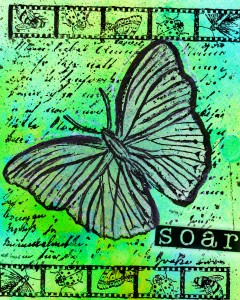
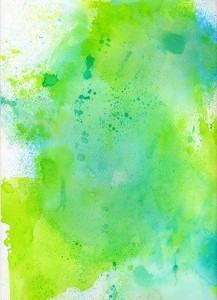
Alter these any way you want. Please do not sell or redistribute as your own, but instead, direct people here for the files!
[pinit]
 [pinit]
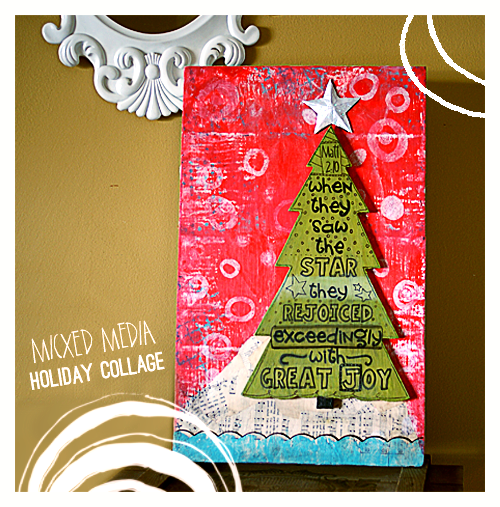
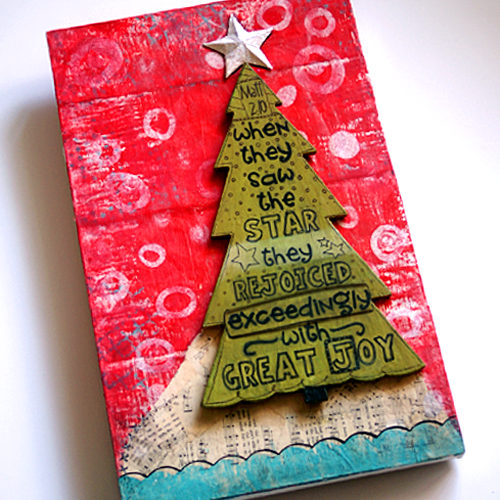
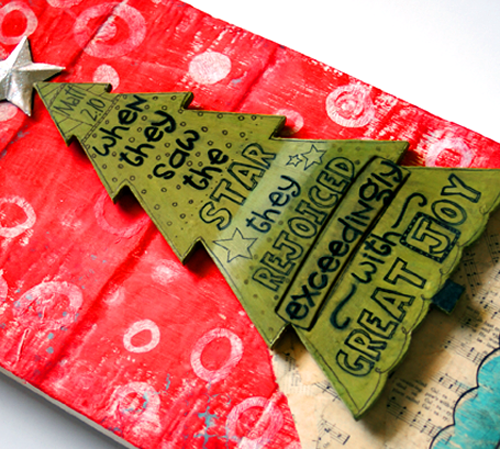
This mixed media Christmas verse piece is made from recycled pallet wood, crepe paper circles, old sheet music, a wood tree, and upcycled soda can star. It is so fun and challenging to see what you can come up with from what you have in your stash. With creative layering of paint, paper and ink, the possibilities are endless.
Acrylic paint in red, aqua, white
Paint brushes
Brayer
3D aluminum can or other star
White Gesso
Old sheet music
Matte gel medium or mod podge
Pencil
Pitt pen or other permanent black pen
Wooden tree silhouette
Adhesive dots
The “canvas” for my background came from this chevron pumpkin piece I showed you in the fall. It is composed of pallet wood.
I wanted to update it to Christmas, and decided to cover the chevron with a festive, snowy background for my tree. The inspiration for this piece came from Claudine Hellmuth’s holiday layers card over at Ranger.com.
To start, I painted on a layer of Gesso. I didn’t really care if the chevron peaked through, so I just did one layer. Wben that dried, I used red fluid acrylic paint to lightly cover the gesso. It is ok to leave parts white. Not going for perfect here.
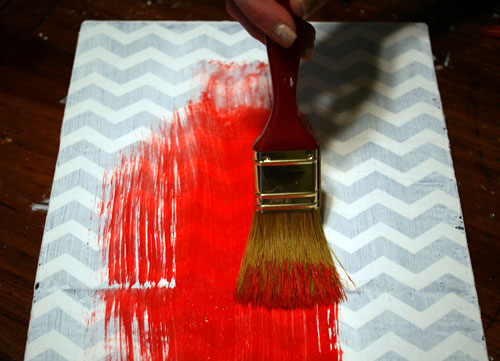
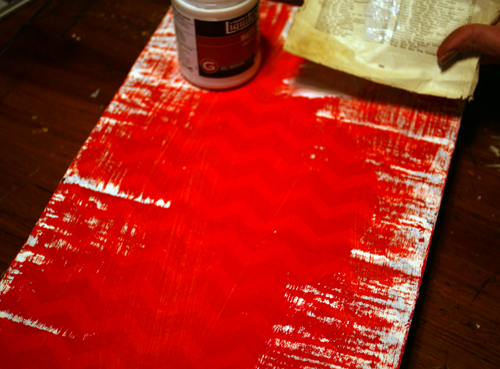
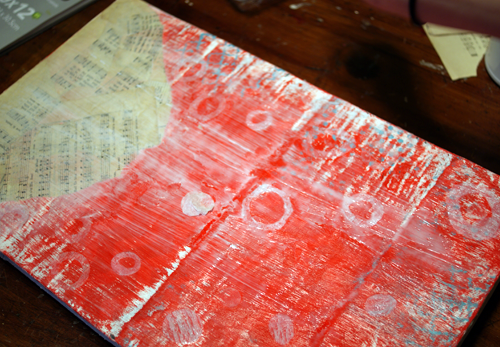
When the red paint was dry, I added pieces of torn sheet music to the bottom to form a hill shape. Apply matte gel (or Mod Podge) to paper and adhere to canvas. Once in place, cover with layer of matte gel.
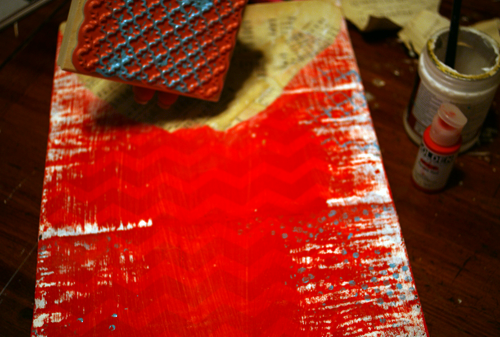
I stamped aqua acrylic paint randomly.
Once I was happy with the background, I painted on a thin layer of matte gel and let dry. I used my sizzix Assymetric rings die to cut rings and circles from white crepe paper and adhered them onto the layered background to create snow.
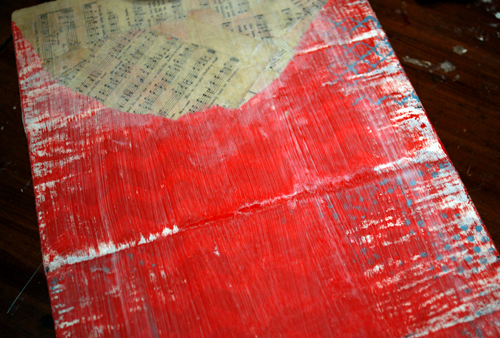
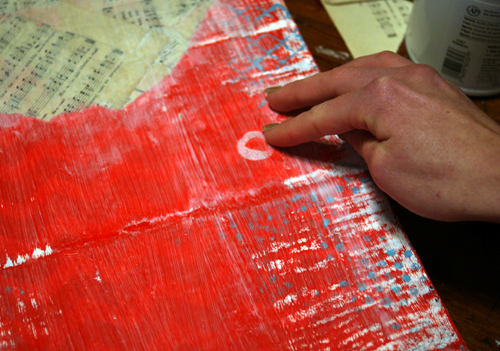
When I had all the rings I wanted, I touched them up here and there with white acrylic paint, then coated the entire piece with matte gel and let dry.
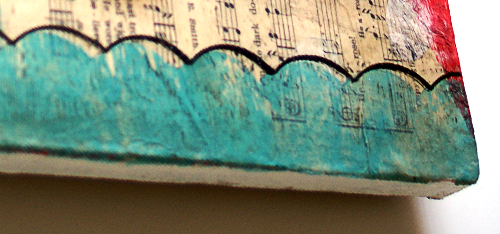
When that dried, I painted a blue scalloped edge at the bottom, outlined it with black Pitt artist pen and covered the entire piece with one more layer of matte medium.
To create the tree, I painted green acrylic paint and doodled the verse with pencil first. I went over the text with Pitt artist pen. There will be a tutorial on how to do this in the future. I adhered the completed tree with permanent glue dots.
The star was made with Sizzix 3D star die from a coke can. I dipped it in Mod Podge and sprinkled glitter on and let dry. Adhered it to tree with permanent glue dot.
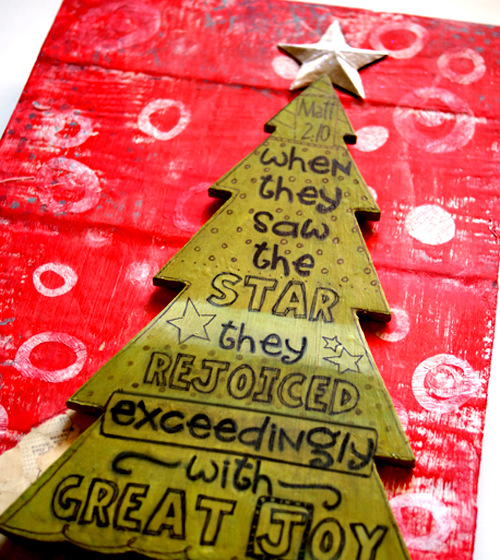
I am a little bit in love with it. It may be the last transformation of the pallet canvas. It is ok. There are more pallet pieces in my garage just waiting to be pieced together for the next piece.
[pinit]
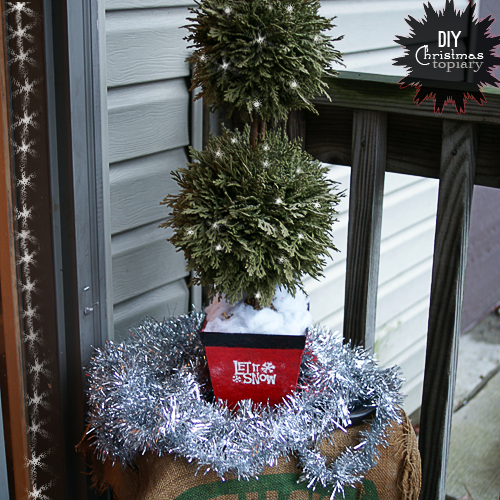
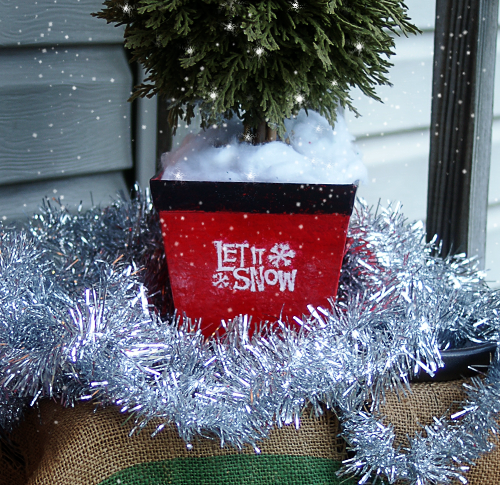
Today I want to share with you this festive “Let it Snow” topiary that I created in a few simple steps with some thrift store finds. I love how it turned out, and for under $4 at that. There is so much potential at garage sales and Goodwill with some spray paint and creativity. I rarely buy anything new because of it. It feels good to reuse what has already had a life, and to transform the discarded into the beautiful!
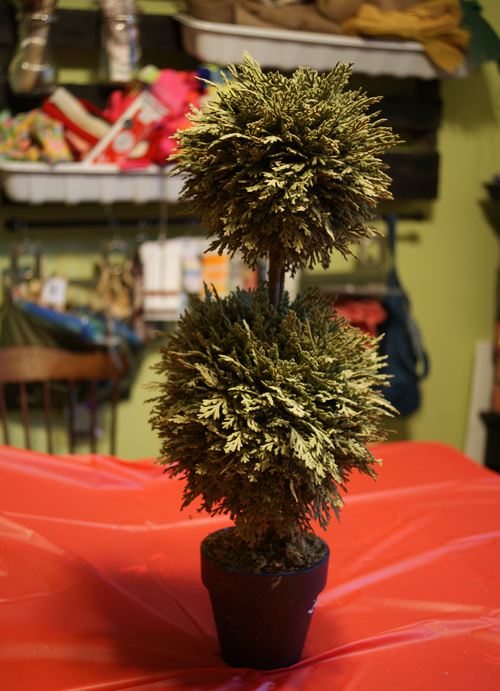
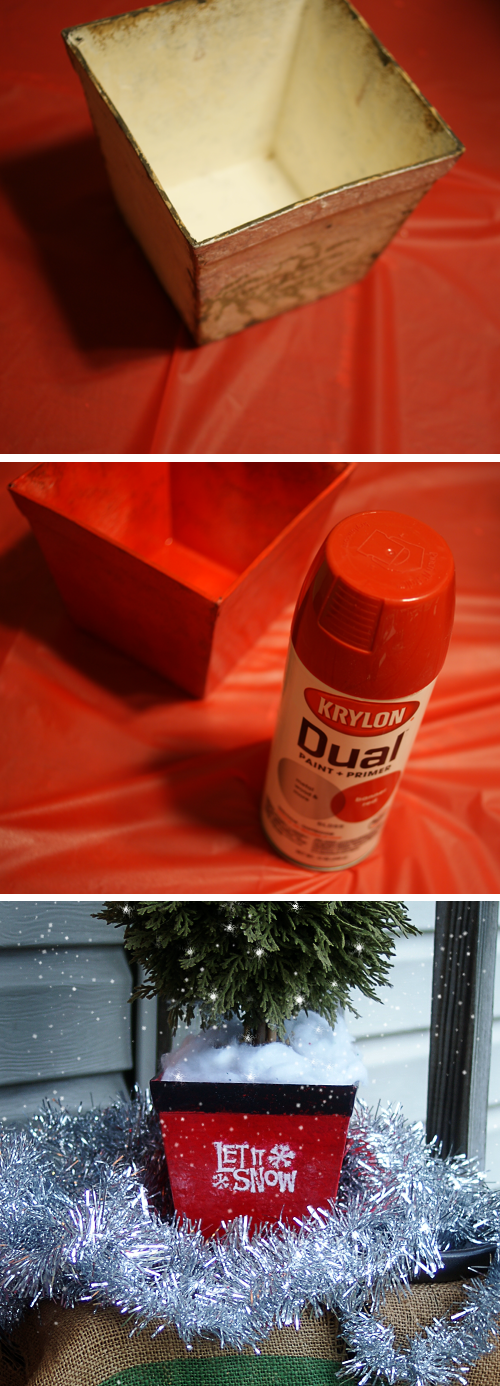
I found this topiary for $1, and some nested planters (5 for $2). One of the planters was the perfect size for the topiary, so I spray painted it red with Krylon Dual, painted the rim with black acrylic paint and stamped “Let in Snow” on the front. That was it. Topiary placed in updated planter and adorned with lights. Magic.
Copyright © 2024 · Genesis Framework · Log in