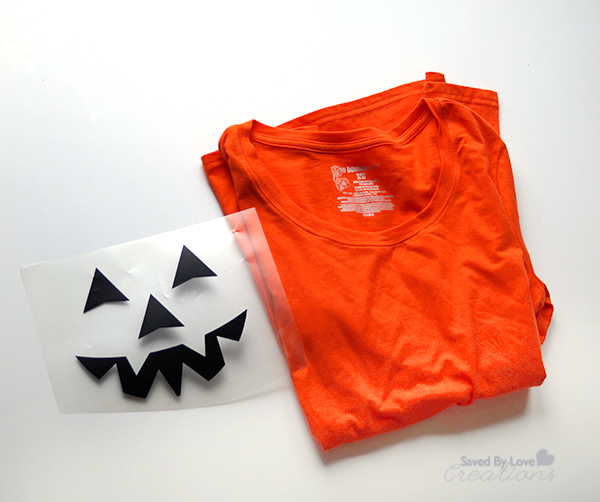
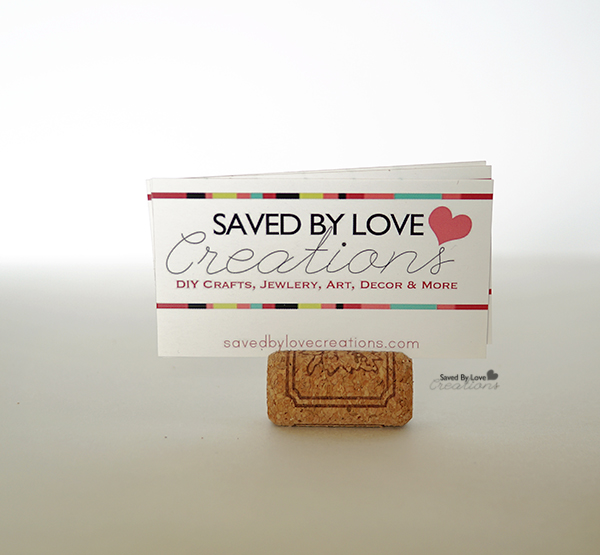
Display your business cards in eco-friendly style with this simple wine cork to card display upcycle. The same cork can be used for placeholder cards, or to display gift cards, just in time for the holidays. This project is free and requires just a cork and a craft knife!
MATERIALS
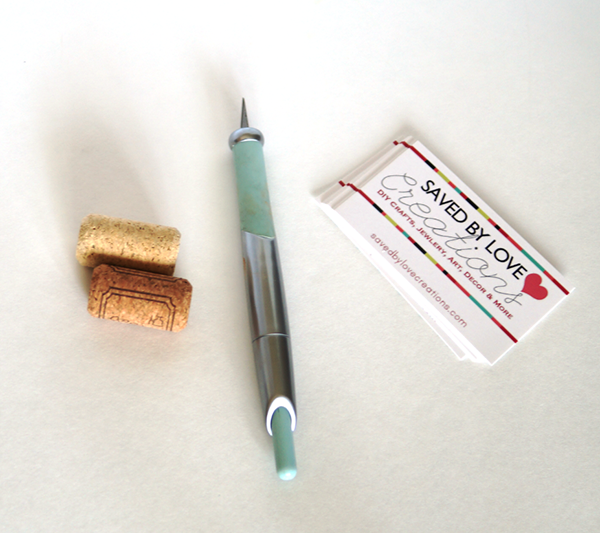
Cork
Craft Knife
Gift card or Credit card
Business cards
DIRECTIONS
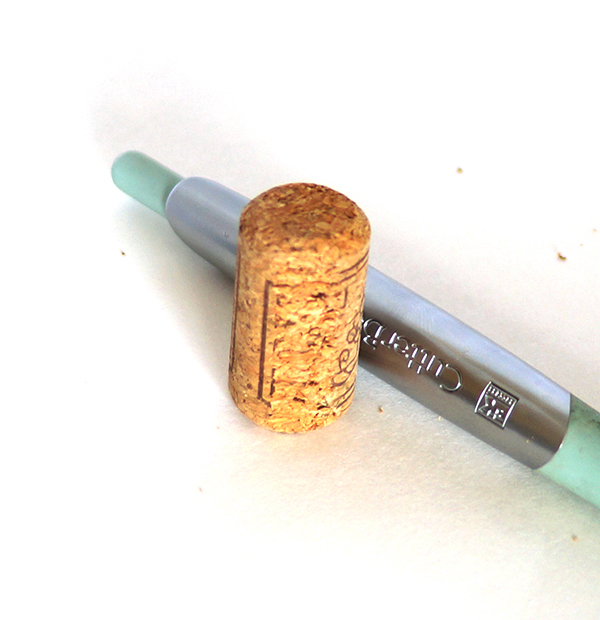
Use the craft knife to level the bottom of your cork by shaving a small section flat, down the length of the cork.
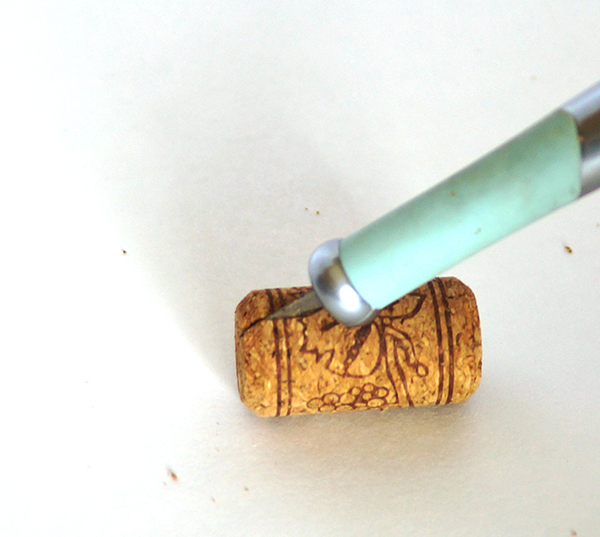
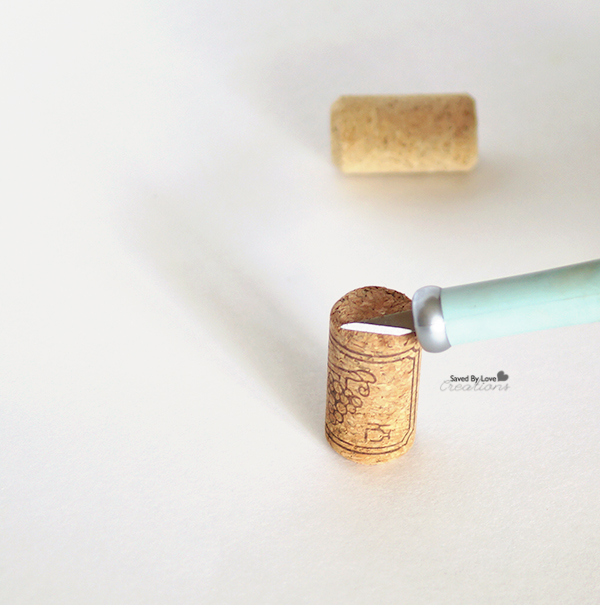
On the opposite side of the cork, make a slice with the knife down the length of the cork.
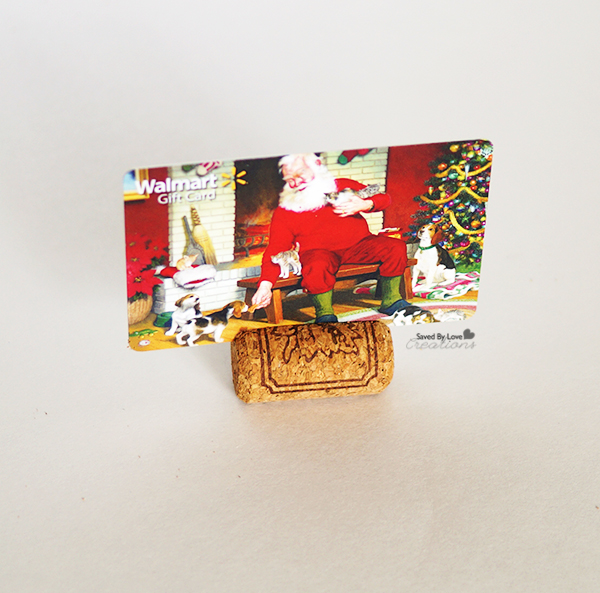
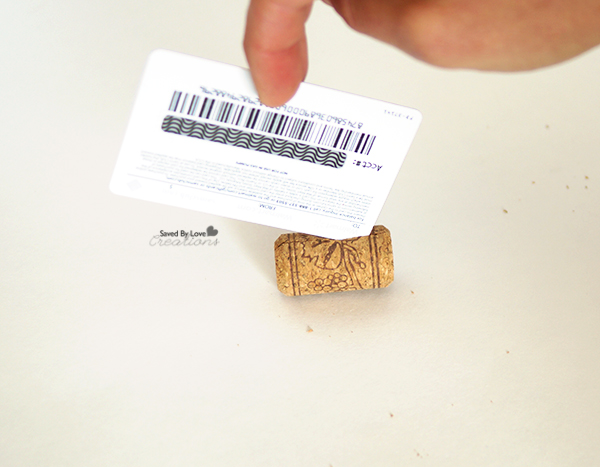 Make the slit wider by running a credit/gift card down the length of the slit.
I told you it was easy! You could add a string to one end of the cork and hang these on your Christmas tree with gift cards, or set them next to the stockings on the mantel as a creative way to display your gift cards!
For more inspiration, visit our 50+ WINE CORK CRAFTS:


 Kreg Jig K4 Pocket Hole System