Upcycled Hubcap Patriotic Star Wreath

[pinit]

Upcycled #repurposed hubcab to patriotic star wreath #timholtz #distresspaint @savedbyloves[pinit]

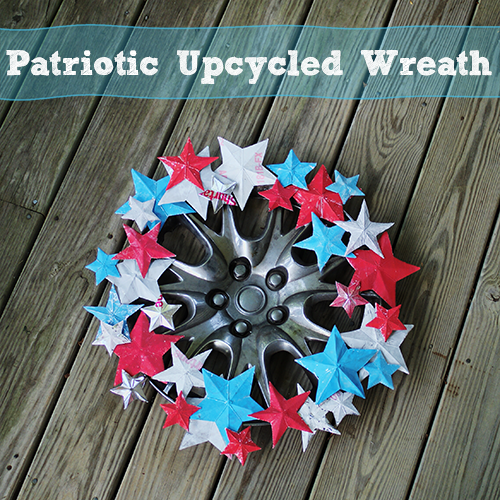
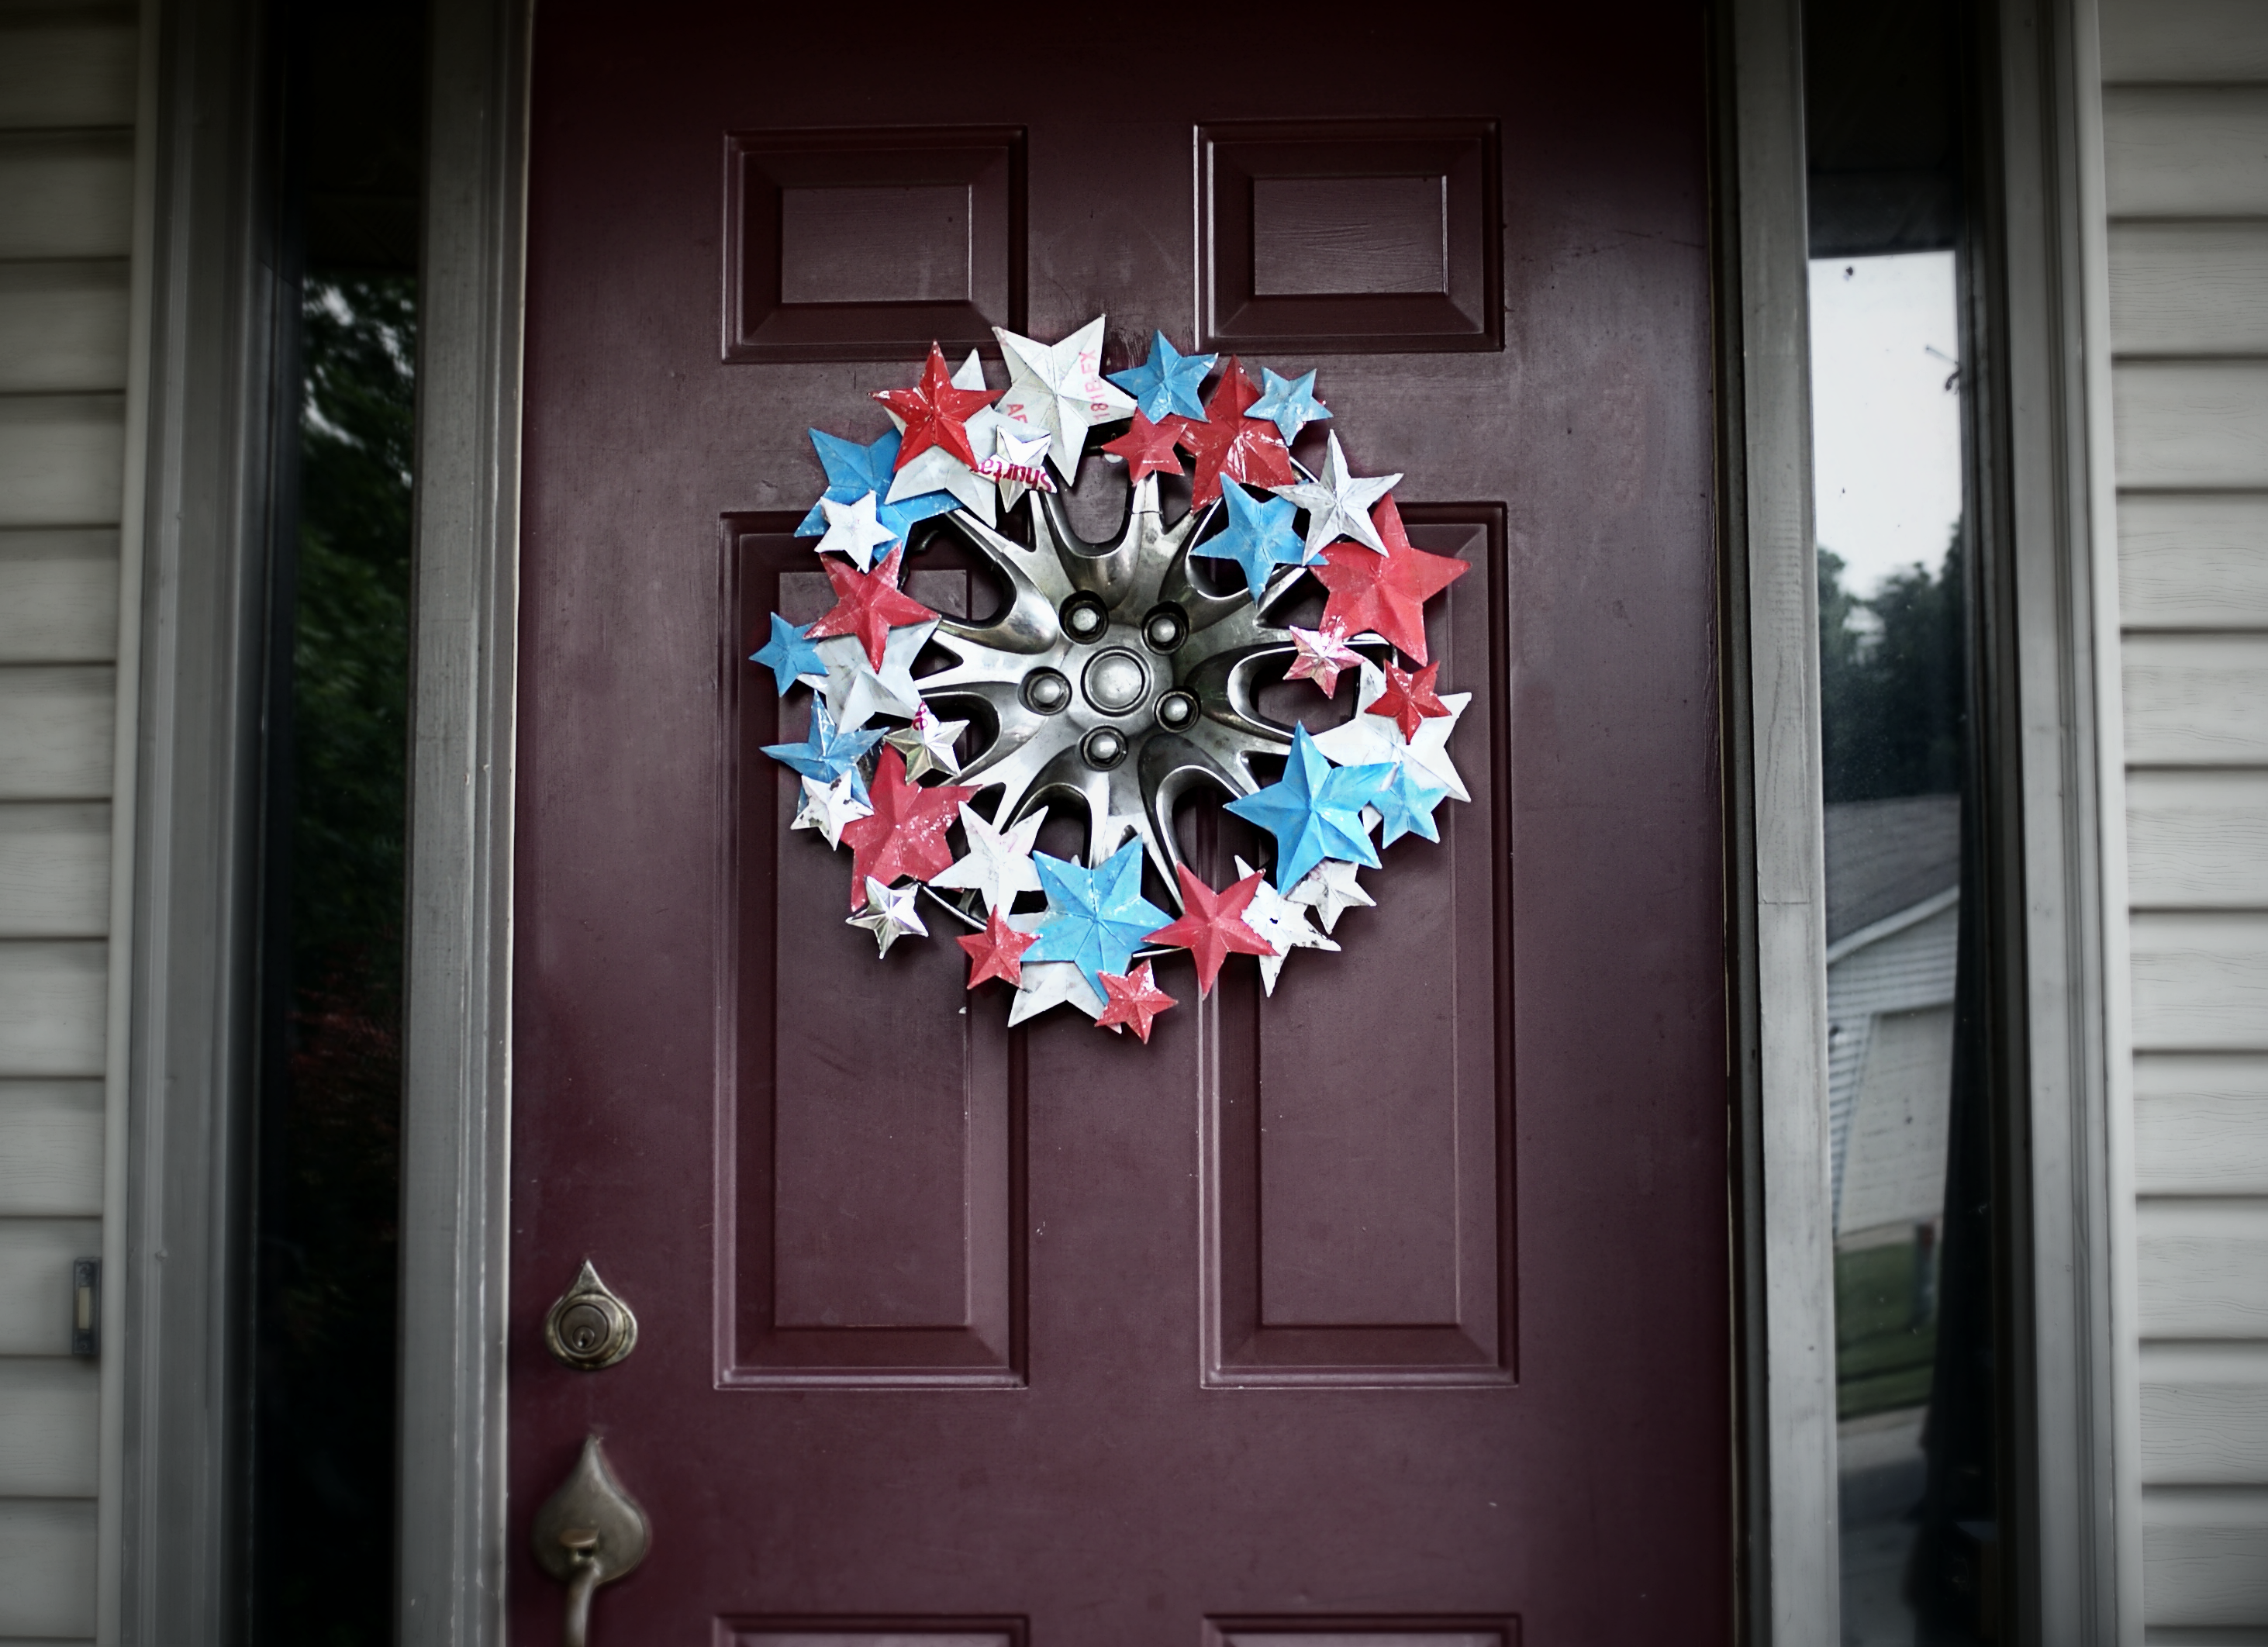
I stopped and pulled a U-turn to rescue a hubcap roadside a few months ago, knowing I would use it for something.  This upcycled soda box star wreath was the perfect project for it since I was going for a grungy americana look.  This was super easy to make and I had everything on hand.  I used my Sizzix machine to cut the stars, but fear not, you can do this project without all that.

Make an upcycled patriotic americana star wreath with @savedbyloves #sizzix

SUPPLIES:

Recycled Hubcap to patriotic americana star wreath @savedbyloves

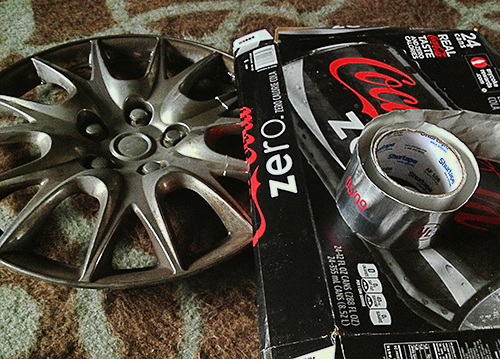
Hubcap or other wreath form

Empty cereal/soda/food boxes

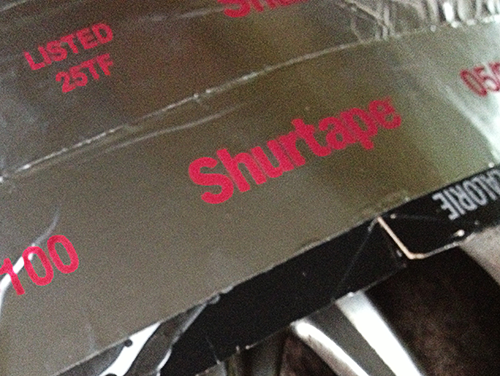
Foil Tape (available at your local hardware store)

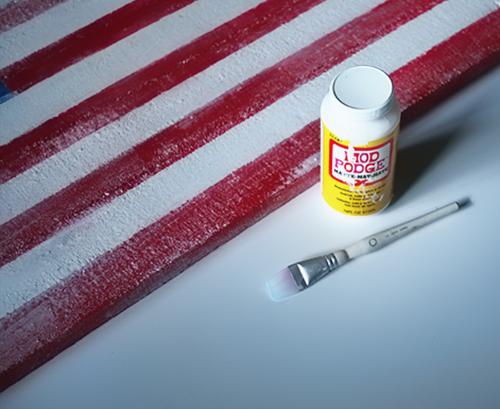
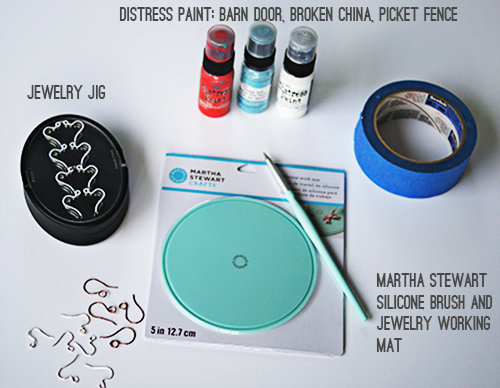
Tim Holtz Distress Paint; Barn Red, Salty Ocean and Picket Fence

Tim Holtz 3D Star Die Sizzix

Tim Holtz Star Bright Die and Sizzix Machine, or 3 D Star Templates and scissors

Hot glue gun and sticks or other adhesive

TUTORIAL:

PatrioticStarWreath7

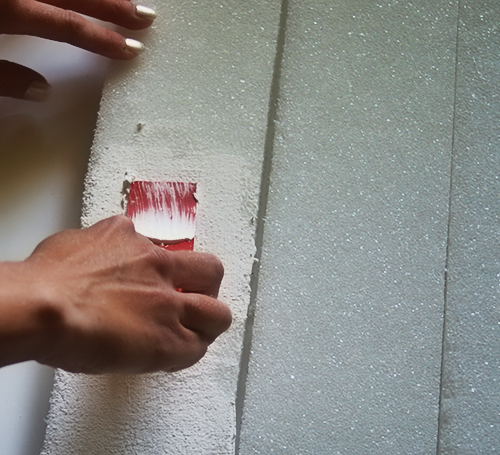
Cut sheets from cardboard boxes and cover with foil tape, smoothing out wrinkles with your hands.

free 3d paper star template

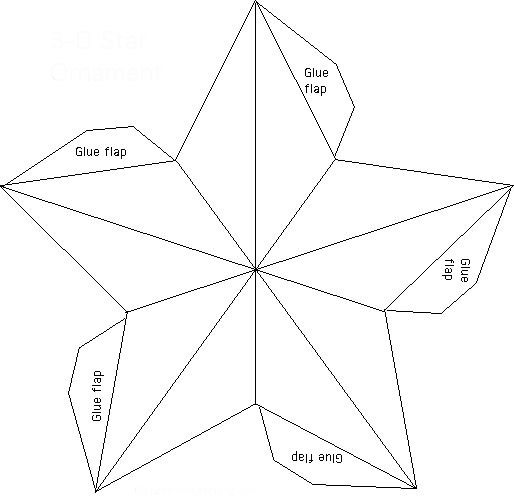
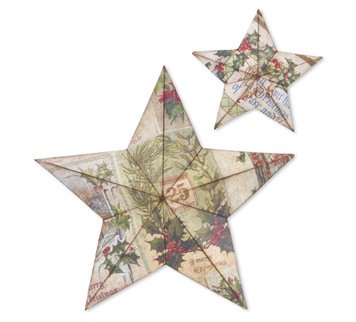
Cut stars from foil covered cardboard using die or by hand with 3D star template like this one.  I made my stars in 3 sizes; 2 from the die and the middle size by hand from the template.  You can resize and print in small, med and large stars.

Why the foil tape, you ask?

I have made these stars in the past from aluminum cans, paper only, cardboard, heavy cardstock, grunge paper and chickens (I made the last one up).  The best result, in my opinion, in terms of shape and folds is cereal box thickness cardboard.  It holds the creases and 3D shape well, and is free.  Plus you are recycling.  Now doesn’t that feel nice?  Aluminum can stars are cool, but you bend them up while trying to make the creases, so they don’t look as nice.  The foil came into play because I love Tim Holtz Distress Paint on it, and I knew I wanted to use the red, white and blue for this project.  You could paint directly on the cardboard and skip this step if you wanted.  A happy accident happened when the red lettering on my foil tape showed through a the paint and I liked it.  I made a couple of stars with just the tape.

Americana 3D start wreath tutorial #fourthofjuly #patriotic @savedbyloves

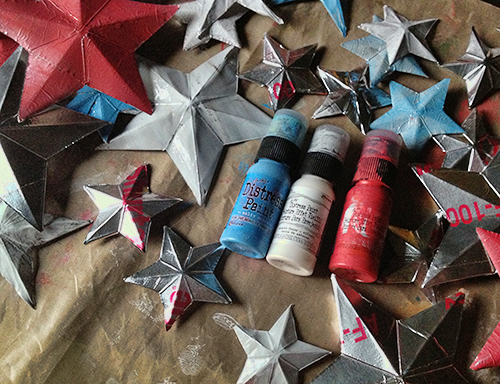
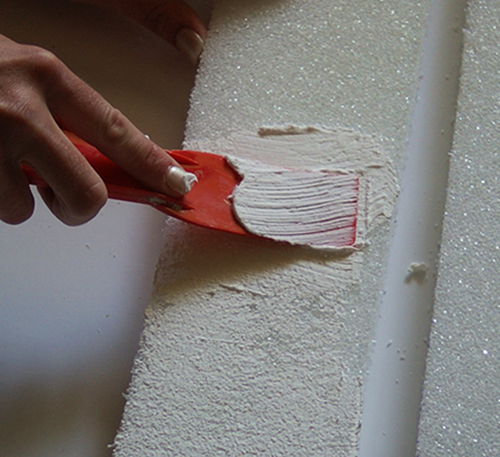
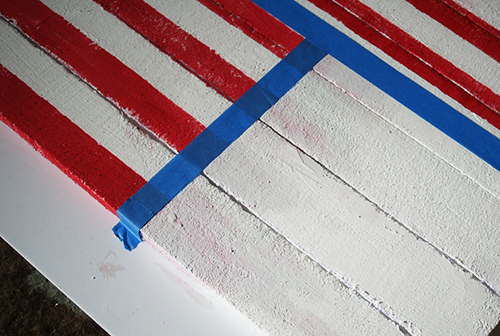
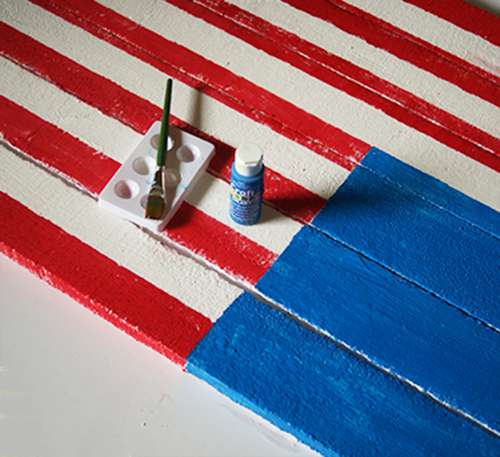
Paint your stars as desired and let dry.

Upcycled #repurposed hubcab to patriotic star wreath #timholtz #distresspaint @savedbyloves

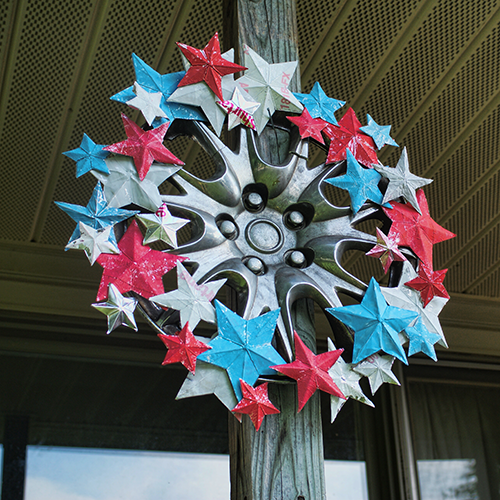
I started with the biggest stars, adhering them onto hub cab with 3D foam stickers.  Then I adhered stars to stars for the upper layers using hot glue.  Just play with the placement until you are happy with your design.

Make an upcycled patriotic americana star wreath with @savedbyloves #sizzix

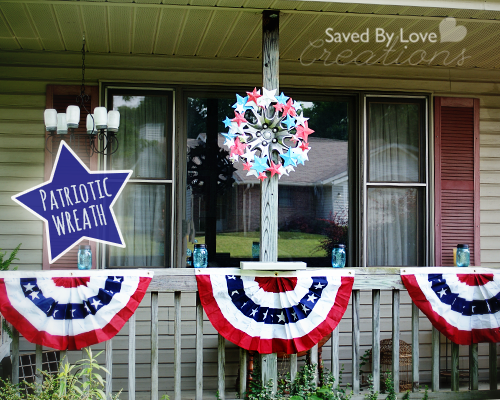
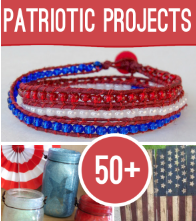
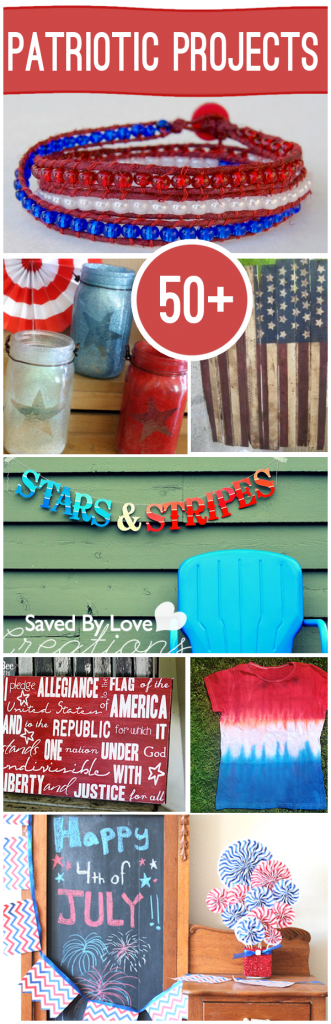
For more patriotic project ideas to get you inspired, visit our 50+ DIY Patriotic Crafts, Jewelry and Decor Roundup:

Faux Pallet American Flag With FloraCraft

Make a Faux Wood Pallet Flag using #FloraCraft foam @savedbyloves

You have probably noticed that repurposed pallet decor is all the rage. I have been hooked since the first project I saw, and have created some pallet pieces myself. I will never forget the look on my husband’s face when he came home to find me mounting a pallet to the wall of my studio (Pallet Organizer DIY). His concern was it’s weight, and I have to say, they are pretty hefty.  Some people are opposed to bringing pallets into their homes because of possible toxins, or they don’t have the tools to work with pallet wood. That is why I was so thrilled when I learned about Smooth Finish™, a paintable coating for FloraCraft® Foam.  Learn to create this faux wood pallet flag that you could lift with your pinky, and enter to win a product pack from FloraCraft to make your very own!

DIY patriotic home decor

SUPPLIES:

FloraCraft SmoothFinish

Smooth Finish™

Make it Fun® Foam 2 – 1″ x 12″ x 36″ sheets

StyroGlue®

Styro Cutter Plus® (you don’t have to have a special cutter, but it makes the process much easier)

Serrated kitchen knife waxed with candle or soap if you don’t have a foam cutter

Red, white and blue acrylic paint

Mod Podge Mat Finish

Antiquing glaze

White star stickers or stencil

Yardstick and chalk pencil

Marker

Craft stick for stirring

Putty knife or spatula

1 inch paint brush

Measuring tape

Medium Grit sandpaper

TUTORIAL:

CUT THE FAUX BOARDS

FloraCraft7

I divided the foam sheets into three 4 inch wide pieces (36 inches long).  I measured each 4 inches and made my cut line with a sharpie.

FloraCraft StyroCutterPlus

Plug in the StyroCutter Plus and it is ready to cut in 30 seconds.  Be careful, it is quite hot.  The cutter works well, just be sure to let it do the job for you.  If you force it to move, there’s a chance that the wand/tip will snap off. If you don’t have the StyroCutter, you can use a serrated kitchen knife.  Waxing the blade with a candle or bar of soap first will help make the cutting smoother.  Just for fun, I cut one of the lines using my jig saw.  It worked fine, but there was a lot of flying foam dust.  The StyroCutter prevents this my cauterizing at the cut edge.

APPLY PAINTABLE COATING

FloraCraft SmoothFinish

Open the smooth finish and stir with a craft stick.  The consistency is like paste.

FloraCraft11

FloraCraft13

FloraCraft12

 I spread it onto the foam in about 5 inch sections at a time since it becomes difficult to spread and stick as it is exposed to the air.  Spreading in multiple directions helps fill more of the pockets in the foam for a smoother finish.  I wasn’t too concerned about having a perfect surface since I knew I was going for a distressed look, so I worked fast.  The coating was easy and quick to apply.  Each sheet took one tub of Smooth Finish.

I let it dry overnight, but I am sure that wasn’t necessary.  I would say 1 hour would be enough.

PAINT THE FLAG

DIY Patriotic Crafts

For 13 stripes, each one is 2.75 inches.  I marked and taped them off with painters tape, and taped off the blue square.  I painted with a flat brush using acrylic paint.

FloraCraft17

I did the blue last.  The stars were cut using my Sizzix machine, out of Duck tape white sheets.  I drew a grid with my ruler and chalk pencil to guide placement.

DISTRESS THE PLANKS

I wanted my pieces to look rough like pallet wood, so I sanded some edges to make them uneven, and removed paint in random areas to reveal the white layer.  The texture i left with my spatuala, combined with the distressing provide recessed areas for the antique glazing to highlight at the end.

GLUE PIECES TOGETHER

I used StyroGlue since I know not a lot of glues work with foam.  The workbench was the perfect spot for gluing.  I used clamps to keep pieces pressed firmly edge to edge while the glue dried.

It holds perfectly!

SEAL WITH MOD PODGE

FloraCraft19

I sealed the piece with Mod Podge matte finish.

FINAL ANTIQUING

American Flag Pallet Tutorial

I used Scupley antiquing glaze, which is no longer in production.  Any glaze is fine.  Just apply and wipe away quickly with paper towel.  If there is too much glaze left behind, use a damp paper towel.

FloraCraft2

Hot glue a loop of twine or wire to the back to hang.  You only need a small nail or tack.

DIY wood pallet flag knock off with foam

I love my flag, and my husband loves it’s weight.  This is a great option if you want the reclaimed wood look, but don’t have power tools or if you prefer light weight pieces on your walls.

Make a Faux Pallet Flag using Styrofoam

A big thank you to Sharon at Crafts n Coffee Blog for introducing me to the world of Styrofoam/Make it Fun Foam.  She shared a piece with me at a conference that inspired me to make this faux pallet flag.  She also sent me the products used in this tutorial, and is standing by to send them to one of you!!

For even more great foam projects to inspire you, check out Make it Fun on Pinterest: http://pinterest.com/makeitfuncrafts/


How to Make Patriotic Earrings from Plaster Buttons


[pinit]
Easy to Make Patriotic Earrings with #distressPaint from @savedbyloves

Easy to Make Patriotic Earrings with #distressPaint from @savedbylovesPatriotic jewelry and accessories are one of my favorite things about summer time.  Today I am sharing how I created these grungy americana earrings from plaster buttons (which I had never heard of or seen until one fateful day at a salvage shop) and Tim Holtz Distress Paint.  This project is quick, fun and easy.  I am also going to show you how I make my own lovely ear wires using a cool jewelry  jig from Bead Landing.

SUPPLIES:

Fourth of July accessories

Plaster Buttons

Plaster Buttons (These were a dime each at a local salvage store)

Tim Holtz Distress Paint Barn  Door, Broken China and Pickett Fence 

Masking tape

Bead Landing Jewelry Jig

Artistic Wire Gunmetal Bronze 20 Gauge

Flush Cutters

Paint Brush (LOVING this new Martha Stewart Silicone Jewelry paint brush from her new jewelry line)

Ranger Distress Ink Antique linen

Clear Embossing ink

Clear Embossing Powder

Heat Gun

TUTORIAL:

PatrioiticEarrings2

Use masking tape to tape off stripes and paint one at a time, letting each one dry for 30 min before moving onto the next.  I painted directly with the dauber then touched up after all three colors were on, using the silicone paint brush.

PatrioticEarrings7

This is what they looked like after just the Distress paint.  I decided I wanted a grungier look, so I dabbed my Antique Linen distress inkpad directly on the earrings.  I poured clear embossing powder over that and melted it to set with my heat gun.  Then to seal the entire painted surface, I applied clear embossing ink all over and then clear embossing powder, again heat setting it.

PatrioticEarrings8I picked out a pattern for ear wire findings.  The jig linked above comes with 5 options for ear wires.  It is super easy to use. It works best with 20 gauge wire.

PatrioticEarrings9Just insert the end of the wire into the hole to secure and wrap following the white lines.

JewelryJig

Cut at the dotted lines to separate the ear wires.  You make 8 at a time!  File the cut ends and you are set.

PatrioticEarrings13

For more Patriotic Crafts, be sure to visit our 50+ Patriotic Projects Round-up!

PatrioticPin

50 Plus Top Patriotic Projects to Make

[pinit]
The 50+ best Patriotic Crafts in the world @savedbyloves

[pinit]

Today I am excited to share 50+ of the best patriotic projects on the web.  It is time to get the red, white and blue going.  Summer is here, fourth of July is right around the corner.  This round-up has home decor, jewelry, upcycled projects and more, all with an American flare.  Enjoy!


How to Make Bunting, Banners, Pennants & Garland

50 plus Banner, Garland, Pennant and Bunting Projects to make by @savedbyloves
This week’s roundup will give you plenty of holiday decor inspiration, with over 50 of the best garland, bunting, pennant, banner projects out there.  I remember when I first started making this kind of decor, and how confused I was about what to call my final piece.  Now I am not much more educated on the terminology, and I just use the words interchangeably!  Whether you use garland or bunting or pennant or banner, you will find some great ideas here.


Patriotic Shrink Film Earrings

Shrink Plastic Jewelry TutorialMake inexpensive, one of a kind, festive jewelry with shrink film to rock at your Fourth of July cookout.  These patriotic star dangle earrings are a snap to create.  I used my Sizzix to cut the shrink film sheets, but you can trace a stars right onto the sheet and cut them out by hand if you don’t have a die cut machine.

Supplies:

Colored shrink film

Star die, or template and scissors

jump rings

Earring findings

needle nose pliers

Hole punch

Parchment paper

Heavy Card stock

Oven

Cookie sheet

Colored Shrink Film

Instructions:

  • The shrink film comes in 8.5×11 inch colored sheets that are the thickness of cardstock.  Use scissors or die cut to cut stars in 3 sizes, keeping in mind that shrinkage is about 1/3 original size (make the stars that much bigger than you want them to end up in your final piece).

  • Use 1/16 inch hole punch to punch holes in stars before baking.  Be careful not to get to close to the edge of the star.

Shrink plastic jewelry

  • Set oven to 300°.  Place parchment paper on cookie sheet and arrange stars, spread out so they are not touching.  Place another piece of parchment paper on top, and heavy cardstock or matte board on top of that.  Place in oven and bake for 3 minutes.
  • Remove cookie sheet from oven, let cool for a few minutes, then remove the cardstock and parchment paper and take a look at your stars.

Shrink film crafts


The above picture shows the amount of shrinkage, and what happens when you don’t cover the stars with parchment paper and cardstock.

  • Now assemble your earrings, connecting the stars with jumprings and connecting the earring findings as shown:

Make jewelry from shrink plastic


Patriotic No Sew Burlap & Stars Bunting

Patriotic Banner DIY

I scored piles and piles of colored burlap at a community sale recently.  I have never been able to find the stuff in stores, and there it was, $0.50  for more burlap than I will ever use.  Wouldn’t you know it I recently ordered burlap coffee bags from Ebay after posting 50+ Burlap Decor Ideas. I am sure I will come up with something!

The red and blue were screaming to be made into a patriotic decor.  I sprayed the burlap with Stiffy, a fabric stiffener by Plaid.  This prevents the annoying fraying characteristic of cut burlap edges.  When dry (about 1 hour) I cut the burlap background shape using my Sizzix with the Movers and Shapers Ornamental die, and the stars using Sizzix Originals Stars.  I also cut some stars from paper scraps with reds and blues, and some rectangles from Tim Holtz Ideology Lost and Found paper pack.  It has graphics for all of the holidays, and the 4th of July vintage images are super cool.

To put it together, I just glued on stars, buttons and paper rectangles randomly onto the background shapes using Fabri-Tac adhesive by Beacon.  LOVE this stuff.  It really is like hot glue in a bottle. Finally, I used clothespins to attach each decorated shape to rope.  That is it.  Super easy, like most things I show you with my Sizzix.  That thing makes great projects so simple.

Fourth of July Decor Ideas

Patriotic Printable and Transfer to Canvas Tutorial

Free Patriotic Printable


Today I am sharing a technique using Mod Podge to transfer a laser printed image to canvas.  I have been playing with this method a lot lately.  There are several of tutorials about it on the web with several variations in the Mod Podge finish used, how long to let the image dry, and other steps.   I will show you what worked for me.  You can download the patriotic printable I made for this project at Printable Decor.

You will need:

Laser jet image (the one I used is linked above) – reversed if there is text

Mod Podge Glossy Finish

Foam brush or other paint brush

Canvas to fit your print (the print used here is 11×14)

Bowl of water

Dry towel

Instructions:

Mod Podge Image Transfer To Canvas

Mod Podge image transfer tutorial

TIP: To create an aged effect even greater than the one produced by the transfer process, I used Mod Podge Antique instead of regular Mod Podge.  This stuff is new from Plaid Crafts, and I am completely in love.  I have gone through almost the entire bottle in 2 weeks!  It gives your project an antique tone, either subtle or profound depending on how many coats you apply.  For this transfer I applied 2 coats, drying 30 minutes between.  It is great for transfers because it makes parts where the image came off less obvious.  I use acrylic washes or glaze to get that result when doing layered mixed media pieces.  It is so cool to have a finish that does it for me, while coating and protecting the piece.  I love you, Mod Podge.

 Mod Podge image transfer tutorial

Mod Podge image transfer to canvas tutorial

Mod Podge image transfer tutorial

To see how I made the striped backing, you are going to have to come on back.  Just know that it was free, and it took 5 minutes!

DIY Patriotic Mason Jar Lanterns

Mason Jar Lantern Tutorial

I received a box of Plaid Craft goodies and a $25 Walmart gift card to buy something to embellish with my new supplies.  Oh boy!  Strolling the aisles pondering what I could do with item after item, I couldn’t decide on just one thing.  That is why I have done multiple crafts using items purchased from Walmart and my Plaid Craft products, which you will be seeing over several posts.  Today’s project happens to be my favorite.  You are going to love it!  These lanterns are super easy to make.  Grab your Mod Podge and glitter and let’s get all Patriotic, mason jar style!

Here is the box of Supplies from Plaid Crafts:

Plaid crafts at Walmart

I bought white contact paper for this project at Walmart:

I love this stuff because it is way way way cheaper than buying white vinyl designed for die cut machines, and it is the same thing for my purposes.  You get a gigantic roll of it for a few dollars.  Never ever buy white vinyl again!

I found the mason jars at Walmart too:

Click to CONTINUE TO NEXT STEP

Patriotic Washi Tape Felt Flower Wreath

Washi Tape Patriotic Wreath DIY

This is the first time I have used washi tape, and now I understand the hype surrounding it.  It is very forgiving and re-positionable, comes in tons of prints and colors, and is inexpensive.  I found the tape used in this wreath in the office supply section at Target, where it costs $4 for a pack with four rolls of coordinating tape.

Here is how I did it:

Washi Tape Crafts

I wrapped the wreath form (which I will never purchase again now that I know about the pool noodle option) with navy blue and polka dot tape as shown.

Washi Tape Wreath DIY

I cut the flowers from felt using my best friend, Sizzix.  Pearl ball straight pins hold them in place.

I wrapped bakers twine around a small segment of the wreath and taped the ends on the back side.

The USA bunting was an add on, since it need a little something more.  See…

Summer Wreath Ideas

I used a sizzix to die cut the trianges and letters.

Now with “USA”…

Make a Patriotic Wreath

Washi Tape Wreath DIY

I love it!

Privacy Policy