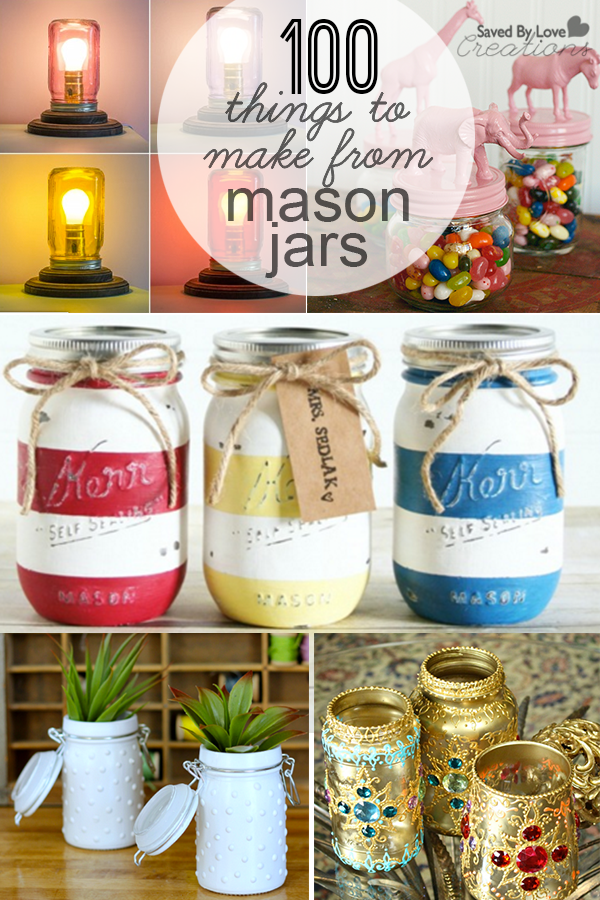
The creative mason jar projects keep rolling in, so we have updated our orignal round-up of jar crafts to include our new favorites. Enjoy!!

Upcycling DIY home decor, woodworking and Crafts


The creative mason jar projects keep rolling in, so we have updated our orignal round-up of jar crafts to include our new favorites. Enjoy!!

DIY patriotic jewelry is a tradition here at Saved By Love Creations! For this pair I combined my newest obsession – epoxy clay – with metal filigree, to create these lovely, star spangled pieces. This project is super easy, so lets get started.
Martha Stewart Silicone Star Mold
Epoxy Clay (Martha Stewart shown here)
Metal Filigree
Ear wires
Metal Chain
Jump rings
Charms
Tim Holtz Distress Embossing Powder
White Embossing Powder
Heat tool or Melting Pot
Red Acrylic Paint (I used Vintaj Patina)
Antiquing Glaze
Small Paint Brush
Paper Towel
Latex gloves
Two pairs of jewelry pliers (flat or needle nose)
Make the Stars
Mix equal parts of the epoxy clay per instructions, with gloved hands. Here I used Martha Stewart’s clay. I also like Crystal Clay and Envirotex Epoxy Clay.
Press Clay into silicone mold, making sure to push it down into the corners of the stars. Smooth out back of star with wet fingertip to avoid fingerprints.
Let the stars cure overnight, and paint as desired with acrylic paint. I left the blue stars as is, and for the red, I used the Vintaj Patina in red. I antiqued all of the stars with antiquing medium, applying it with a paintbrush and wiping it away with a paper towel while still wet.
Color the Filigree
Use red and white embossing powder to coat the filigree as shown in this Vintaj video:
Adhere stars to colored filigree with a small amount of epoxy clay or strong jewelry glue.
Attach ear wires and charms and you are set!
Remember Patriotic Earrings from prior years:
Our small group meets weekly for a potluck dinner, with a food theme that determines what we bring. In light of the upcoming 4th of July holiday, this week’s theme was red, white and blue recipes. We found a wonderful Red, White, & Blue Watermelon Salad with Watermelon Vinaigrette Recipe at FiveHeartHome.
It was super easy and quick to make. I love the little watermelon stars! I wasn’t sure how blueberries, watermelon, feta, roasted almonds and the homemade vinaigrette would all hit my tastebuds, but it was wonderful. It was the “star” of the potluck too. Head over to the link for the details!
Show your American, upcycling spirit with this patriotic paint chip hydrangea craft! These make a lovely centerpiece for your summer festivities and Fourth of July party tablescape. This is a craft the kids can help with for some creative family time during school break.
Since most of us no longer listen to CDs or records, our planet is left with a ton of these seemingly useless items. Today I am sharing with you 50+ upcycle projects that solve this dilemma using some outside of the box creativity. You will think twice before considering old records and CDs to be useless!
[pinit]
[pinit]
Wood shims are inexpensive and can be used to create gorgeous DIY home decor. Make faux pallet art, cover an ugly thrift store dresser, create a designer starburst mirror on a shoe string budget. Here are 50+ of the best DIY wood shim project tutorials from creatives everywhere. If we missed your project, send us a link so we can include you! Enjoy.
Hey lovelies! It’s Barbara from Chase the Star and in case you don’t know, I love simple and cheap projects! We recently celebrated my son’s birthday with a fun, yet very ‘DIY’ party at our house. One of the easiest decorations I made was party poms, we skipped the balloons and went with poms throughout and they were a hit!
[pinit]

[pinit]
Sure you can buy party poms at the store, but they are not budget friendly! For a fraction of the cost and just a few minutes you can make your own party poms!
Want to liven up your next party? Here’s how to DIY Party Poms:
Materials:
Pack of gift tissue
Pipe Cleaner
Scissors

Directions:
Step 1:
Lay the tissue on a flat surface, and smooth the sheets out. Start folding the tissue accordion style from the short side of the batch, until the entire pack is folded.

Step 2: Tightly wrap the pipe cleaner around the center.
Step 3: Snip the ends of the folded tissue in either a rounded or pointed shape (you can get really creative here!)

Step 4: Peel each tissue back towards the center, until you have the shape you like!

Repeat, repeat, repeat! You can make these larger or smaller by adjusting the amount of tissue sheets you use. I also love the look of these to decorate a fun space in the house like a kid’s room or nursery, playroom, or a modern living room!
Our son thought these were ‘way cool’, and so do I!
What do you think? Would you substitute balloons for DIY Party Poms?
Stop by and see the rest of the party and even more DIY projects, crafts, and recipes at Chase the Star! Don’t forget to follow Chase the Star on Facebook, Google+, Pinterest, and Instagram!
See you next time!

[pinit]
I was pondering what to do with the ever growing pile of scrap wood in my work room, when it occurred to me that you might have the same quandary. I started searching and was amazed to find everything from toys, to storage to jewelry to home decor and more. Lots of cool wall art and holiday decor projects are waiting for you and your scraps. Get going!
I was recently blessed to meet Pam, a local talent with a passion for hand painting rustic, inspirational signs. I have noticed her signs fly off of the shelf (or porch, more accurately). At the venue where we met, every sign I thought needed to come home with me was on hold, waiting for it’s lucky recipient. Pam is a busy mom, wife and small business woman who found the time to invite my husband and I into her lovely farmhouse for a day. As a result I get to bring you this detailed tutorial showing you how to make your own hand painted, distressed wood signs. Pam has an abundant supply of reclaimed wood and a rocking wood shop at her disposal, but you can make these without all of that. The best news is I have had several of you ask about die cut machines and how to make stencils for your signs without one. Pam does this with a cheap text editor on her computer, and a regular printer with black and white ink. Let’s get started!
[pinit]
While we are on a roll with patriotic decor around here, I thought to keep the momentum going with a quick and easy washi tape stars n’ stripes canvas. See how to use craft sticks for a mini pallet on canvas that you can dress up to fit any occasion!
Jumbo Craft Sticks
An old canvas (can be used; grab one for cheap at a garage sale or thrift store)
Star Template printed to size, and scissors
String, letter stickers, other embellishments
White Gesso
Sponge brush
Acrylic paint in choice of colors
Washi tape in coordinating colors and prints
Scrap white card stock or cardboard
Foam mounting squares or other adhesive
For this project, I updated the Easter Faux Mini Pallet Art I showed you before. Head to that tutorial for how to make the canvas.
I took the bunny silhouette piece and spray painted with blue Krylon I had on hand.
Right click this star image and print to size for your project.
Apply strips of washi tape to scrap white cardboard or card stock. I used the cover flap for a scrapbook paper pad. Cut out your star template and tape on top of washi tape stripes where you want your cut out to be. Cut along template edge to get a washi tape striped star.
Adhere to mini pallet canvas with foam mounting stickers. Embellish with stickers for words, baker’s twine, buttons and more!
Copyright © 2024 · Genesis Framework · Log in