
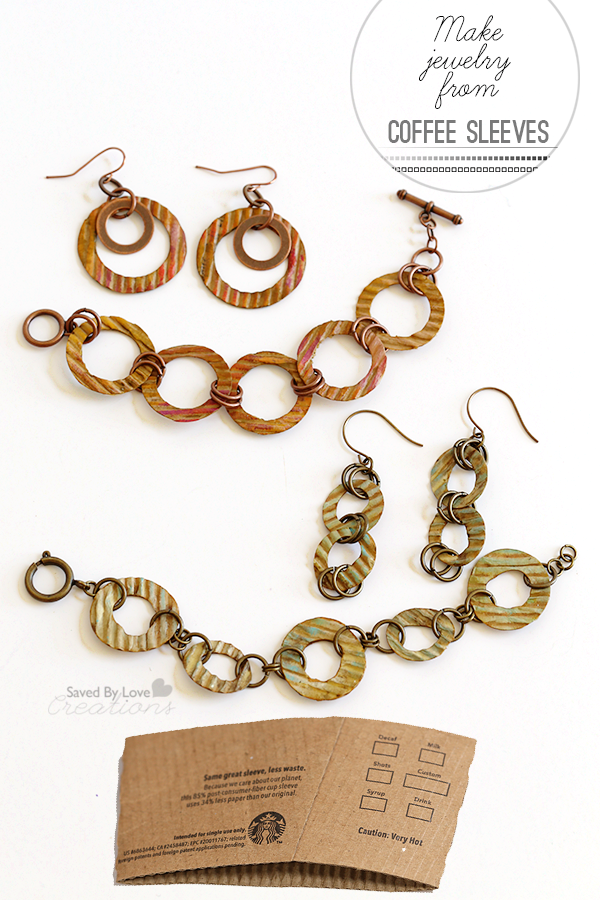
Today I am sharing with you this great coffee sleeve upcycle. With the amount of coffee I drink, the sleeves were starting to pile up. I saved them, knowing one day, inspiration would strike and I would repurpose them. The idea to create jewelry from them came to me over the weekend as I was sorting through my Sizzix dies. These are easily customizable to coordinate with any style. Follow along and make your very own!
SUPPLIES:
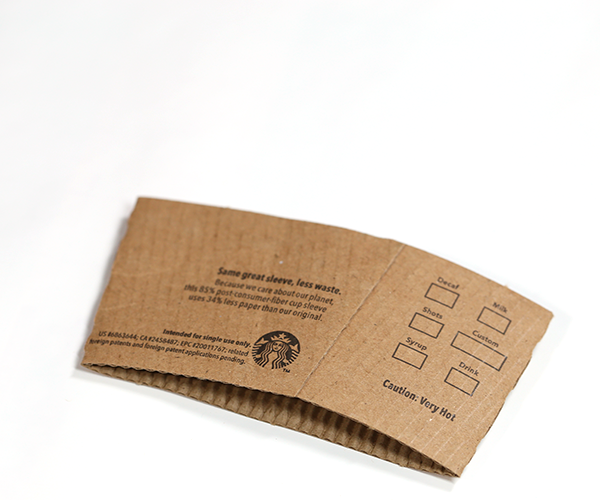
Coffee Sleeves
Acrylic Paint (I used Distress Paint)
Asymmetric Rings Sizzix Die
Butterfly and Rings Sizzix Die
Mod Podge Antique
Non-Stick Craft Mat
Markers to coordinate with paint(I used Distress Marker – Vintage Photo)
Jump rings
Toggle clasp
Ear wires
2 pairs of jewelry pliers
INSTRUCTIONS:
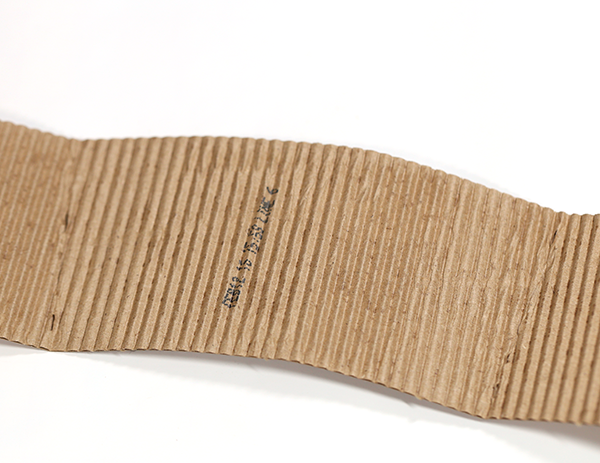
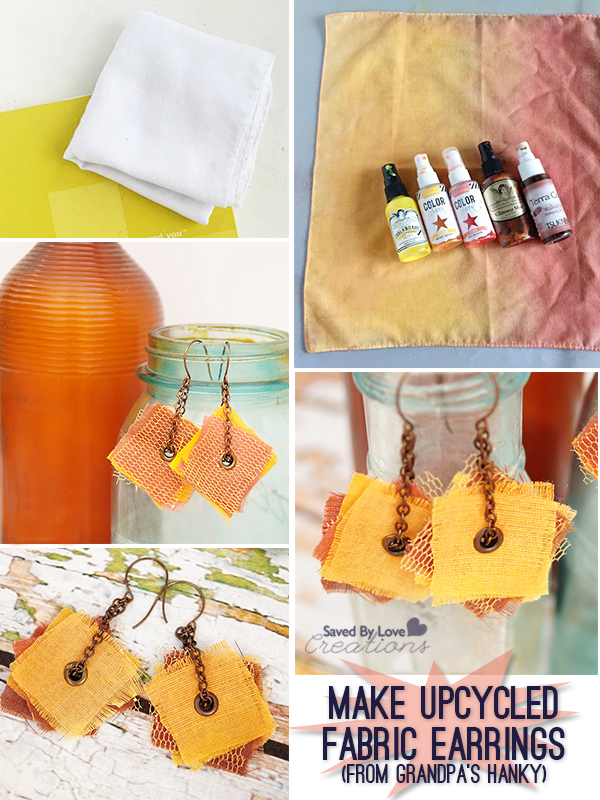
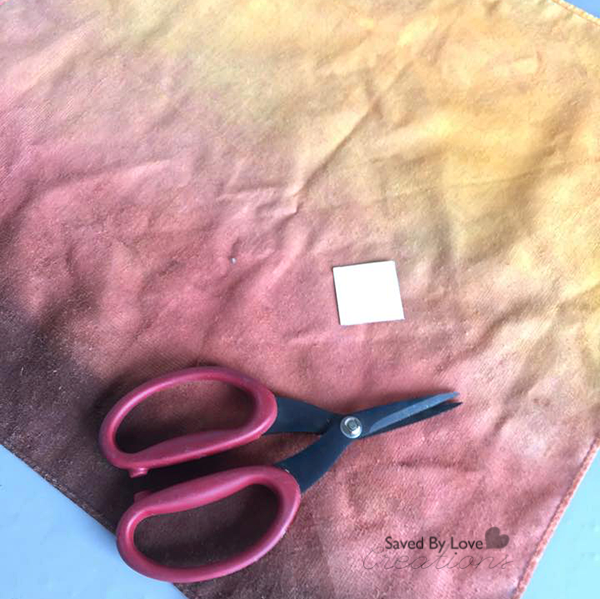
Unfold coffee sleeve.
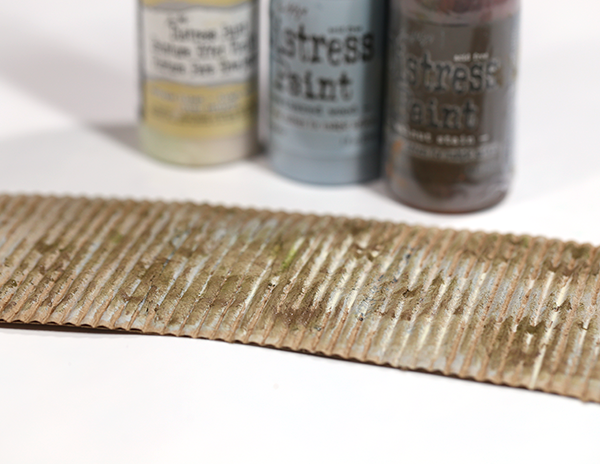
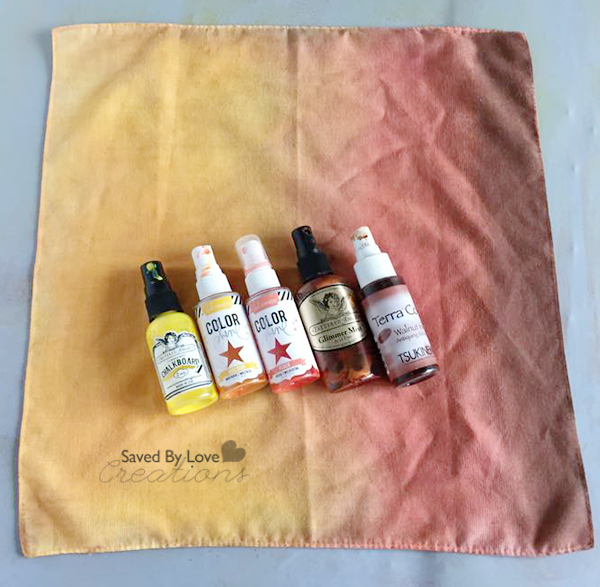
Randomly apply your favorite acrylic paint colors.
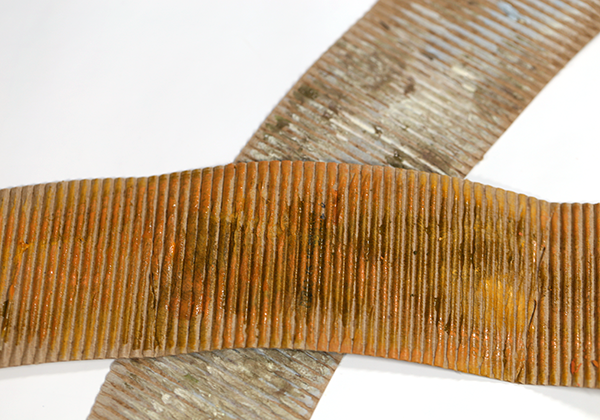
I went for a warm and cool color range.
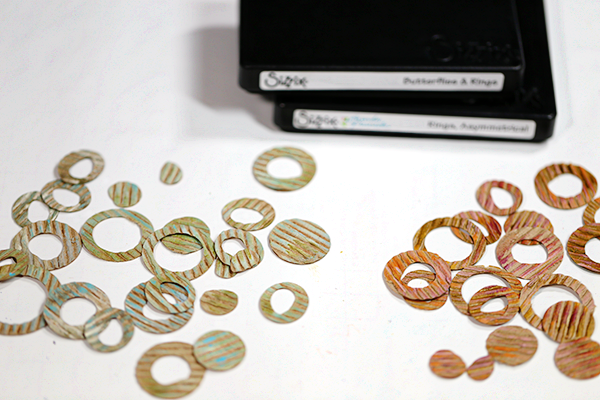
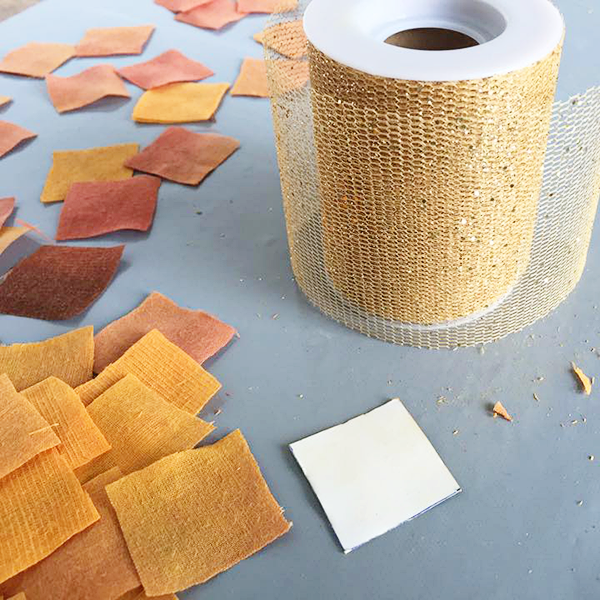
Once paint is dry, cut out rings with sizzix as shown. If you don’t have a sizzix, you can cut by hand, or use paper punches.
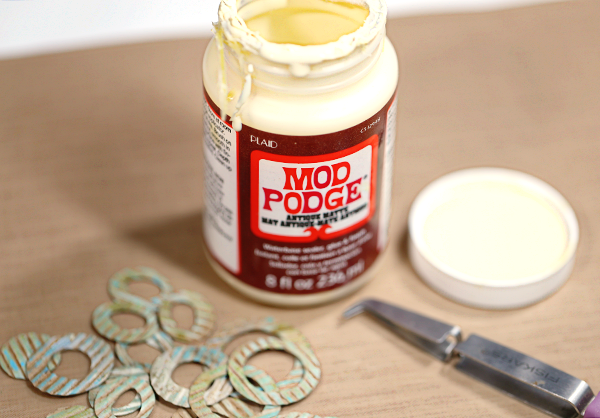
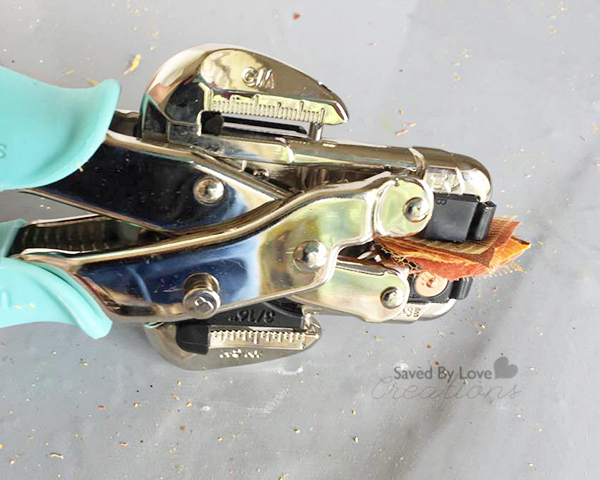
Seal pieces for durability. I dipped them in Mod Podge antique finish.
Brush away excess Mod Podge and let dry.

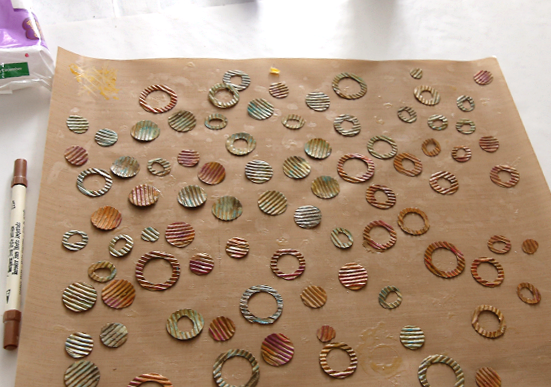
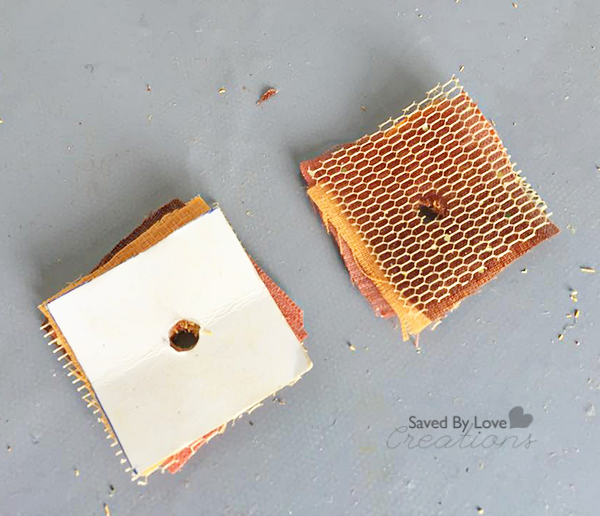
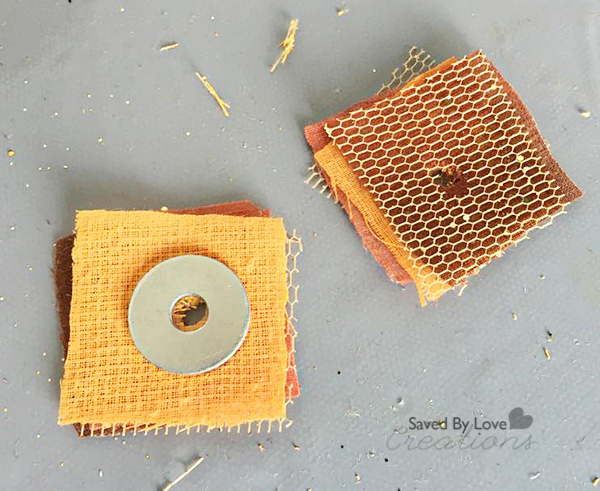
Mark around the inner and outer edges of the rings. On the left is before marking, the two on the right have been marked around the edges.
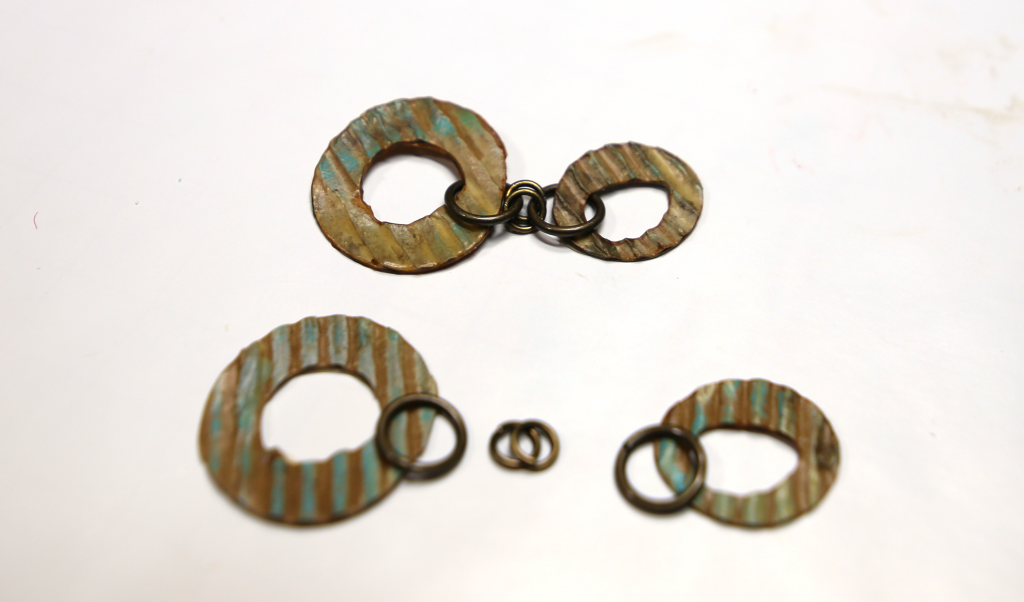
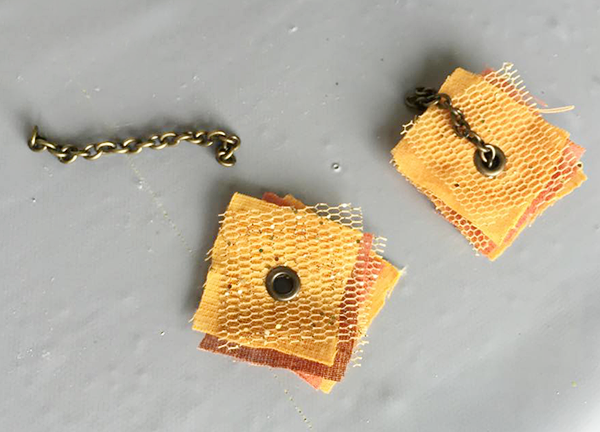
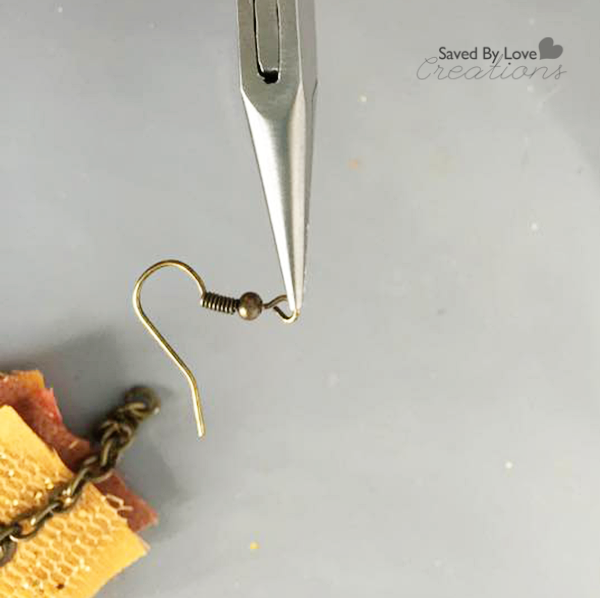
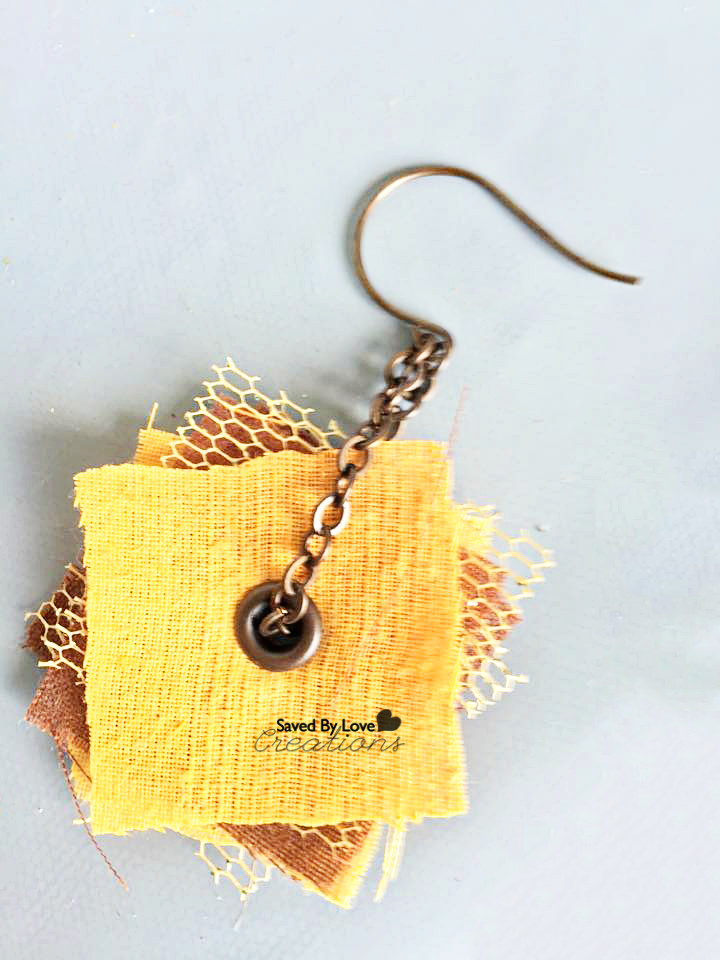
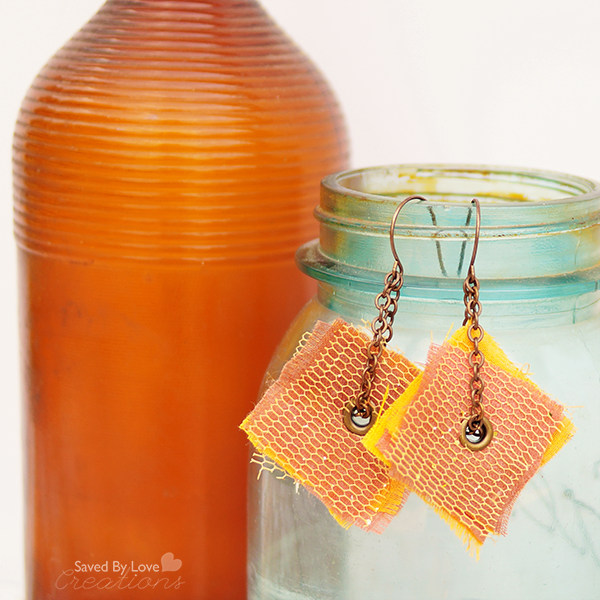
Use various jump rings to attach rings for earrings and bracelets as shown.
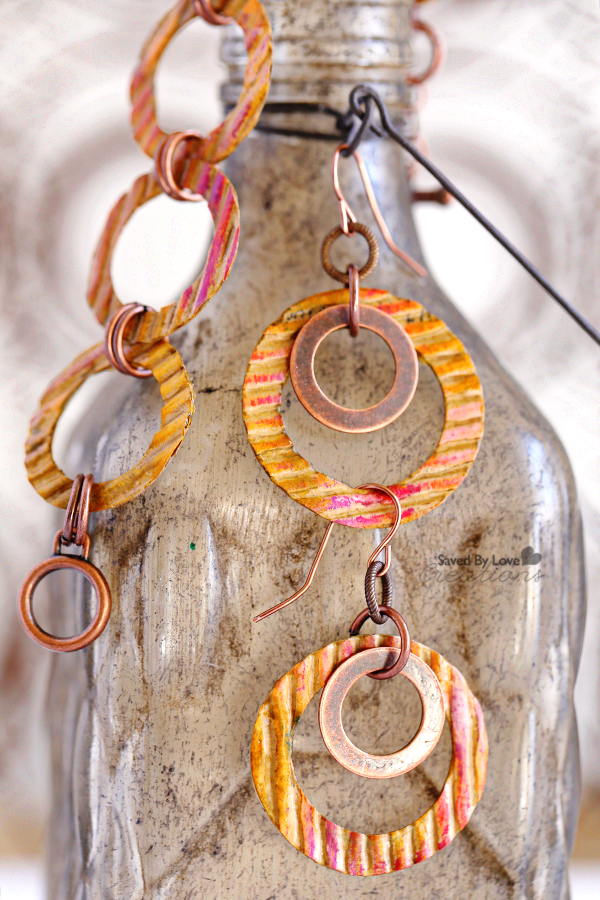

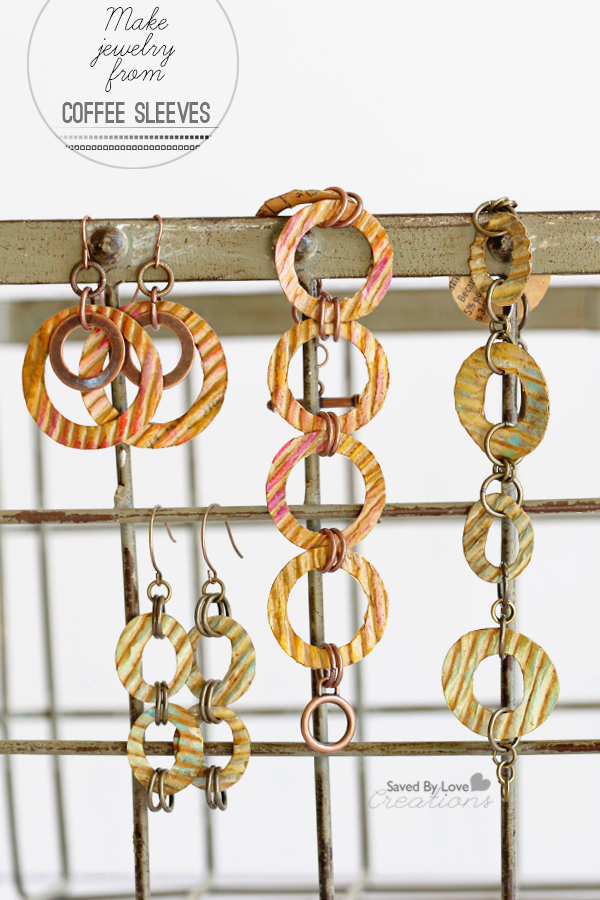
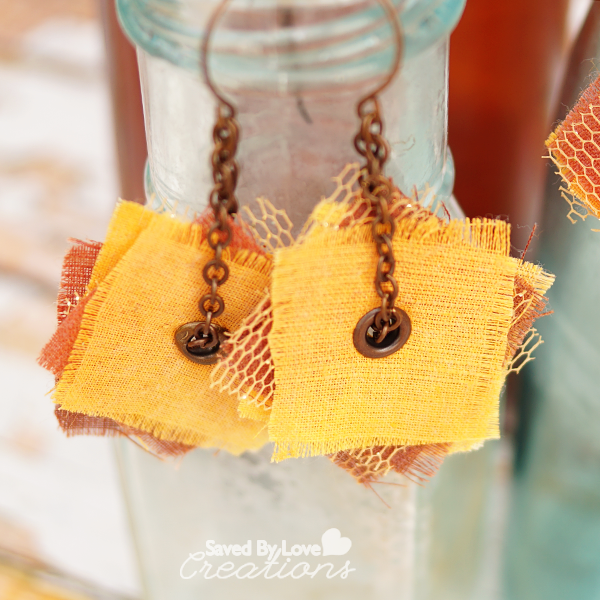
I am in love with these pieces! Super easy and cheap to make. You could also use the die cut coffee sleeve shapes in your mixed media art.


