50 Plus DIY Sea Glass Crafts and Projects

[pinit]
50+ Sea Glass Tutorials with Jewelry, home decor and more @savedbyloves

[pinit]

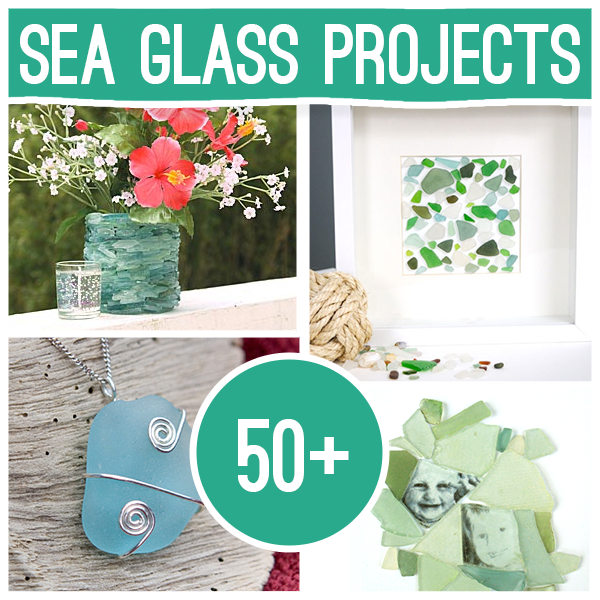
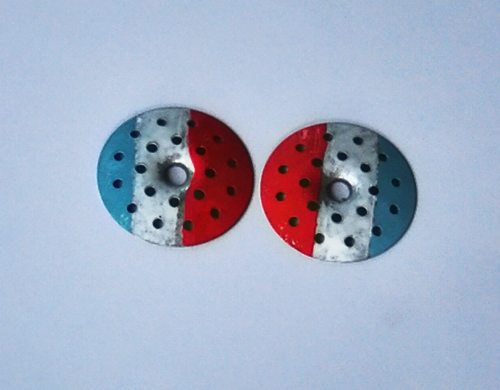
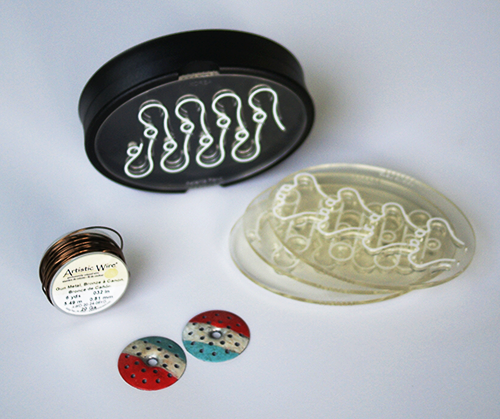
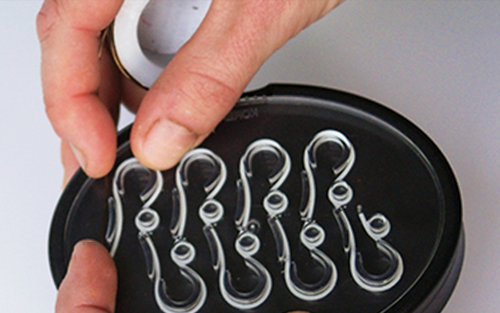
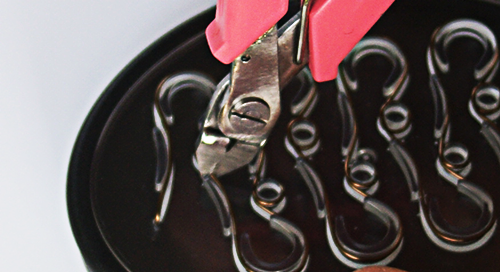
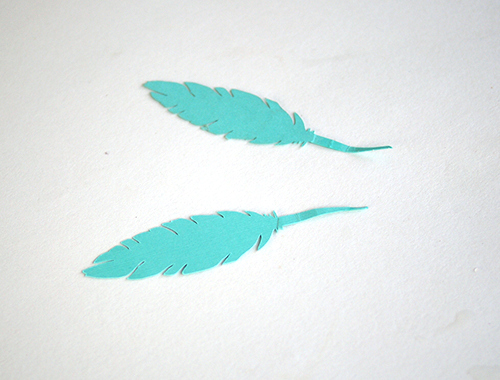
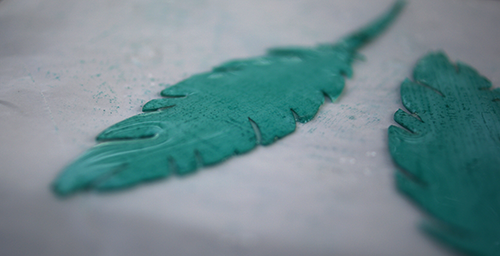
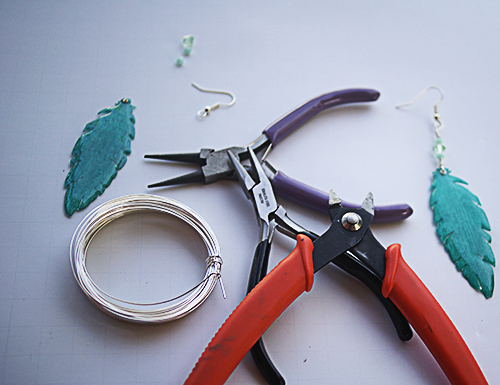
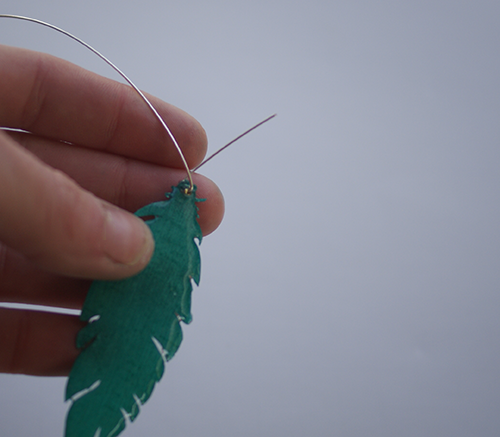
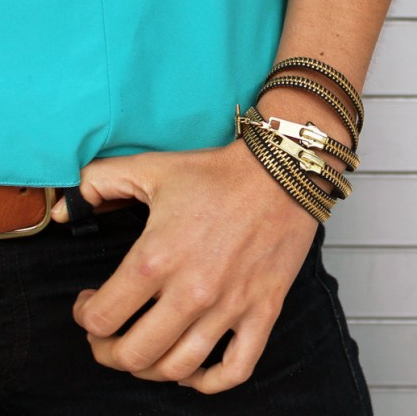
Vacationing in South Florida has put me in a sea glass craft mood.  The stuff is so beautiful, and I love that it is just waiting on the beaches to be harvested.  Sea glass, also referred to as beach glass, comes in a variety of colors and is used to create gorgeous art,  jewelry and home decor.  I love the wire wrap pendants and charm bracelets featuring the ocean tumbled and smoothed recycled glass.  Don’t live near a coast?  No fear.  You can order sea glass on line, or try out one of the many faux DIY sea glass tutorials below.  As always, if you have a favroite sea glass project that I missed, let me know and I will take a look to see if it fits in the collection!

Make a Necklace from Colored Pencils

Repurpose colored pencils into this unique necklace - perfect for teachers and artists!  By Caught on a Whim, featured @savedbyloves[pinit]

If you are looking for a unique handmade gift that the artist in your life will cherish, look no more.  This colored pencil necklace DIY from Caught On a Whim is for you.  What a great idea for art teacher appreciation, or anyone who loves color!  I have never seen anything like it, and I seen and made jewelry from all kinds of things.  It doesn’t get much easier, cheaper or more creative!  Great idea.

How to Make Patriotic Earrings from Plaster Buttons


[pinit]
Easy to Make Patriotic Earrings with #distressPaint from @savedbyloves

Easy to Make Patriotic Earrings with #distressPaint from @savedbylovesPatriotic jewelry and accessories are one of my favorite things about summer time.  Today I am sharing how I created these grungy americana earrings from plaster buttons (which I had never heard of or seen until one fateful day at a salvage shop) and Tim Holtz Distress Paint.  This project is quick, fun and easy.  I am also going to show you how I make my own lovely ear wires using a cool jewelry  jig from Bead Landing.

SUPPLIES:

Fourth of July accessories

Plaster Buttons

Plaster Buttons (These were a dime each at a local salvage store)

Tim Holtz Distress Paint Barn  Door, Broken China and Pickett Fence 

Masking tape

Bead Landing Jewelry Jig

Artistic Wire Gunmetal Bronze 20 Gauge

Flush Cutters

Paint Brush (LOVING this new Martha Stewart Silicone Jewelry paint brush from her new jewelry line)

Ranger Distress Ink Antique linen

Clear Embossing ink

Clear Embossing Powder

Heat Gun

TUTORIAL:

PatrioiticEarrings2

Use masking tape to tape off stripes and paint one at a time, letting each one dry for 30 min before moving onto the next.  I painted directly with the dauber then touched up after all three colors were on, using the silicone paint brush.

PatrioticEarrings7

This is what they looked like after just the Distress paint.  I decided I wanted a grungier look, so I dabbed my Antique Linen distress inkpad directly on the earrings.  I poured clear embossing powder over that and melted it to set with my heat gun.  Then to seal the entire painted surface, I applied clear embossing ink all over and then clear embossing powder, again heat setting it.

PatrioticEarrings8I picked out a pattern for ear wire findings.  The jig linked above comes with 5 options for ear wires.  It is super easy to use. It works best with 20 gauge wire.

PatrioticEarrings9Just insert the end of the wire into the hole to secure and wrap following the white lines.

JewelryJig

Cut at the dotted lines to separate the ear wires.  You make 8 at a time!  File the cut ends and you are set.

PatrioticEarrings13

For more Patriotic Crafts, be sure to visit our 50+ Patriotic Projects Round-up!

PatrioticPin

50+ Creative DIY Jewelry Organizers

[pinit]
Over 50+ Creative DIY Jewelry Storage, Organization, Display @savedbyloves

[pinit]
If you are like me, the organization of your jewelry is… well, not good. It is a problem. Think outside of the jewelry box with these creative organizers you can make yourself in a jiffy. You probably have materials on hand for several of these. My personal favorite is the old rake. How about you? Have you conjured up a way to make your own display? Do share! We would love to include yours.

Make Paper Feather Earrings

[pinit]
 How to Make Paper Feather Earrings @savedbyloves

[pinit]

I heart paper and I heart feather earrings.  It was only a matter of time before the inspiration to make paper feather earrings hit.  That time is now.  You can make your very own with just a few supplies…

 How to Make Paper Feather Earrings @savedbyloves

So you may have heard me and my creative bloggy friends mention SNAP!, a conference that took place last month in Utah.  It was amazing to meet these ladies face to face, and share ideas, laughs, even some dance floor moves.  We get into the details, us creatives.  You should have seen the business cards all dressed up with washi tape, glitter, clips, candies and on and on…  Rebecca at the Crafted Sparrow embellished hers with little aqua paper feathers to hers.

Die Cut Paper Feathers

In all the room chaos, I must have ended up with my roommate’s Crafted Sparrow business card, but no fear.  I put it to good use.  When I got home and started sorting through my stash, I saw the 2 paper feathers and knew earrings were necessary.  You can make them too, no problem.  If you didn’t happen to get 2 of Rebecca’s cards with feathers, you can die cut your own, or just download this free feather template and use it to hand cut your feathers from pretty paper!

SUPPLIES:

2 Paper Feathers

20 gauge jewelry wire

Ear wires

Beads or crystals of your choice for feather stem

Tiny eyelet and setter

Flat nose and round nose pliers

Magic Glos Resin or Mod Podge Dimensional Magic

Awl

Wire cutter

TUTORIAL:

PaperFeatherEarrings3

Apply resin to paper feathers.  I did both sides (when one side dries, flip it over and do the other).  For my thoughts on Magic Glos resin, check out my patriotic sprinkle earrings tutorial.  You can also use Mod Podge Dimensional Magic or 2 part resin, but you will have to wait overnight for these to dry before moving on to the next step.  With Magic Glos the wait is 20 minutes in sunlight or under a UV lamp.

PaperFeatherEarrings5

Poke a hole in the tip of your feather where the stem starts, and set your eyelet.  For the best explanation of how to do this with tiny eyelets, go to Retro Cafe Art Gallery’s post on DIY acrylic tags.  That is how I did it, but I used a the pointy end of an aluminum crochet hook because I didn’t have an eyelet setter tool.

PaperFeatherEarrings6

Cut about 5 inches of wire and insert into eyelet from front to back of feather.

PaperFeatherEarrings7

Bend wire up with a one inch tail as in photo.

PaperFeatherEarrings8

Loop tail around to form coil as shown.  I wrapped four times.  Cut off excess wire from tail if necessary.

PaperFeatherEarrings9

String beads onto wire on top of coil.  I used 2 small faceted beads on either side of a larger crystal.  Bend wire at 90° as shown.  Leave a space between the bend and the top bead for coiling the wire (see below).

PaperFeatherEarrings10

Loop wire around round nose pliers as shown.

TIP: When making earrings, I like to mark with a sharpie where on the pliers I wrap the wire so that I can make the loop on the next earring the same size.

PaperFeatherEarrings12

Slide ear wire finding onto loop, making sure you have it oriented so that when you put it in your ear, the side of the feather that you want to be the front is facing towards the front.

PaperFeatherEarrings13

Wrap the wire to the top of the bead, forming a coil as shown.  Clip the excess wire off with the wire cutter.


Make an Upcycled Plastic Bag Bracelet

Make an #upcycled plastic bag bracelet @savedbyloves #recycledcrafts

[pinit]

Today’s project is a fun plastic bag upcycled bracelet!  Fusing plastic bags creates a fabric that can be stitched, die cut, painted and embossed for some cool effects.  The possibilities are endless.  Keep your eyes peeled for brightly colored shopping bags and start hoarding!

SUPPLIES:

Plastic Bags

Copy paper

Iron

Ironing board

Chain Bracelet

Jump rings

Jewelry Hole Punch

2 pairs of chain nose pliers

PlasticBagBracelet3

TUTORIAL:

Turn iron onto Setting 4

To create the “fabric”  cut the handles from the bags and cut rectangular sheets smaller than your copy paper.  Layer 5-10 sheets and sandwich between the 2 sheets of copy paper

Iron 30 seconds (continuously moving iron to avoid melting plastic), flip sandwich over and iron other side for 30 sec.  Let cool 15 sec and check.  If plastic is not completely fused into one sheet (air bubbles and crackle sounds), repeat ironing and check again.

Die cut or hand cut small ovals and squares.  Hole punch and attach to bracelet chain with jump ring.  Alternate ovals and squares.

PlasticBagBracelet5

For loads more plastic bag creations to make, visit our 50+ roundup!

50+ projects to make using #recycled Plastic bags #upcycle #repurpose #DIY @savedbyloves

50+ Ways to Upcycle Plastic Bags

[pinit]

50+ projects to make using #recycled Plastic bags #upcycle #repurpose #DIY @savedbyloves[pinit]

Today I am going to blow your mind with over 50 things to make using plastic bags. You know, the kind that are piling up in trash cans landfills in an epidemic fashion? Turns out you can make some amazing jewerly, home decor and other accessories with this abundant and overlooked resource!


Make Cool Upcycled Zipper Bracelets

Make #Upcycled Zipper bracelets 5 ways at Brit + Co, featured @savedbyloves

[pinit]

Did you know there are at several ways to upcycle old zippers into chic, eco-friendly bracelets?  It is true.  Brit + Co shows you how in 5 Ways to Turn Zippers into Awesome Arm Candy.  The black and gold above is my favorite.  Head over for the rest.  This is the perfect project for a quick, inexpensive gift or accessory for your own wardrobe.

For plenty more DIY bracelets, see SBLC’s bracelet tutorials, and our 50+ bracelet roundup!

DIY Pendant From Aluminum Can

[pinit]How to make an aluminum can embossed chevron pendant #Upcycle #DIY #Jewelry @savedbyloves

[pinit]

I gave a teaser of this pendant on my Facebook fan page awhile back, and asked you to guess what I used to make it.  There were several guesses, and one of them was right.  It is an aluminum can.  The process was pretty simple.  I used Vintaj Patina metal paints and a chevron embossing folder in my Sizzix.   Use any image or photo for your custom, eco-friendly pendant.   This post shows you how…

How to make an aluminum can embossed chevron pendant #Upcycle #DIY #Jewelry @savedbyloves

I showed you how to cut aluminum cans in this video:

Use a heart paper punch to punch a heart in the middle of what will be the front of your pendant, then emboss front and back triangle with chevron or desired embossing folder:

AluminumCanResinHeartPendant2

how to emboss metal

I used aged bronze Vintaj paint, then aqua over that, and sanded to give a distressed look.  Seal with Vintaj Glaze.

For the image, I printed it on cardstock with laserjet, hand doodled with Pitt Pen and added Tim Holtz word sticker with Glossy Accents.  I sealed the entire image with Mod Podge and sandwiched it between front and back pendant rectangle.  Then I used my metal punch to place holes in top on both sides and the center of all 3 layers (hammer and nail would work too).

The middle hole is for the jump ring to attach the pendant to the chain.  Using the side holes, I riveted the pieces together like this video from Beadaholique shows:

That is it!
How to make an aluminum can embossed chevron pendant #Upcycle #DIY #Jewelry @savedbyloves

While you are here, don’t forget to check out our Aluminum can craft roundup:

AluminumCan50plus copy

50+ Ways to Repurpose Utensils

50+ Ways to Repurpose Silverware Utensils @savedbyloves #Upcycle

Did you know there are tons of ways to repurpose forks, knives and spoons?  I had no idea until putting this list together, which consists of everything from jewelry to home decor and more.  If you have a utensil repurpose that didn’t find its way onto the round-up, just leave a comment with the link.

Here are few of my faves, then the complete 50+!

[pinit]

50+ Ways to Repurpose Silverware Utensils @savedbyloves #Upcycle[pinit]


Privacy Policy