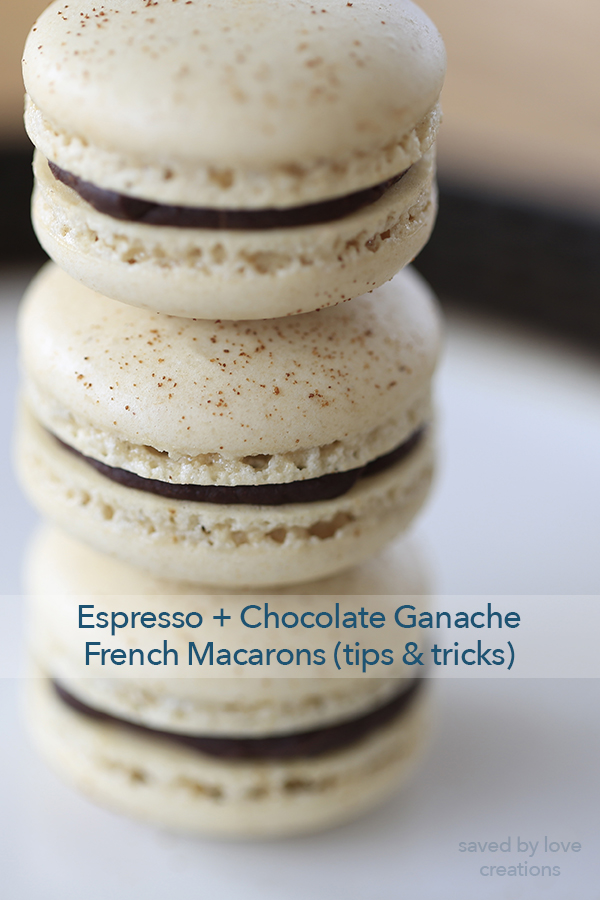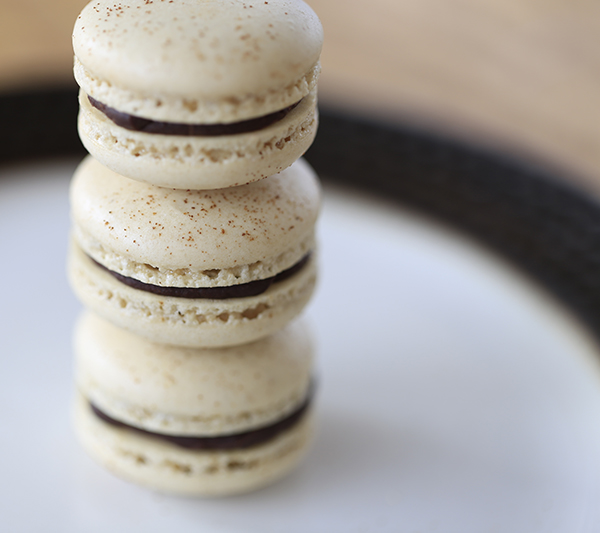
French macarons have been on my ever growing to do list since 2014, when I had the blissful experience of tasting a Laduree Cafe macaron in the heart of Paris! At that time, I downloaded this great how to make macarons book on amazon and committed to get baking as soon as we landed in the states. A short 5 years later, I made my first macaron. This is pretty typical for my project lists. Is it just me?
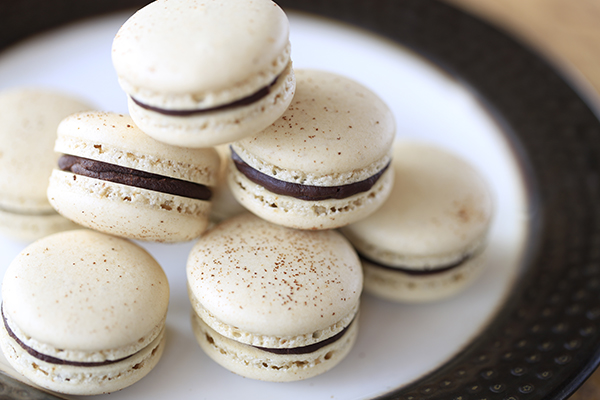
Did you know there are actually three methods for making the cookie part of the macaron, which is a meringue mixed with almond flour, powerdered sugar and maybe a flavoring (in this case espresso poweder)? It’s true. I call these french macarons, but technically I guess I should call them swiss macarons. That’s just not as search friendly on google! I say this because I use the swiss meringue method now, after many, many batches using the french method, and a couple of swings at the italian meringue method, I have found the swiss method to be the most consistent and reliable. The very first batch I made using this method came out beautifully. Wanna see?
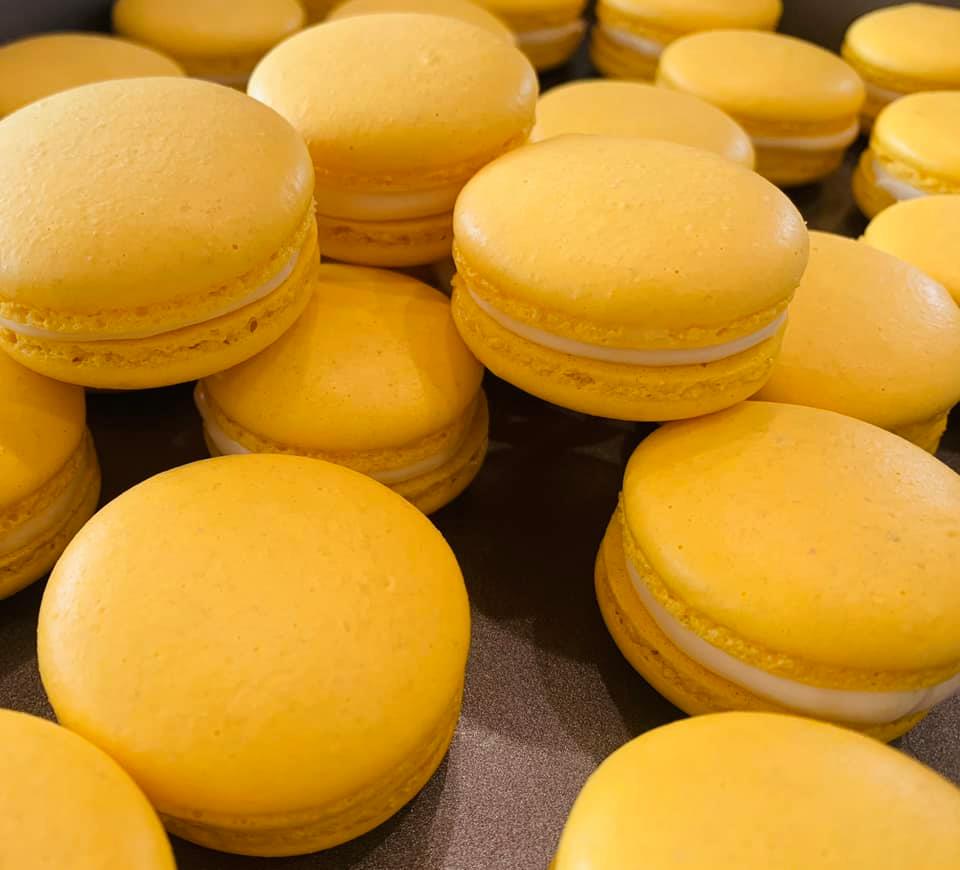
Trust me, no hear me, when I say that there were many imperfect batches that preceded what you are seeing here. As I agonized over failed, lumpy, cracked, hollow, nipply shells, wanting to launch the tray out the back door like a frisbee, my husband would remind me of a quote…
“I have not failed. I’ve just found 10,000 ways that won’t work.”
― Thomas A. Edison
This would annoy me further, but then sanity would return and I would be back at it. I am so happy I stuck with it, and you will be too. It is super gratifying to create a beautiful batch of these delicious treats. I find myself waking up in the middle of the night excited about a new flavor combo! Today I am doing mango shells with white chocolate lime ganache. I can’t wait!
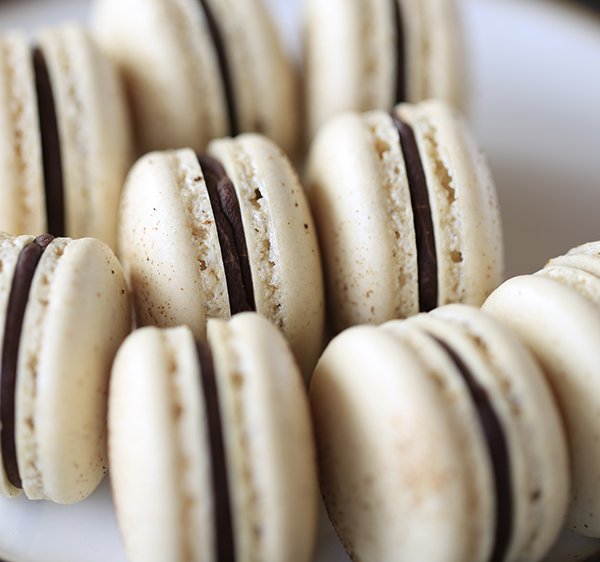
Espresso Macaron Recipe
TIP: So the basic recipe for the shell is the same, and quite simple. Then to flavor it, you can add extracts, freeze dried fruits, baking emulsions. This can be trial and error, as some oils will anger the shells and you will end up trashing them. I bought a bunch of flavored oils from a local candy shop and they are a no go! Extracts are ok. I prefer grinding up freeze dried fruit and really adding the most flavor in the center ingredient of the sandwhich. Ganache is far easier to flavor.
Ingredients
Espresso Shells
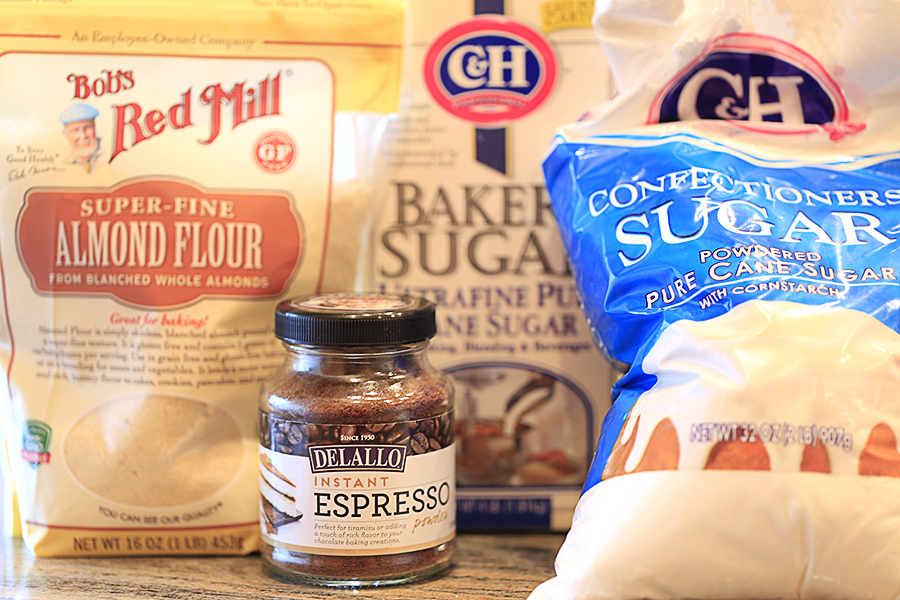
*This recipe yields between 24-30 complete sandwhiched macarons, depending on how your piping size (this will make sense later).
- 3 egg whites 100 grams, 3.5 oz
- 1/2 cup white granulated sugar 100 grams, 3.5 oz
- 1 cup almond flour 96 grams, 3.4 oz
- 3/4 cup powdered sugar 90 grams, 3.17 oz
- 1 1/2 tsp espresso powder
Espresso Chocolate Ganache Filling
- 8 oz bittersweet chocolate, chopped up into <1 inch sized pieces
- 8 oz heavy whipping cream
- 3/4 teaspoon instant espresso powder
***Make the ganache ahead of time as it needs to sit in the refrigerator for a couple of hours, then at room temp for 30 minutes before piping between the macaron top and bottom
Instructions
Shells
- To start, measure out all of the ingredients. I highly recommend investing in a kitchen scale for accuracy as these cookies are so very fickle. I measure my ingredients in grams, even though I have listed cup and teaspoon measurements as well. I got this digital kitchen scale from amazon. Have 2 baking sheets ready. You can line them with parchment paper, which is how I started, but I found no matter how many tips and tricks I used to flatten the parchment paper, it bubbled and led to warped cookies. This is why I LOVE the mats I ordered on amazon here: silicone baking mats for macarons . They are super cheap and awesome. If you go the parchment paper route, you can print off templates to help you pipe out the optimal size macaron and stay consistent so that your sandwich cookie tops and bottoms match. Here is the free macaron template printable I made, which you can download, print, place under your parchment paper and carefully pull out immediately after piping your macarons in a later step.
- Leave a 16 in disposable piping bag fitted with a large round tip (size 10 or 12), all ready to fill with your batter.
- Sift powdered sugar and almond flour together in a bowl and set aside. Some people swear you need to grind the flour and powdered sugar in a food processor. I have done both ways and I see no difference, so I don’t waste the time. It is supposed to get rid of “bumps and lumps” in the shell of the macaron. I find mine come out smooth if I sift the ingredients together into a bowl, and then sift them into the meringue when that step comes.
- Mix egg whites and sugar together in a metal bowl or in a double boiler pan, over a small saucepan of simmering water, making sure the bottom of the bowl isn’t touching the water. I actually use my KitchenAid mixer bowl for this, since the egg/sugar syrup will go into it anyway. You do not want to cook the egg whites! No thermometer needed. This is what I love about the swiss meringue method vs. the italian method. The latter requires a candy thermometer. It’s a hassle.
- Whisk whites and sugar over simmering water for about 90 seconds. Remember, this water shouldn’t be boiling, it should be at a very low simmer.
- Once sugar is dissolved, pour the syrup to the electric mixer bowl if it’s not already in there. With the whisk attachment, whisk mixture on low speed for 1 minute, raising speed to medium. Whisk on medium for 1-2 minutes, until the whisk starts to leave streaks in the meringue. Raise speed to high, and whip for a couple of minutes until stiff peaks are formed. Here is a great video from my macaron hero at Pies and Tacos . It shows what the meringue should look like. Make sure you look at her other amazing macaron recipes, tips and tricks!
- As soon as the meringue reaches stiff peaks, stop beating. Sift (for the second time) the almond flour and powdered sugar mixture into the meringue. You will see many recipes having you add 1/3 of the mixture, folding it in, then incorporating the remaining dry ingredients. I find no difference when i sieve it all into the meringue at once. Try and see what works for you!
- Now it is time to fold the dry ingredients into the meringue. Here is a great video from Indulge With Mimi, another wealth of information on macaron trouble shooting and some fantastic recipes. This folding of the dry ingredients into the meringue is called macaronage, and is in my opinion the step that makes or breaks your final product. If you don’t mix enough, you get cracks and all sorts of ugliness. If you over fold, you get wet blobs that never bake into solid, round cookies. It’s tragic, but don’t give up! You will get this with experience. This video will help.
- The batter should be falling off of your spatula like a ribbon, not in chunks. I like to scoop a spoonful out onto a plate and wait 20 seconds or so. If the “nipple” on top dissolves into the cookie and disappears, you are ready to pipe your macarons. If not, stir 5-10 more times and test again. Keep doing this until you get the correct result.
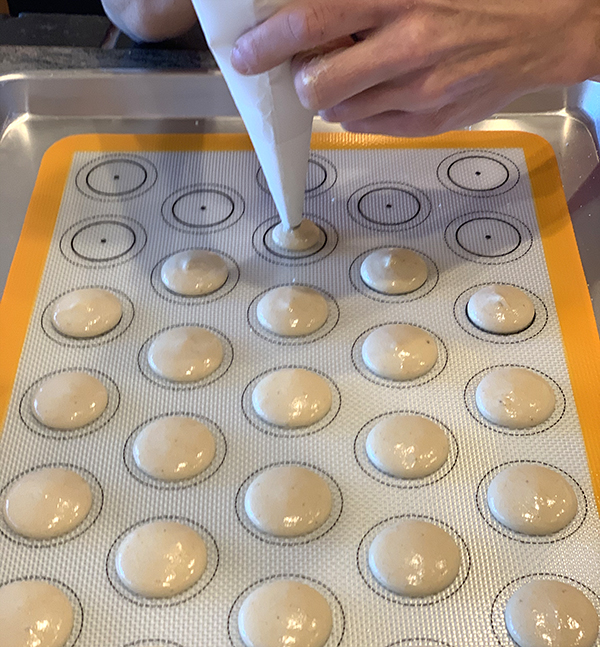
- Pipe as many circles as your batter allows. I usually fill two of my silicone mats, sometimes a few less on the second mat. Immediately after piping, pick up the baking tray about 6 inches above the counter and drop it. Do this a couple of times. The purpose is to release any air bubbles in your piped macarons.
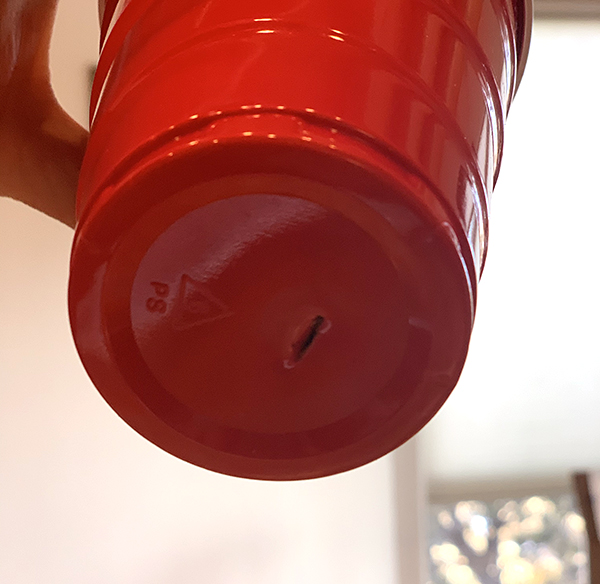
- For aesthetics and for more espresso flavor (cause I’m a full blown addict, we cut a slit in the bottom of a red plastic solo cup and put a small amount of espresso powder in the cup. Then lightly tapped the side of the cup over the tray of piped cookies for some espresso powder sprinkles. I tried using a salt shaker, but way to much powder came out, so my engineer husband McGyvered a way to get the effect I was after.
- Pre-heat the oven to 310F. This is what works in my oven. Yours may vary. You will have to start somewhere around there, take meticulous notes and make adjustments as needed! Remember the Thomas Edison quote earlier in the post!
- Many recipes tell you to leave your piped batter sit out before for 30-60 minutes to form a skin before placing in oven. I happen to live in the high desert and my macarons form a skin within 5 minutes. The way to test for yours is to touch one lightly. No batter should come off on your finger. There should be a dull sheen to them as well. The skin is important, otherwise the heat will escape to quickly and the macarons won’t rise correctly, or they will have blown out feet (the bubbly area of the cookie that directly contacts the filling of sandwich). If it is a humid day, it may take well over an hour, so go by feeling the actual batter, not by time.
- Bake one tray at a time. Bake the first tray for, rotating after 4 minutes. Bake 4 more minutes and rotate again. I continue to bake until 18 minutes, rotating one more time at 13 minutes.
- Let the cookies cool for 20 minutes or more before trying to remove them from the parchment paper or silicone mat. They should pop right off unless they are under cooked. In which case, back in the oven they go. I would do 2 minutes at a time. You don’t want to overcook and get hollow macarons. Once they are cool, it is time to fill…
Chocholate Espresso Ganache
To make the espresso ganache, place the chopped up chocolate into a metal or other heatproof bowl. In a small saucepan, heat the cream until bubbles appear. Stir in the espresso powder until dissolved.
Immediately pour the hot cream mixture over the chocolate chunks and let stand for 1 minute. Stir the chocolate until smooth and melted. Pour the ganache into a disposable 12 or 16 inch piping bag clip or rubber-band off the open end and place in refrigerator for 2 hours. When you are ready to use the ganache, let it sit at room temperature for 30 min so that it is soft enough to squeeze out of the bag.
Simply cut the tip off the disposable piping bag containing your ganache and fill one cookie, coiling from the outside into the center, then place the top cookie on to complete the sandwich. It helps to match up similar size macarons before adding the filling so your tops and bottoms are together and ready to go.
Place in an airtight container in the refrigerator. I find macarons are the very best after maturing in the fridge for 1-2 days. This allows the center to mesh with the shell, the flavors to meld and the texture to perfect. Take out of the fridge for about 20 minutes before enjoying. They are best eaten within a week. Another option is to freeze after the 1-2 day maturation. I have frozen them for 6 weeks, pulled them out to room temp for 1 hour and served them up at a party to watch them be devoured. They were a hit.
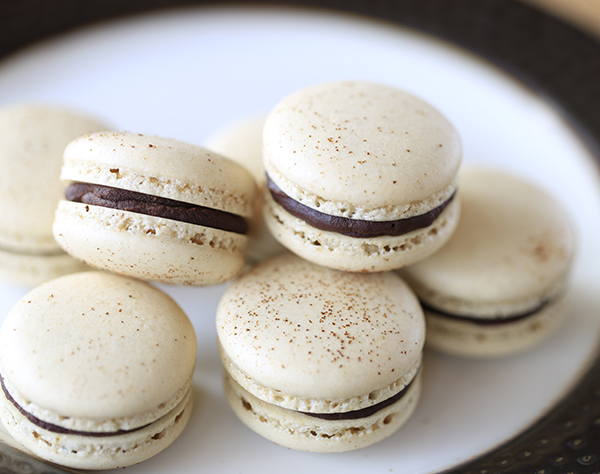
Give macarons a try! Don’t give up. Be patient and learn your climate, oven, astral alignment. Pray to the macaron gods. Whatever works for you. Just find it. It is so worth the “failed” attempts! Let me know how it goes.
Stay tuned for macaron videos and more recipes!
