Easy Silkscreen Polymer Clay Jewelry Tutorial #ScupleyProjects

[pinit]

How to Make Polymer Clay Jewelry[pinit]

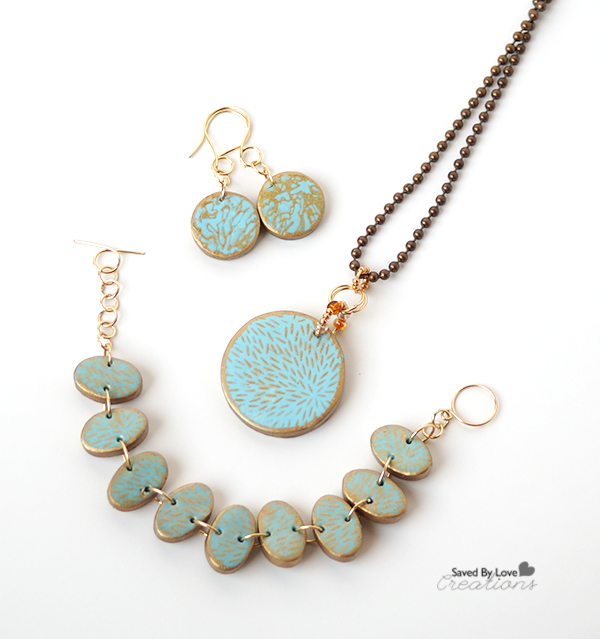
I haven’t had my hands on clay for way too long.  The new Silkscreen Kit from Premo Clay was the perfect way to jump back into the medium.  If you haven’t experimented with polymer clay, stop reading this and go find some.  You will be amazed at the gorgeous pieces you can make right off the bat, from jewelry to home decor and more.  It is a medium that is very forgiving, versatile, and doesn’t require a bunch of expensive tools and equipment to get started.  Today I will show you how I made a lovely necklace, bracelet and pair of earrings that I kinda love a bunch.  You can make your own art jewelry with just a few simple supplies.  Let’s get started!

Premo Clay Jewelry Tutorial

SUPPLIES:

Polymer Clay Silkscreen Kit #SculpeyProjects

Premo Clay and Silkscreen Kit

Jump rings

2 Pairs of flat nose jewelry pliers

Toggle clasp

Earring findings

Necklace chain

Gold paint marker

Cookie cutters in circles and ovals

Bead reamer or toothpicks

Oven

Ceramic tile or flat baking pan dedicated to clay

Rolling pin or smooth bottle or glass

Protective gloves (these are optional but great for keeping clay fingerprint free)

TUTORIAL:

How to mix polymer clay colors

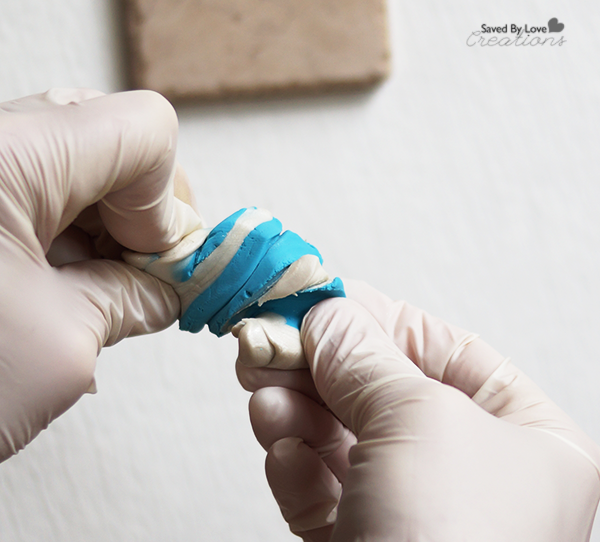
I began by mixing blue clay with pearly white to get my desired color.  Just twist the colors together as shown.  Continue twisting and kneading clay in your hands to mix the colors and warm/condition the clay.  Conditioning is essential when beginning any clay project.  It ensures the components of the clay are evenly distributed and the clay is soft and shapable.  This clay was super easy to condition.  I have worked with clay that is hard and brittle and takes forever to warm up, but this Premo was great!  Continue until the clay is the color and shade you want.

How to condition polymer clay

I used my Sculpey Clay Conditioning Machine to get a flat even sheet.  This costs about $20 and is well worth the investment if you are going to create with clay more than a couple of times.  You can also use a smooth glass, rolling pin or bottle to smooth the clay out on a bake-able surface.  I like to use tiles I pick up at Habitat Restore for a dime.  I have tons of them on hand for just this purpose.  Once the clay is rolled out, you don’t want to have to move it, as it will become distorted and uneven until it is baked and therefore hardened.  Having it on a surface you can just stick in the oven is super handy.

Premo Polymer Clay Silkscreen Kit #SculpeyProjects

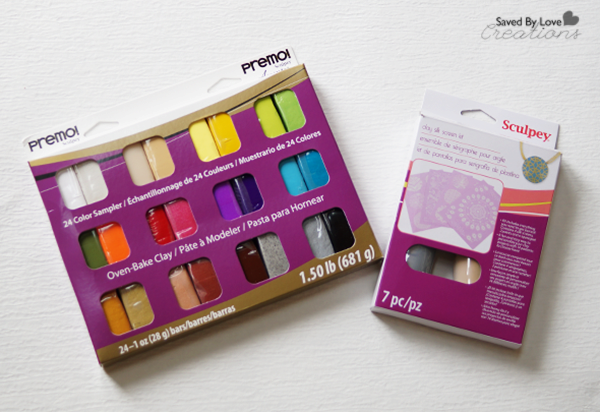
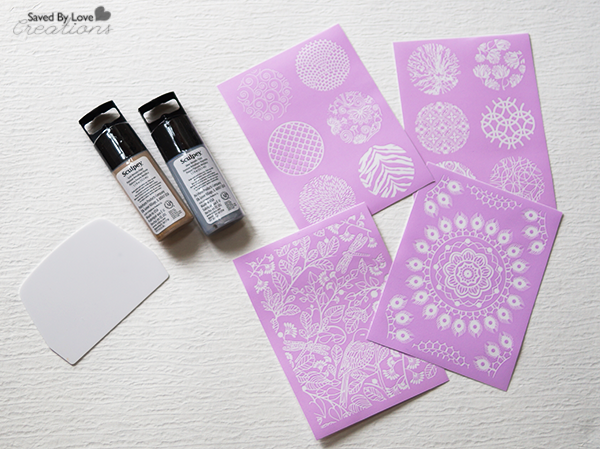
The kit comes with silver metallic paint, gold metallic paint, 4 reusable screens (totaling 2 large single patterns and 12 mini patterns) and a squeegee.  Aren’t the designs so fun?!

How to silkscreen

Premo Polymer Clay Silkscreen Kit Jewelry Tutorial #SculpeyProjects

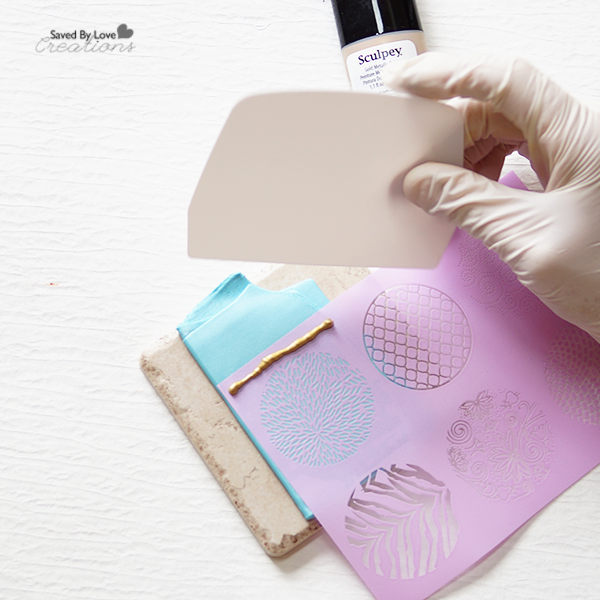
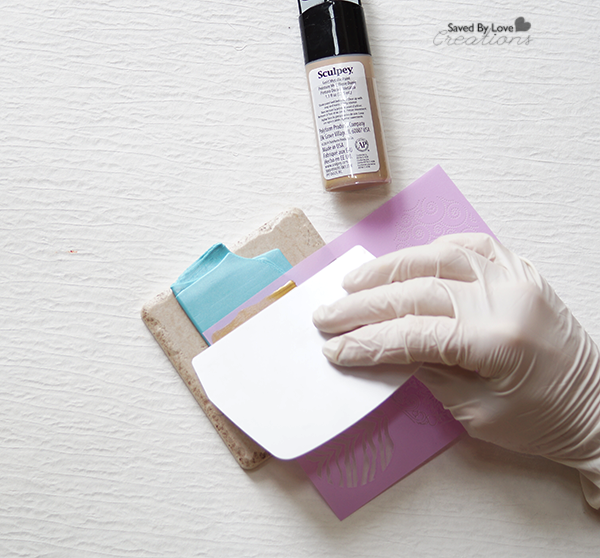
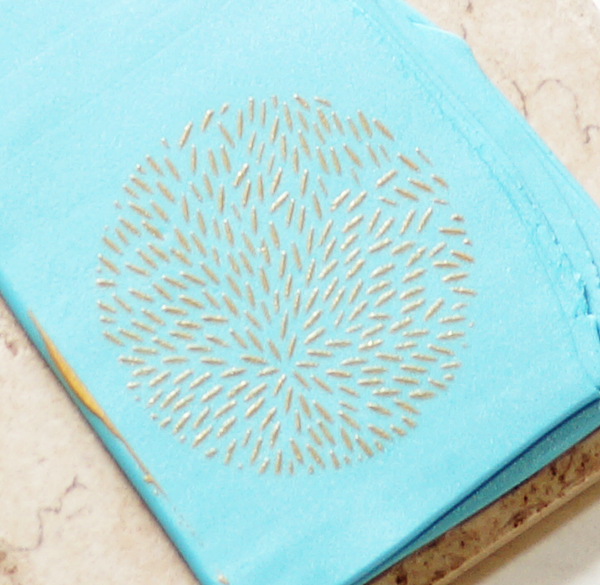
I choose my design, placed a thin line of gold paint, and used the squeegee to pull the color across the screen, lightly so as not to indent the clay.

How to Make Polymer Clay Silkscreen Jewelry

Here is what it looked like after the first try!  So easy and pretty.

TIP:  Make sure to immediately was the screen and squeegee so the paint doesn’t dry on them.  You want to reuse them for as long as possible!

How to Cut Shapes in Clay

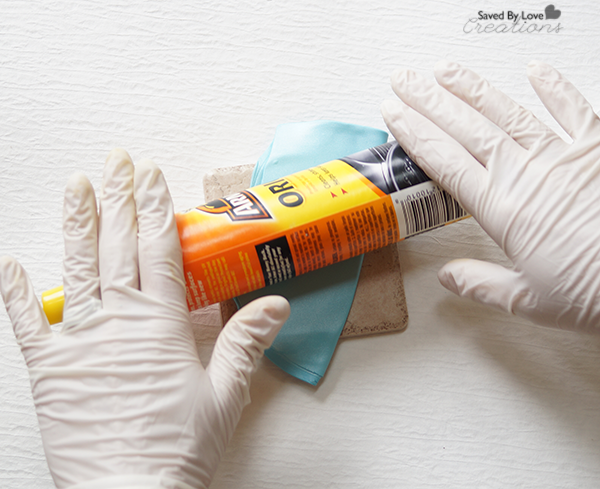
TIP:  Spray armor-all onto the cookie cutter inner and outer edge so that the clay won’t stick to it and come up off the surface when you lift the cutter away after cutting.

Easy Free Polymer Clay Jewelry Tutorials

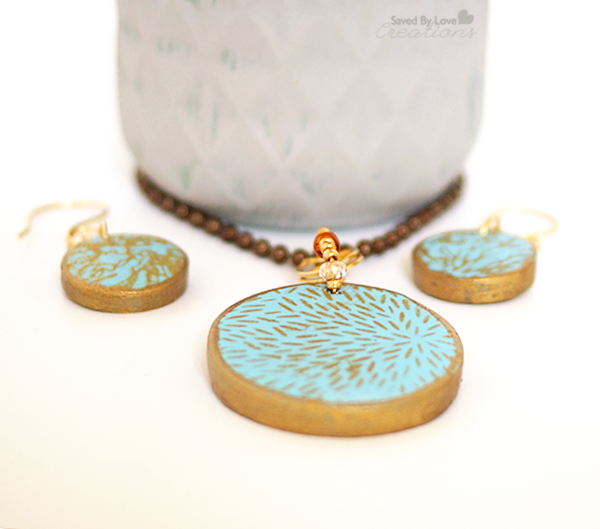
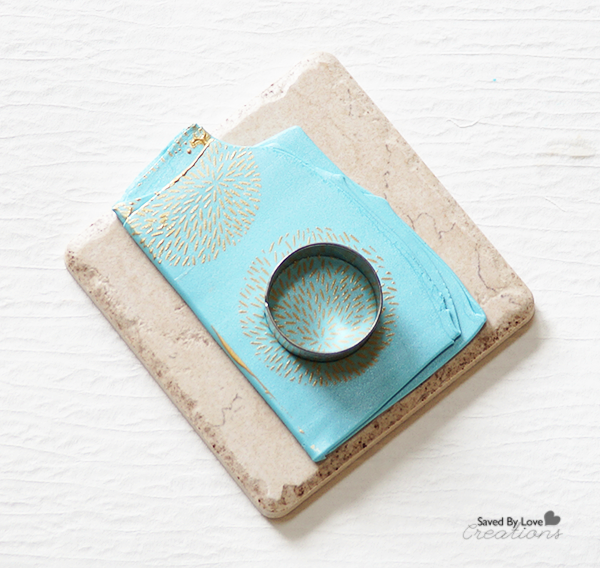
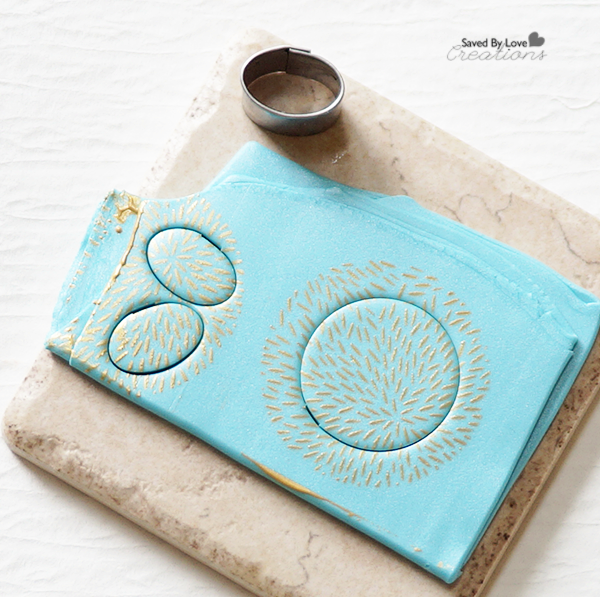
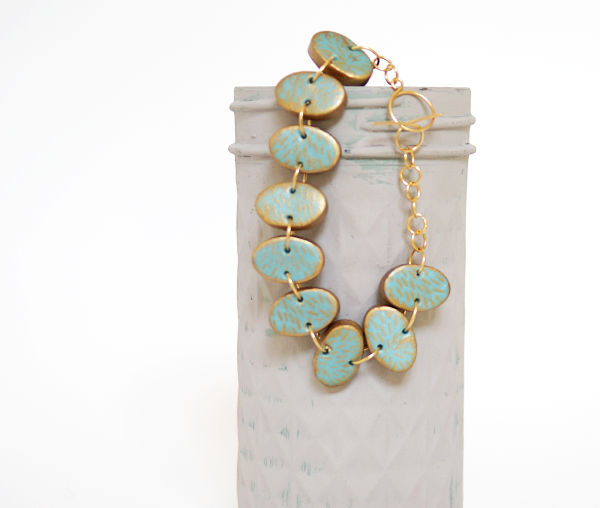
Choose an area and a cookie cutter and press it into the clay to cut shapes.  I used circles large and medium for the pendant an earrings.  For the bracelet I used a small oval cutter.

Pull the “scrap clay” away from the cut shapes and set aside.  You can recondition it and reuse it, even if it has paint on it.  Just mix it in by conditioning it with your hands or pasta machine.

How to attach clay pieces

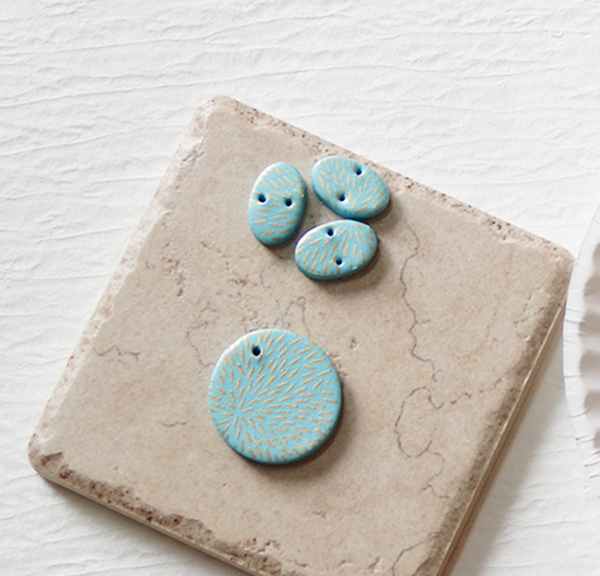
To create holes for jump rings in your pieces, you can use a toothpick while the clay is still raw, or use a bead reamer or drill after baking the clay.  Manipulating the clay while raw always carries the risk of distorting it, so I usually wait until it is baked before creating holes.  For this project I went ahead and made the holes while the clay was raw since I was going for an organic, imperfect feel.

How to seal polymer clay

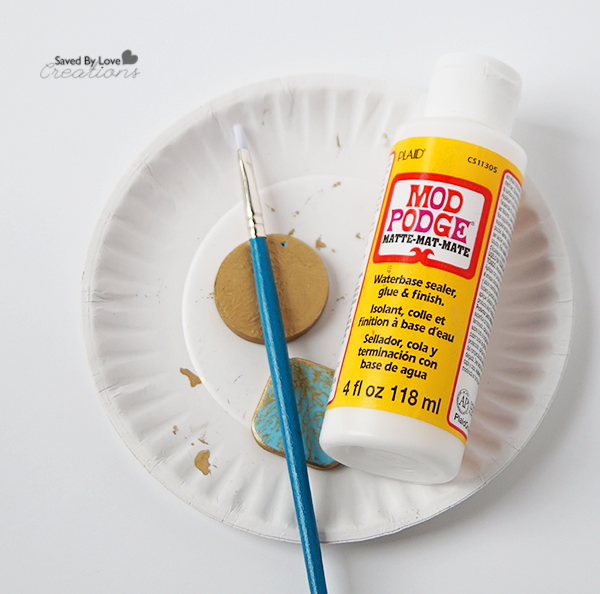
I baked my pieces at 260 for 45 minutes and let them cool.  I painted the edges and back with a gold paint marker and sealed the pieces with Matte Mod Podge after the paint dried.Polymer Clay Silkscreen Earrings DIY
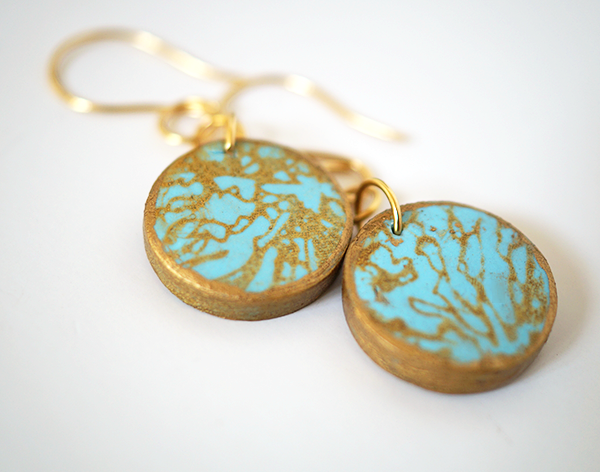
I used 2o gauge gold wire to create jump rings, earring findings and a toggle clasp for my finished pieces.  You can save money and get a unique look to your pieces by making your own findings, or purchase pre made findings.

DIY Polymer Clay Easy Bracelet Tutorial

This new kit from Premo has ignited my clay jewelry flame once again!  I have made several more pieces that you will be seeing in the future.  I hope you are inspired to try some clay projects.  It is so easy, inexpensive and you will be amazed at the gorgeous projects you can make from the get go.

For more clay inspiration and product updates, follow Premo Clay on FacebookTwitterPinterest, and Instagram!


Disclosure: I received product and compensation from Polyform and Blueprint Social in exchange for my campaign.  All opinions are honest and mine, as always!

Check out what other bloggers have been up to using Premo Clay Jewelry Products!

Polymer Clay Valentine’s Angel

[pinit]

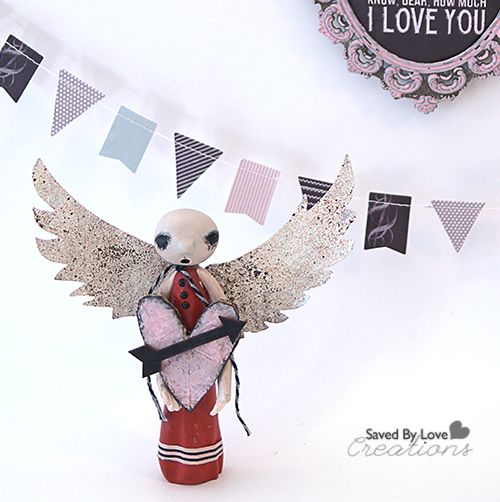
Polymer Clay Tutorial Valentine's Day Angel[pinit]

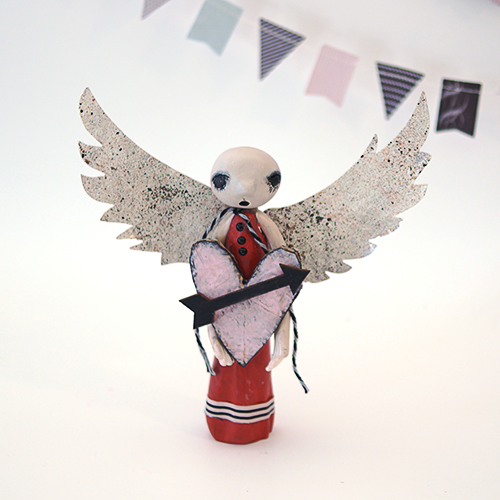
It has been awhile since I brought you a polymer clay project, and today’s is a sweet Valentine’s Day angel for you to love!  The inspiration for this project came from Prims, a publication I recently started enjoying.  It is a simple process that requires just a few basic supplies.  Most of the shaping of the clay is done by hand.  Other than the clay, all you need is acrylic paint, and some paper crafting embellishments to create your own whimsical figure!

Prims Magazine

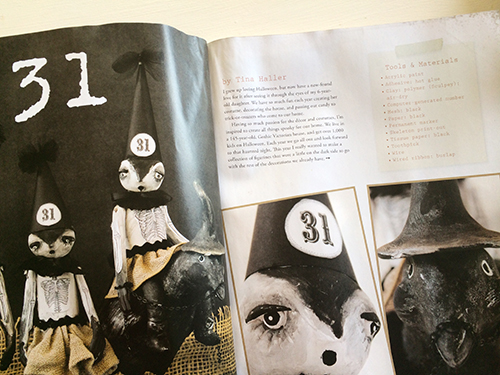
Here is the publication that gave me the idea; Prims Holiday Edition .

Prims

Tina Haller made these adorable Halloween clay dolls.  I went with a Valentine’s Day version!

TUTORIAL:

Polymer clay doll tutorial

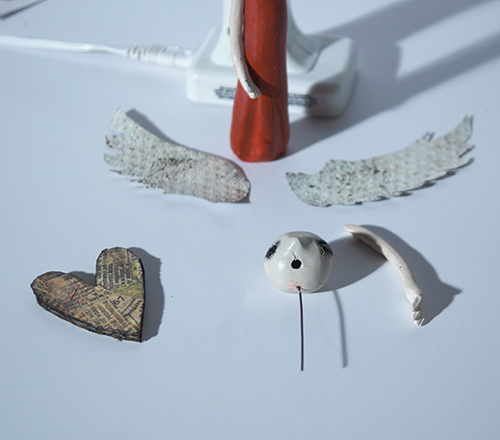
Create the head, arms and body in separate parts with conditioned polymer clay.  I used scrap clay for this part.  I wasn’t sure what color I wanted in the end, but it didn’t matter since I knew I could paint the doll whatever color I wanted with acrylic paint.

The arms are long and skinny, which lends to the creepy Tim Burton kind of feel.  I used scissors to cut the fingers.  For the red gown, I used a marker to shape the rolls.  Just use what you have on hand.  The most useful sculpting tools you have are your fingers.

For the eyes and lashes and mouth, use a toothpick or needle tool to etch the lines.  Pinch with fingers to make the nose.   Bake each piece with wire inserted where it will attach.   I bake at 250° for 1 hour.


Polymer Clay Tutorial DIY Valentine's Day Angel mixed media @savedbyloves

Paint the pieces as desired.  Attach together with super glue, which works great for polymer clay.

For the wings, I used aluminum cans and cut them with the Sizzix Angel Wings Die.  I embossed with a dots folder and used ICE enamels by Susan Kazmer.

The heart I cut from corrugated cardboard and covered with washi tape, which I then painted with Distress paint pink.  I outlined the edges with my Black Soot Distress marker.

Polymer Clay Valentine's Day Angel DIY

The sign, bunting, washi tape and bakers twine are all from Rhonna Farrer’s Chalk Studio Collection with My Mind’s Eye.  This is my new obsession.  I love all of the paper, embellishments and washi tape in this fantastic line!  I found it at Joann Fabrics.

That is it.  I hope you enjoyed this little angel!


DIY: Polymer Clay Necklace Inspired by Anthropologie

Polymer Clay Bead Necklace Tutorial

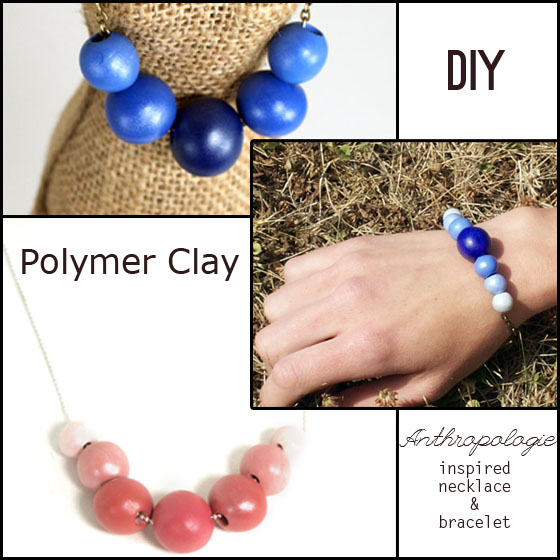
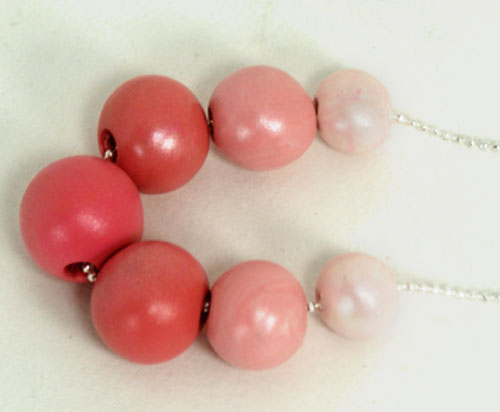
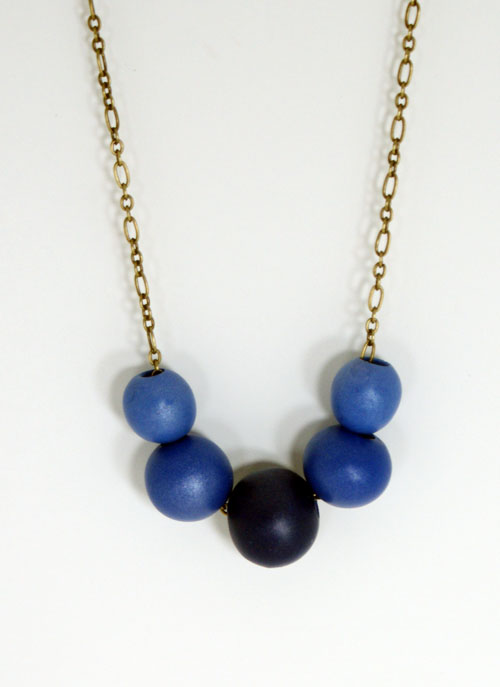
If you have never used polymer clay, this is a great project to get your feet wet.  I love the stuff, and was inspired recently to create these necklaces by the popular Anthropologie ball beaded piece.  I added my own twist of ombre color gradation and bead size gradation.  I also went for a simple chain instead of a ribbon. The pearl finish was accomplished in one easy step that glazes creates the pearl effect, using Mod Podge Pearlized Glaze.

Polymer clay is a perfect medium to create reproducible color gradient beads.  You will see in the tutorial, I just rolled out white and blue (or corral for that version) to the same thickness in my pasta machine.  Then I used a cookie cutter to cut 5 triangles of the main color for the central bead.  The two adjacent beads are a mix of 3 main color and one white triangle.  The next is lighter and smaller still, using 2 triangles of main color and 1 of white.  You can use any recipe you want, just keep track of it, especially if you are making more than one of the bead in that size and color.  This will make more sense when you see pics!

Polymer Clay Gumball Necklace

Supplies:

Pasta machine

Baby wipes (clean hands between handling different colors of clay)

Polymer clay in color and white (I used Fimo Soft)

Cookie cutter

Tile or baking tray

Dremel or other drill

Drill press or rice bags

Mod Podge Pearl Glaze or finish of choice

toothpicks and Styrofoam

Antiqued gold metal chain or cording of choice

Tutorial:

Polymer Clay Necklace Tutorial

For drilling, hold beads steady vice or bags of rice.  Wear protective eye gear!

Anthro Inspired Polymer Clay Necklace

Polymer Clay Ombre Bracelet DIY

Grab some clay and create your own gumball ombre jewelry!

Privacy Policy