Search Results for: sewing room

Repurposed Toy Car Box to Sewing Notions Storage

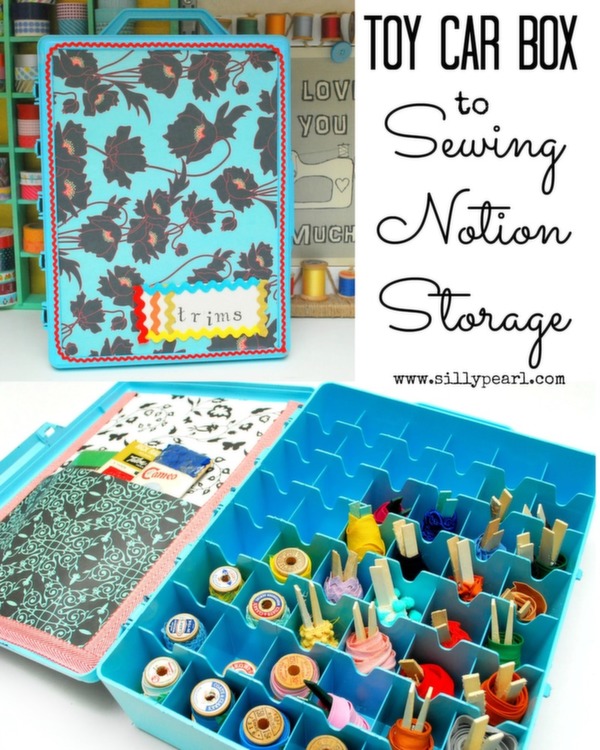
Hello! I’m Steph and I blog at The Silly Pearl. I’m mom to 7 year old twin girls and I live in the San Francisco Bay Area.I love to repurpose containers into storage for my craft room. So I’m excited to show you what I made today here on Saved By Love Creations: I took a plastic toy car storage box (don’t worry, it’s not vintage!) and created a storage box for my collection of vintage trims that I’m always collecting from the thrift store. Thanks so much Johnnie for having me on your blog today to share my tutorial!

Repurposed Toy Car Box Storage to Sewing Notion Storage by The Silly Pearl

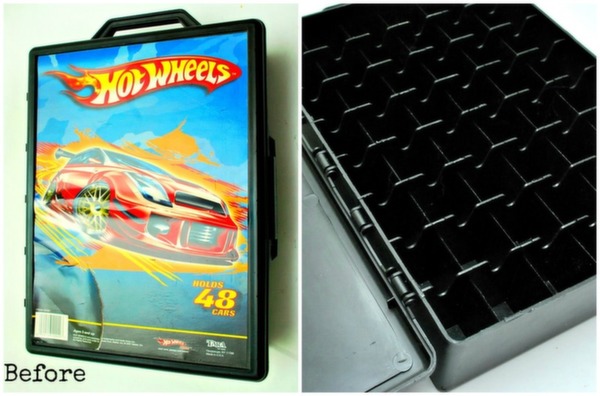
My girls do have a collection of cars themselves, but most are larger and wouldn’t fit into the compartments of the box. So I thought I could use it for myself in the craft room, to house all the little lengths of rick rack, seam binding, lace, and bias tape currently tangled in a box.

Repurposed Toy Car Box Storage to Sewing Notion Storage - Before

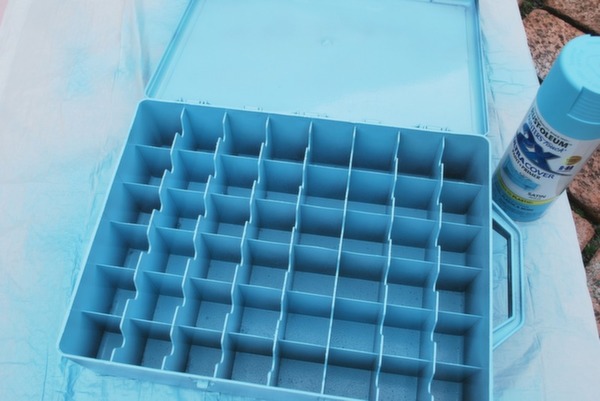
First step is to remove the label on the front and spray paint the entire box, inside and out. Choose a spray paint that bonds to plastic. Use a primer as well. Do several thin coats, allowing time to dry in between. Be sure to follow the drying time recommendations on the spray cans, particularly in between the primer and the color. I chose a turquoise color that I have a lot in my craft room.

repurposed_car_box_1

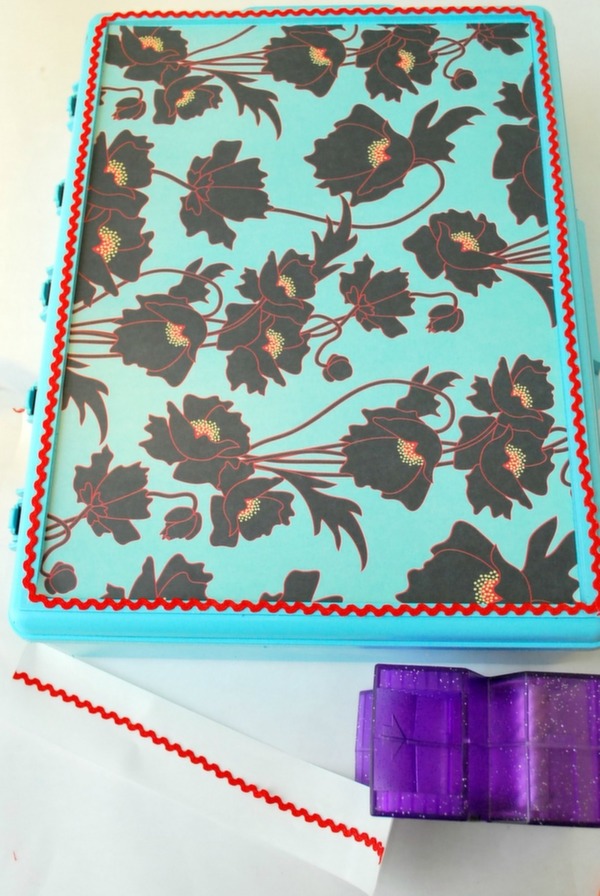
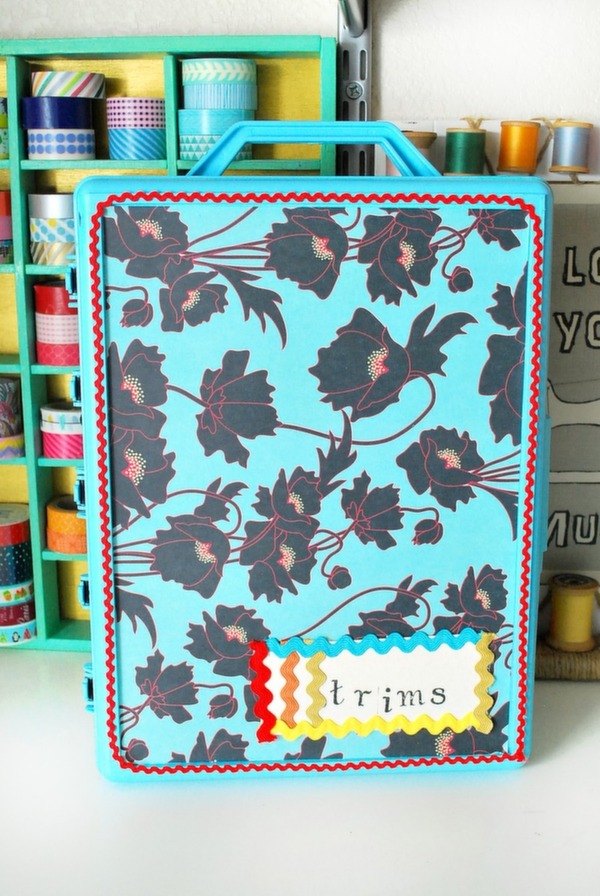
Once the paint is dry and you’ve allowed it to cure, you can start applying the scrapbook paper. An 8×12 inch piece of scrapbook paper fit perfectly on the front (I used my Xyron 9-inch Creative Station to apply adhesive to my scrapbook paper). Then I framed the paper with some red rick rack using my Xyron 1.5-inch sticker maker.

repurposed_car_box_2

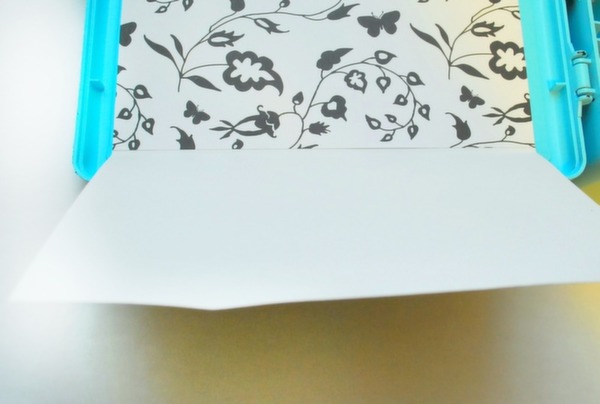
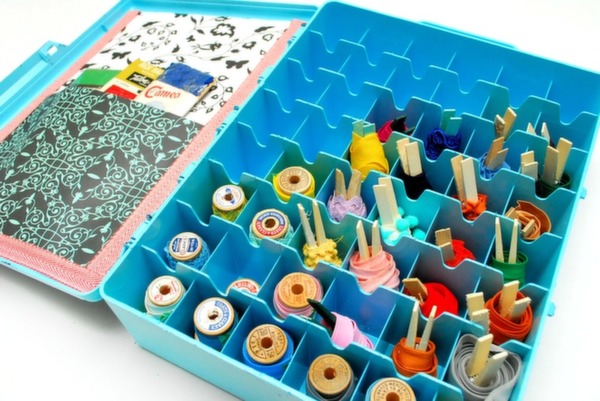
Inside the lid, I created a pocket by folding an 8×12 inch piece of paper in half. I applied adhesive to just one of the folded sides and pressed that to the bottom half of the lid so that the other half of the paper unfolds out towards the bottom. Then I applied adhesive to another 8×12 inch piece of paper and pressed it to the inside of the first piece.

repurposed_car_box_3

Then I applied some double-stick tape to the edges of that unfolded half and pressed down the edges over that 2nd piece of paper. To allow some give for the pocket, I adhered the pocket at a slight angle on both sides.

repurposed_car_box_4

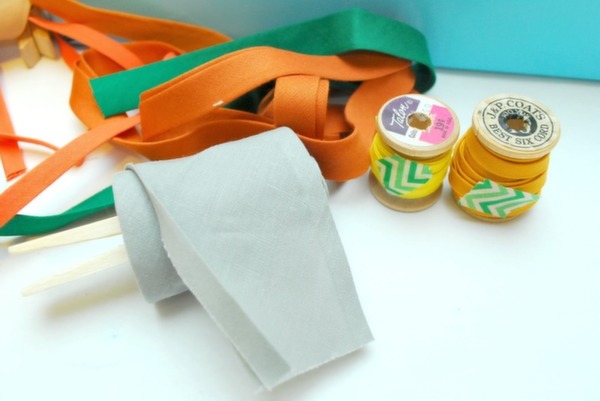
I grabbed some clothespins and wooden spools and wrapped my trims around them. For narrower trims, I used the wood spools, securing the ends with a little bit of washi tape. For wider trims, or for trims where I had a longer length, I used clothespins. Just make sure the clothespins and wood spools you use aren’t too wide or tall for the compartments. I was able to stack two of these one-inch spools into one compartment.
repurposed_car_box_5On the outside, I used a piece of cardboard that one of my trims came in, and with some letter stamps and more trims (of course), I created a label and adhered it to the front. All done!

repurposed_car_box_6

Inside, I stored some vintage trims that are still in their packaging. Plus, I added some trim along the edges of the pocket papers.

Repurposed Toy Car Box Storage to Sewing Notion Storage - Inside

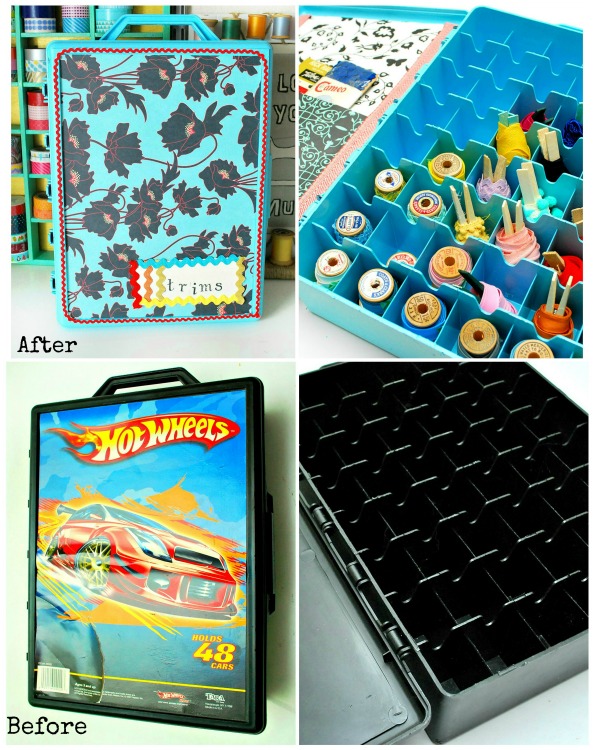
Before and After!

Repurposed Toy Car Box Storage to Sewing Notion Storage - Before and After

Hope you’ll come on by my blog for more craft tutorials and check out my craft room ideas as well. Also, find me on Facebook, Pinterest, Twitter, and Instagram. Thank you again Johnnie for having me here on your blog today! –Steph @ The Silly Pearl

Craft Room Organization at It’s Finest

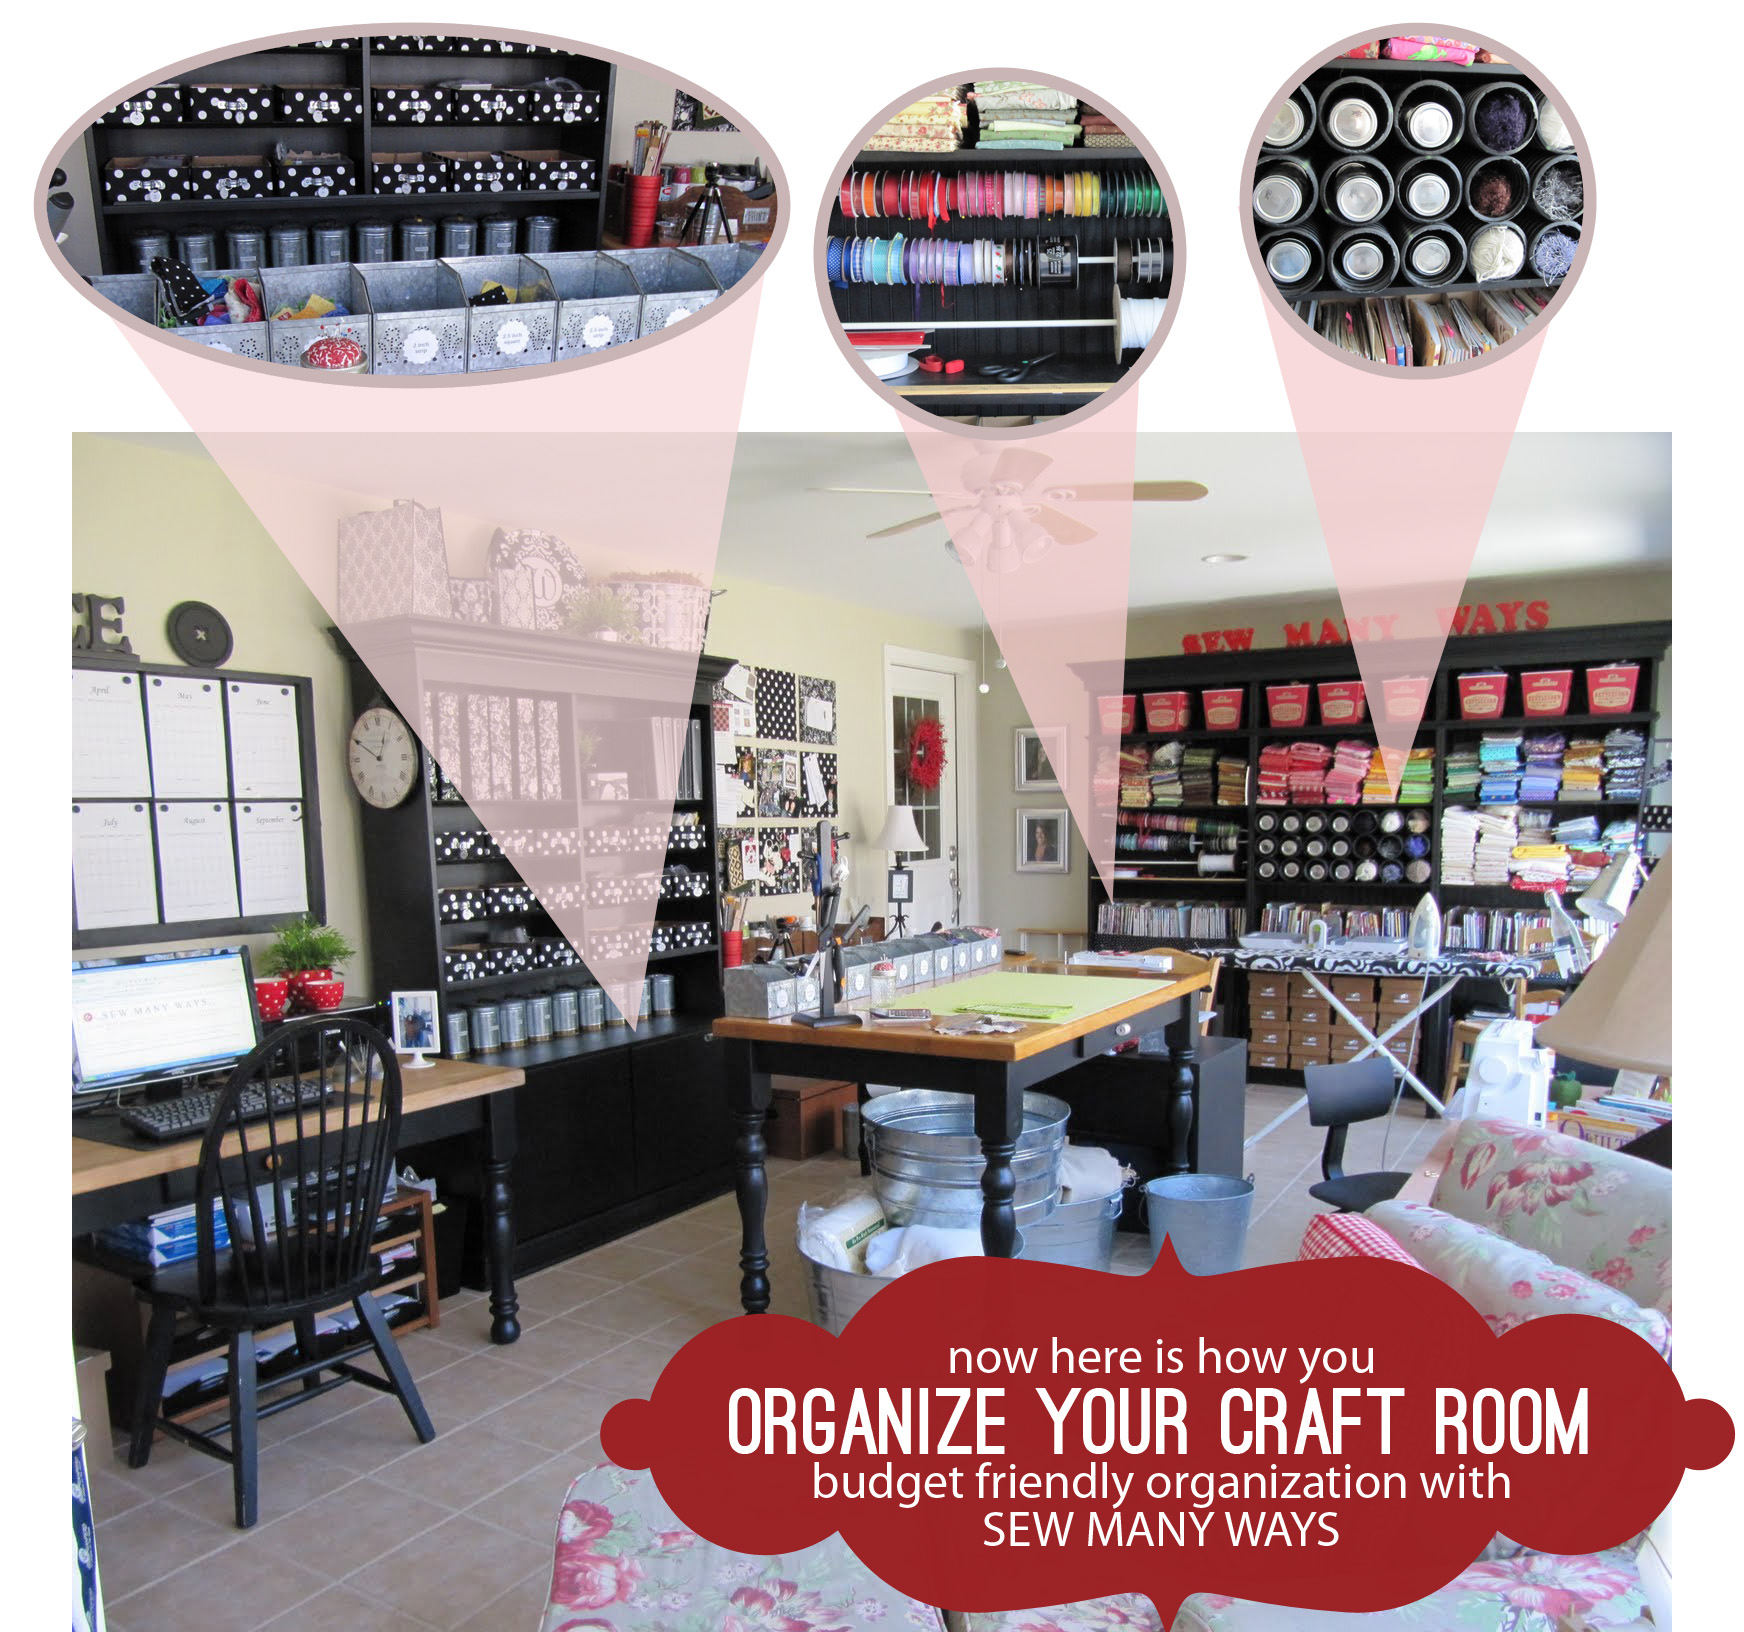
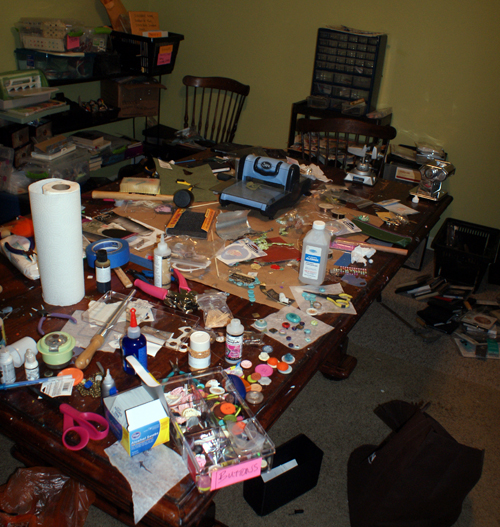
Organize Craft RoomAre you constantly searching for your scissors amidst piles of unsorted craft stash?  Find it easier sometimes to just go buy another whatever it is because it would be way quicker than finding it in your mess of a creative space?  Karen from Sew Many Ways has set the bar high in craft room organization.  In sorting through my cyclone of a  studio, I came across her most updated Sewing/Craft room post and just had to share this with you.

If you are like me, you didn’t even know this was possible.  In fact, when I looked at her first picture, I almost read no further because I thought “no way”.  But, as you will see when you go to her post, Karen walks you through her various budget friendly storage solutions, step by step.
Remember this…

Organizing your crafts

I am nowhere near a reveal, but much closer than I would have been without inspiration from Karen.  Thank you for sharing with us in such detail!!

Stay tuned!

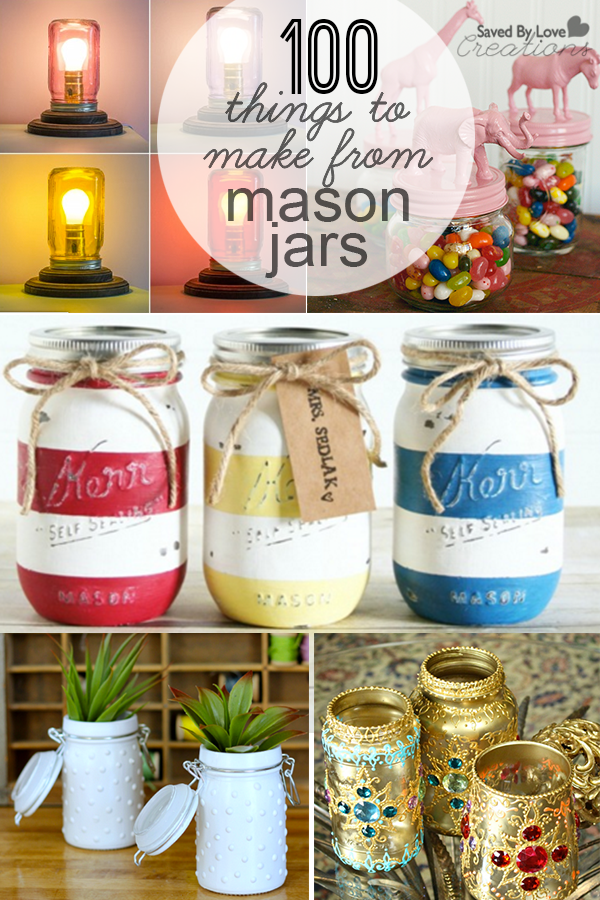
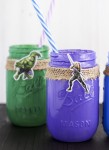
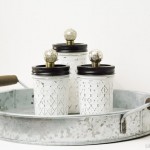
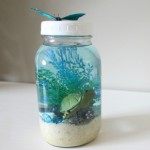
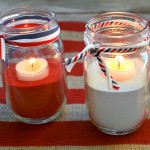
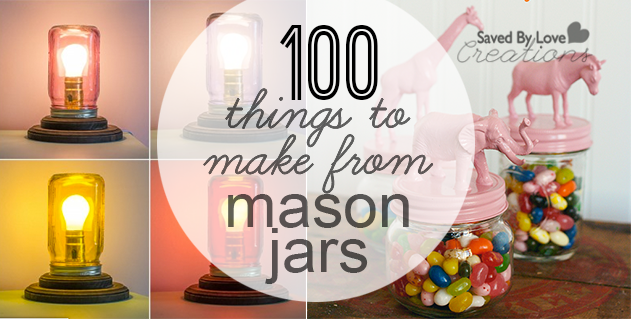
100 Mason Jar Projects to Make

Mason Jar Craft Roundup @savedbyloves
The creative mason jar projects keep rolling in, so we have updated our orignal round-up of jar crafts to include our new favorites. Enjoy!!


Mason Jar Crafts fb


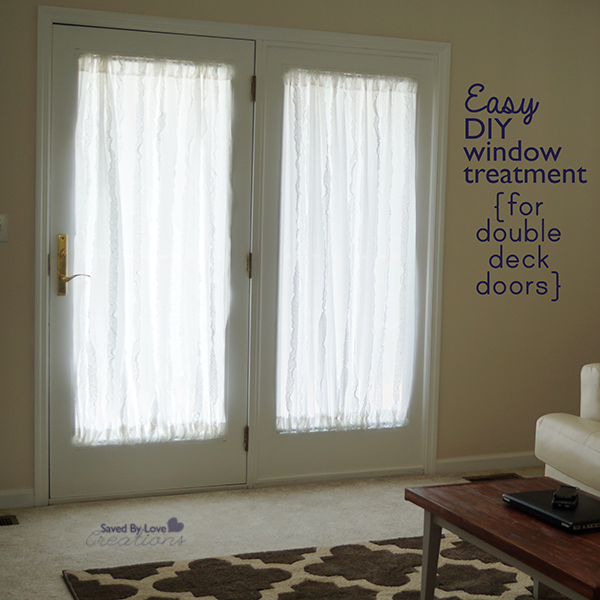
DIY Window Treatment for Double Deck Doors

[pinit]Window Treatment for Double Deck Doors[pinit]

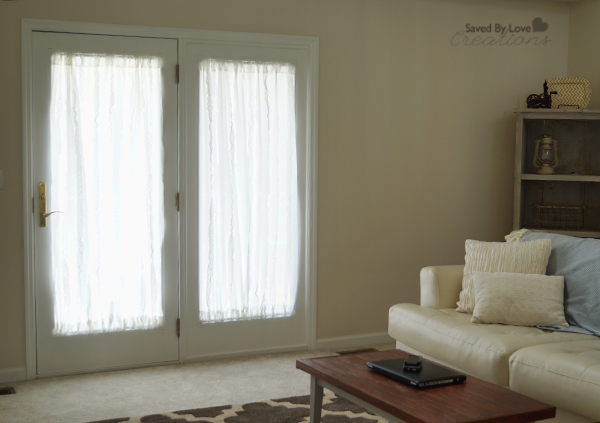
If you have double deck glass doors, you may be wondering what kind of window treatment works and looks best with them.  I ran into the same dilemma in the living room of our new residence.  Hanging a rod above the door frame would leave me with curtains hanging in the way every time I opened the door.  That is why I decided whatever went up there needed to be contained within each door.  I ended up altering regular 84 inch curtains and using tension rods for the perfect solution.   Want to see how?

SUPPLIES:

Farmhouse Decor Window Treatments

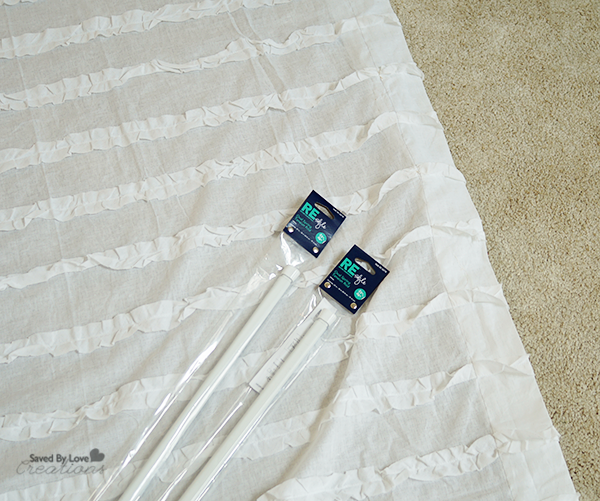
Curtains about 2 times wider than the glass in  the door at least 3 inches longer than the glass

Tension rods that fit inside the window (I got 22-36 inch rods at Target for my 24.5 inch wide glass)

Sewing machine or liquid stitch or stitch witchery

Fabric scissors

Iron and ironing board

Measuring tape

Pencil or chalk for marking fabric

TUTORIAL:

Measure the length of the window and cut curtains to 3 inches longer than that length.

DIY Window Treatment

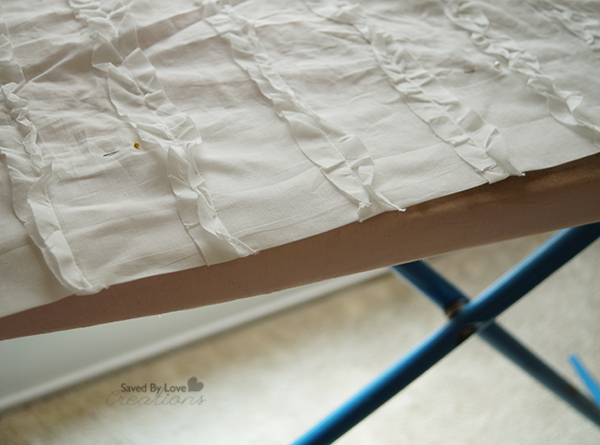
Fold 3 inches  from the bottom of the curtains back and iron to make a hem (the hem will be at the length of the glass).

Pin in place and sew all the way across the width of the curtain.  This doesn’t need to be perfect, or even close, since the curtains will be bunched up around the rod and the seam won’t be visible.

Ruffle Curtains

Hang with tension rods in the top and bottom and you are done!

TIPS:

If you don’t want to or can’t use a sewing machine, follow the instructions but use Liquid Stitch or Stitch Witchery to secure.

You can do this with a piece of fabric at least six inches longer than your glass by sewing a 3 inch seam at the top and bottom, instead of using curtains.  I just happened to have the curtains on hand.

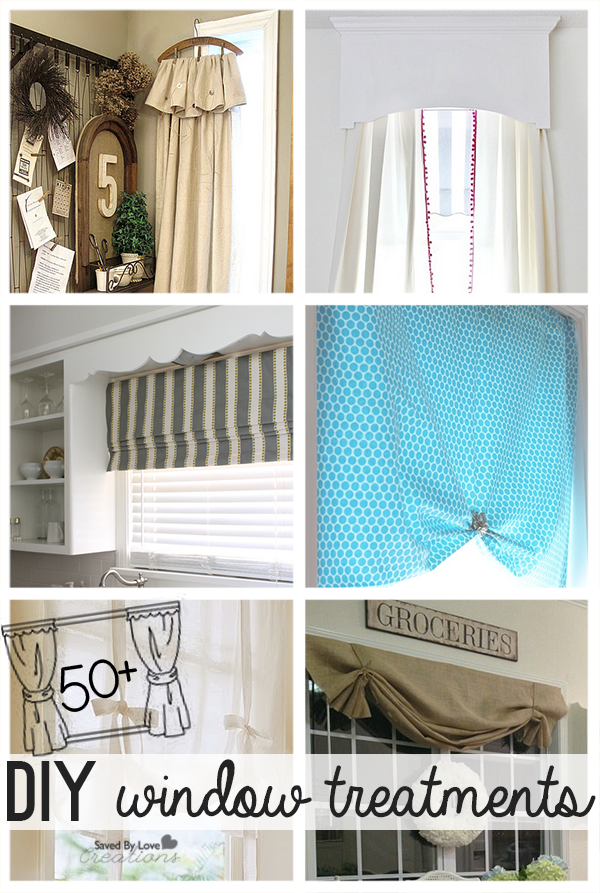
For more ideas, visit our 50+ Curtains and Other DIY Window Treatments to Make:

Over 50 Great DIY Pillows to Make

[pinit]

Over 50 Easy DIY Pillows to Make @savedbyloves

[pinit]
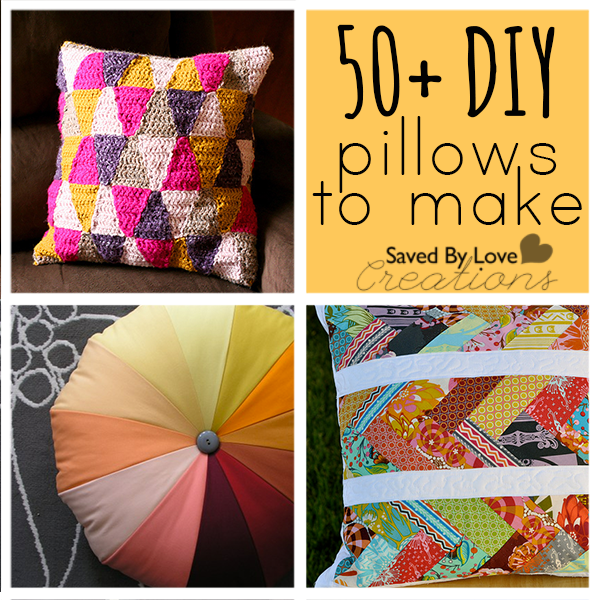
A great way to update and refresh a room is through accent pillows. Even if you sewing isn’t your thing, you can make a easy pillow cover. There are even several no sew tutorials that will have you with some beautiful places to land. Check out this weeks 50+ roundup for tons of inspiration to get you going.


Guest Post: 20 Ways to Reuse Old Bed Sheets

[pinit]

20+ Bed Sheet #Repurpose Ideas @savedbyloves

[pinit]

In these times of economic uncertainty, it is more important than ever to get creative. Instead of throwing something away, it is time to reuse it, recycle it, and make it into something new. That shoe box? A great place to hold your stationary. Those dried up mushrooms? Perfect to make a mushroom stock for cooking. There is almost nothing out there that cannot be turned to a better use. Old bed sheets may seem like they should be thrown away, but that is thinking inside the box. Instead of tossing them, put them to better use. Here are twenty ideas to get you started, but feel free to do something entirely different!

1. It’s almost Halloween so that means you can turn your bed sheets into a costume, one of the oldest, most well recognized costumes out there: Make yourself into a ghost!

20+ Bed Sheet #Repurpose Ideas @savedbyloves
Source: www.cafemom.com

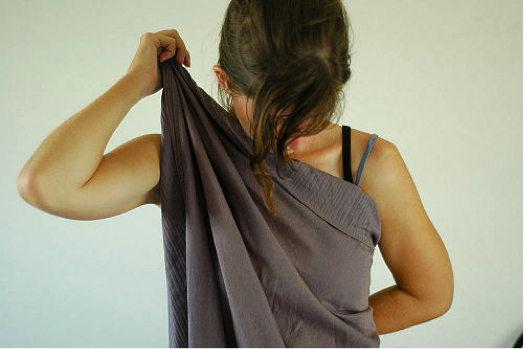
2. If a ghost sounds too scary for you, think about creating a toga. Throw a Halloween toga party and invite all your friends! Or throw a toga party any other time of year. Great step-by-step instructions here: http://www.wikihow.com/Make-a-Toga-out-of-a-Bedsheet

20+ Bed Sheet #Repurpose Ideas @savedbyloves
Source: www.wikihow.com

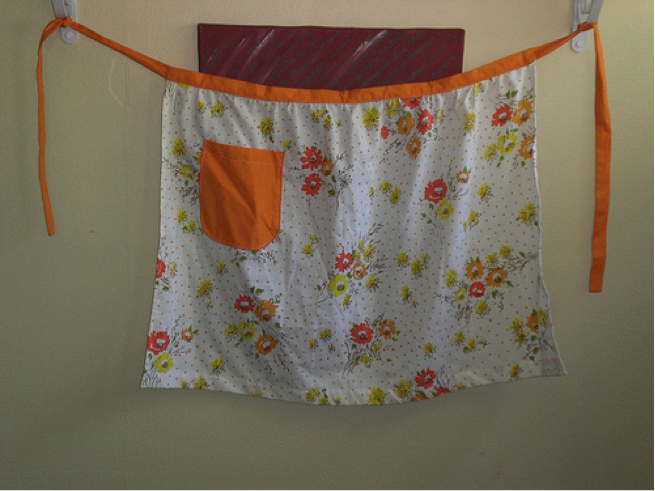
3. Make some aprons for yourself – they are meant to get dirty anyway, so why not use some old bed sheets to make them!

20+ Bed Sheet #Repurpose Ideas @savedbyloves
Source: www.craftyminx.com

4. Turn your old bed sheets into curtains for your windows. If you have patterns, use them to get even more creative! Cut out shapes and sew them on. Check out this handy tutorial from Fun Frugal Mom.

http://www.fun-frugal-mom-survival-tips.com/how_to_make_curtains.html

5. Cut up your old bed sheets and use them as cleaning rags. This is doubly good for the environment because it saves the sheets and stops you from using paper towels.

6. Use your sheets to line your pet’s crate – they might be too old for your use, but your dog won’t mind.

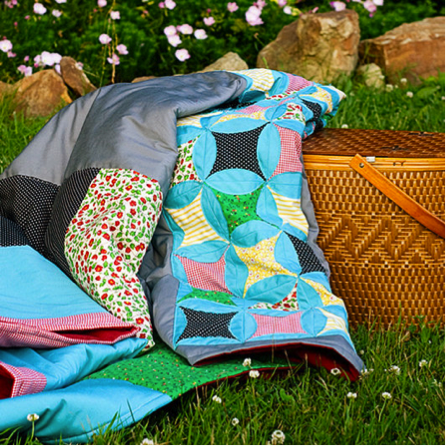
7. Store your old sheets in your car trunk so that you will always have them on hand for impromptu picnics!

20+ Bed Sheet #Repurpose Ideas @savedbyloves
Source: www.blog.babble.com

8. Use the sheets as drop cloths for your next painting or other messy creative project to protect the floor.

 9. Donate your sheets to a local charity. They are probably less picky than you are and won’t mind that they are old as long as they are clean!

10. Save your sheets to use in the winter to cover plants and protect them from frost.

11. Cover furniture in unused rooms in your house. The sheet will protect the furniture from accumulating dust, so you don’t have to keep cleaning it.

12. Turn the old sheet into a tote bag. Use it at the grocery store instead of a plastic disposable one. Check out this helpful tutorial from Craft Stylish.

http://www.craftstylish.com/item/39876/how-to-turn-old-sheets-into-shopping-totes/page/all

13. Build a tent in your living room! Or make it a teepee and teach your kids about Native Americans.

20+ Bed Sheet #Repurpose Ideas @savedbyloves
Source: www.thesoho.blogspot.com

14. Transform the bed sheet into a bed skirt!

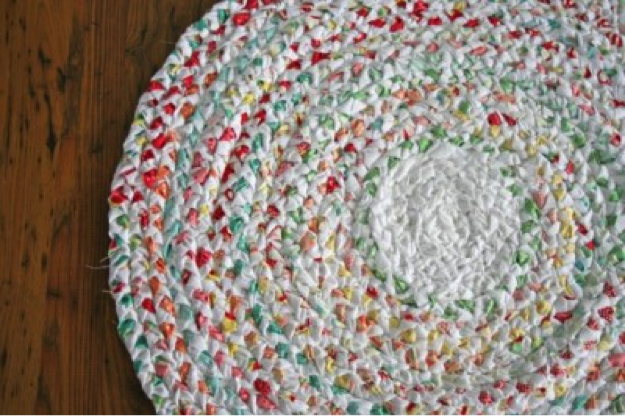
15. Make a rag rug – it never goes out of fashion to be frugal! My favorite design is this one from the lovely Elizabeth Anne. http://www.elizabethannedesigns.com/living/2009/04/09/craft-braided-rag-rug/

 20+ Bed Sheet #Repurpose Ideas @savedbyloves

16. Use the sheet for a skirt for your Christmas tree – holiday season is just around the corner after all!

17. If only part of the sheet is damaged and the rest is in good condition, turn it into a pillow case.

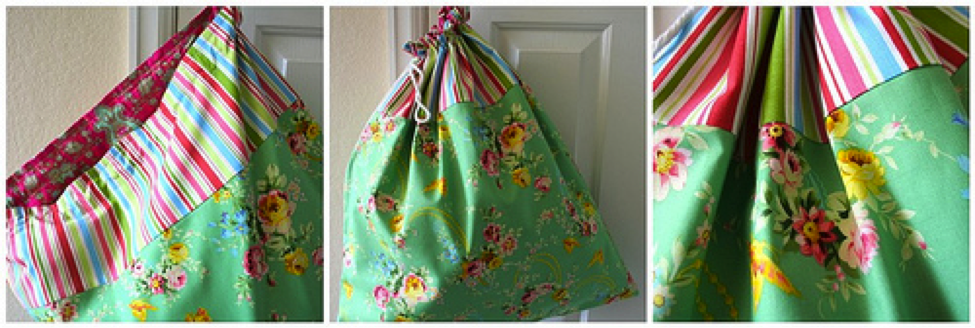
18.  If your sewing skills are just basic ones, turn the sheet into a new laundry bag – it is one of the easiest sewing projects out there!

20+ Bed Sheet #Repurpose Ideas @savedbyloves
Source: www.ihavetosay.typepad.com

19.  Make a new cover for your ironing board. It will make ironing feel less like a chore if your ironing board is covered in a funky new pattern.

20.  Use the least faded parts of the sheets to make a cover for a bulletin board. You can still pin anything you want on top of it, but now the background is more fun thank plain old cork.

About the Author: Elena Morgan is a thrifty, DIY mom, committed to making the world a better place through recycling. When she’s not repurposing household items, you can find Elena reviewing bedding, furniture and home décor. Click here see some products she recommends!

DIY No Sew Fabric Bunting

No Sew Bunting Tutorial

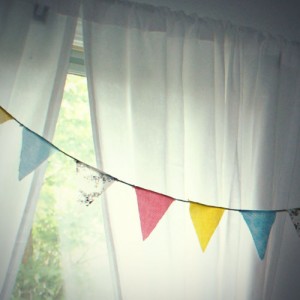
Do you love all the bunting you see accessorizing homes and wonder how you can add this lovely decor to your room, without sewing?  This project is fast and simple.  Just grab your fabric, a triangle template, some garden twine and a glue gun and you are set.

Supplies:

  • Coordinating fabrics
  • Triangle template
  • Fabric Marker or chalk
  • Scissors
  • Twine
  • Hot glue gun

Instrictions

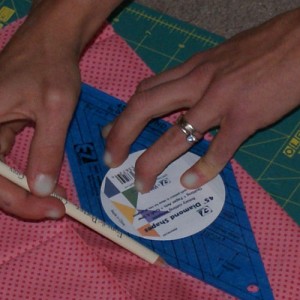
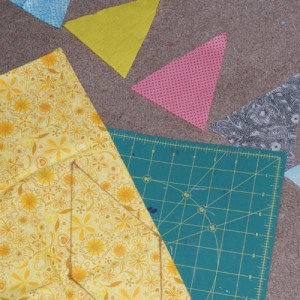
  • Trace triangle onto fabric and cut out as many triangles as you will need for you bunting.  I used a diamond shaped quilting template I had on hand and cut the diamond in half to make my triangles.  You could also cut a triangle out of cardboard or card stock.

Fabric Bunting Tutorial

How to Fabric Bunting

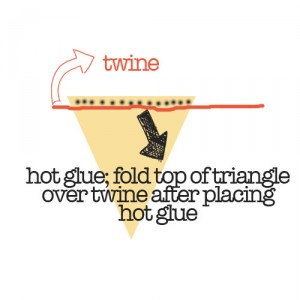
  • I arranged my triangles in the order I wanted them to appear on my bunting, put a strip of hot glue along the triangle top and folded it over the twine.  Then I moved to the next fabric triangle, placing it 2-3 inches away and repeating.
  • How to fabric buntingThat’s it.  Told you it was easy!  Great way to add a new splash of color, inexpensively and quickly.

Bunting no sew tutorial

No Sew Bunting

What do you think?  What are your favorite bunting ideas?

First Attempt at a Quilt… Project FInished


So here it is. Not bad for a first time. It only took 5 days from beginning to end. And that included touching a sewing machine for the first time.
I got frustrated at some point, because the in almost all of the instructions I found during this process really emphasized perfection. I was getting stress at imperfect seems, alignment, puckering… By the time I got to the binding, I quit fighting the fact that I am kinda sloppy, and really just wanted it finished and on my bed 🙂
It got more fun at that point. If you examine closely, and imperfections bother you, you will be horrified. I am just so excited to have this piece to accent my room, and inspiration for all kinds of sewing projects spinning in my mind. Making stuff rocks. Blessings,
Privacy Policy