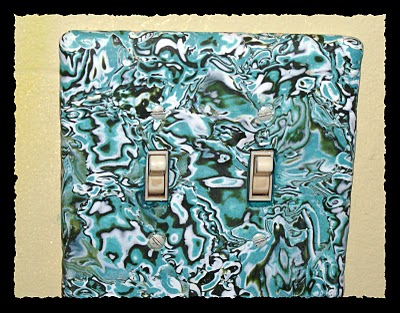
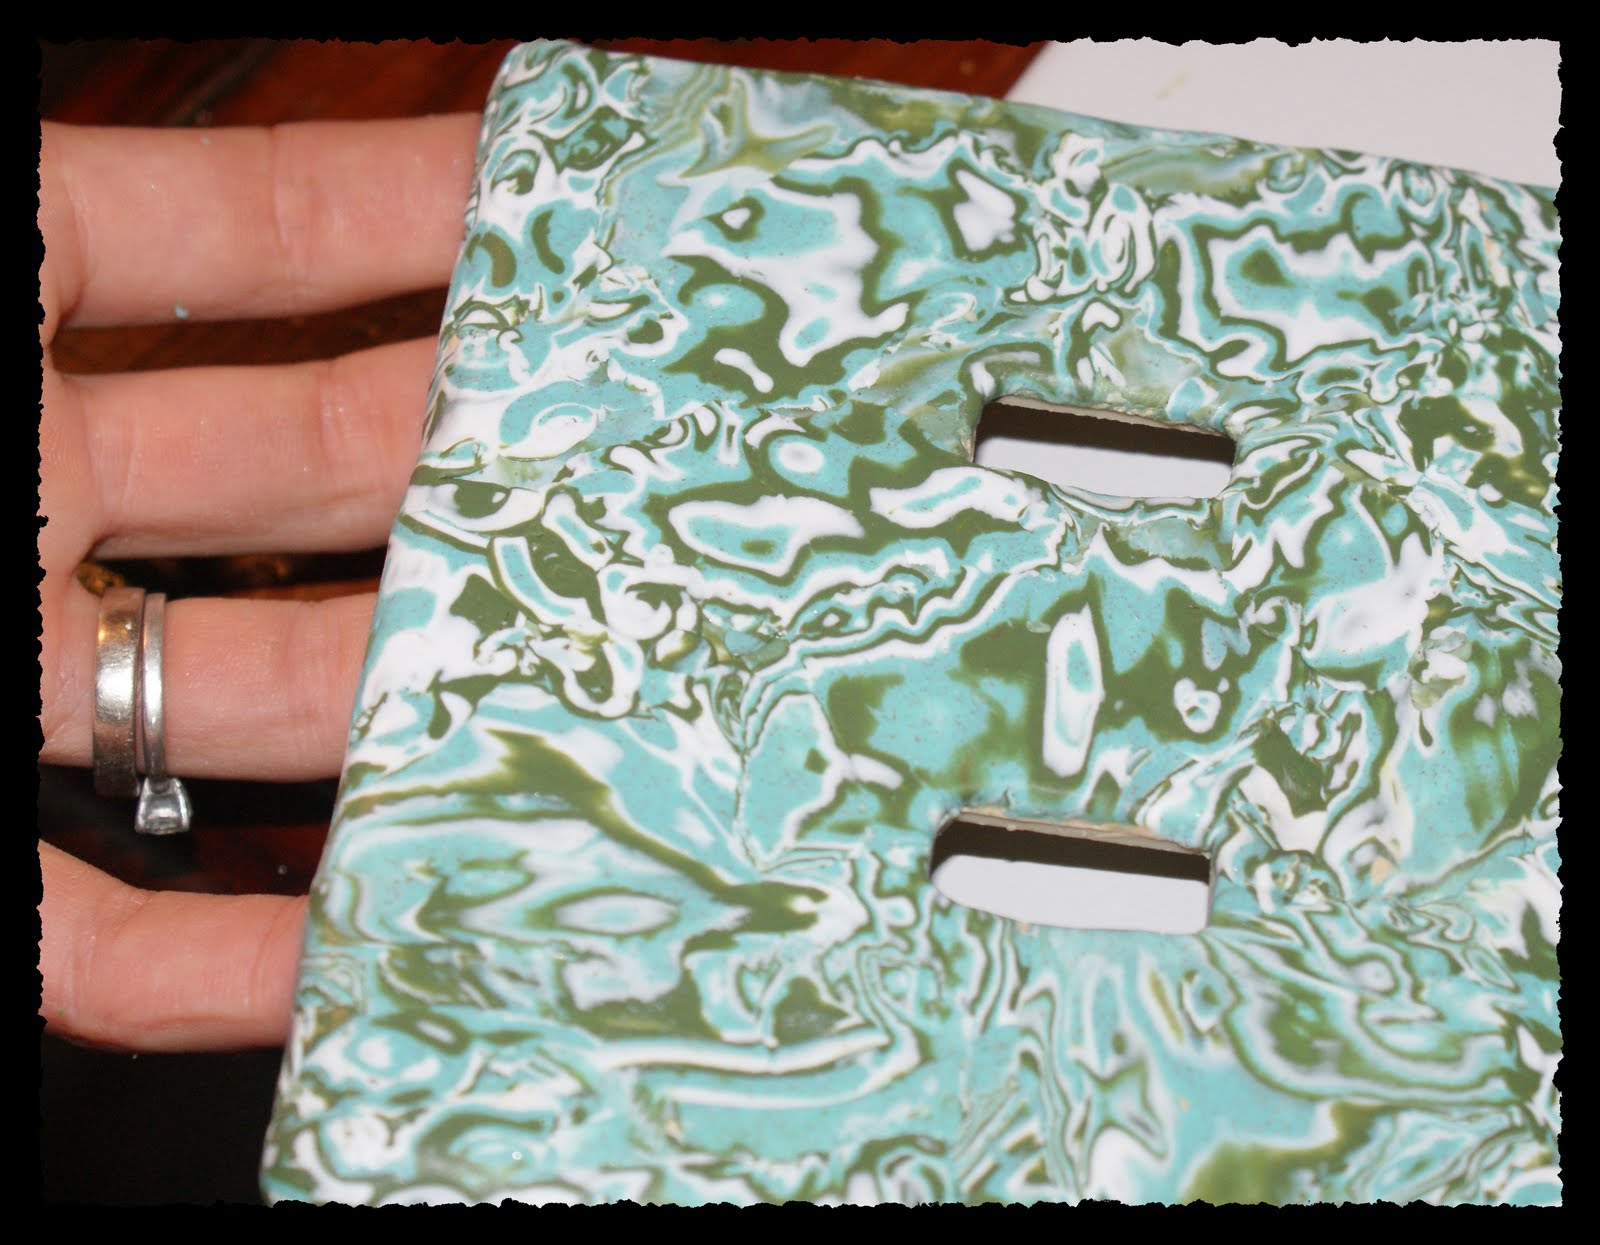
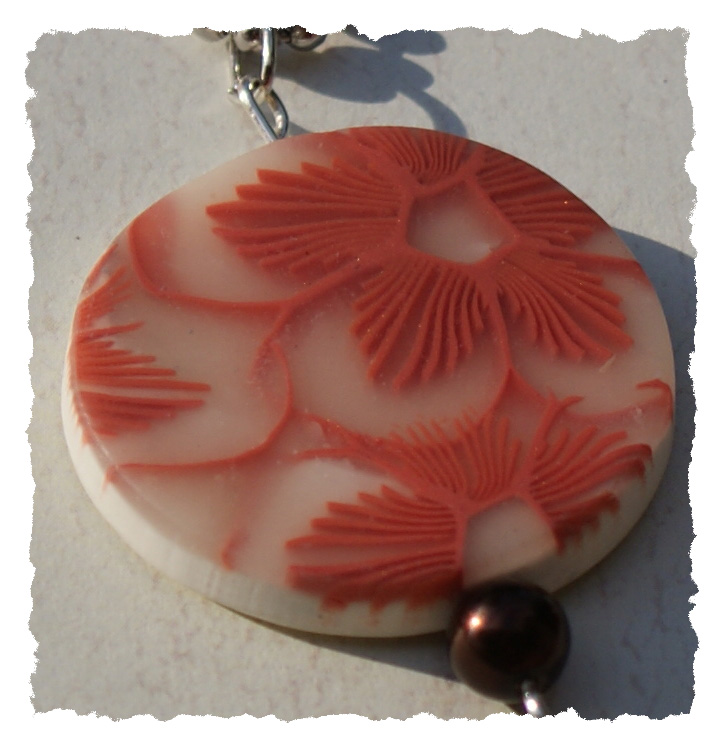
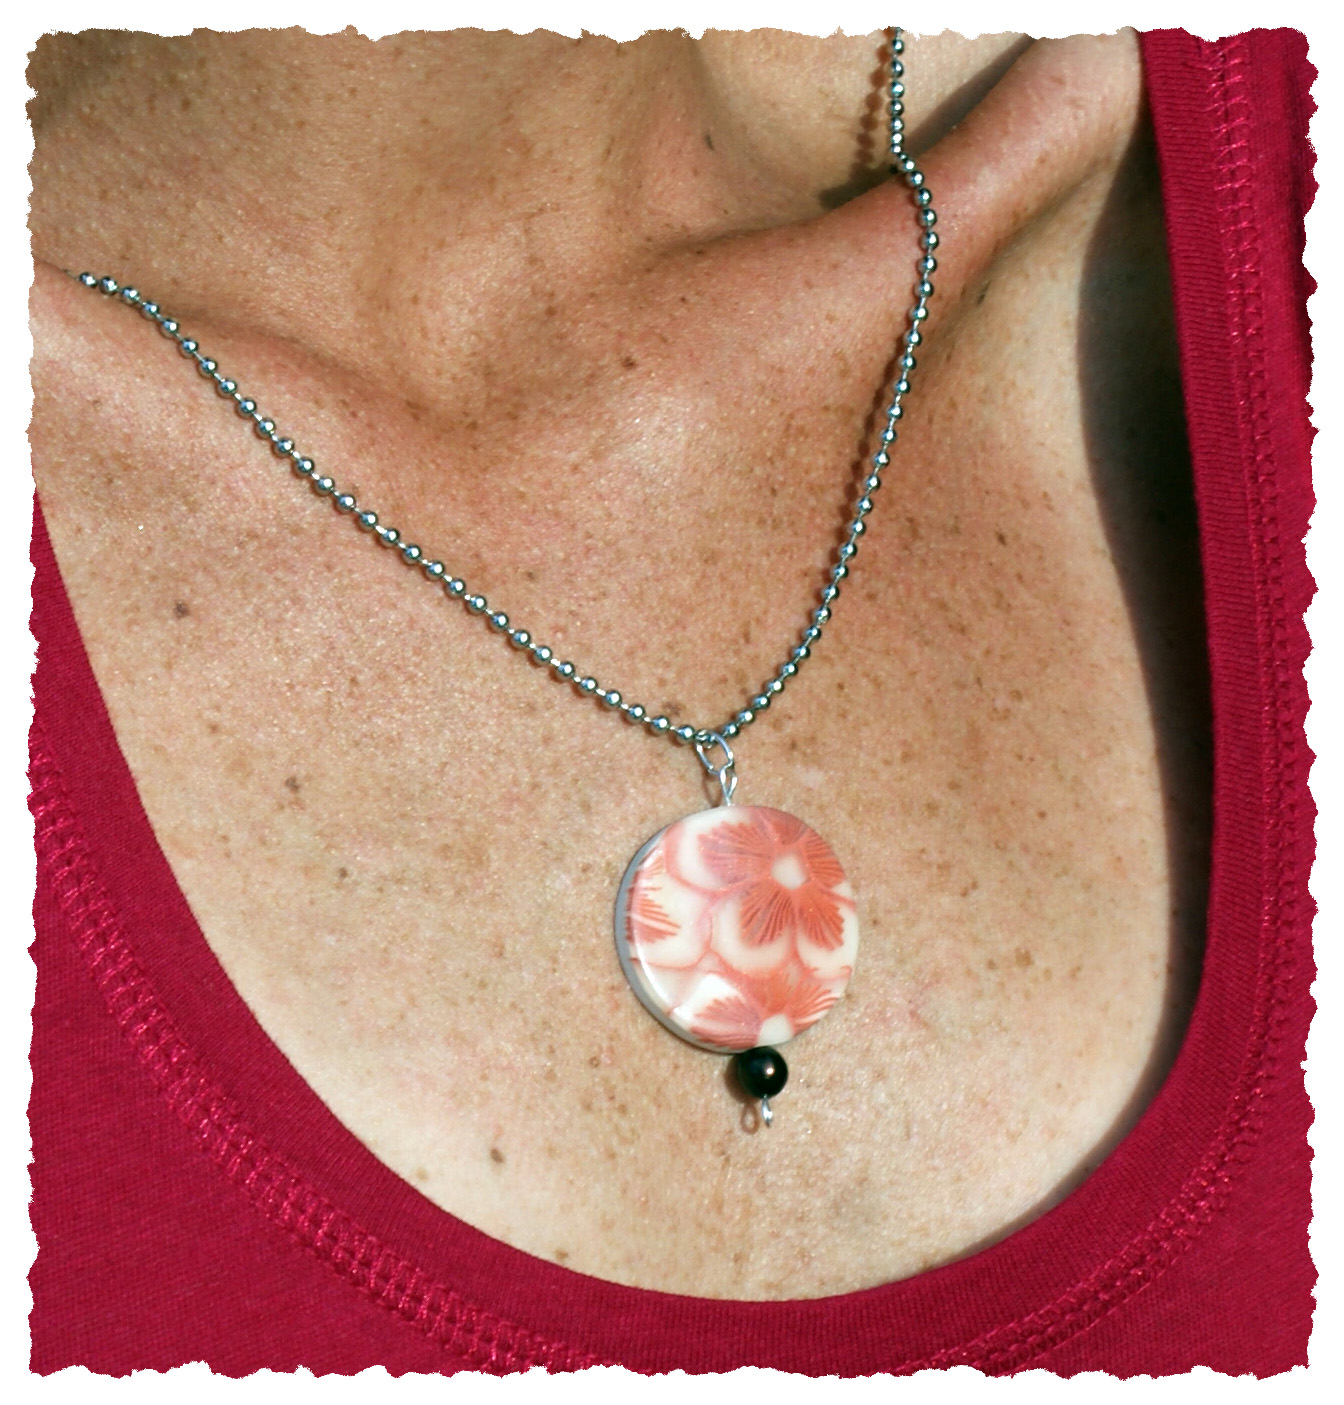
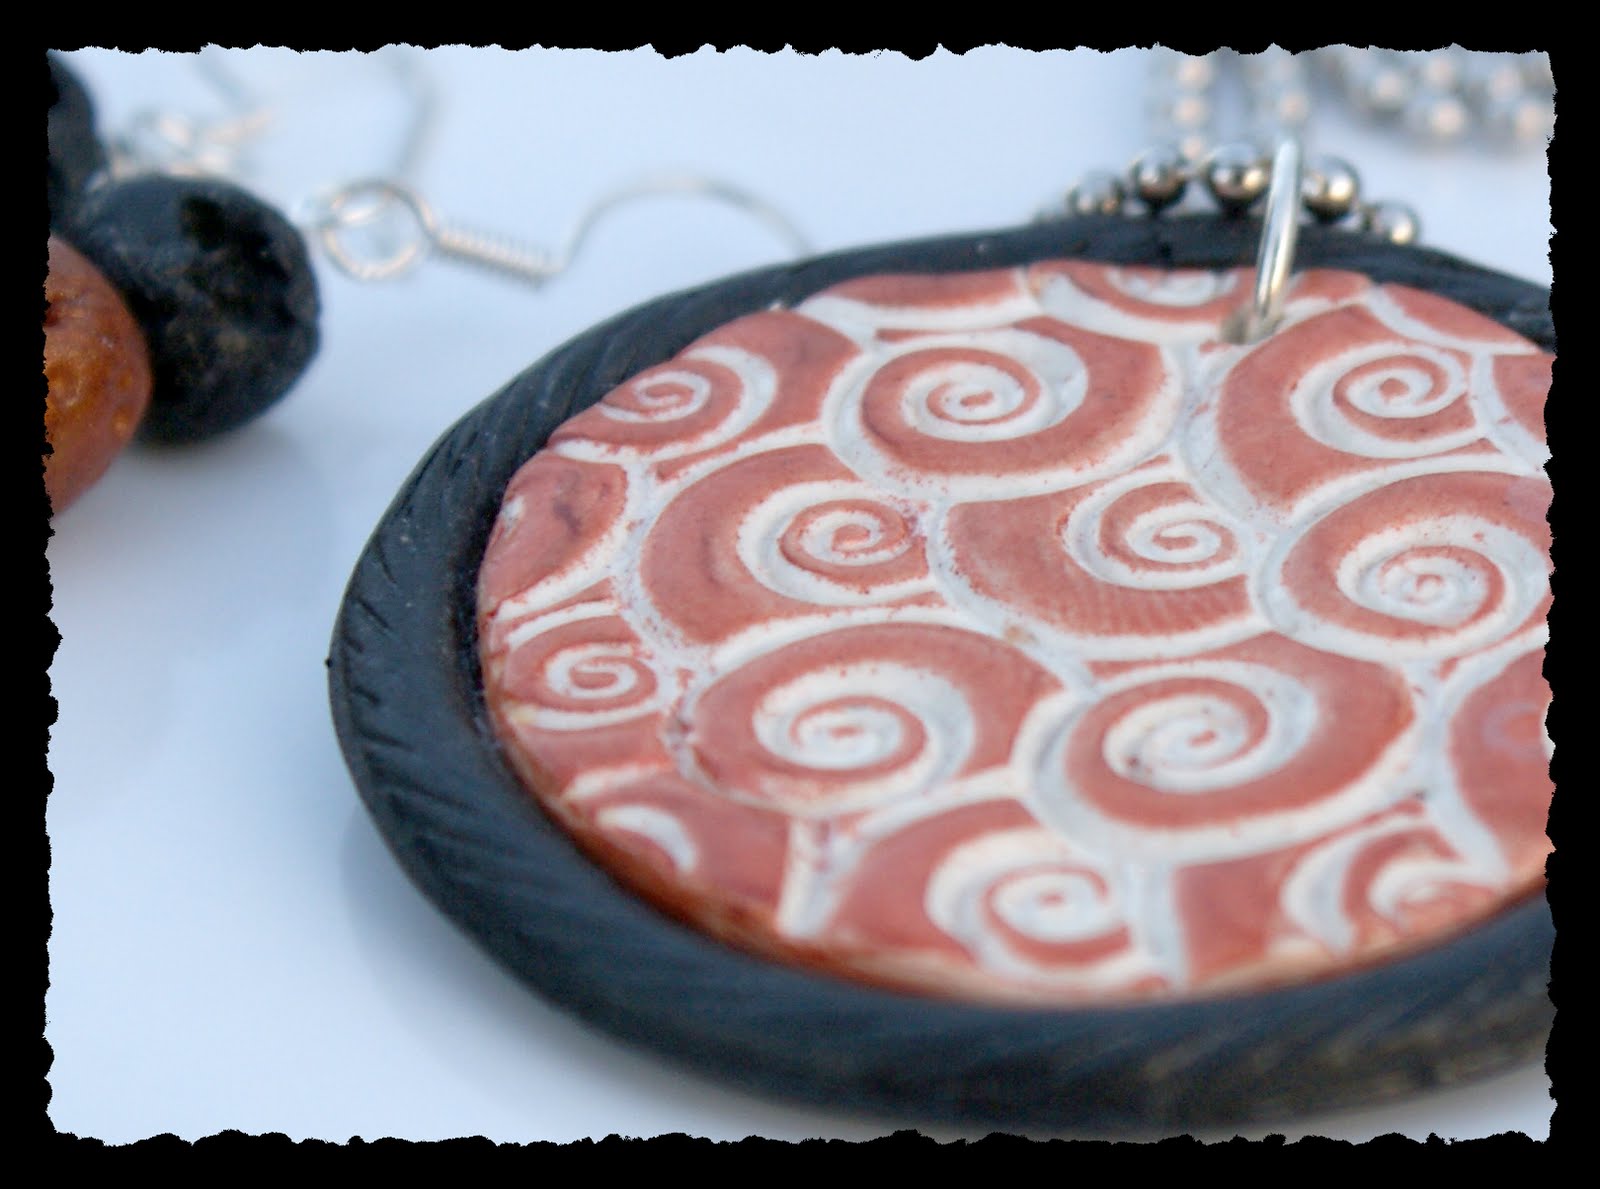
Archives for July 2010
Polymer Clay Day #54; AA Circle Triangle Pendant With Hope Tag
Polymer Clay Day #53; Switch Plate Cover Tutorial!
Thought I would switch (pun intended) things up a bit, and clay a home decor piece. Walking around my house, looking at all the uncovered light switches (we are painting all the rooms) it occurred to me to give switch plate covers a go. I love how it turned out, which means I am probably not going to stop until all my switch plates are clay-ified. 1 down, 53 to go. Yippie!
Once you make your mokume gane block as outlined in the tutorial linked above, let the warm clay cool, then shave thin slices off for your switch plate cover and set aside.
Make sure you shave off enough to cover the entire area of your switch plate.
You should test your switchplate by baking it in the oven at the same temp as you will bake your clay to make sure it doesn’t bubble or melt. Some of the plastic ones can do that. You can also use metal, but it is more difficult to get the clay to stick to than is plastic. Clean your sand your switch plate to rough it up a bit for better adhesion (i used 120 grit, but it doesn’t really matter).
Apply a thin layer of translucent liquid sculpey (for adhesion) with a paint brush that you don’t mind dedicating to clay (the brush will never be the same again).
Then roll out a background sheet of clay to cover the plate. I used scrap clay that was light in color (darker colors will affect the slices of mokume gane and alter their tone). I conditioned it in my pasta machine on #3. Then I laid it on the switch plate with the TLS layer. I had to use 2 pieces of clay to cover the whole thing. I got rid of the seam by lightly rubbing with my finger, but I wasn’t too particular about it since I knew I would be covering the background sheet with cane slices.
Turn the now covered switch plate over and trim away the excess clay.
Place your slices on as desired and roll to smoothen.
Once the plate is covered to your liking, use a craft knife to cut openings for the switches, and a needle tool to poke through where the screws will go. Bake as instructed on clay package (mine was 265 degrees for 2o min). Remove it from the oven and let it cool before handling. I use a toaster oven and baked this right on the tray in the oven. You can use a glass baking dish, or a cermic tile, etc…
Polymer Clay Day #52; Zebra Print Dome Pendant
I used my zebra print cane combined with the dome shape I debuted yesterday. To shape this, I cut out a circle from a conditioned sheet of black clay with my circle cookie cutter. I then spray my mold with armor all (to prevent the clay from sticking to the mold) and lightly press the circle into the mold. I use a dome shaped mold for resin jewelry that I found at Hobby Lobby. I use scrap clay to fill the dome, then put a flat black circle piece on the back before applying the cane slices and baking.
Polymer Clay Day #50: Run With the Sun Marathon Pendant
After an awesome 18 mile run this morning, I have marathon on the brain. I am finally getting pumped up for this race. I will be wearing this pendant to keep myself motivated. Now… bed. Oh yeah, skunk update – still stinky, but markedly improved from original spray day (yesterday). My lil’ Bovie still acts a little stunned, and is favoring his front left paw, although I find no lesion or skunk induced scratches. If he’s not better Monday, to the vet we go. I leave you with his adorableness…
Polymer Clay Day #49: Oh MY GOODNESS, My Dog Met a Skunk Hydrangea Pendant
First, I would just like to say… WOW. WOW. So, I went for my 7 mile run this morning, pondering how much I have to be grateful for, and how I am happier with life now then I ever have been. I recall a point along the path when I thought to myself, “there are a lot of skunks in my new neighborhood.”. It was a fleeting thought, or maybe a premonition. I return home and let my dogs out to do their thing in the yard while I grab a cool drink from the fridge, a decision I would later regret. I was comfortable in doing this because the 2 have gotten loose from the gated area twice for several hours since we moved here, and have just hung out near the house. Wouldn’t you know it, the jack russell decided to venture out, returning an hour or so later with a birthday present for me – skunk spray. I was in my family room when, just like in the cartoon, the scent rolled in and grabbed my nose. I thought something was burning. I went to investigate, to find my sullen terrier, head hung with a stunned look about him. I picked him up and took him straight to the sink, grabbed the dawn and scrubbed him down. By the smell of my house, you would swear I invited a dozen skunks over and unleashed a wolf among them.
I found this website on how to get the stink out of your dog and home. Since it’s my birthday, I had birthday dinner plans. I had shared the odor trauma story with my sister, and she thoughtfully included yankee candle odor killer votives, which are currently burning in multitudes around my home. Poor Bovie (my terrier). Not only did he get sprayed by a skunk then spend several hours in the scorching heat, but he got to experience 2 hydrogen peroxide, baking soda, dish soap 5 minute soaks/spray downs with the water hose. He still reeked of sulfites, so i sprayed him down with febreeze/downy fabric softener. He has has a bad day. I think I am getting use to the smell. That, or my olfactory cells are playing dead. Lisa, I am wishing about now that I had your loss of smell problem!
Polymer Clay Day #48: Rope Bordered AA Circle Triangle Pendant
Something is appealing about things in 3’s. Triangle, trinity, 33 years old tomorrow, 3rd year sober, 3 marathon in training, AA’s three legacies; unity, service, recovery… good number, 3. Groupings of elements in 3’s is visually pleasing. Father, Spirit, Son. Moe, Larry, Curly.
Polymer Clay Day #47: Swirly Whirl Rope Bordered Pendant
Polymer Clay Day #46: Chinese Character Pendant With Some Lava Love
Coffee grounds + clay = cool granite effect. I had some extra lava beads from yesterday’s clay adventure which I combined with this pendant. I used staz-on jet black solvent ink and a stamp pad from Lisa Pavelka’s line of clay tools. The other 2 beads on the earrings are czech glass. There are such beautiful stamps out there, and with cricut there is the ability to design and cut custom stamps, making the polymer clay possibilities huge.