Archives for February 2016

The 50 Plus Best Free Easter Printables

50 plus amazing free Easter Printables @savedbyloves
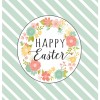
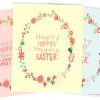
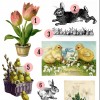
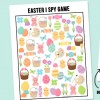
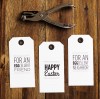
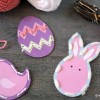
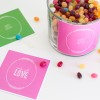
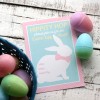
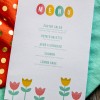
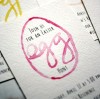
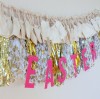
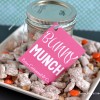
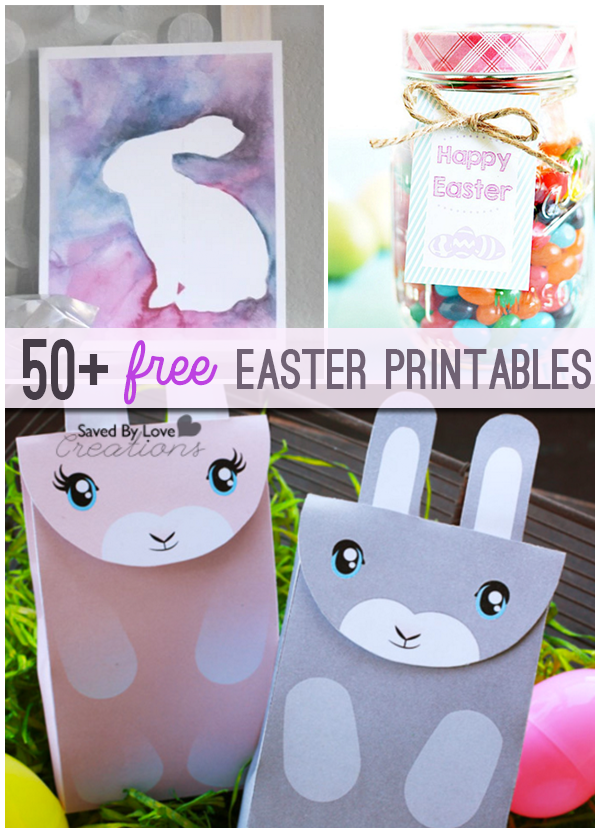
Valentine’s Day is behind us, and Easter is rapidly approaching. Today, we are excited to share our favorite free printables with an Easter theme. You will find bunnies, scripture, flowers, eggs and crosses galore. Refresh those ink cartridges and get ready to spring-ify your crafts and decor, without hurting your pocketbook! As always, if you have a great Easter printable that we missed, leave us a link in the comments so we can include you!


DIY Wood Shelf Craft Storage

Woodworking Craft Room Shelving from 2x4s @savedbyloves

We needing some shelving in our new craft room. The space we had to work with was 81 inches floor to ceiling and about 15 ft. wide. We wanted something sturdy and easy to throw together. We decided to go with 2×4 shelving. It is relatively cheap, easy to work with, super strong and if you don’t go crazy with the screw fasteners it can be disassembled pretty simply if you need to move it.

Storage Ideas

The other dimensions we landed on were the depth of the shelves at 14” and the distance between the shelves of 13”. Once we had these picked it was just a matter of drawing up the simple design to maximize the space and minimize the number of cuts. This way I could buy standard 2×4 lengths.

Overall the shelving unit measures 68 inches (H) x 14 inches (W) x 12 ft (L). It has five levels of shelves spaced 13 inches apart and allowing a nice clearance to the ceiling on the top shelf. We were able to get all of the pieces we needed out of (23) 2x4x12’ and (2) 2x4x10’. The unit is held together with 2” and 2.5” # 8 phillips deck screws and wood glue.

Build Craft Room Shelving from 2x4s @savedbyloves

Purchase list:

(23) 2x4x12’                          2” #8 phillips deck screw

(2) 2x4x10’                             2.5” #8 phillips deck screws        Wood glue

Cut List:

(15) 2x4x 14 inch rungs

(6) 2x4x68’ ladder legs

Tools:

Circular saw or chop saw

Milwaukee cordless Hex impact with phillips bit

Milwaukee Cordless drill for pilot holes

Hammer

Measuring tape

Pencil

DIY Craft Room Shelving from 2x4s @savedbyloves

Ladder supports

The first thing to do is to build what I call the ladder supports. It’s obvious why I call them this, they look like ladders with the rungs providing the support for the shelf boards. This length of unit needs three of these identical ladder supports. So first using 3 of the 2x4x12’ boards cut (6) 2x4x68” pieces which will be the legs of the ladder and using the (2) 2x4x10’ cut 15 pieces 14” long which will be the rungs of the ladder. After you have all the pieces cut lay out one of the ladders on the floor and mark the legs at the point where you want the rungs to attach. Remember that you will be placing a 2×4 on top of these that will become the actual shelf surface. So adjust the position of the rungs so they are evenly spaced with the top rung allowing the shelf to be flush with the top of the leg and the remaining shelves to be 13 inches below the next shelf as you go down. (see picture). Secure the 14 inch rungs in place between the two legs using the 2.5” deck screws and glue on the joints. Use 4 screws per rung. We drilled pilot holes in the leg to make it easier to hold the rung and get it square on the leg as you screw it in. We used a really awesome Milwaukee power impact driver that made life really easy. It had tons of power and the torque settings were perfect to keep the phillips drill bit in the screw without twisting out, and not countersinking so rapidly that it splits the wood. At the end of this section you will have three identical ladder supports.

Shelf stringer boards

Now take the rest of the 2x4x12’ boards and place them between the ladder supports. Four boards will fit snugly within the 14 inch space in the rung. When you have a ladder section on each end and one centered in the middle at the 6 foot mark. Use the 2 inch deck screws to secure the shelf boards to the rungs. I find it wise to have a helper and to fix one shelf board top front and back and bottom front and back first. This will hold the whole thing together and upright while you set the rest of the shelf boards. Finish setting and screwing in the shelf boards and you are done !!

Craft Room Storage Ideas

We also threw together a paint storage unit with our extra 2×4 from this project.  It is super simple. Another ladder unit as you can see. We just measured the space and cut our shelves  to fit.

Remeber our DIY Custom Built-ins from Bookshelves

https://savedbylovecreations.com/2014/11/diy-custom-built-ins-from-bookshelves.html

It was hard to leave this awesome set up, but we are finally getting settled into a new studio that we love!

Easy Game Night Salsa Recipe

Easy Game Night Salsa Recipe @savedbyloves


Johnnie and I met about two months ago, both having recently moved to Fort Collins, CO from out of state. We both work from home, have a beagle(s, in her case), love outdoor adventures, and are positive and active people. Needless to say we hit it off well. Our first meeting was at the dog park, then we carpooled to a snowshoeing event the following weekend, and went to float in isolation tanks, too!


I just love food made from whole, fresh ingredients. I originally came up with this recipe when I was living in Maryland and getting fresh organic veggies weekly through a CSA subscription. Salsa is amazing because you can eat it so many ways- with corn chips, on top of a baked chicken breast, with scrambled eggs, and on top of a turkey burger just to name a few. Who doesn’t love a tasty way to get some extra veggies on their plate?

Salsa Recipe

Ingredients:

6-8 large tomatoes

2 lemons

1/2 large bunch cilantro

couple pinches of sea salt and pepper

1 green pepper

1 onion

2 cloves garlic

Optional: jalapeno pepper(s), if you like spicy salsa


  1. Juice lemons (remove seeds).
  2. Remove seeds and stem from pepper. Cut into quarters. If using jalapenos, dice and remove top.
  3. Peel onion and garlic. Quarter onion. Mince garlic
  4. Throw all ingredients along with the stuff from steps 1-3 into the food processor. Pulse until desired consistency, stopping to scrape/mix as needed.
  5. Serve with chips or over burgers or as desired. Refrigerate leftovers.


Note: We didn’t have a food processor at our disposal, so instead, we chopped the tomatoes into quarters, cut the cilantro with scissors into small bits (just the leaves), diced the onion into small bits, and diced the garlic and peppers. Then we followed the recipe above using a blender. The food processor just saved some time dicing, but the end product is equally tasty.


My love for the Spanish language and Hispanic culture goes farther than just making tasty salsa! After majoring in Spanish in college and studying abroad in Spain, I started my own virtual business teaching practical conversational Spanish and English to break down language barriers. I offer personalized one on one language lessons, appropriate for all levels, including those with no prior language experience. Payment plans available. I also offer group language lessons at a great rate, virtual workshops, and trips to Spanish speaking countries. Want to chat more with me about learning Spanish (or English) conversation virtually? Check out my website at www.rompiendolasbarreras.com or email me at hannahrompiendolasbarreras@gmail.com.

Guest post by Hannah Pinkerton, Rompiendo Las Barreras- Virtual Spanish & English Conversation Lessons

Thank you so much, Johnnie for allowing me to do a guest post on your blog this week. You are the best!


Privacy Policy