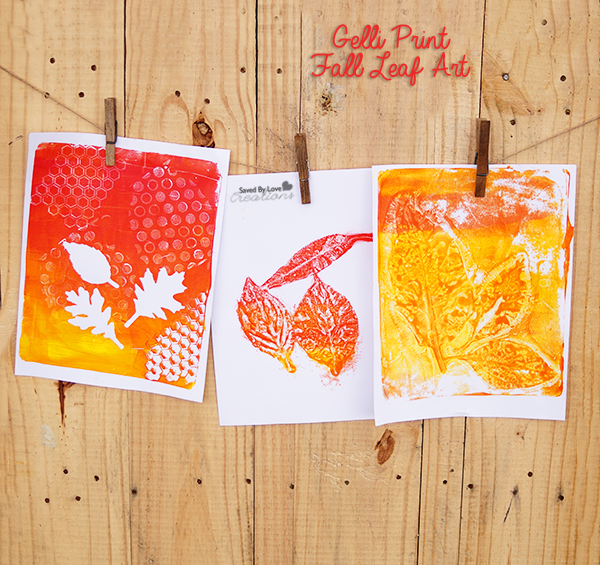
A creative friend introduced me to gelli printing, and I am hooked. I think you will be too! Today I will show you how to use leaves from your yard and die cut leaves to create beautiful one of a kind fall art prints. Use gelli printing for your art journal and mixed media backgrounds, for handmade greeting cards or frame them for instant art!
MATERIALS
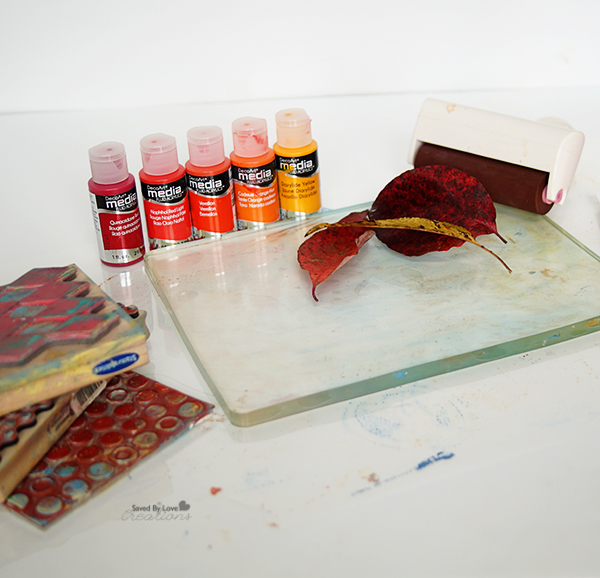
Gelli Printing Plate; I purchase this 8×10 inch plate (*this is my Amazon affiliate link)
Brayer
Acrylic Paints in fall reds, oranges and yellows; I used DecoArt Media Fluid Acrylics
White Card Stock 8.5 x 11 inches
Rubber Stamps, bubble wrap or other texture materials
Leaves from outside
Die cut leaves
TUTORIAL
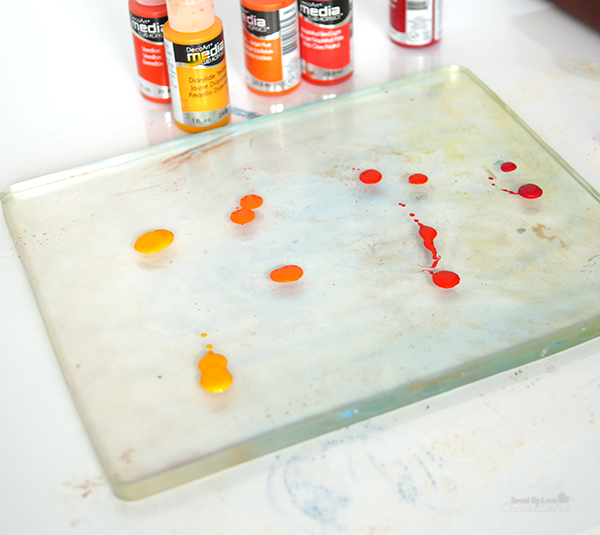
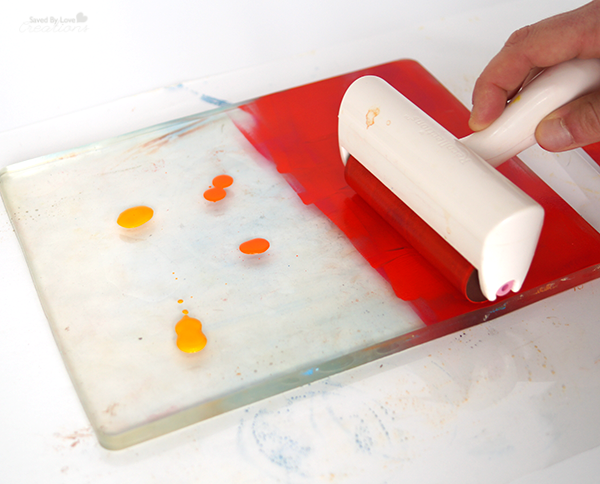
Drip paint in yellow, orange and red as shown. It doesn’t take much paint to cover the gelli plate.
Use the brayer to spread the paint over the gelli plate.
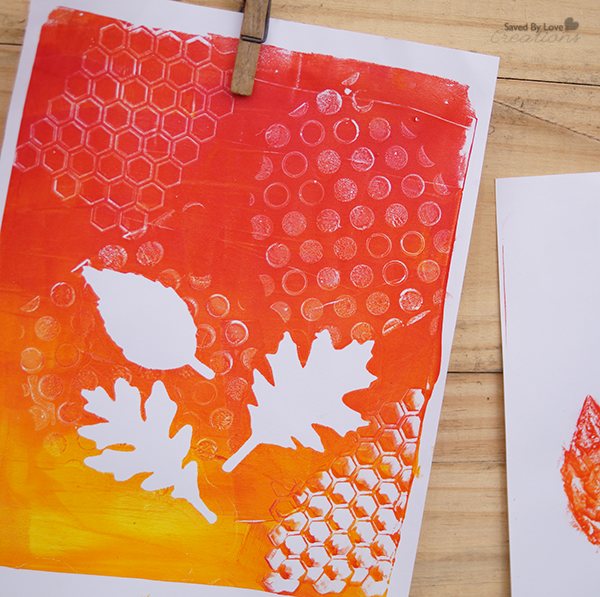
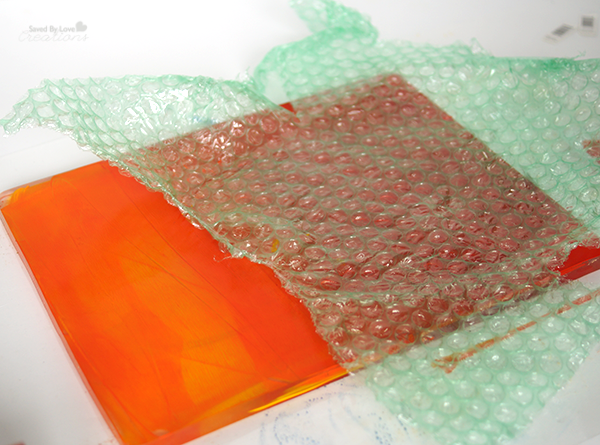
Create texture in the wet paint with bubble wrap, stamps, combs, etc.
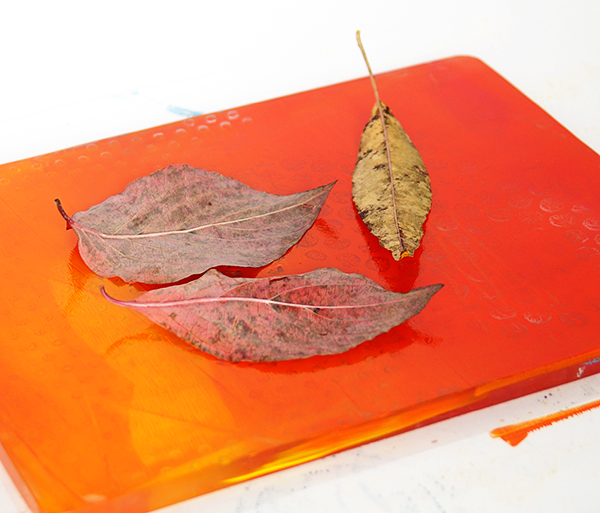
Place the real leaves or die cut leaves over the texture you just made. Now you are ready to lift your first print!
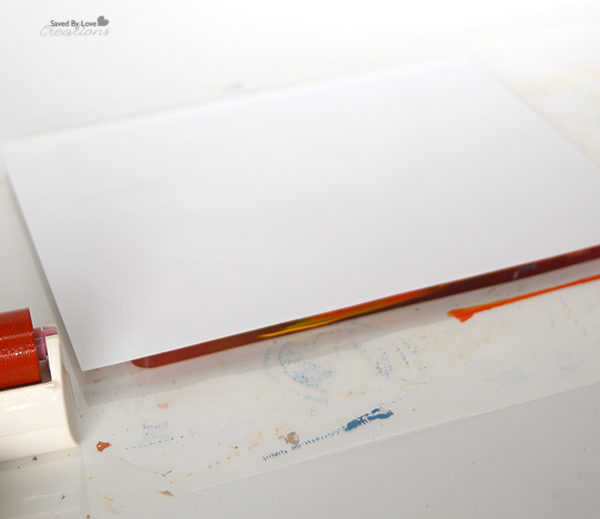
Place the white card stock over the gelli plate and smooth out with hands, ensuring contact all over the card stock.
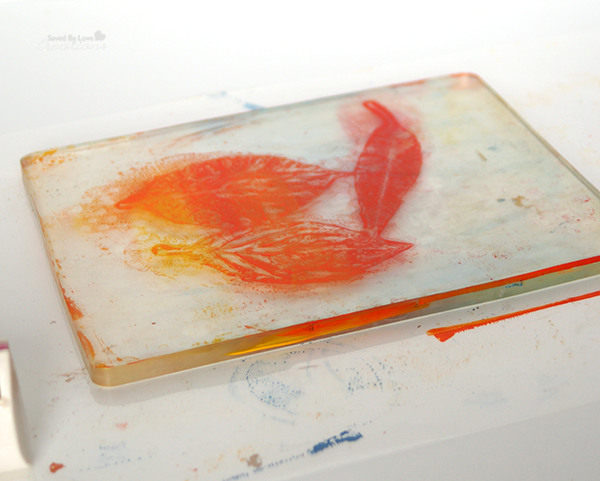
After lifting the first print, and removing the leaves, you are left with this, which creates a cool second print.
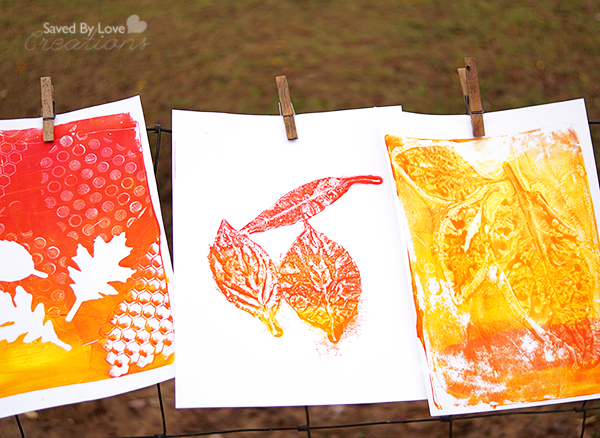
The left is the first print and the right is the second print after removing the leaves.
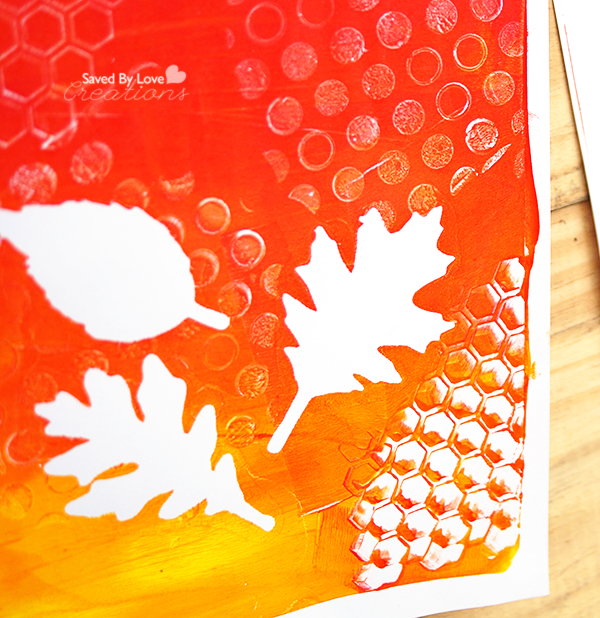
Here I followed the above steps, but used leaves I die cut from cardstock with the Sizzix Tattered Leaves Die instead of real leaves.
I love this technique, and the DecoArt Media Fluid Acrylics are great to use for it. I tried a few other paints, but got blurred lines with the leaf outlines. I am excited to do more gelli prints!

