
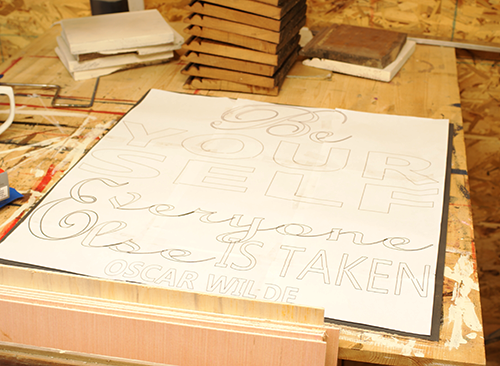
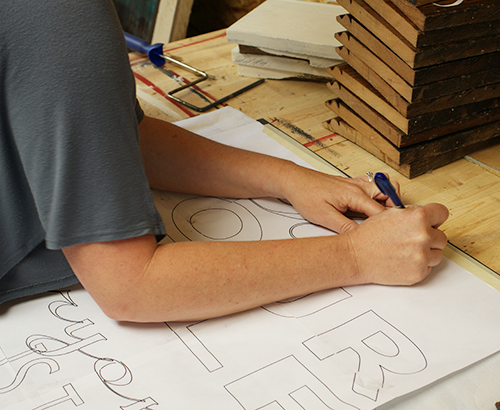
The next step is lining up the text, or putting the puzzle together, using the text as a guide and adhering adjacent pieces of paper together with scotch tape.
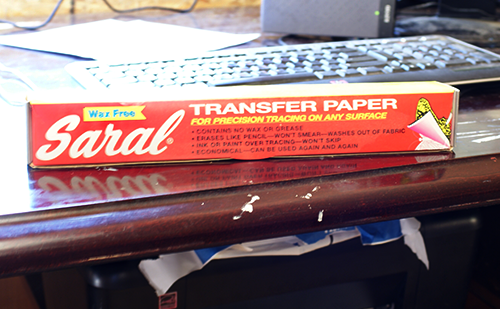
This is Saral Transfer Paper, which is Pam’s preferred transfer paper. It comes in several colors and you should try to match it to the color you will be painting your letters as best you can.
I showed you a different transfer paper in my DIY Vibrant Artwork With Dylusions Spray Ink tutorial. There is a video showing how I do the transfer in that post. Martha Stewart’s brand and another brand of transfer paper are available at Michael’s.
By the time the text is printed and taped together, the background is dry and Pam places the paper onto the painted plywood. See how great it fits?! She leaves a half inch on each side of the board when she is sizing the text area.
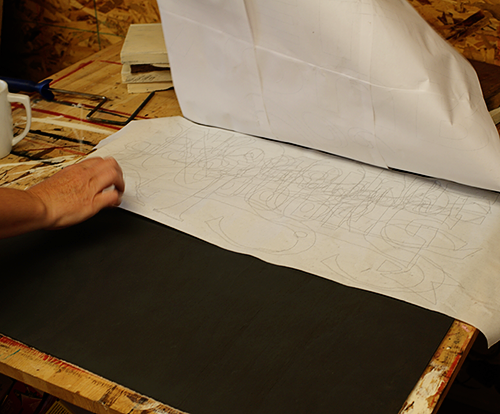
Next she places the transfer paper under the text. Notice that you can use the same sheet of transfer multiple times.
She secures the text paper in place with masking tape and outlines the text with a pen, applying pressure to the transfer paper, which leaves lines on the wood.

See? Told you. Continue this way, moving your transfer paper down to the next section of text, until you have transfer the entire design.
CLICK HERE TO CONTINUE TO NEXT STEP
CLICK HERE TO GO BACK TO PREVIOUS STEP
