Pottery Barn Knock Off $3 Sea Glass Votives

Pottery Barn Knock Off With Dollar Store Supplies @savedbyloves
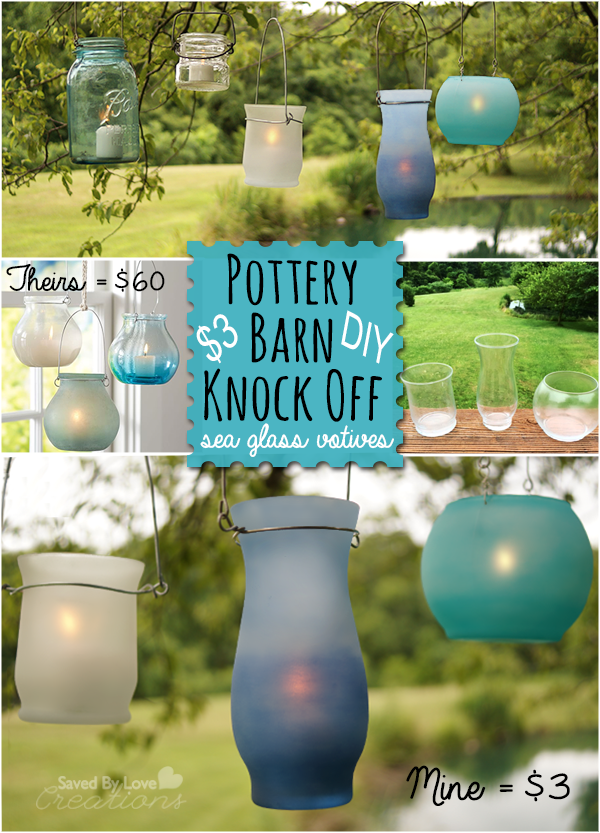
I have been out of the creative groove, dealing with some life stuff, and I can’t tell you how happy I am to be sharing with you again! Punctuating the blog break is a super cheap, easy sea glass hanging votive holder tutorial. Why do you care? I will give you three reasons. First, they are awesome… duh. Second, they are a full blown dollar store craft, yay! Finally, I knocked them off from Pottery Barn’s Sea Glass Hanging Votives for a fraction of their cost. Mine… $3 plus stuff I had on hand. Theirs… $60 and no bragging rights. You can put that $57 you saved towards a backyard soiree, complete with stylish ambiance handmade by you!

Supplies:

Dollar Store Glasses

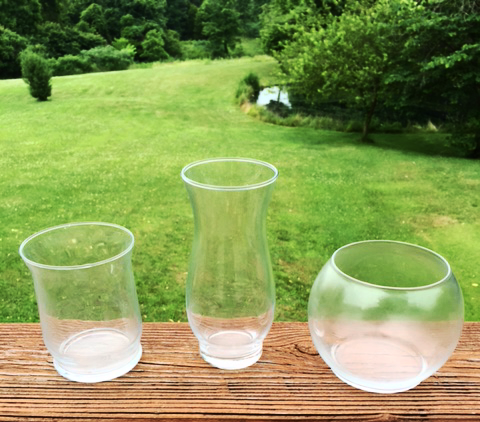
Grab glass holders like these. I got them at Dollar Tree.

Martha Stewart Glass Paint Frost:in sea glass colors (blues, aquas, white)

Rubbing Alcohol

Vinyl or latex gloves

Lint Free Towel

Cosmetics sponges

Votives

Mason Jar Hanging Lantern Wire

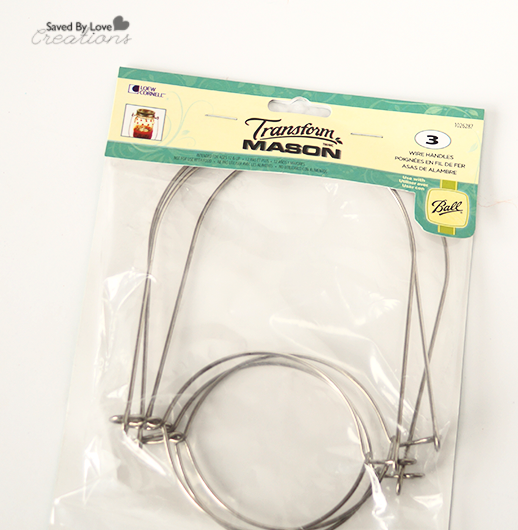
Jar Wire Hangers (I got mine at Joann’s, but here are some on Amazon)

*If your containers are spherical without a neck like one of mine pictured, you will need to drill holes in the glass, which I showed you here: How to Drill Holes in Glass

*In this case, or if your glass holders are too large for the wire hangers you can purchase, or if you want to save $, you will need to make your own wire hangers (I cover that below). For that you will need:

DIY Hanging Lanterns

Pliers

Wire Cutters or Metal Snips if your hanger is to hard to cut with wire cutters

Wire clothes hanger or craft wire 16 gauge

Instructions:

PAINTING THE GLASS

How to Make Hanging Votive Lanterns9

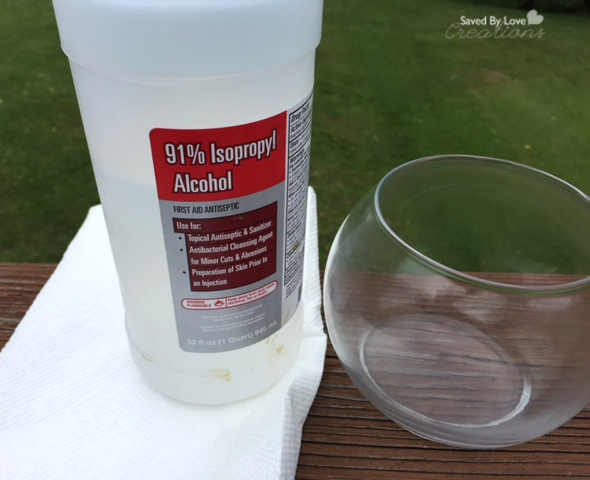
Clean the surface of the glass with rubbing alcohol and a lint free towel or paper towel. Make sure to wear gloves. You want to get rid of fingerprints and refrain from touching the glass with your bear hands after cleaning it. The glass paint needs a clean, oil free surface for maximum adherence.

How to Make Hanging Votive Lanterns11

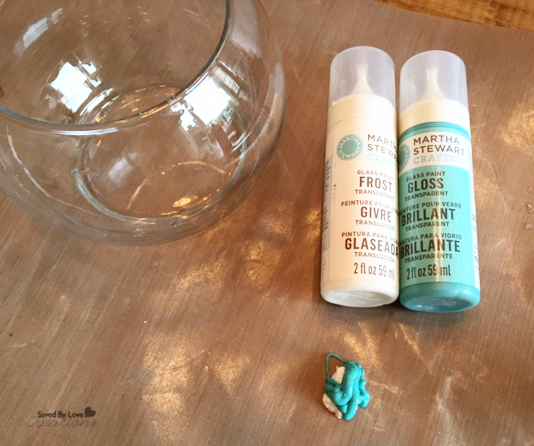
For this lantern, I mixed frosty white and glossy aqua. Apply several thin layers with a soft brush or cosmetic sponge, allowing 30 minutes of dry time between layers. I did two coats with the above mixture, then I used frosty “Surf” on the bottom third for layer three. I went over the entire piece with frosty white to blend and create the ombre effect.

*With glass paint, the key is patience and faith. It will look like crap until it dries…

martha stewart glass paint

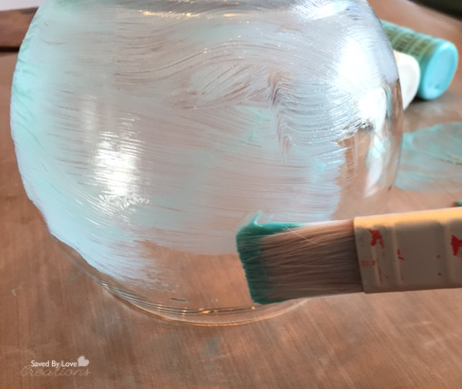
I told you. Here I used a soft brush, then remembered why I prefer cosmetic sponges with glass paint. I switched to the sponge for the rest of the layers. It looks awful regardless of what you use, until it dries and evens.

*For more tips and details on glass paint technique:

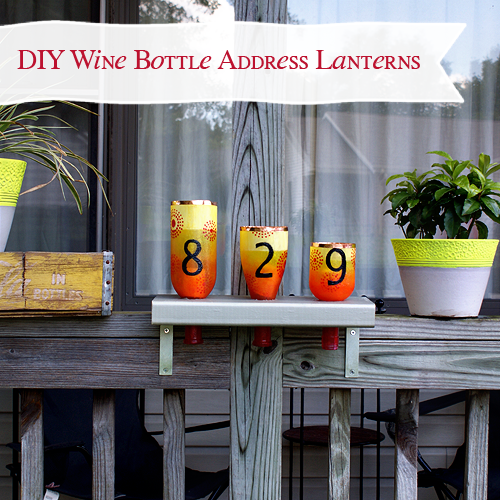
 Recycled Wine Bottle Address Lantern DIY

Once you have painted your glass holders, let them dry overnight before moving on to the next step:

ADDING THE WIRE HANGER

How to Make Hanging Votive Lanterns8

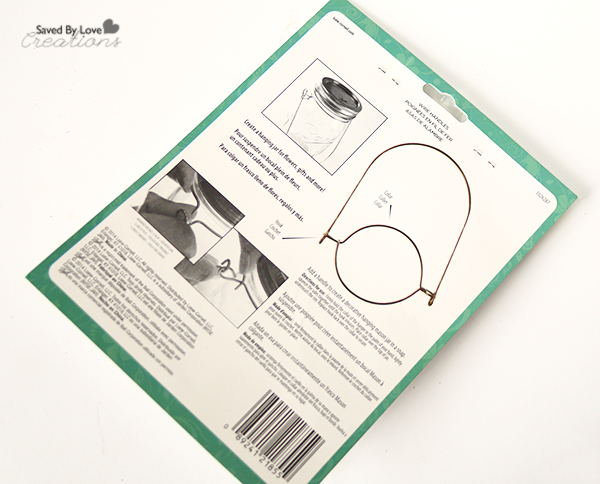
For all of my hanging votive holders except for the spherical one and the white one, I used these purchased wire jar hangers. They are super handy and I had them in my stash.

As I said in the supplies section, you can make your own version to save cash, if your holder is too big for the mason jar version, or if you have a container with no “lip” to rest on the wire.

DIY Hanging Lanterns

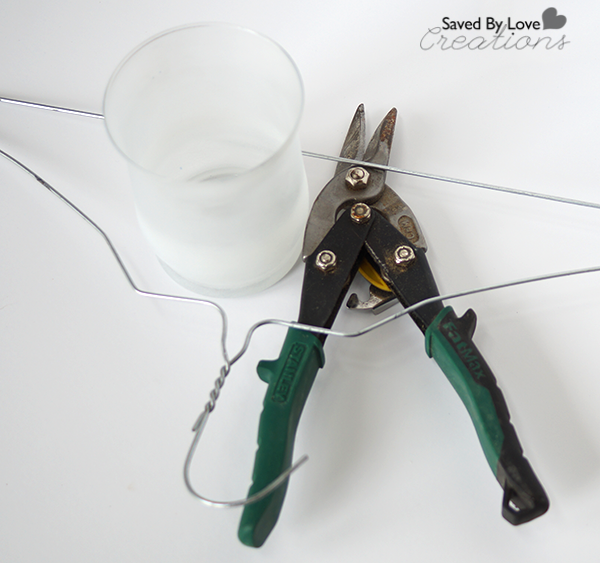
This holder was to large in diameter for the mason jar sized wire hanger. To start, I cut the top off the hanger with metal snips. You can use craft wire and wire cutters just as well. The hanger wire was super hard and difficult to cut and shape, but I couldn’t resist the repurpose. Next time I will go with a thicker gauge craft wire.

How to Make Hanging Votive Lanterns

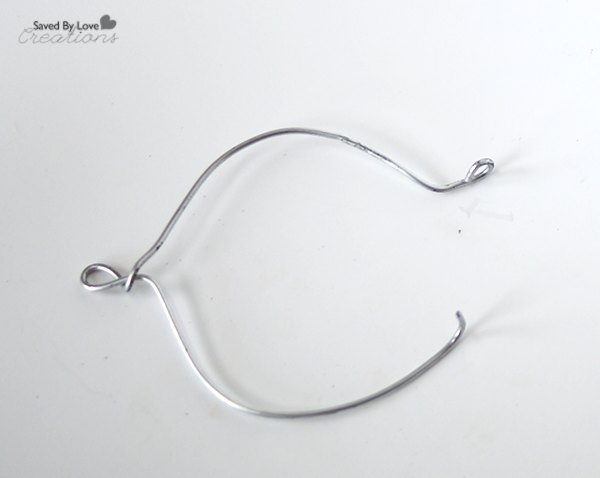
Begin at one of the two “V” angles.

How to Make Hanging Votive Lanterns2

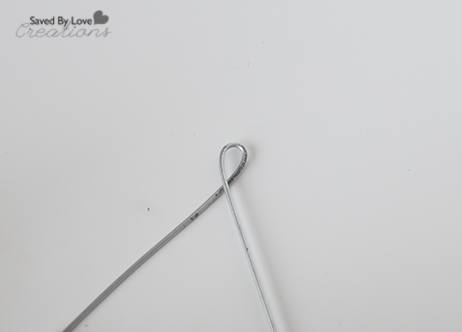
Form a loop by pulling the right wire under the left wire as pictured.

How to Make Hanging Votive Lanterns3

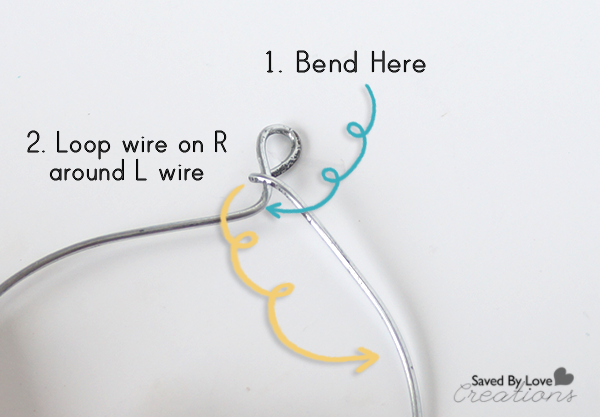
Bend the left wire just under the loop, and pull the under and back over it above the bend you made (see photo).

How to Make Hanging Votive Lanterns4

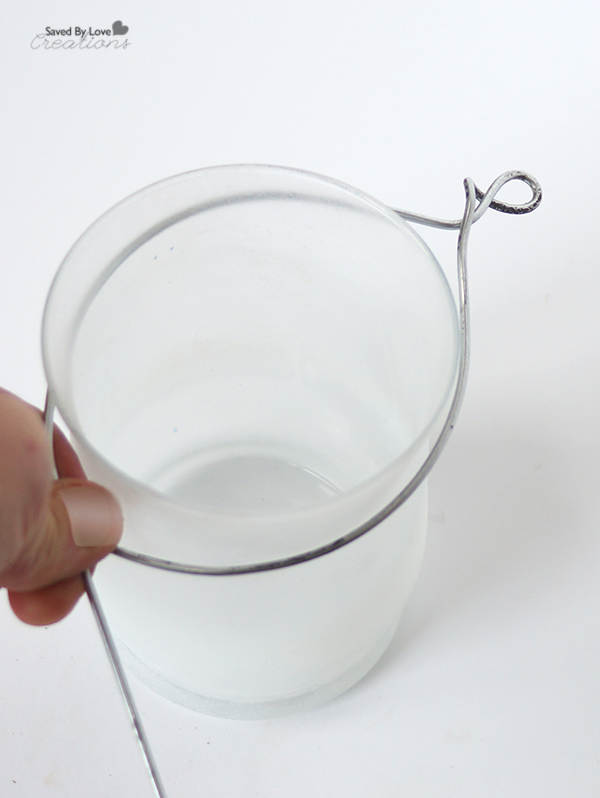
Use your glass to shape the wire. When you get to the side opposite your loop, trim the tails of your wire leaving 1.5 inches extra on one tail and about 0.5 inches on the other.

In retrospect, I should have made the wire for this before painting it, as I nicked it in a couple of places. Don’t make my same mistake. It’s easily avoidable.

How to Make Hanging Votive Lanterns5

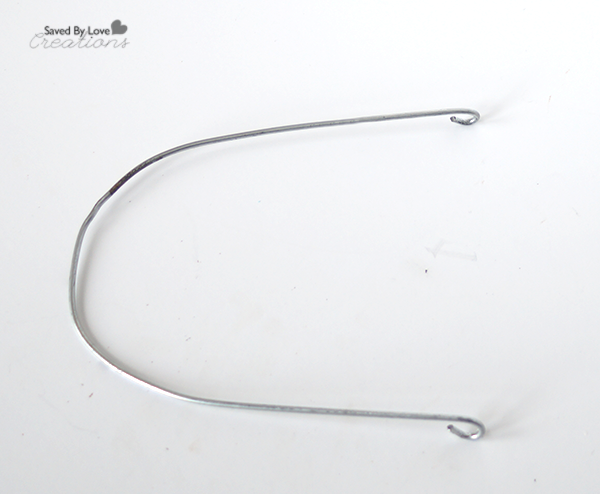
One the longer tail, bend the wire and wrap the end around a pen or dowel to create a loop as shown.

Bend the other tail so that it sticks up, perpendicular to the wire as shown.

How to Make Hanging Votive Lanterns8

This diagram may help. The perpendicular tail you just made slides over the wire just under the loop from the previous step to secure the hanger around the neck of the container.

How to Make Hanging Votive Lanterns6
Make a handle with a piece of wire by forming a “U” shape with a loop at each end. Leave the handle loops open enough to slide into the neck piece loops.

How to Make Hanging Votive Lanterns7
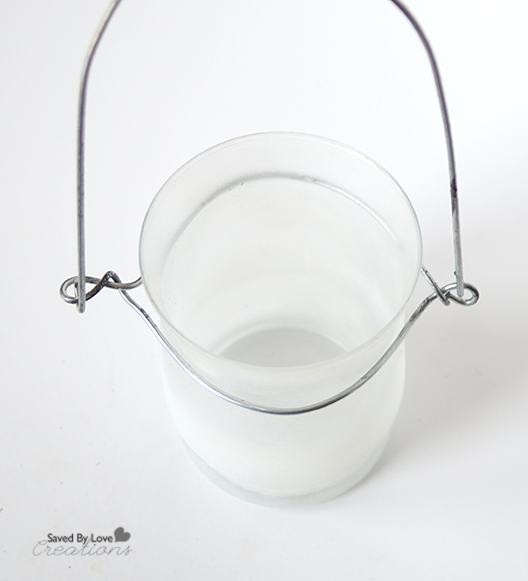
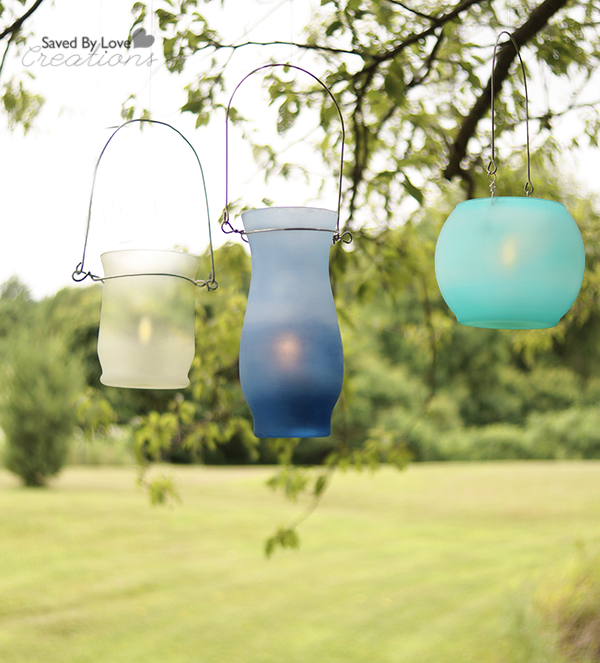
Assemble as pictured and hang!

Make Dollar Store Sea Glass Votives

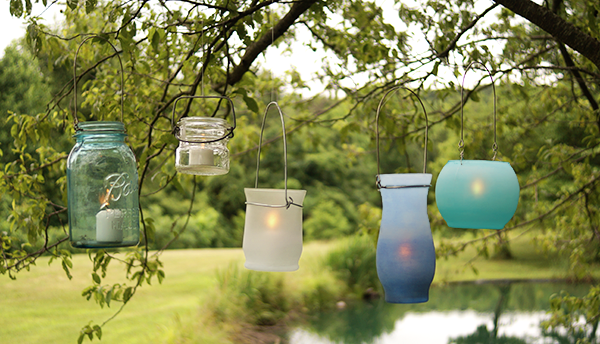
I love them! These are perfect for wedding receptions and festivities of all kinds. Best of all, they are charming and cheap.

Pottery Barn Knock Off Sea Glass Votives DIY

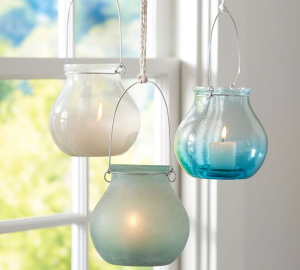
This is the Pottery Barn version. I went a little frostier because I like that look. You could use transparent gloss to achieve the look of the blue PB version pictured.

DIY Dollar Tree Sea Glass Votives

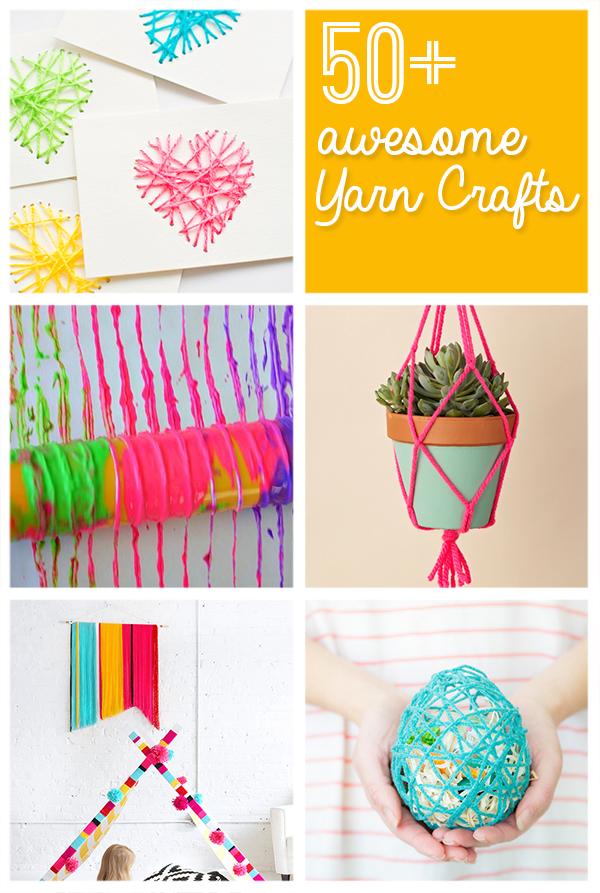
You may want to check out our 50+ DIY Lanterns for more fun lighting ideas:
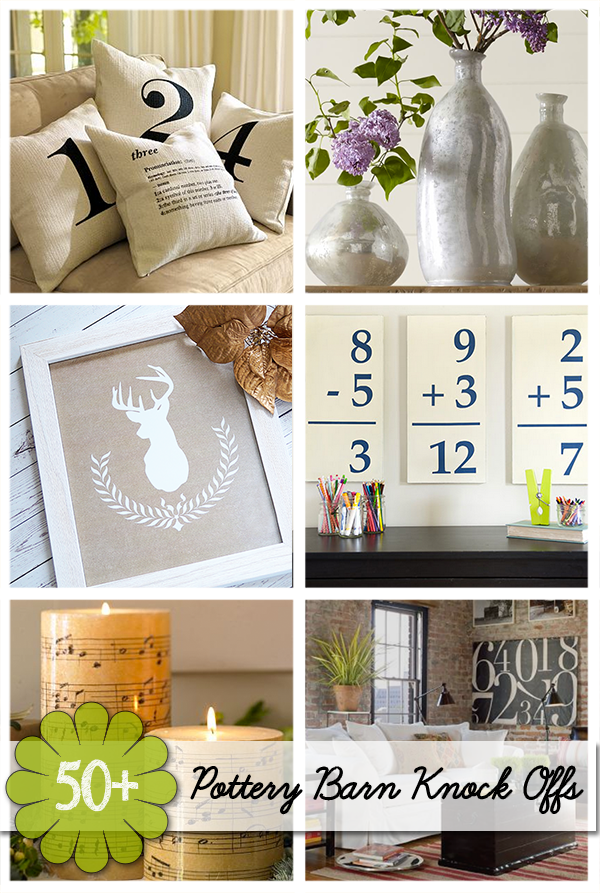


50 Plus Awesome Yarn Crafts to Make

50 Best Yarn Crafts to make from @savedbylovesDon’t let the title scare you. For this collection, no crochet or knit skills are needed. This week’s crafty round-up is all about things to make with yarn. You will find all kinds of kids crafts, home decor, paper crafts and more. Enjoy!

30 Plus Free Spring Crochet Patterns

30 Plus Free Spring Crochet Patterns from @savedbylovesThe fact that winter is coming to an end doesn’t mean it’s time to put away the yarn. Today’s round-up is full of beautiful free spring crochet patterns. You’ll find everything from Easter decor to spring scarves and more. Enjoy!


Laduree Hot Chocolate Recipe Knock Off

Laduree Hot Chocolate Recipe Knock Off @savedbyloves

If you read anything about traveling to Paris, Ladurée hot chocolate and macarons are bound to be mentioned. We heard about the place first on Rick Steve’s audio Paris app, in one of his many interviews with Parisians.  Then pretty much everyone we talked to about “must see places” in Paris recommended we go there for chocolat chaud (hot chocolate).

Laduree Paris

Well we went there, and I must say, the hot chocolate was smooth and divine.

chocolat chaud paris Recipe

I came home, and much like with the french onion soup recipe I shared yesterday, I had to try to recreate the experience here in Indiana! After some time with Google, I found this Parisian Hot Chocolate Recipe. I followed it to the letter, using Ghirardelli bittersweet chocolate chips from the local Wal Mart. To grind them, I used my blender on “grind”. I also blended the mixture after adding the chocolate in the same blender on “Liquefy” for 1 minute.

Best Hot Chocolate Recipe

It was so much like the real thing! The next 10 minutes consisted of “mmmm….” and that’s about it. I have made it twice more since then, and it is a huge hit in our house. I won’t make hot chocolate any other way now.  If you can’t make it to Laduree, this is the next best option! Enjoy.

Upcycled Sweater Christmas Ornaments

I am so happy to be here today sharing a tutorial for these Cozy Christmas Ornaments made from old sweaters. That ugly Christmas sweater you have? I bet it would make beautiful ornaments! This is an easy ornament to DIY, and you can make quite a few ornaments from one sweater, so let’s get started.

Upcycled Sweater Ornaments DIY from @savedbyloves @craftsncoffee

Fair-Isle-Sweater-Orn

You are going to need 3” balls of STYROFOAM™ Brand Foam (you could go larger or smaller, too); an old sweater or two; scissors; a sharp pencil; needle & thread; thick, white craft glue; and ribbon for hanging the ornaments.

Sweater-Ornament-Supplies

To start, mark the center top and bottom of your foam ball with a pencil. Then insert your pencil at each point to make a 5/8” hole.

Insert-Pencil

Cut a piece of sweater fabric, measuring about 4” – 5” high and 8” long. If you’re using a patterned sweater, be sure to plan where you cut to best highlight the pattern. Test fit your fabric piece around the ball to be sure it fits – the size of the fabric you’ll need may vary depending on the stretchiness of your sweater.

Fold your fabric in half lengthwise, right sides together, and stitch a ¼” seam. Turn right side out. Slip the ball into the center of your tube.

Upcycled Sweater Christmas Handmade Ornaments

Place a dab of white craft glue in the hole at the top and using a sharp tool such as a pencil, firmly push the cut edges of the fabric tube into the hole. Try to space the fabric folds evenly around the ball. Repeat at the bottom of the ball.

Tuck-in-sweater

Knot together the ends of a 6” – 8” length of ribbon, and push the knot down into the hole at the top. If you like, add a bow and jingle bell, or any other decorations, to the top of the ball. Let the glue dry before you hang your ornaments.

Red-Orns-on-Tree

Red-Argyle-Orn

I want to give a shout out to designer Kathleen George for helping out with these Sweater Ornaments. I have a few more ideas for repurposing old shirts to make ornaments in the Christmas Ornament series “Mad for Plaid & Paisley” over on Crafts ‘n Coffee. Please come by and check them out!

Repurpose-shirts-for-orname

Thank you so much for having me today, Johnnie. It’s a thrill to guest post here! I wish you, your family, and all of your readers a wonderful Christmas season!

Want more Repurposed Sweater Ideas? Check out our 50+ Ways to Upcycle Sweaters!

Happy crafting.

Sharon

60 Plus Christmas Cookie Recipes to Make

60-Plus-Easy-Christmas-Cookie-Recipes from @savedbyloves

We have moved things around a bit, and are now sharing with you our 60+ Christmas Cookies to Make from Taste Every Season. These will be great neighbor gifts and party treats this holiday season! Enjoy.


50 Plus Favorite Pottery Barn Knock Offs

50 Plus Best Pottery Barn Knock Off Ideas from @savedbylovesWho doesn’t love getting designer home decor and furniture for a fraction of the price? Today I am sharing our favorite Pottery Barn knock off decor DIY tutorials from around the web. If we missed your project, leave us a link!


Pottery Barn Knock Off Christmas Decor Printable

Pottery Barn Christmas Art Knockoff


Sometimes when I am having trouble coming up with a project, I visit my favorite store catalogs or websites for inspiration. This project is inspired by a Christmas Wall Art piece from Pottery Barn that cost $99 on the website. I got the print for $1.75 at Office Depot by downloading it to my flash drive and taking it to my local store. Total, my version was under $20!

Reindeer Wreath Printable

Download the 11×14 Reindeer Wreath Printable and grab a frame with your Michaels 40% off coupon and you can have your own Pottery Barn winter art knock off for 1/5 of their price. You can click the above link or thumbnail to pull of the full res version and save to your flash drive for going into the store, or save to your computer and order a print electronically.

*I used this classic wreath graphic from The Graphics Fairy and this Reindeer Silhouette from Lolly Jane on this burlap background in Photoshop to create the print!

I hope you enjoy!
Pottery Barn Christmas Printable Art Knockoff from @savedbyloves

Do you want to see more knock off designs for decor, jewelry and more? Visit our 50+ Knock Off Designs Roundup:

DIY Alcohol Ink Aluminum Can Christmas Wreath

Aluminum Can Poinsettia Wreath by @savedbyloves

If you are anything like me, you love Ranger Ink products.  I am particularly obsessed with alcohol inks, which paint vivid color on non-porous surfaces such as aluminum and glass.  How excited was I to be invited to share a Christmas project on the Ranger Ink Blgo?! Very. Come see how I created this Recycled Pop Can Poinsettia Wreath for less than $3 with cans, dollar store supplies and alcohol inks! With tons of other projects to inspire you, you will want to make sure to look around while you are there!

If you like this project, I have lots more you don’t want to miss!

Fall Leaf Aluminum Can Wreath with Alcohol Inks

Aluminum Can Angel DIY

50+ Aluminum Can Crafts

25 DIY Awesome Advent Calendars to Make

25 Awesome DIY Advent Calendars to Make @savedbylovesSince the mid 1800’s, we have been counting down to Christmas with advent calendars, and the tradition continues.  It is a favorite childhood Christmas memory for people around the globe. Get a jump start on your Christmas anticipation with this round-up of 25 amazing DIY advent calendars you can make!


Privacy Policy