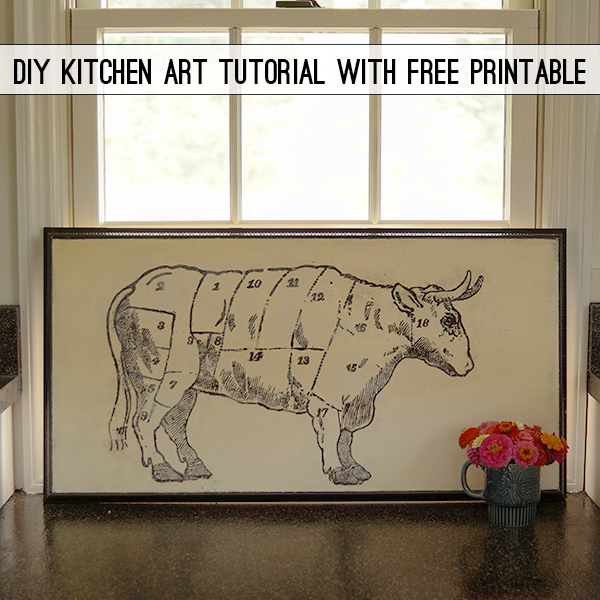
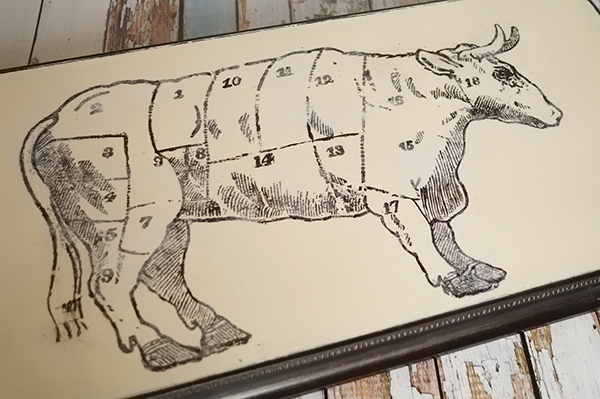
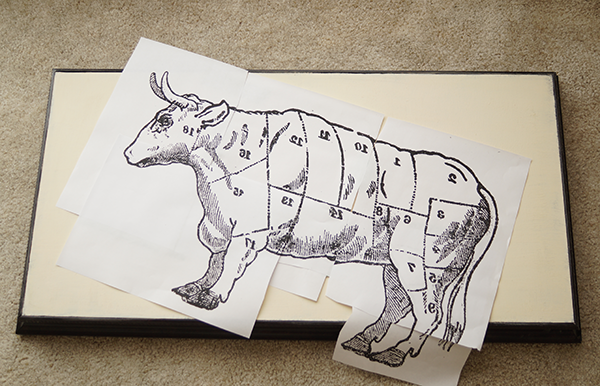
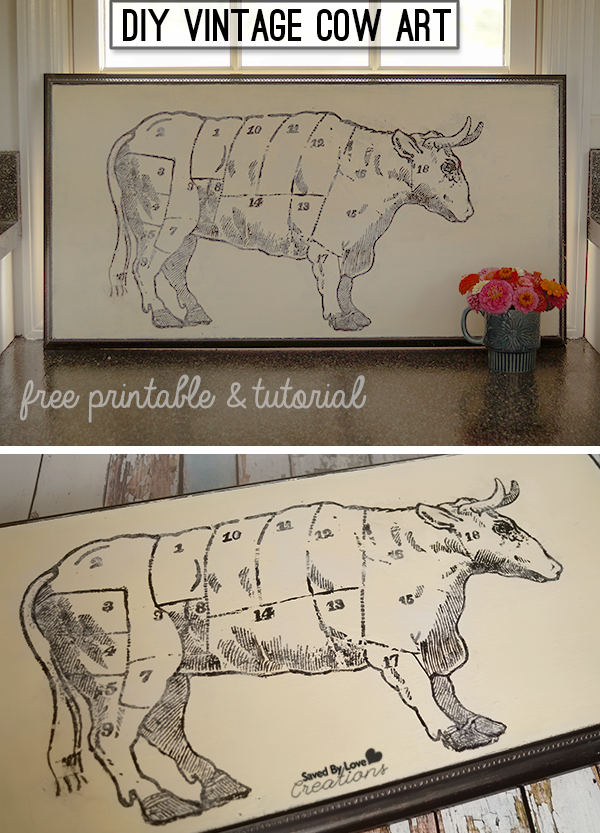
Vintage kitchen art in the form of the butcher’s beef chart is tops in the design world these days. That is why I was thrilled to score a cookbook from 1898 with the perfect image for such a piece! I scanned it in, cleaned it up in Photoshop and enlarged it to fit a 28 in x 14 in piece of art scored from a garage sale. This tutorial shows you how to transfer a large image to a chalky finish surface, and provides the butcher beef chart cow art for you to download for use in your own projects!
SUPPLIES:
Vintage Butcher’s Beef Chart Image (Click link for image download page)
Paint brush
Chalky Finish Paint by DecoArt in Whisper
Image Transfer Medium
Clear Wax DecoArt
Laser Printer and Photoshop or other editing software
Painter’s Tape
Spray bottle with water or cup of water
TUTORIAL:
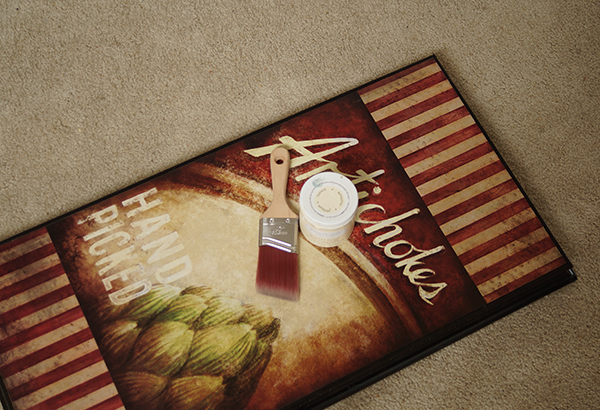
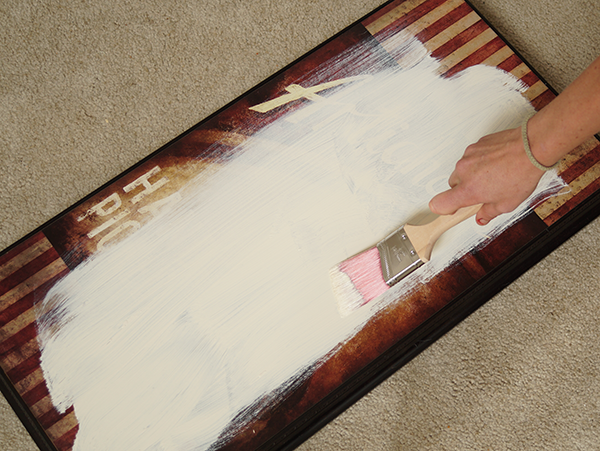
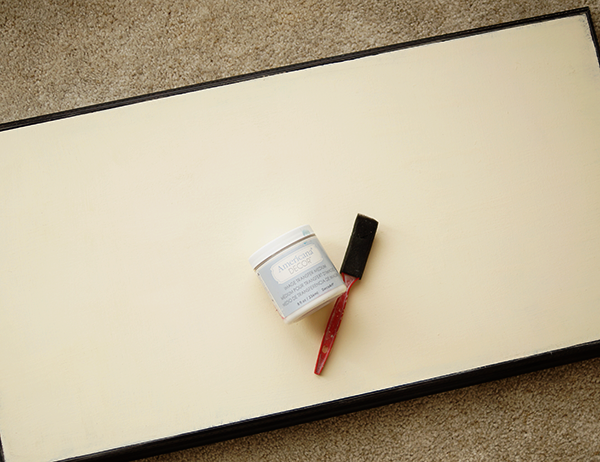
Prepare the surface for the image transfer by painting with Chalky Finish in your choice of color. I used Whisper. It took 3 light coats with 15 minutes of drying in between to cover the image on the garage sale art.
While that is drying, prepare your image. I resized mine in Photoshop to fit the 28×14 inch recipient surface.
Make sure you reverse the image before printing it so the numbers won’t be backwards in the transfer!
If you are making art larger than your printer will print, you will need to print it in sections and tape it together like I showed you in the video found here:
DIY Rustic Sign Tutorial Using DecoArt Chalky Finish Paint
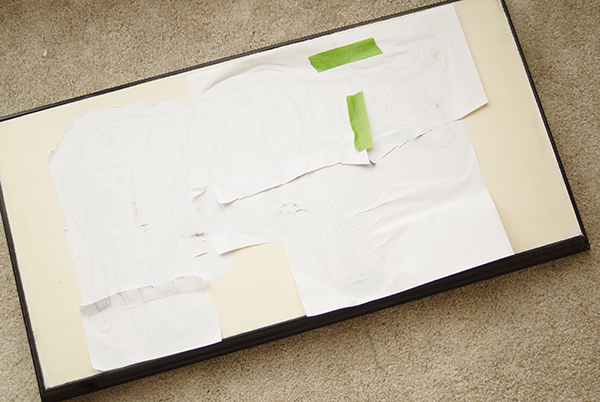
Print the sections, align them and tape together on the back with painter’s tape.
Paint the surface with a thin layer of Americana Image Transfer Medium, and paint the ink side of the image to be transferred with the medium too. For more detail on using this product, see my Vintage Image Transfer Coaster Tutorial shared at Printable Decor.
Spray water on the back of the printed image and let soak for 3-5 minutes.
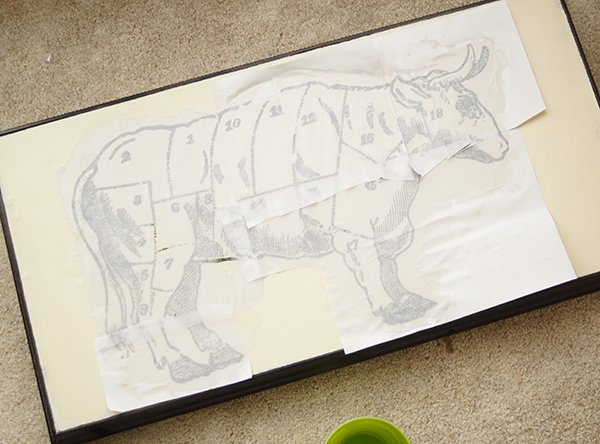
Rub paper backing away with your finger tips (there are detailed pictures of this in the graphic coaster tutorial linked above).
Seal the piece with clear wax and you are all set!

