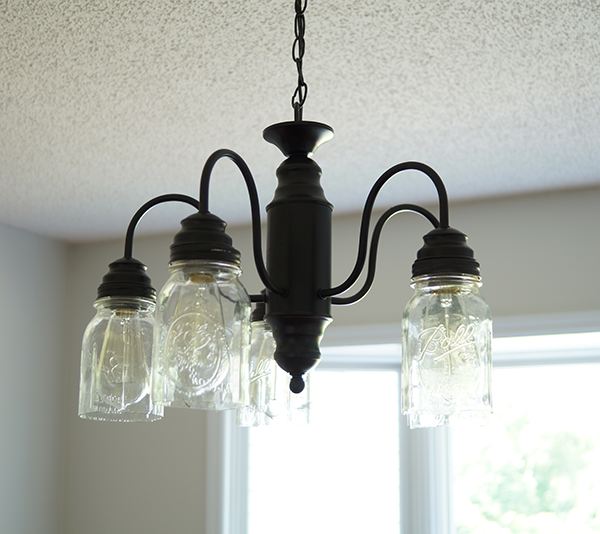
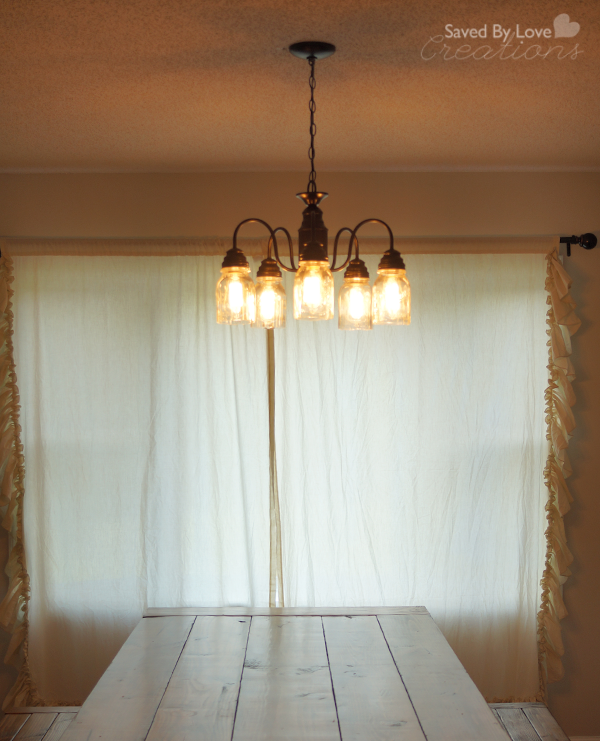
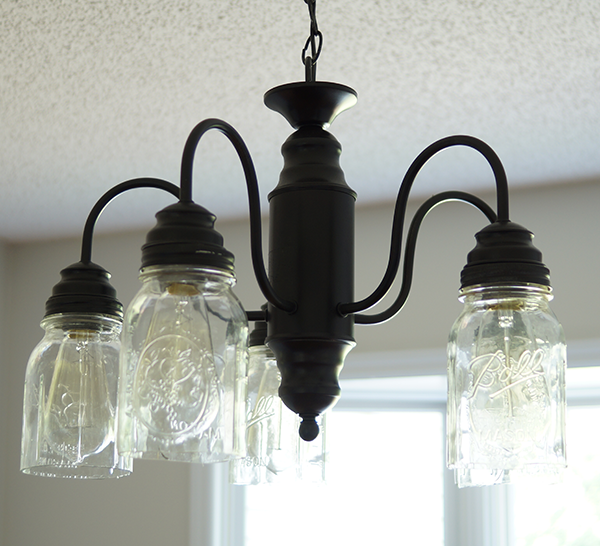
Do you have an outdated brass chandelier that makes you sad every time you look at it? I did. It was even worse hanging over that sweet DIY farmhouse table and benches I shared with you last week. Finding a replacement for that light has been a priority since moving here, and it has happened! Find out how I made this beautiful mason jar chandelier for $10!
SUPPLIES:
Chandelier
Cut mason jars (See How to Cut Mason Jars) with lids
Vintage Light Bulbs
Scissors for cutting metal (I use Tim Holtz Tonic)
Sharpie or other permanent marker
Krylon Dual Oil Rubbed Bronze
TUTORIAL:
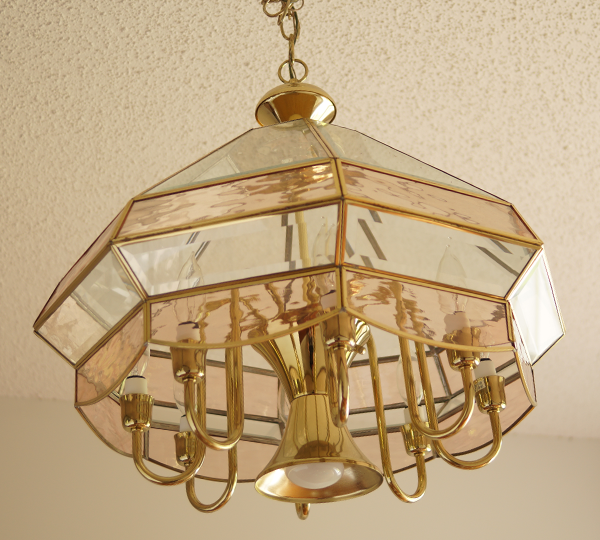
Just to show you what we are replacing!
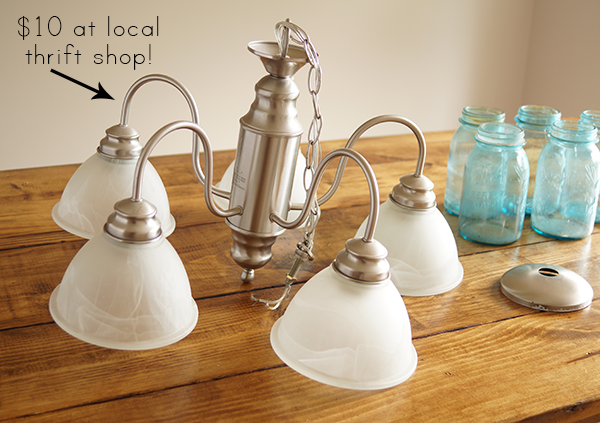
I found this guy for just $10!
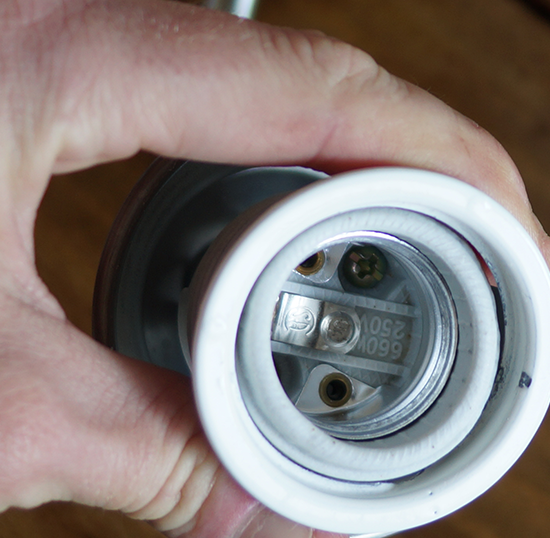
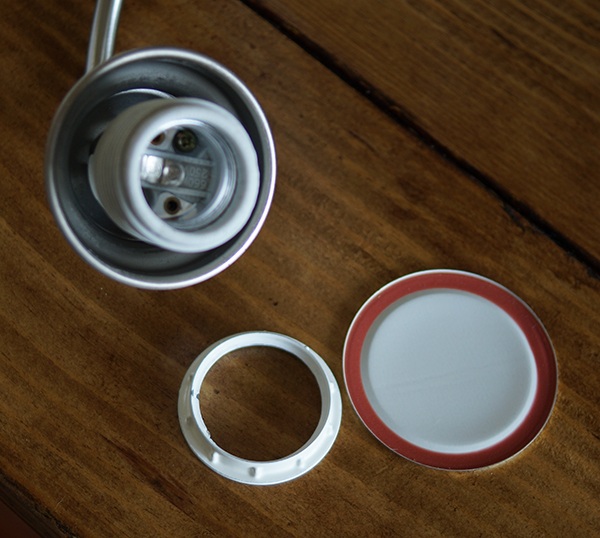
I removed the lamp shades that came with it and unscrewed this white circular piece.
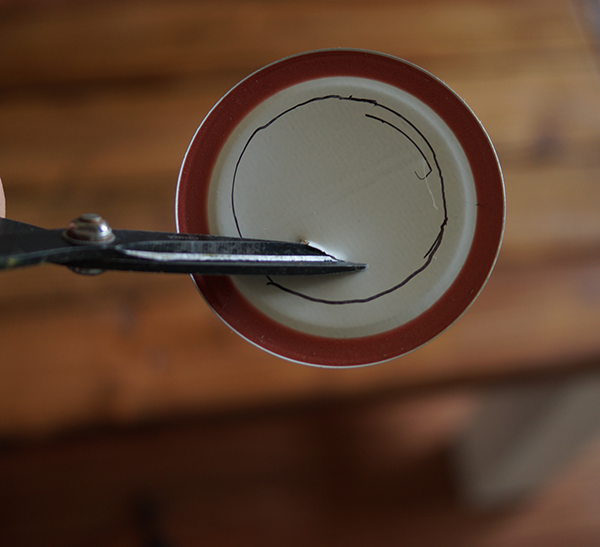
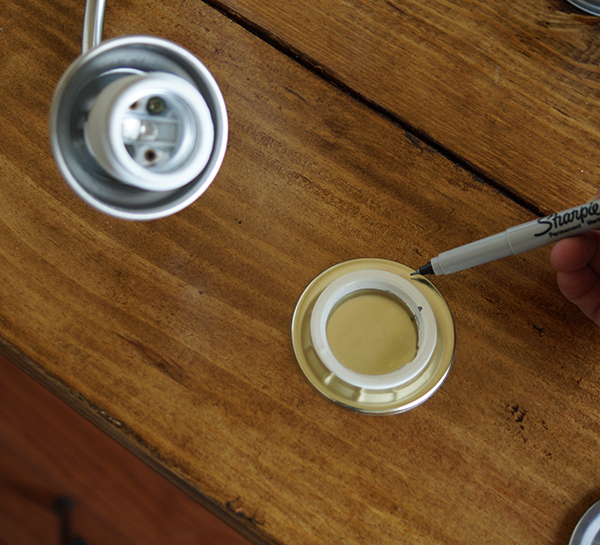 I used the white piece smaller side to trace for cutting a hole in the mason jar canning lid insert.
As you can see, this doesn’t have to be pretty. It will be covered. So long as it fits over the socket and the white piece will hold it in place.
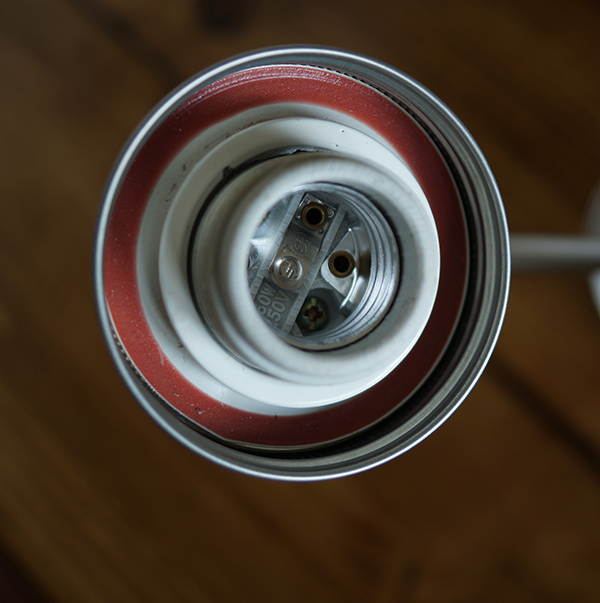
Here you can see the outer ring of the canning lid, then the inner part with the hole we cut and slid over the socket, then the white ring screwed back into place to hold it all together.
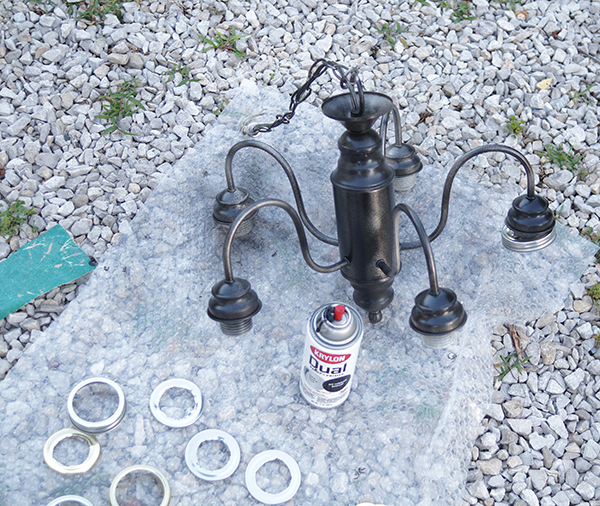
I started to spray without attaching the jar lids, but then realized that was just silly. Attach everything except the jars and bulbs, then spray paint! If you can suspend the chandelier somehow, to get the underneath side good, that is best. We used a bungee cord and hung it in our garage (annoyed husband and suspended chandelier not pictured). Let this dry overnight.
Now we just screw the cut jar onto the lid and insert the light bulbs!
Soooo much better, don’t you think?

