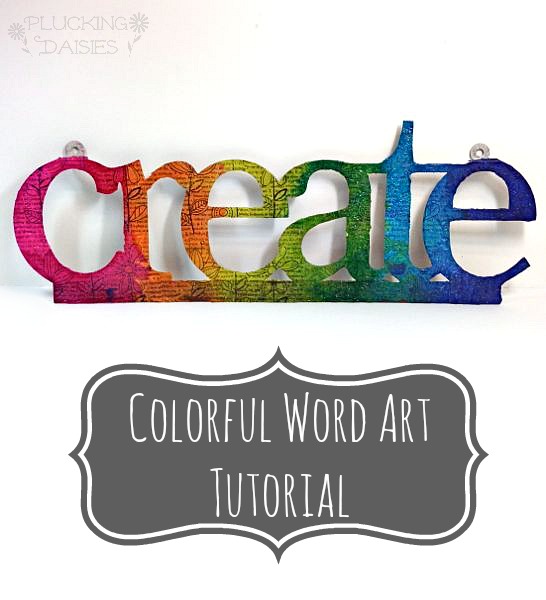
Hello there SBLC! Amy from Plucking Daisies here to share a Colorful word art tutorial with you. Certain words really rev my creative mojo and I’m always inspired by colors. Combining inspirational words with bright colors is sure to jump-start your creativity with just a glance. I’ve got this colorful “Create” word art hanging in my studio and it keeps my creativity flowing day after day. Come along, and I’ll show you how to “create” colorful word art for yourself.
[pinit]
[pinit]
Can you guess what I used to colorize this thrifted C-R-E-A-T-E sign…once old and cold and grey? I’ll give you a hint: You probably have some shoved in a bag from your last trip to the mall.
 That’s right it’s Tissue Paper! Plain old white packaging Tissue.
 Some may say,”it’s too crumpled and plain to ever be used again!” I say…” just add Ink”
 My Word Art Project was inspired by this fantastic video I found while researching the web for another creative venture. Check it out to see this fun tissue paper technique in action!
How to Mod Podge Tissue Paper
This word art project is easy to create with recycled packaging tissue Mod Podge and your favorite stamps! I’ve found quite a few of these word signs on my thrifting adventures so keep your eyes peeled if you don’t already have one on hand. You can also use this technique on wooden or cardboard words available at most craft stores.
Supplies:
- Metal, cardboard or wooden word or letters
- Dylusions Spray Inks or other ink spray
- Favorite Stamp (I used “Flower Text” Design Block from Hero Arts)
- White Packaging Tissue (Recycled from a shopping bag)
- Black Archival Ink
STEP 1: Stamp your tissue paper with black archival ink.
*TIP* Use a stamping mat or mouse pad for a clear impression.
STEP 2: Lay your stamped Tissue Paper on a piece of cardboard or inside a cardboard box (this will keep any wayward ink from getting where you don’t want it). Spray with Dylusions. Use a piece of wax paper to create blocks of color.
*TIP* Keep extra Tissue Paper on hand to mop up the excess Dylusions and create custom tissue paper for use in another project or for unique gift wrap. You can find a full tutorial on creating custom tissue paper with Dylusions HERE.
STEP 3: Give the front of your word/letters a generous coating of Mod Podge and lay them on the back of your stamped tissue. Let dry for 15-20 minutes.
STEP 4: Cut away the excess tissue to reveal the letter shapes. Smooth any jagged edges with Mod Podge. Add a second coat to the front of your word art.
*TIP* I had some issues with the ink running when applying the second coat of mod podge so I would suggest A) Seal your word art with Acrylic sealer before adding the second coat of Mod Podge or B) Keep several brushes on hand and switch them out in between colors.
Use your now COLORFUL word art to decorate your workspace or a favorite spot in your home! My fresh and vibran word art is like a ray of sunshine in my basement studio. It really brightens up the room and is so cheerful don’t you think? Now don’t go laughing at my cat head lamp now. Nothing says “crazy cat lady” like a cat head lamp 🙂
If you enjoy decorating with word art I have another tutorial for altering wooden letters I think you might find “Inspiring” HERE.
Thanks for having back here at Saved By Love Creations. I always enjoy visiting and sharing creativity with you. Hope you enjoyed the Word art tutorial and wish you the best of luck in finding inspiring words to make more colorful!
Have a colorful day!
Amy*


