[pinit]
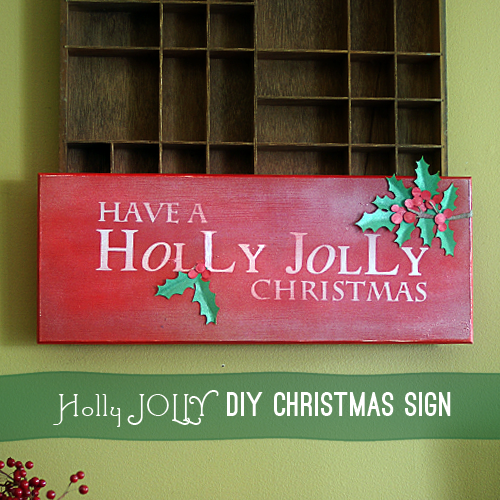
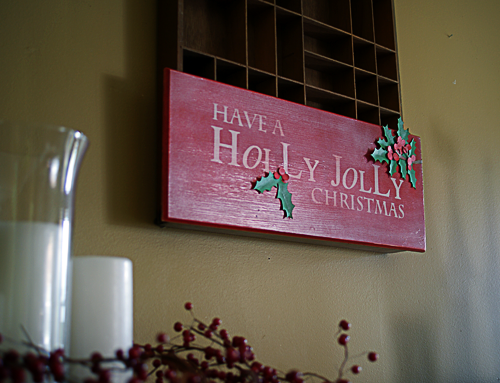
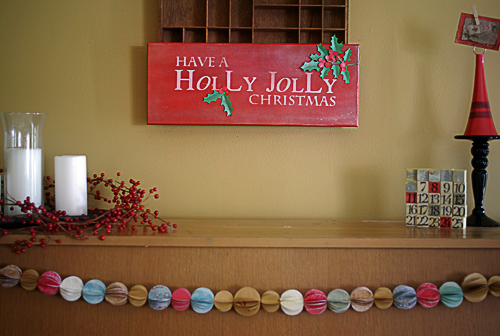
This fun project only cost a few dollars, and is the perfect piece to top off our Christmas mantel. I have been wanting to do something with a sign I grabbed from a garage sale for $1 over the summer. With some spray paint, a stencil I made in Photoshop, and a holly/berry paper die cut, I was able to make this festive Christmas sign.
Supplies:
Krylon Banner Red
Krylon White
Gesso or primer
Paint Brush
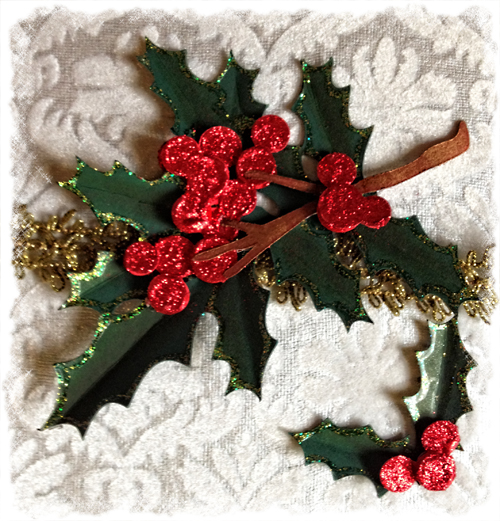
Holly Berry die cut – I used this holly berry file from Eri Doodle Designs to cut the holly berry from card stock using cricut
3D Foam mounting adhesive
Medium Grit sandpaper
Towel for cleaning and for drying
Newspaper
Masking tape
TUTORIAL:
Lightly sand your sign and wipe away debris with soapy water. Dry with towel.
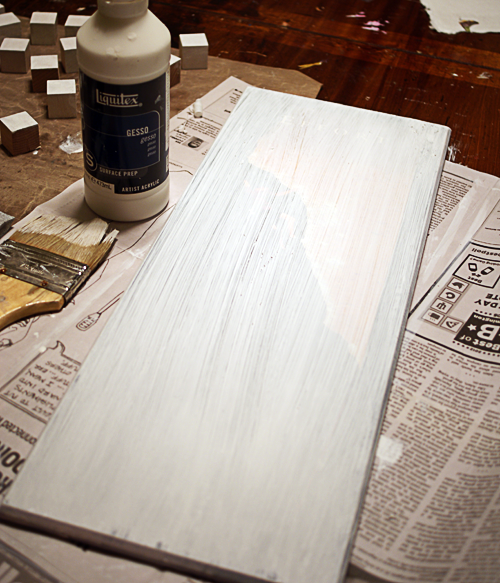
Apply gesso or primer. I did 2 coats of gesso, drying completely between. Let dry.
Spray with red paint and let dry. While that is drying, cut out your stencil from clear contact paper or vinyl. Contact paper is way cheaper. It doesn’t have to be clear, I just prefer that so I can see where I am placing it better. Any contact paper will do. I used my cricut to cut out the letters, but you can print the text (file available for free download under supplies, above) and trace the letters onto your contact paper.
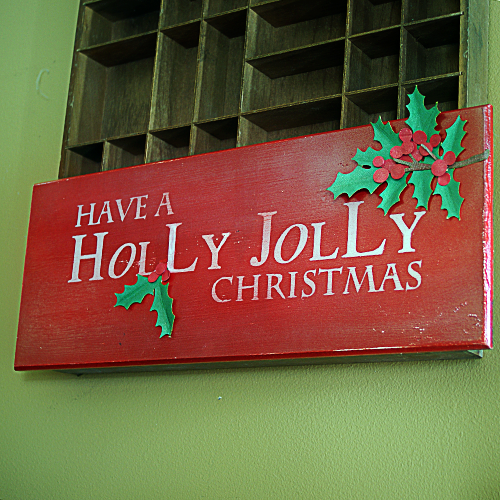
Place your stencil on the dry red sign and spray white. Make sure the area you don’t want white is all blocked off with newspaper or tape.
Adhere your holly berry die cut cardstock and you are all done!
Make sure you check out our Christmas gift and decor 50+ roundups for more inspiriation:

