[pinit]
[pinit]
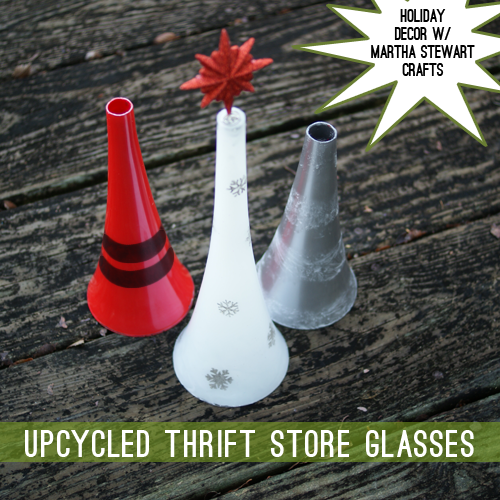
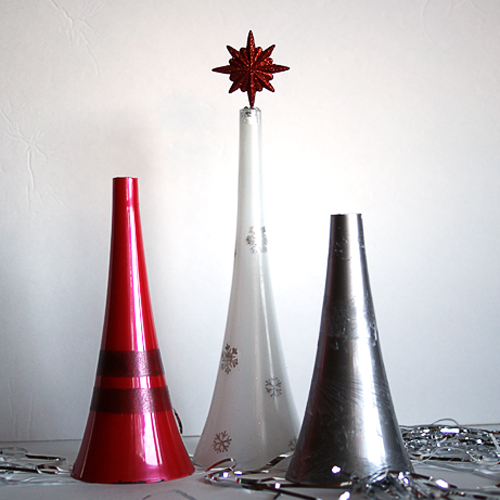
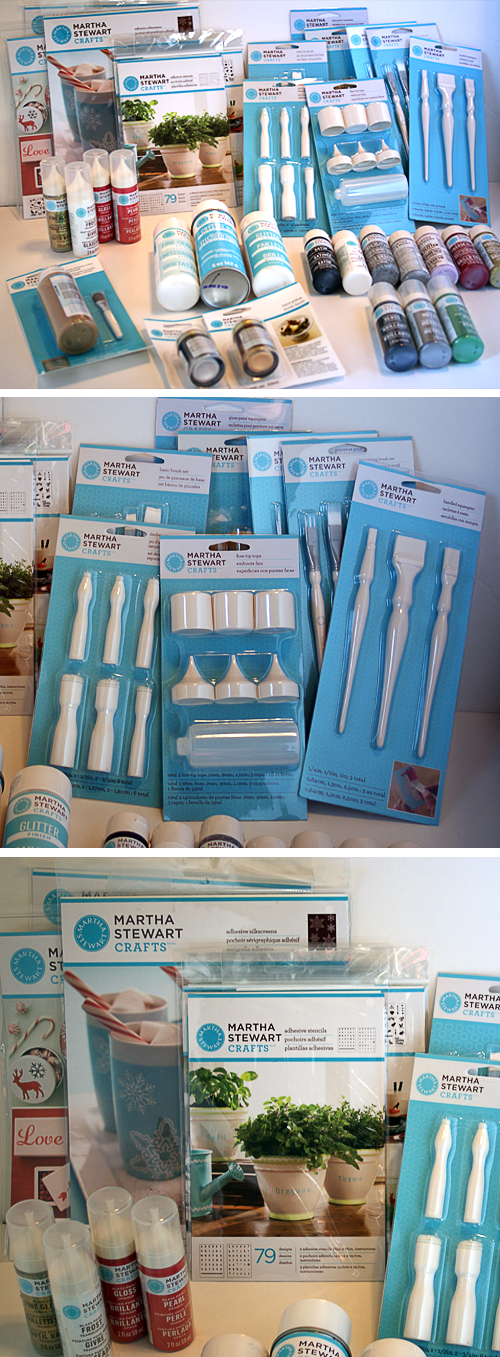
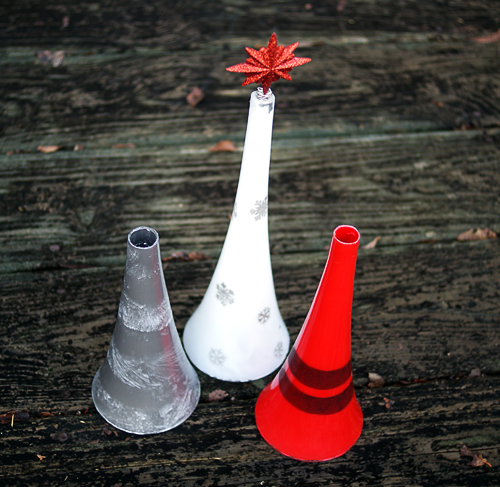
I had the fantastic opportunity to try out Plaid’s line of Martha Stewart paint and stencils to create a holiday project. It wouldn’t be very me if I didn’t come up with an upcycle of some sort. While out junkin’ with my girls, I spied some thrift store fluted champagne glasses for $0.50 each, and I saw whimsical Christmas trees. See how Martha Stewart glass paint, stencils and supplies helped me in the transformation, and how to create your own holiday vignette.
SUPPLIES:
Martha Stewart Glass Paint; Holly Berry Red, Silver, Frost
Paint Daubers
Martha Stewart Adhesive Stencils Holiday Icons II
Rubbing alcohol and lint free cloth
Hack Saw or Acetone/Yarn
Ice
Hot water
Martha Stewart Crystal Ice
Sandpaper
Safety Glasses
TUTORIAL:
Clean the glasses and cut with either hacksaw, or using the acetone/yarn technique I showed you in this video.
If you go the hacksaw route, you will just score the glasses all the way around at the level you want the cut, then submerge in alternating hot and ice water until break occurs (as shown in the acetone glass cutting video)
*I found the adhesive stencils to be super easy to use and to get a clean, crisp image with the paint daubers and glass paint. If you are going to use the same stencil repeatedly, make sure to clean and dry the stencil between each use to avoid stray paint marks.
*The Crystal Ice Spray… awesome. It is temporary, so you can spray it on windows for an icy look. It is quite simple to use. Sprays on clear, then starts to crystalize. I ripped masking tape for a jagged edge, then sprayed over the masking tape stripes. After about 5 minutes, I removed the masking tape and watched the crystals form. This could be addictive.
Join me in following Plaid Crafts on Facebook, Twitter and Pinterest for tons of inspiration and crafty tidbits! See what my creative cohorts have done with their Martha Stewart products:


