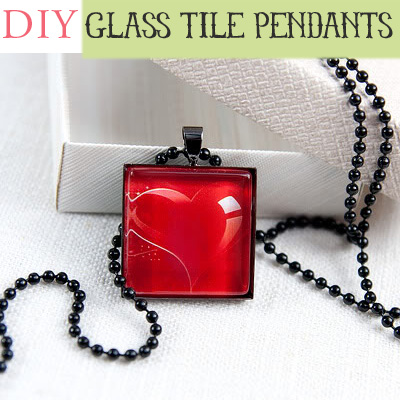
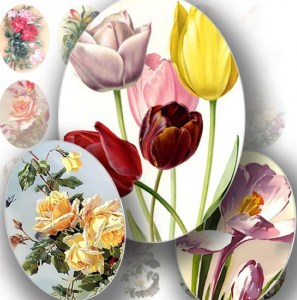
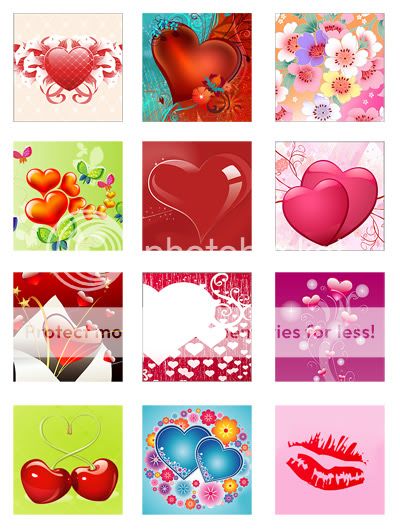
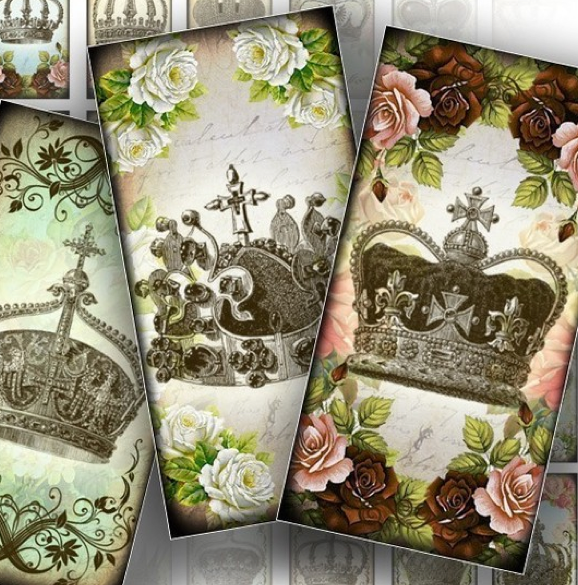
Today, I am happy to share with you a glass tile pendant tutorial from Irina at Irina’s Cute Box. These tutorials are abundant in the creative blog world. Irina shares her version incorporating a bezel setting. She uses the same jewelry component supplier as I do, Sun and Moon Kits on Etsy. Wonderful prices and service make this my go to shop for all of my wholesale needs. In addtion, Irina has available some free printable images you can use for the tiles, and digital collage sheets available for purchase in her Etsy store (see examples and links below).
TUTORIAL:
You will need –
- Images
- Diamond Glaze or other glaze if you prefer
- Bezel is used in this tutorial – You could also just leave the glass tile as is, seal the back (with Mod Podge or resin) and glue on a bail for attaching to chain.
- E6000 or superglue
The collage sheet is 4×6 inches, containing twelve 1 inch square images perfect for glass tile pendants, at resolution of 300 dpi. Print on heavy (80-100 lb) using laser printer. Laser images are more vivid and less likely to smear than ink jet.

Supplies shown are from SunAndMoonKits shop on Etsy.
To make the pendant –
- First, cut out image with scissors
- Apply small amount of glaze on the back side of the glass tile.
- Spread glaze evenly and pull out any air bubbles with fingertip or toothpick.
- Place the image with face down on the glaze and gently press it from center to the edges, ensuring no air bubbles remain. The paper should slide on the glaze when you touch it. This tells you that the right amount of glaze was applied.
- Let glaze harden for a couple of hours and trim extra paper on the sides. Use water and a lint free cloth to wipe away any excess glaze on the glass.
- Put a little bit of super glue in the setting.
- Place the glass tile with paper side down.
- Let dry, add chain and you are finished.
Visit Irina’s blog for other free graphics and her GraphicLand shop on Etsy for more beautiful and affordable digital collage sheets in a variety of shapes and sizes!


