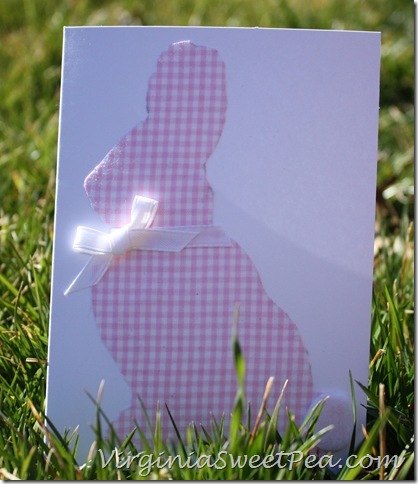
Today, I am thrilled to bring you this adorable Easter craft from Paula at Sweet Pea. I love the gingham fabric she chose, and using cookie cutters to create templates is brilliant. Check out her fun projects and tutorials, fitness tips, and her current series on Glogging (I learned a ton from the first lesson). Thank you for being here, Paula, and for sharing with us!
Hello, I’m Paula from Sweet Pea. I enjoy blogging about crafting, cooking, gardening, decorating, travel, and exercise. I’m excited to guest post today for Johnnie at her wonderful blog, Saved By Love Creations.
Easter is coming up quickly and I thought it would be fun to make cards to send to friends and relatives.
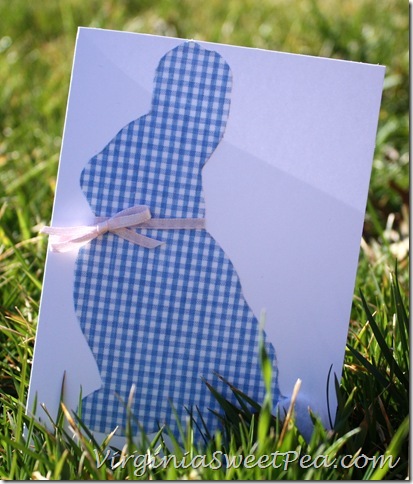
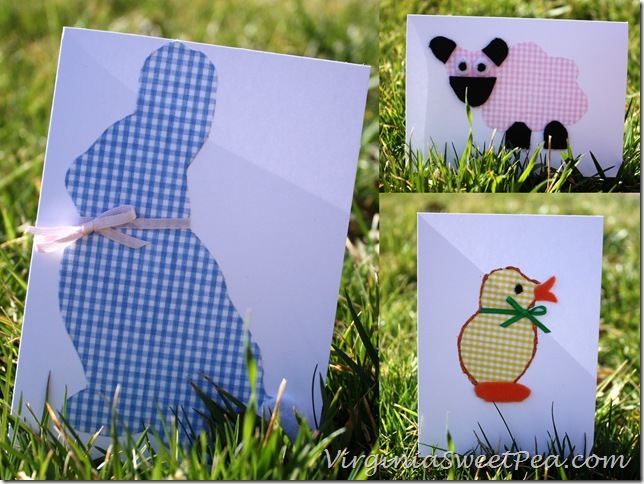
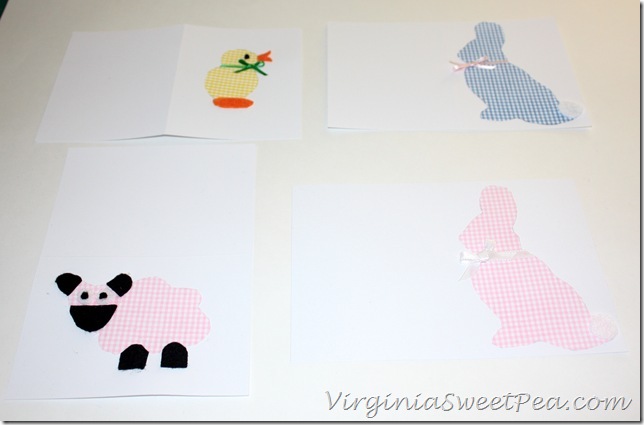
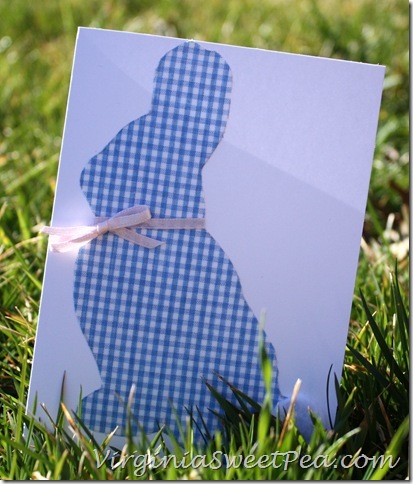
Aren’t these cute? They are easy to make and require materials that you probably already have around your house.
Supplies:
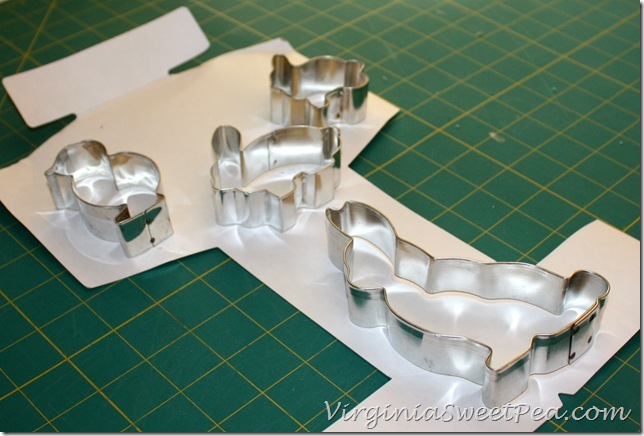
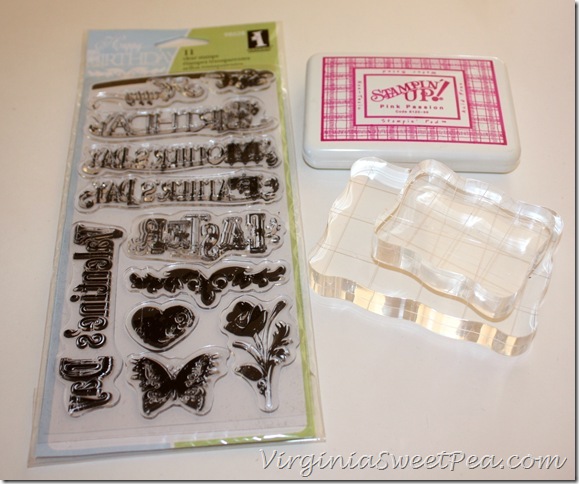
Easter themed cookie cutters, fabric, felt, scrap cardboard, pen, pencil, scissors, spray adhesive, craft glue, Easter stamp and stamp pad, and cards with envelopes.
Step 1:
Trace the cookie cutter onto a scrap piece of cardboard. I used a piece that was part of the packaging for a dress shirt.
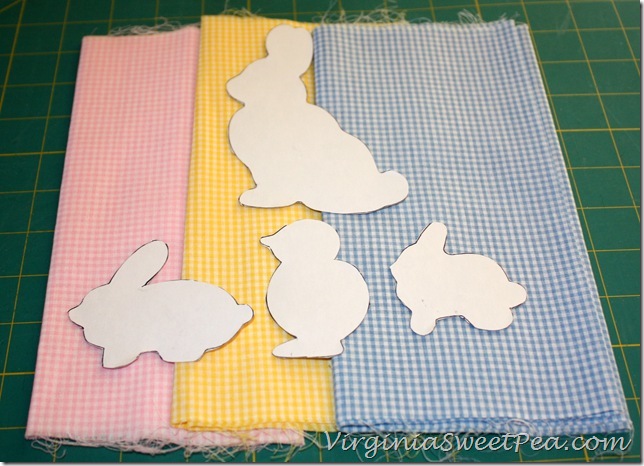
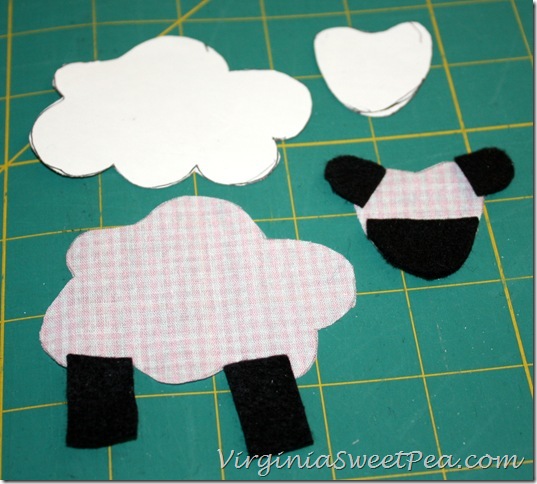
Cut out the pieces and decide on a fabric choice for each piece.
Step 2:
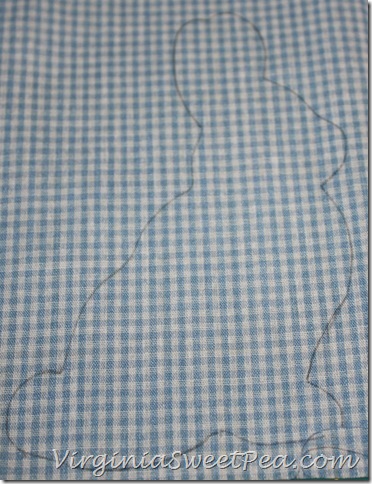
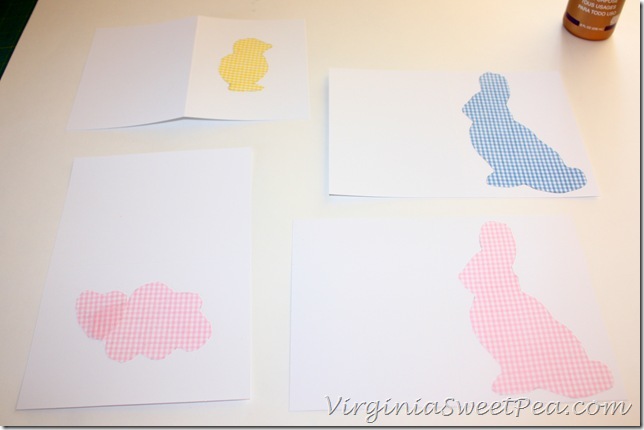
Trace each design onto fabric using a pencil and cut out. Be sure to cut inside the pencil line if you are using light colored fabric.
Step 3:
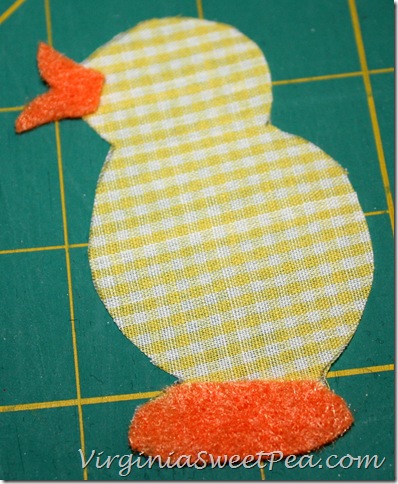
Cut out felt embellishments to add character to each design.
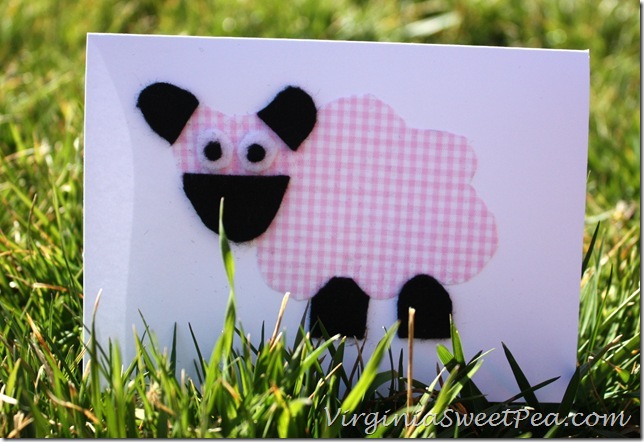
I didn’t have a sheep cookie cutter but wanted a sheep card so a drew a pattern onto the cardboard to make one.
Step 4:
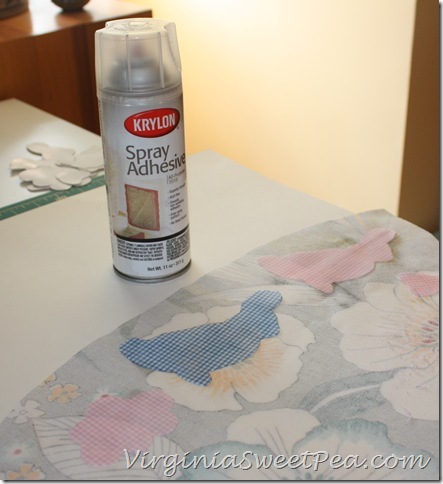
Spray the back of each fabric piece with spray adhesive. Wait a minute or two until it is tacky before applying to your cards.
Step 5:
Apply to cards. Press down firmly.
Step 6:
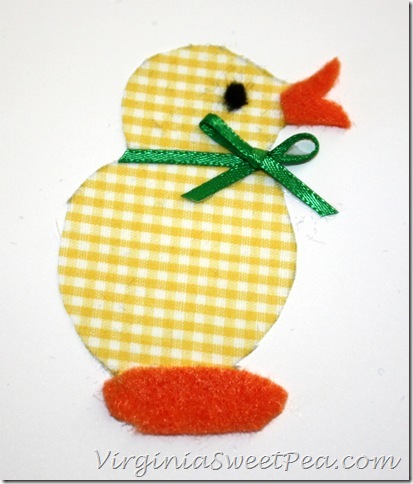
Add felt and ribbon embellishments. Let dry.
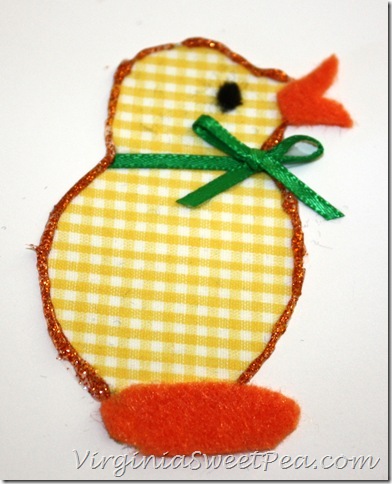
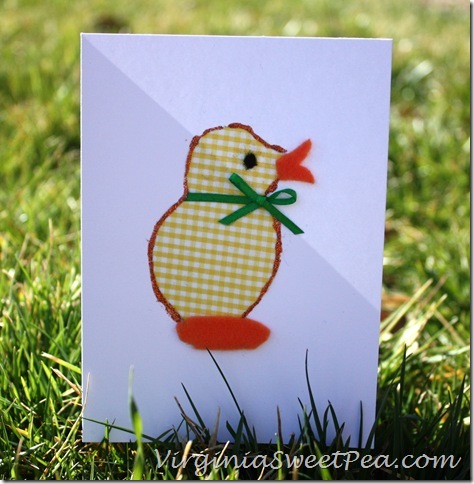
My little chick had pencil marks showing on his sides.
To cover this, I edged with orange glitter glue.
Step 7:
Stamp “Happy Easter” in each card.
That’s it! Enjoy your new cards.
I know I’d rather receive a handmade card any day over a store bought one.
I’m not sure which is my favorite and it’s going to be hard to decide the recipient of each card.
Thanks so much to Johnnie for having me today. I’d love it if you’d stop by my blog, Sweet Pea, for a visit. 

