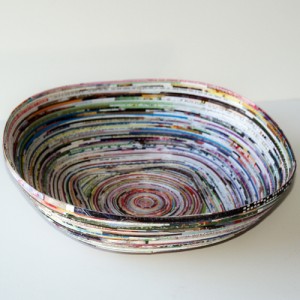
At it again. Today I have some new tips to share with you that will make these projects easier. They are still time consuming as all get out, but with a couple of extra steps you can be sure to get beautiful results with your magazine strips everytime.
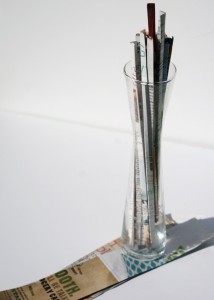
Here I showed you how to fold and coil strips. I have been folding and gluing for awhile now, and I am finding it much easier to use 1/4 magazine page sections to make the strips. They are easier to fold, and look neater (since they are not as thick) than the 1/2 page method I showed you in the link above. I use a paper cutter to cut a stack of magazine pages into quarters lengthwise (the vase in the pic is sitting on 1/4 pages).
The next tip is so helpful. If you dip each strip in glue, let them dry, then spritz them with water, they become easier to work with and shape into your desired creation. It kinda becomes like working with clay! To do this, I put 2 parts elmers glue, one part water in a vase like the one above (which I got at the dollar tree). I dipped the strip in, flipped it over and dipped the other half and ran it through 2 fingers to remove excess glue. Then I placed each strip on a non stick craft sheet. Wax paper would work too.
I let them dry for a couple of days, spritzed them with water in a mister bottle, and began coiling and shaping. SO much easier this way. I still sealed the final piece for durability and strength.
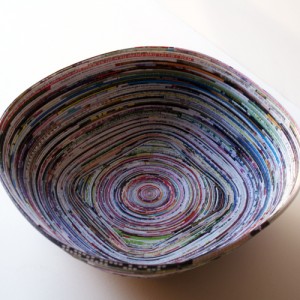
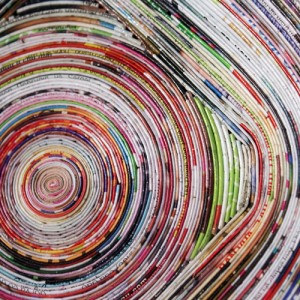
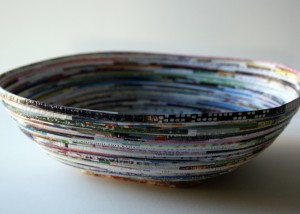
For the bowl, I started with a coil at the center, then made a rounded corner square by cutting strips in graduated lengths and creating the four corners. Once I had the corners in place, I began coiling around the entire shape, working up and out to make the bowl. Hard to explain, but you can see what I did in the pics. Working on a video tutorial!

