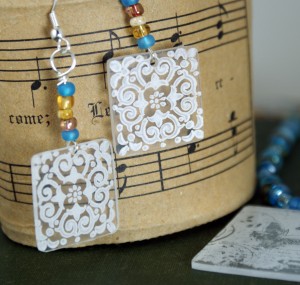
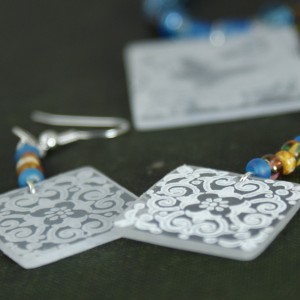
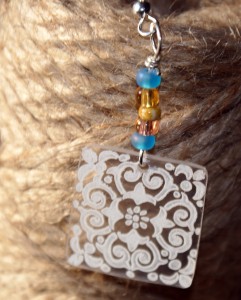
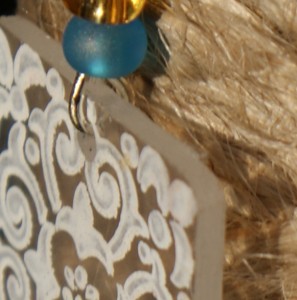
This project is simple and fun! I love how the jewelry turned out, and it is a quick process. Gotta love instant gratification. Follow along and create your own custom shrink film pieces.
Supplies:
- Clear Shrink Film
- Solvent inkpads
- Pigment inkpads
- Sharpies or other permanent markers
- Scissors
- Oven
- Hole punch
- Stamps
- Parchment paper lined cookie sheet
Instructions:
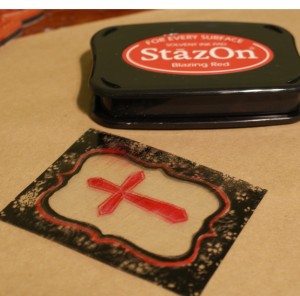
- Using stamp and inkpad, stamp desired image onto shrink film. You can use solvent ink or pigment ink (which sets when you heat the piece in the oven later). In either case, be careful not to touch the inked image, as both smudge prone until the piece is heated and shrunk.
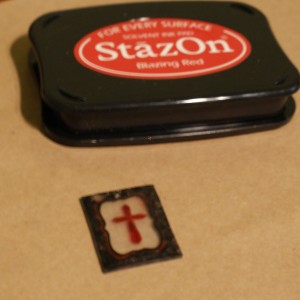
TIP: Keep in mind when making your image that the piece will be about 3 times smaller after you shrink it.
- Cut piece to desired shape and size, being careful not to smear the ink. Use fine tip permanent marker to add colors and details.
- Punch hole for jump ring to attach piece to chain or other jewelry findings.
- Place piece on parchment paper lined cookie sheet and put in oven preheated to 300°. The parchment paper is key for the piece flattening out after shrinking. Piece will curl and bend, and maybe freak you out a little, but fear not. It will return back to original shape and flatness. Remove from oven about 20-30 seconds after it flattens. Total cook time is about 2-3 minutes. Let cool and string with beads or as desired!

