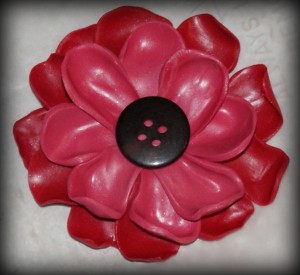
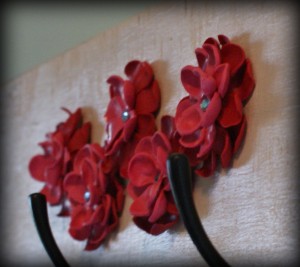
This tutorial is quick and rewarding. I showed you these flowers in the previous post, where I used them as embellishments on a wall mounted key holder. You can use them for anything. They would look adorable on a headband or necklace. I was amazed at how easy they are to make. See for yourself.
Supplies:
- Polymer clay in 2 colors plus scrap clay (to arrange the petals around)
- Pasta machine
- Petal or teardrop shaped cookie cutter
- Clay sculpting tools
- Clay blade
- armor all or other clay release agent
- Button or jewel for flower center
Instructions:
- Condition clay in pasta machine. Roll bottom petal color out into a sheet of thickness 3. Roll the top petal color to a thickness of 4 (exact numbers not important – just that the bottom, bigger petals are thicker than the top, smaller petals).
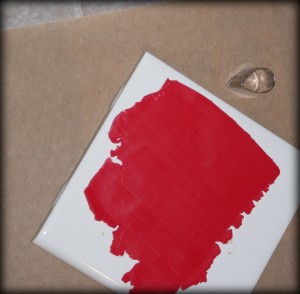 Next, spray your petal cutter with armor all (prevents clay from sticking to cutter) and cut out 8 or so petals from both colors (you may want more or less on each layer).
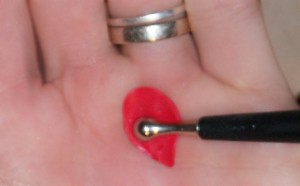
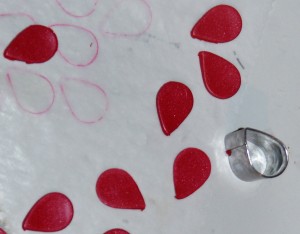 Place a petal in the palm of your hand and roll ball stylus across petal, causing the petal to take on a cupped shape.
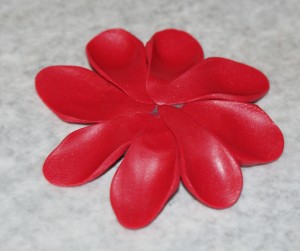 Use sculpting tools to further shape the petals. Mine are sculpey brand. They are invaluable in making clay do what I want it to do. The clay petals will curve beautifully and maintain their shape after baking! Sooo cool.
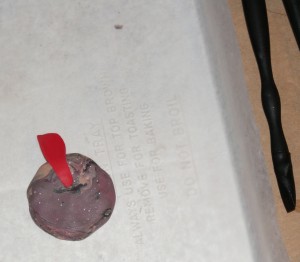
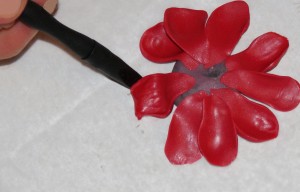 Do the same thing with the top layer. I mixed white clay with the bottom color to get a different tone in the same hue for the upper petals. Notice that they will cover the center of the bottom petals and scrap clay, so you don’t have to worry about imperfections in that area. Also, your top petals are made from a thinner clay sheet, so they will automatically be smaller than the thicker bottom ones after you cup them. Arrange them to your liking, and further shape them with your clay tools…
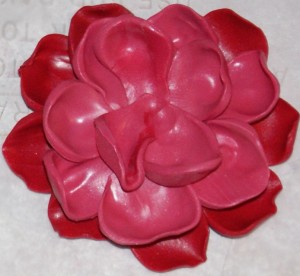
- Bake them at 275° for 25 minutes. Let cool. You are done. For the keyholder, I used E6000 craft glue to add a jewel to the center of each flower. Use buttons, beads… go nuts. The only requirement is that you share pics of your creations when you are finished!

