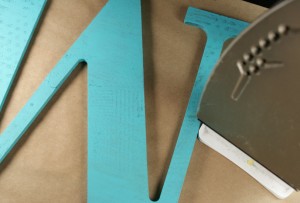
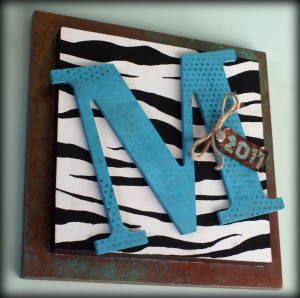
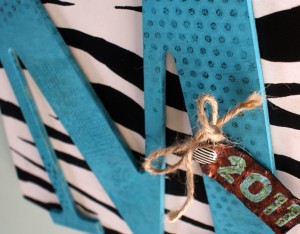
 This is a project I did for a high school graduation gift. There are three mixed media techniques involved in the making that I am excited to share. I love how everything came together with this process. I was told she likes blues, and zebra print. I got the plain cardboard letter first and, no kidding, found the zebra print frame that fits perfectly… ready… at GOODWILL for $2. I couldn’t believe it. I had no idea what I was going to do with this lone letter, when out of the corner of my eye, I spied Mr. 12 inch zebra frame. Unbelievable. Happy Crafter. Anyway… today I will show you the emboss resist technique I used on the “M”. It is highly adaptable, and a great tool to have tucked away for interesting backgrounds in your mixed media pieces.
Supplies:
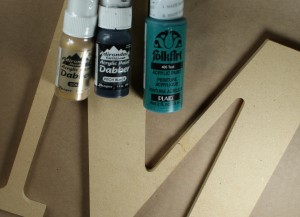
- Surface to Paint on (Like my monogram letter from Michael’s)
- Acrylic paints in at least 2 contrasting colors
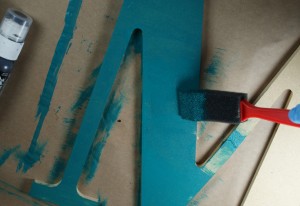
- 1 inch sponge brush
- Stamps
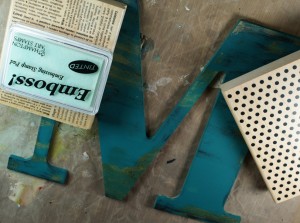
- Clear embossing ink
- Clear embossing powder
- Newspaper or other scrap paper
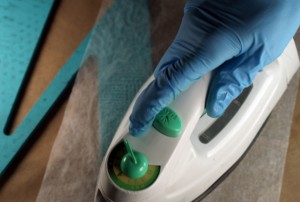
- Iron (that you will no longer be using on clothing)
Instructions:
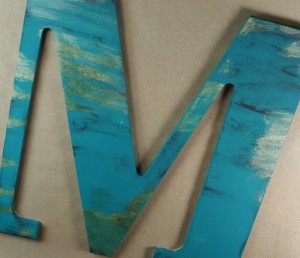
- With acrylic paint, cover your surface to your liking. This bottom layer is what will show through where you stamp with the embossing ink later. I used a teal, with gold and black randomly placed splotches. Let this dry before proceeding to the next step. You can speed this up by using your heat gun.
- With clear embossing ink, stamp designs on the dry base coat.
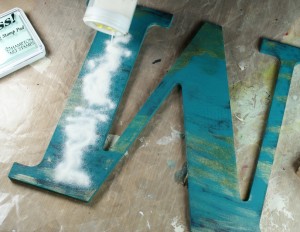
- Sprinkle Clear Embossing powder over stamped areas, then shake off the excess, leaving the powder where you stamped.
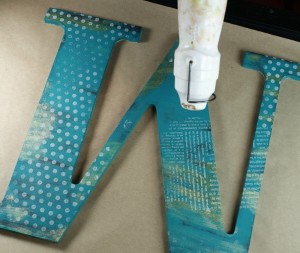
- Melt embossing powder with heat gun. Once all the powder is melted, set aside for a few minutes to let cool before moving to the next step.
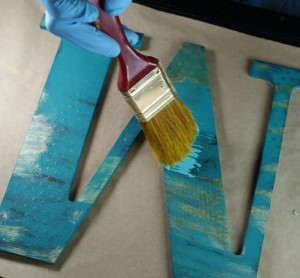
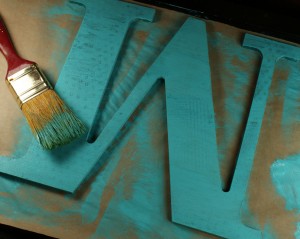
- Paint over entire surface in a color that contrasts with your base coat. I chose a lighter blue, since my client loves blues. Let this layer dry completely before moving on to the ironing step.
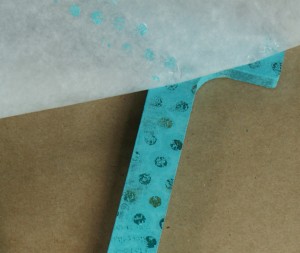
- Set your iron on the highest setting. Place scrap card stock or newspaper or deli paper (which is what I used) over the surface and iron across it. When you peel the paper back, you will see it is taking with it the top layer of paint only in the areas where you embossed! It is cool because it gives a layered texture look. You can tell it wasn’t just stamped on top. I particularly enjoy the effect when a few different colors are present in the base coat, like the teal, gold and black I used.
You can use this technique for ATC backgrounds, cards, wall art backgrounds. For more depth, emboss again on top of where we left off, paint a new color and iron. Keep going till you are pleased. This is one of my favorite techniques. You never know exactly how it will look, but it is always interesting.
Come back tomorrow for part 2 of this mixed media tutorial trilogy – I will show you how to use gesso and metallic paints to create a faux metal frame. Part 3… well, come read part 2 and you will see! Hurray, it is FRIDAY!

