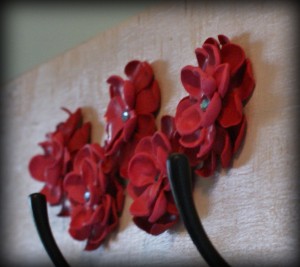
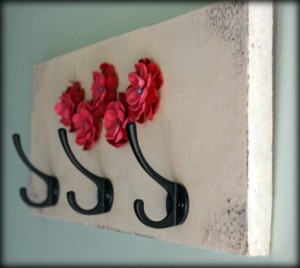
 I have had this project in the back of my mind for months. It has finally materialized, and I love it. Today, I will cover how I created the distressed, wall mounted key holder. The making of the polymer clay flowers will be covered in a near future post, so come back and hear the ending.
Supplies
- Piece of board or MDF
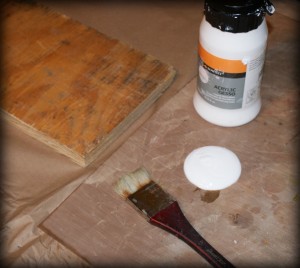
- Gesso
- Sandpaper medium grit
- Paintbrush
- Titan Buff fluid acrylic paint from Golden
- Raw Umber acrylic paint
- Corner stamp
- Ranger distress ink in walnut
- Hanger hardware
- clear embossing powder
- Mounting hardware (I use craft wire)
Instructions:
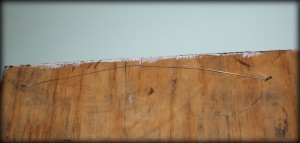
- Lightly sand the board and wipe away debris with a damp cloth
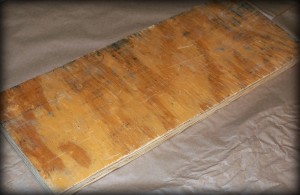
- Apply a coat of gesso; this is a primer that prepares the surface of the board for acrylic paints. Let dry completely.
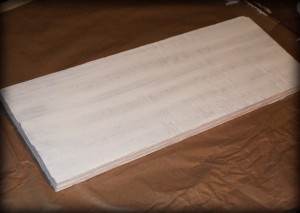 Sand lightly after gesso is dry to create “teeth” for the paint to stick onto. Wipe away debris. Apply raw umber acrylic paint. This color is great for distressing.
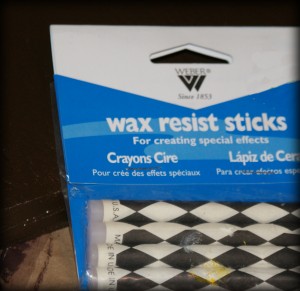
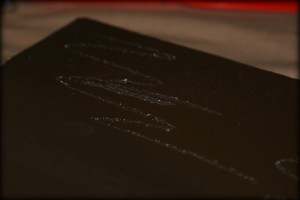
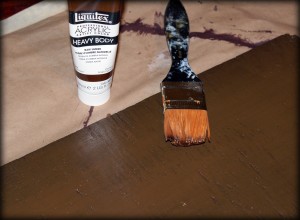 When this dries completely, apply resist wax in areas you want the base color to show through the topcoat color. Areas that would normally be distressed with aging are corners, edges and a few random spots on front.
- Now you are ready to apply your topcoat. I used titan buff acrylic. When that is dry, lightly sand away the wax and watch the base coat come through where you placed the resist. For the corner design, I stamped using walnut distress ink. I poured clear embossing powder over the wet ink and dried with my heat gun create a raised design.
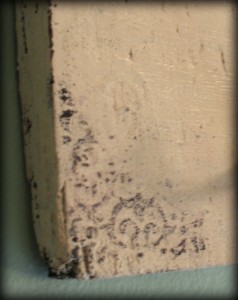 Attach your key hangers and embellishements to your linking on the front. To hang, attach craft wire to the back with staples (don’t nail into MDF). You are done!
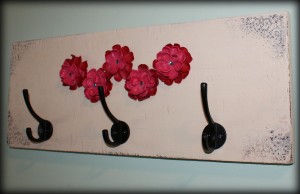 Don’t forget to join me Monday for how to make those cutie flowers!

