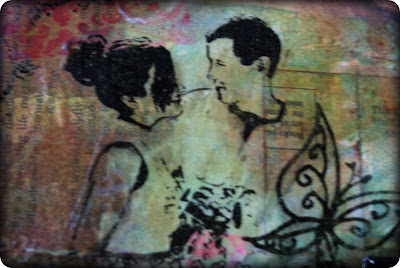
 This whole thing started because I wanted fresh art to hang above the fireplace mantle. I had some 12×12 blank canvases I picked up on sale that I decided to use. After googling “altered canvas”, I landed on this tutorial over at Art-e-Zine, the ridiculously awesome resource I found for everything mixed media. I have been exploring this site for days on end. So inspiring and informative. They have tons of vintage images and photoshop brushes available for free download, as well as tutorials on what to do with them. LOVE it.

Now for the transfer process. The idea is to get the outline onto the substrate, in this case the canvas. I could just trim around the image and collage it onto the project, but this wouldn’t allow the canvas background to show through. After much research, I decided to go with this approach, shared by Lisa Cook. The problem I ran into is that I was working on a framed canvas, so I couldn’t really get in there with a rolling pin since there wasn’t a solid surface backing the targeted area. In the end, none of my image transferred using this process. Frustrating. From what I have read, failing several times before figuring out what works for you is inherent in image transfers. I found a simple solution… clear contact paper. Yep. Check it…

