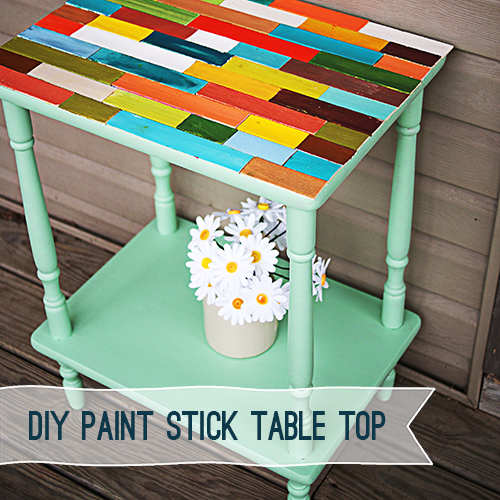
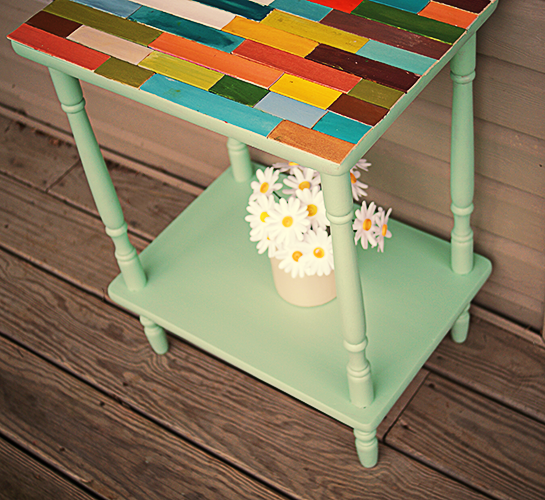
 One of my favorite things to do is find curbside “trash” and give it love, transforming it into something unique. My friend Beckie calls this whole process “Roadkill Rescue” and even has a website devoted to showcasing the web’s best of such transformations; RoadkillRescue.net. Today’s project is my latest rescue. See how I took a discarded side table and turned into a fun and colorful accent with chalk paint and paint sticks!
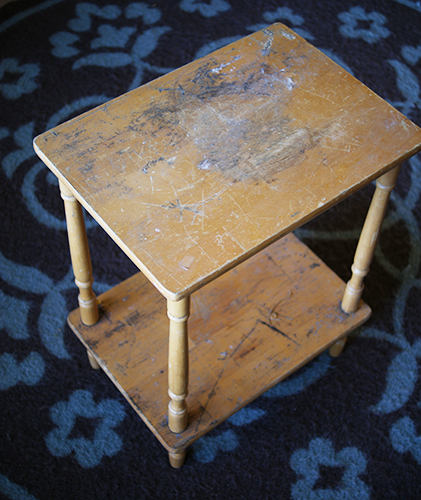
Here she is before. Pretty beat up, but with tons of potential!
I sanded her down with medium grit sandpaper and wiped away the debris with a damp cloth. Then I painted 3 coats of Martha Stewart Chalk Paint in green. (Make sure you let the paint dry an hour or so between coats).
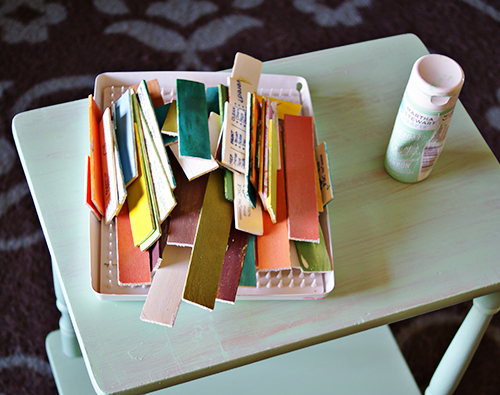
I had several leftover paint stirrers, which I cut to various lengths with my scroll saw. I arranged the “tiles” on the table top, keeping them flush on the left side. I marked where the end sticks on the right started to go over the edge of the table, and cut them to size with my saw. The width of the paint sticks just happened to fit perfectly on the table, so I only had to adjust the length of the right edge pieces.
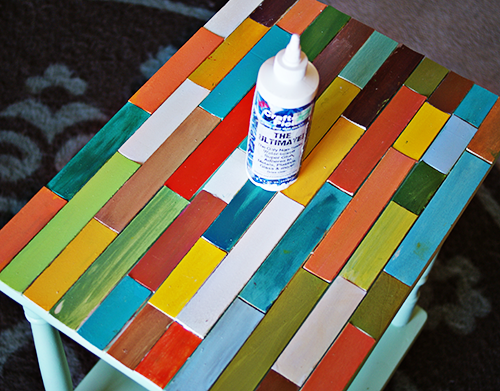
I glued my paint sticks in place with Crafter’s Pick glue. I put some heavy books on top of the table to weigh the sticks down for good adhesion and let dry overnight.
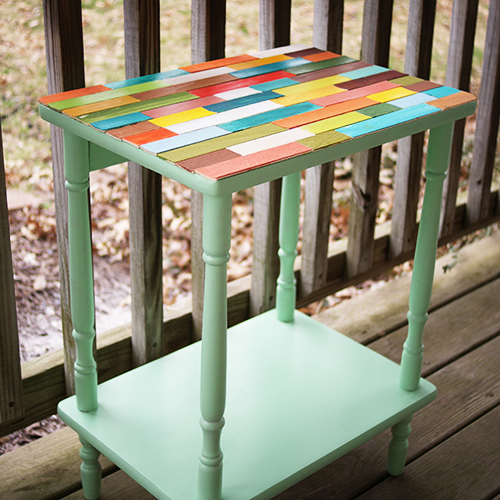
Seal with Mod Podge Matte. The End!
Speaking of trash to treasure, my friend Kelly of Eclectically Vintage shared some seriously helpful tips for getting the most out of dumpster diving:

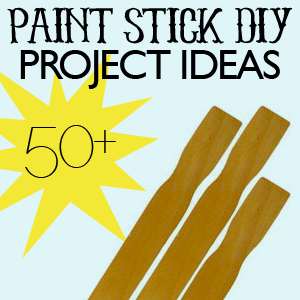
Speaking of Paint Stirrer Crafts, there is a 50+ for that!