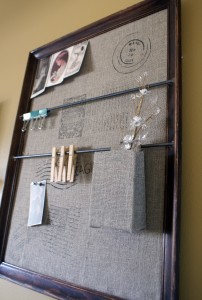
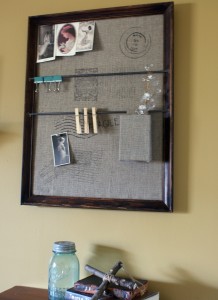
This is my debut Pottery Barn knock off project. The inspiration for the project actually came from Starbucks Via instant coffee cartons. What?? Yeah. They look like this…
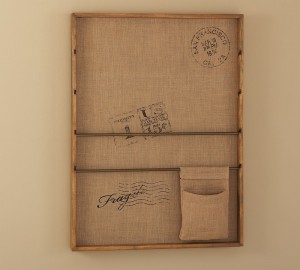
 Might I just say that I am 100% addicted to these drinks, but anyway – I was looking at the empty carton and thought surely I could make something cute out of the little shape. I was initially thinking I would make a faux metal wall pocket and stick some adorable paper flowers in there. I began searching images for wall pockets when I came across this Pottery Barn piece for $149.
I knew I could make this with supplies I had on hand, and I would still get to use my empty Starbucks Via box. Check out the step by step and make your own Pottery Barn knock-off wall organizer. I spent a total of $1.26 on dowel rods, and probably about $10 if you include the garage sale picture frame and bulletin board I used. The project took undert 2 hours from conception to completion.
Supplies:
- Old bulletin board
- Picture frame (mine is 18×24 inch
- Burlap cut to fit frame and enough to make pouch
- Super 77 or other mounting adhesive
- Empty carton (Starbucks Via box works well
- Dowel rods
- Drill
- Chrome or other metallic spray paint
- Stencils (I cut mine with Cricut)
- Black Paint marker or permanent marker like Sharpie
- Rubber stamp with handwriting (optional)
Instructions:
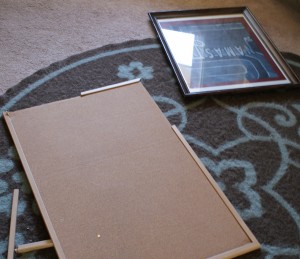
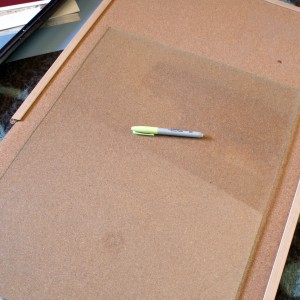
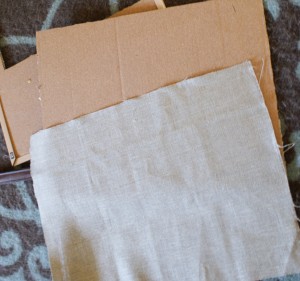
- Cut bulletin board to fit frame. I outlined the glass that was in the frame to use as a guide to cut the bulletin board to fit. I cut on the inside of the outline, taking into consideration the thickness of the burlap that I would be folding over the edges of the bulletin board later.
- Cut burlap to fit with 1/2 inch overlap on all sides.
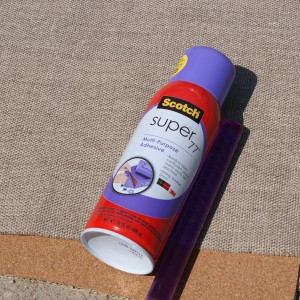
- Spray Super 77 onto cork side of bulletin board, covering it completely, and immediately place the burlap on top, smoothing it down with your hand.
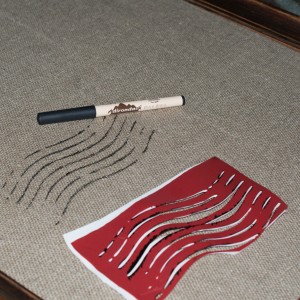
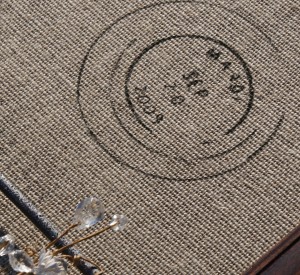
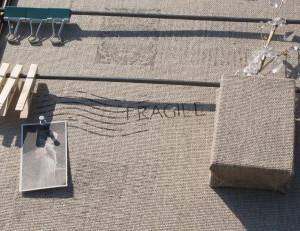
- Now place your stencils on the burlap and stencil away. I used vinyl stencils I cut with Cricut, which I love because the vinyl stays in place, even on burlap. I used a paint marker to fill in the stencil openings. I also used a rubber stamp and black ink pad to add old handwriting for the vintage postcard feel.
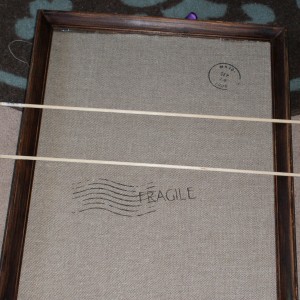
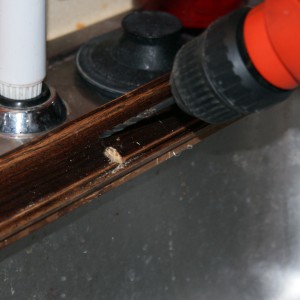
- Drill small holed in frame for dowel rods to sit in as shown.
- Cut your dowel rods to fit using a utility knife. Shave the ends to taper them like a pencil if need be to fit into the holes you drilled. Spray paint them your desired color. I used a chrome effect spray paint that I had on hand.
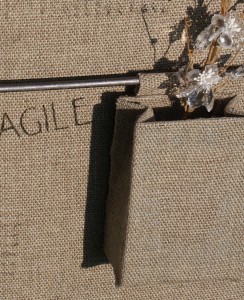
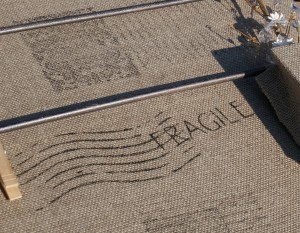 To make the pouch, spray your empty carton with Super 77 and adhere burlap you have cut to fit. For the loop to attach the pouch to the dowel rod, fold over a rectangle scrap of burlap and spray the touching edges, then spray and adhere it to the back of the pouch. That is it!!
Grab some antique images, flowers, clothespins and dress up your new organizer. What do you think?

