
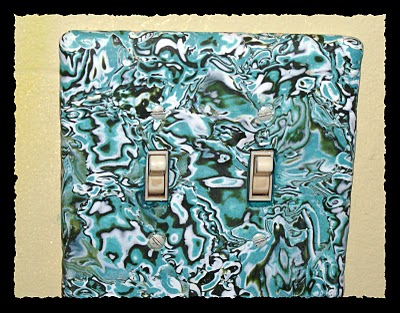
 Thought I would switch (pun intended) things up a bit, and clay a home decor piece. Walking around my house, looking at all the uncovered light switches (we are painting all the rooms) it occurred to me to give switch plate covers a go. I love how it turned out, which means I am probably not going to stop until all my switch plates are clay-ified. 1 down, 53 to go. Yippie!
 I picked these three colors (since they rock) and used a polymer clay technique called mokume gane. It originated in chine in the 17th century and refers to a “woodgrain metal” appearance. It involves stacking alternating colors of clay and impressing them with some sort of texture tool. Here is a good tutorial on the technique. Mine was much simpler than the tutorial I linked, since I just used the clay straight out of the package, and didn’t paint or ink to get my colors. I used a rubber stamp sheet pictured below for the impression.
 Once you make your mokume gane block as outlined in the tutorial linked above, let the warm clay cool, then shave thin slices off for your switch plate cover and set aside.
 Make sure you shave off enough to cover the entire area of your switch plate.
 You should test your switchplate by baking it in the oven at the same temp as you will bake your clay to make sure it doesn’t bubble or melt. Some of the plastic ones can do that. You can also use metal, but it is more difficult to get the clay to stick to than is plastic. Clean your sand your switch plate to rough it up a bit for better adhesion (i used 120 grit, but it doesn’t really matter).
 Apply a thin layer of translucent liquid sculpey (for adhesion) with a paint brush that you don’t mind dedicating to clay (the brush will never be the same again).
 Then roll out a background sheet of clay to cover the plate. I used scrap clay that was light in color (darker colors will affect the slices of mokume gane and alter their tone). I conditioned it in my pasta machine on #3. Then I laid it on the switch plate with the TLS layer. I had to use 2 pieces of clay to cover the whole thing. I got rid of the seam by lightly rubbing with my finger, but I wasn’t too particular about it since I knew I would be covering the background sheet with cane slices.
 Turn the now covered switch plate over and trim away the excess clay.
 Place your slices on as desired and roll to smoothen.
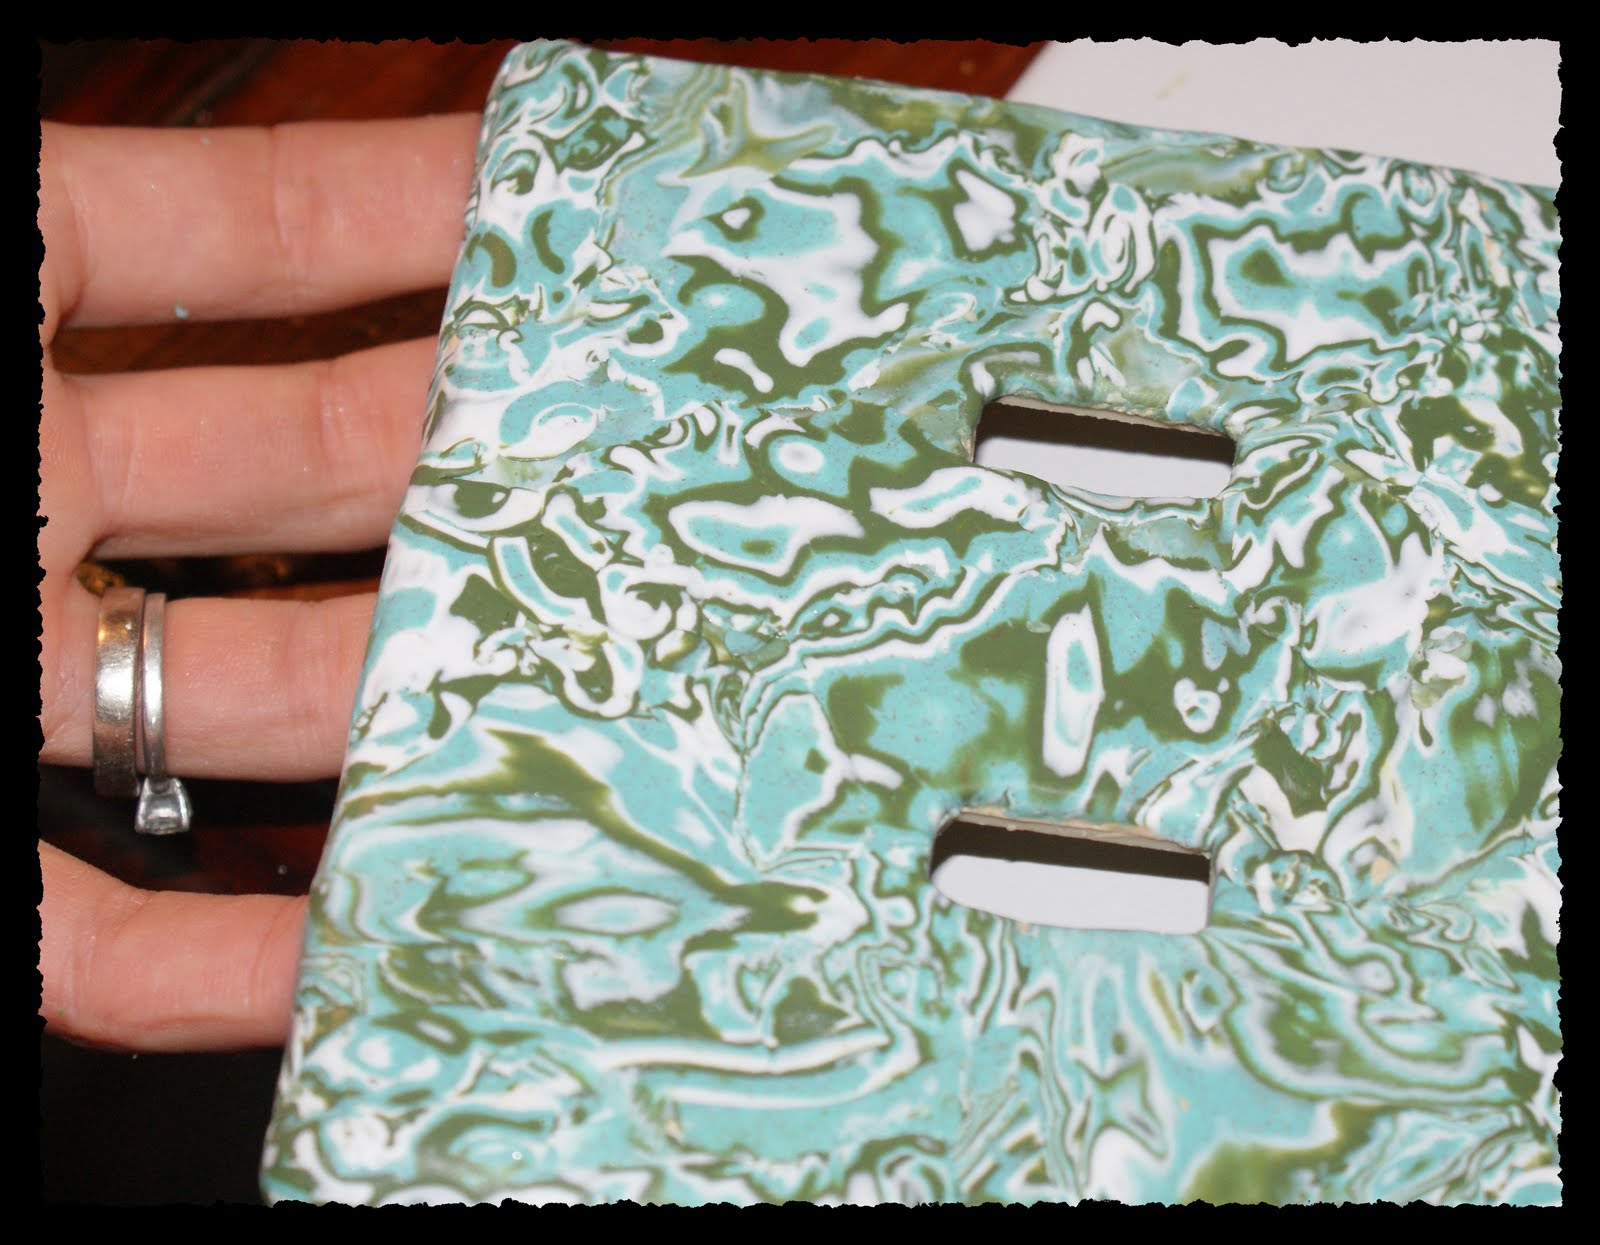 Once the plate is covered to your liking, use a craft knife to cut openings for the switches, and a needle tool to poke through where the screws will go. Bake as instructed on clay package (mine was 265 degrees for 2o min). Remove it from the oven and let it cool before handling. I use a toaster oven and baked this right on the tray in the oven. You can use a glass baking dish, or a cermic tile, etc…
Keep in mind, you don’t have to put can slices on your background sheet, There are tons of other options. Here at Three Moon Babies is a good switch plate tutorial where Marjorie created a lovely picture on the base sheet. Take a look around her site for lots of crafty inspiration!

Photo courtesy of http://livingwiththreemoonbabies.blogspot.com
You could also texturize and antique (which I will be doing for my bedroom), stamp, paint, or whatever your conjure up in that creative mind of yours!
