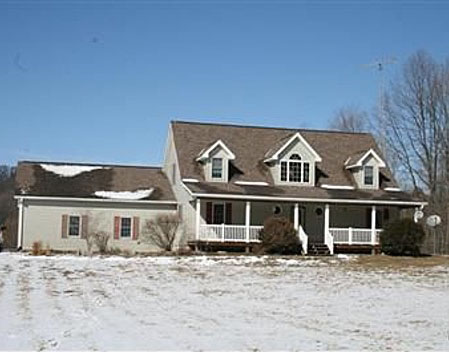
 We jumped into our new place with immediate renovations, no time wasted. It has been just about 2 months since we took possession and already, you have seen our DIY Countertop Makeover with Rustoleum’s Countertop Transformation Kit, as well as our DIY Kitchen Cabinet Upgrade. We wanted to take the time today to show you around the house before continuing with our updating plans. While house hunting, the biggest must haves on our list were land, wood shop space, studio space, and a couple of rooms for guests. It will be easy to see how we landed where we did, provided you bring with you a DIY remodel vision. Come with us as we go from a 1990’s country house to a vintage farmhouse style home, one budget minded project at a time!
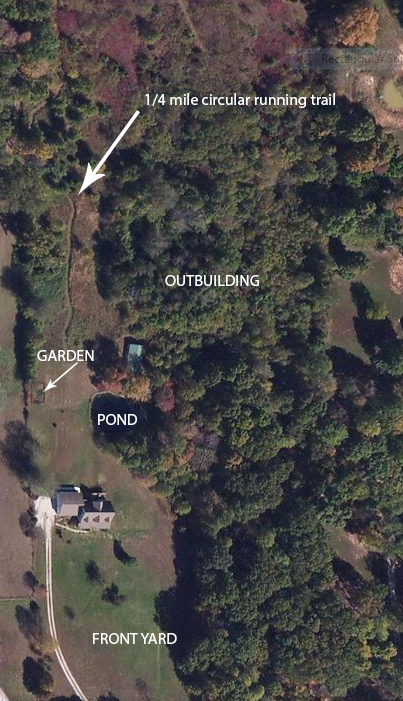
Here is the aerial view. You can see the large front and back yard, pond, outbuilding (yay for workshop with 60 Amp service, and ample wood storage). There is even a running trail in the wooded area!
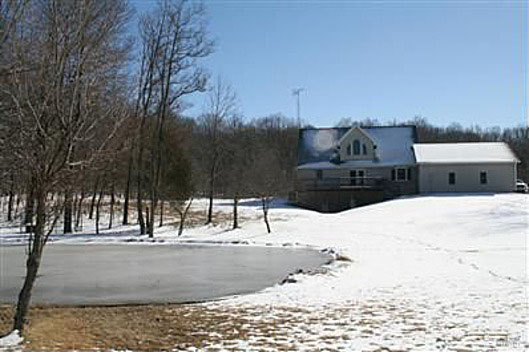
Here we are from the back of the house. That pond is delightful with a fountain feature and fully stocked. Not that I plan to fish, but several friends and family members are excited about that aspect. You wouldn’t believe the number of frogs hopping around there right now!
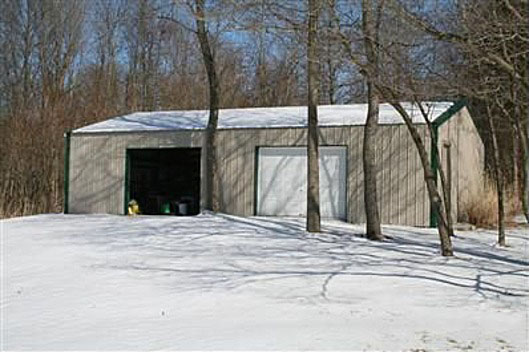
The tools are in the right half of the outbuilding, which has a concrete floor and windows in the back. The left hand side holds the tractor and all of the reclaimed wood I hoard!
Let’s go inside now…
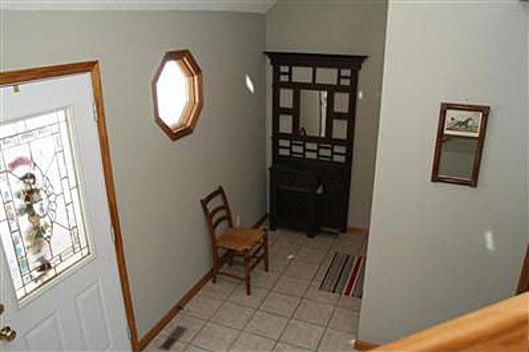
Here we have the foyer. The first thing we did, even before the kitchen, was paint the walls and trim. Bye bye wood trim!! Some of you will want to vomit at the thought of that. I am a white trim girl, so white it is.
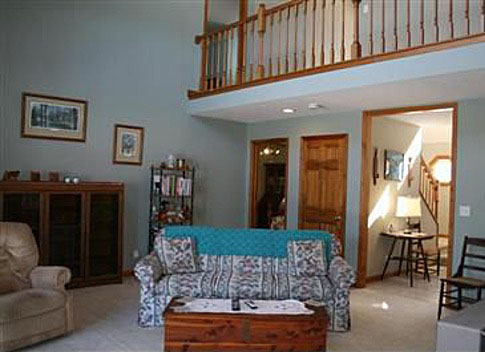
Here is the living room from the sliding doors that go out onto the back deck. The walls are no longer country blue. We went Moderate White by Sherwinn Williams.
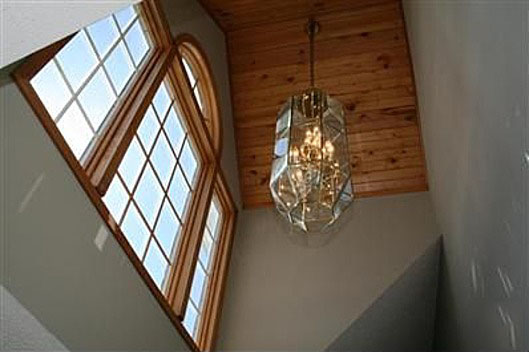
I loved the wood ceiling and window trim in the living room, so it stayed as is. That light will be replaced with something less shiny brass and more awesome/vintage/farmhousey.
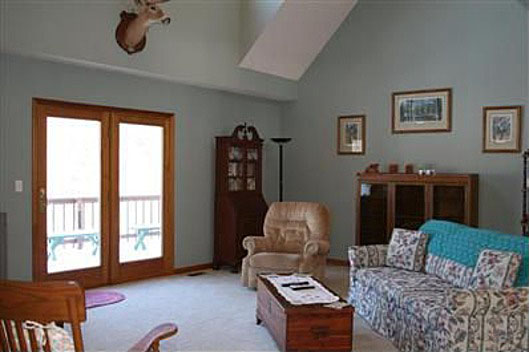
Here is the view of the double deck doors from the living room. I showed you a DIY Window Treatment for them no long ago. You can also see the new paint on the walls and trim:
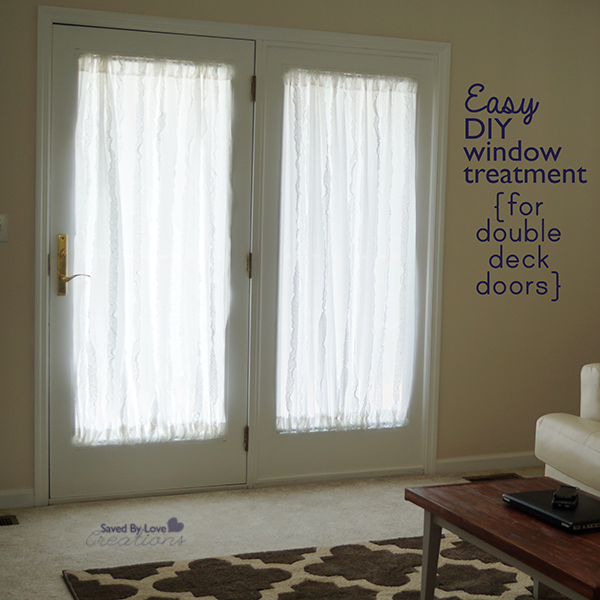
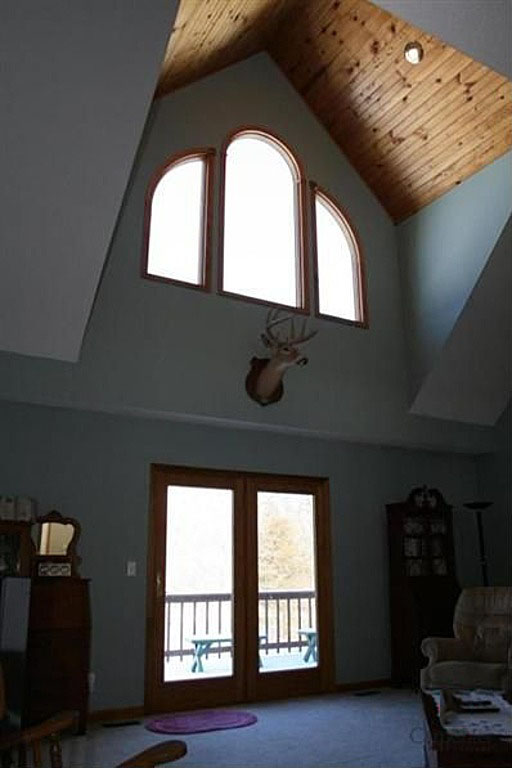
Like I said, I left the wood on the big window above the double doors, and on the ceiling. No more deer head, if you were curious.
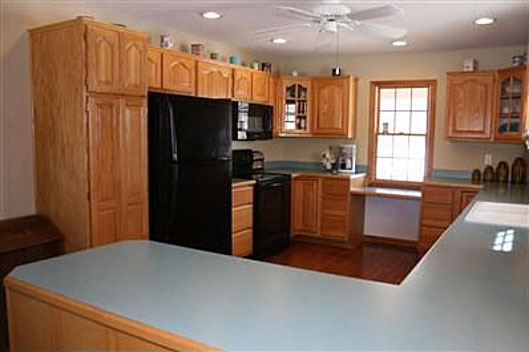
You have seen the kitchen in the DIY countertops and DIY kitchen Cabinet Upgrade posts.
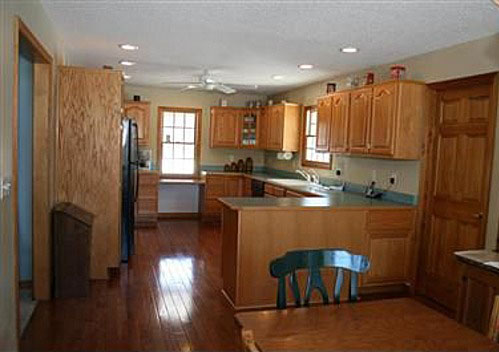
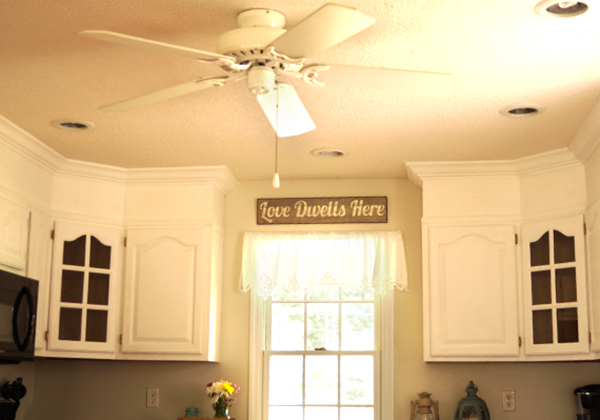
It is now much brighter, fresher and along the lines of the farmhouse feel we want. Stay tuned tomorrow for the farmhouse table and bench we built!
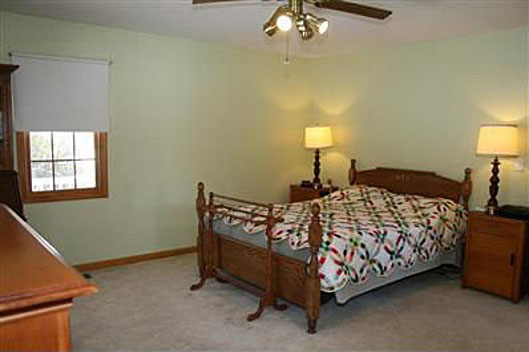
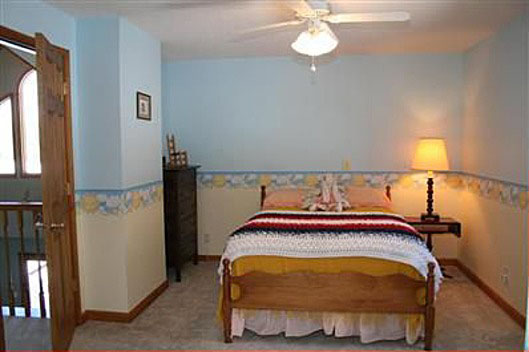
Here is the master bedroom. Again, we have painted walls and trim, which you have yet to see!
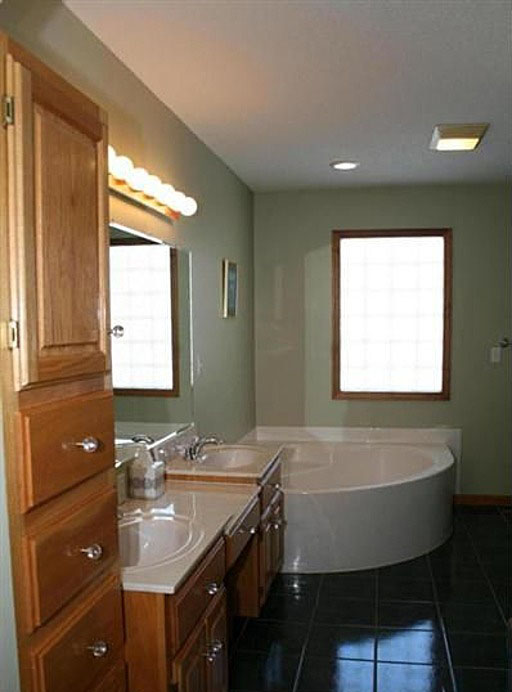
Here is the master bathroom. If the picture extended right, you would see a shower, toilet and walk-in closet. It is a great space, but we have a lot of updating to do! I would like to rip out the vanity and drawers to it’s left and go with something junkier. Also, faux wood ceramic tiles are on my list! That mirror and those lights are never going to make the cut either.
Here you see the upper level from the living room. I love the open concept and cathedral ceilings. There are two mirror image bedroom dormers on either side of the upstairs, with a full bath in between them.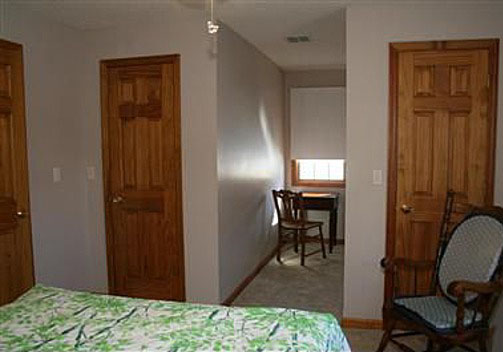
As you can imagine, we will be painting our style all over these canvases!
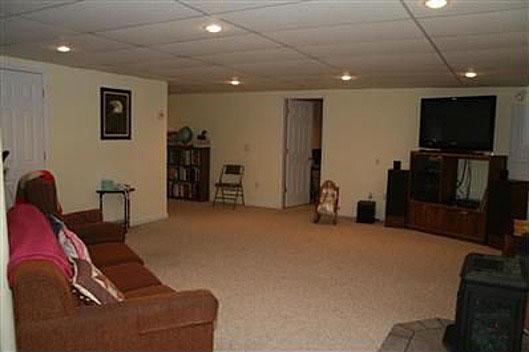
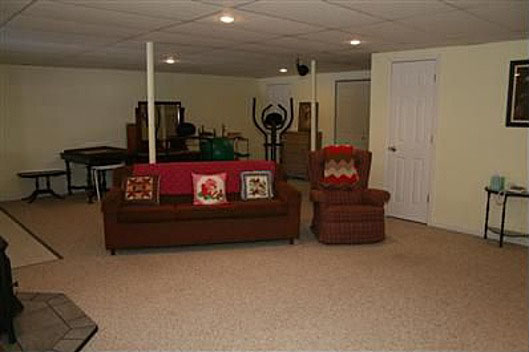 You may be wondering where I will have my art and craft supplies! This finished basement is huge! There are three rooms for storage, two of which are office like, or potential extra bedrooms. I have such big plans for this space. It is amazing, aside from the drop ceiling tiles. That is on the top of my list of “must go” features!
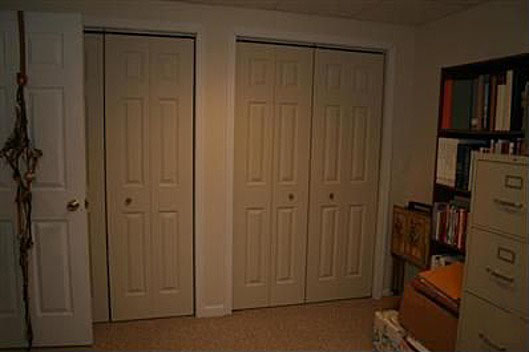
I am working on an exciting DIY custom built-in storage from bookshelves in this room. You will see more about that in August.
And now for more exciting news!!! You are going to get double the inspiration.

My very talented friend Karen, a.k.a The Graphics Fairy, has also recently purchased a new home! Follow the two of us as we share our DIY projects and home decor ideas in turning these houses into homes.
Tour Karen’s house in the suburbs HERE.
Karen and I are going to Haven Conference, and will be coming back to you next week with the latest in DIY products, projects and inspiration. I, for one, am super excited. Are you?!


I love you both and I love this whole ideas 🙂 I am so jealous of all the room you have there!
Stacy, thank you! Love you right back, and can’t wait to see you soon. xoxo
For that huge glass and brass pendant: have you considered spray painting it into a new metal color? I’ve seen them redone in oil-rubbed bronze, black, and so on and they look like completely new fixtures.
Master bath mirror:
The previous owners of our current house had a mirror about half that size removed from a bathroom and left it for us. After looking all over for an entry hall mirror, we took the mirror, and a framing coupon to the local framers and explained we wanted a sturdy frame that could support the mirror, but not destroy our entry hall wall. We now have an amazing hall mirror for the cost of the frame. mirror glass was valued by the framers at $200-$300 and frame cost was $300+ with the coupon used. When the previous owners dropped by, they didn’t recognize the old builder grade mirror. 😉 Just an option to consider as you reach that project.
Monica, I love the idea of framing the mirror and putting it in the hallway! Thank you. As for the brass, I am with you on the oil rubbed bronze idea. I have a can of that and am planning to spray the metal on the chandelier over the dining room table. I just don’t love the design of the foyer pendant light, so I will probably seize a cheap, DIY alternative when the opportunity presents itself. Thanks for the thoughtful input! xoxo
Hi Johnnie,
How fun is it to have a new home to make your own? It will be fun to watch as you create your perfect place. Would love to follow you but how do I do this on Bloglovin? Can you help?
Thanks…..Chris
What an amazing piece of property you have! The pic of the pond in the snow is beautiful. Looking forward to seeing how you update your new home!
Thank you Jane. We are so blessed with this place. Time to get renovating! Glad you stopped by and said hello. xoxo
I love your new house and am very excited to follow along as you update it. You’ve already accomplished so much! That outbuilding is so nice for all of your projects!
Was fun to see a tour of your house! Hope I see it for real soon! Glad things are going well for you?!
Thanks Mary!!
I’m so excited to be sharing this journey with you Johnnie!! It’s going to be so much fun watching you transform this house into a Vintage Farmhouse!!
Awesome and exciting times for both of you!! I am enjoying Graphic Fairy and now am looking forward to the home projects!!!!!
Thanks so much!!
Thanks Amelia!! It is great to “meet” you, and I look forward to sharing inspiration. xoxo
Congratulations on the new home. It’s lovely. So much room!! You must just be over-the-moon excited!!!!
Thanks Shannon! I am just that 🙂 xoxo
I’ll be following you two on your makeover journey!!