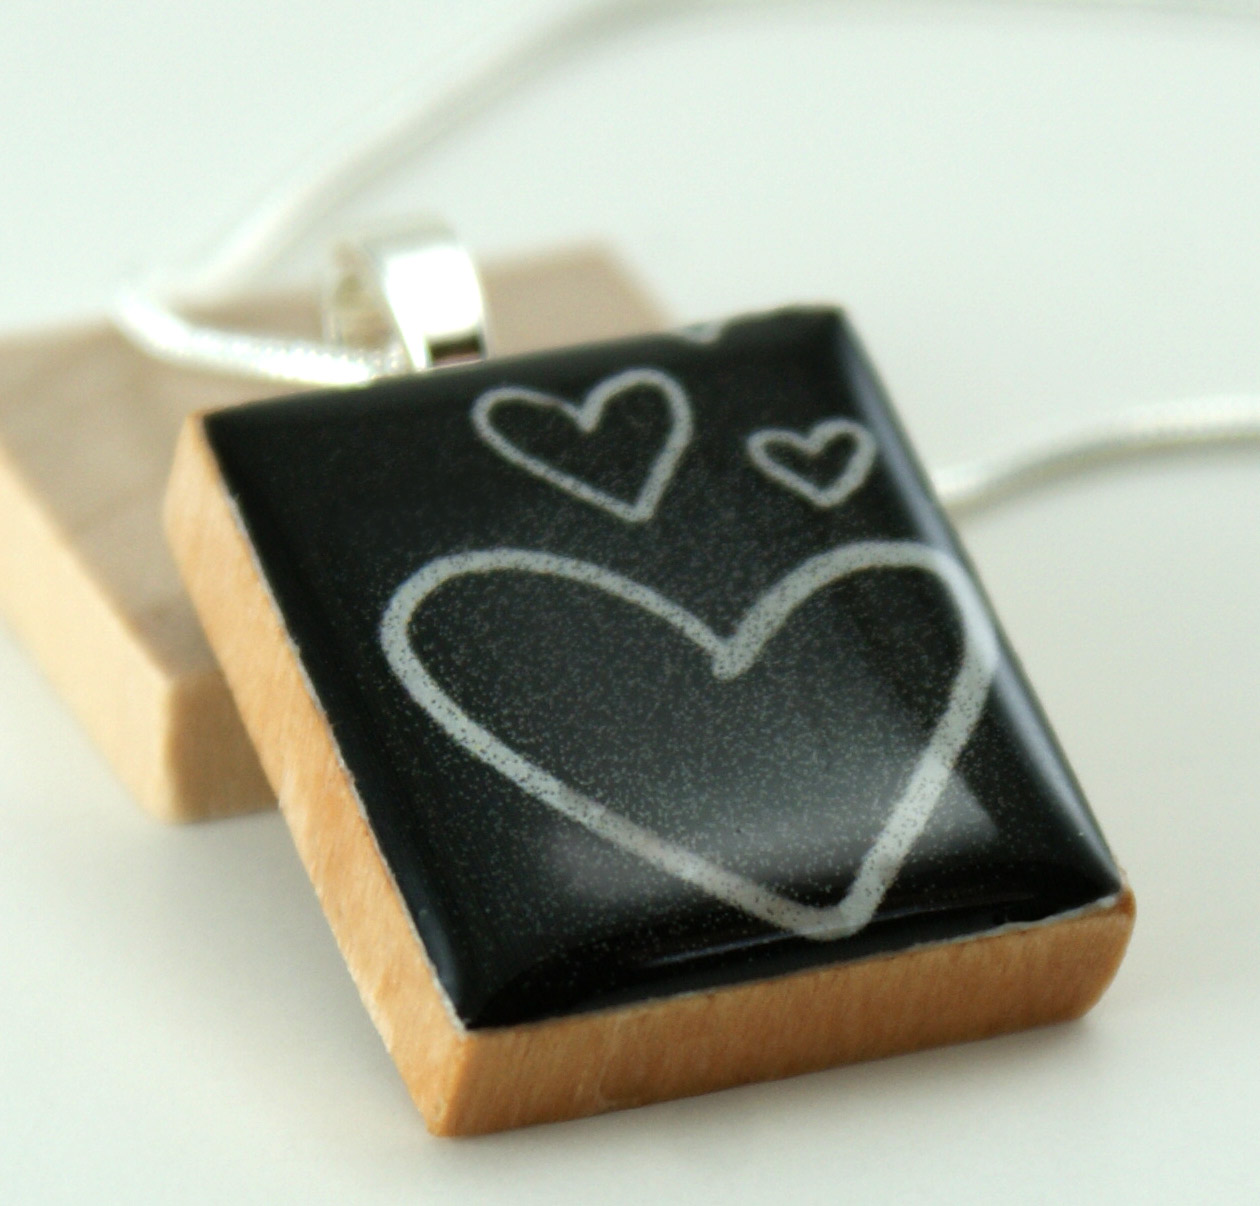
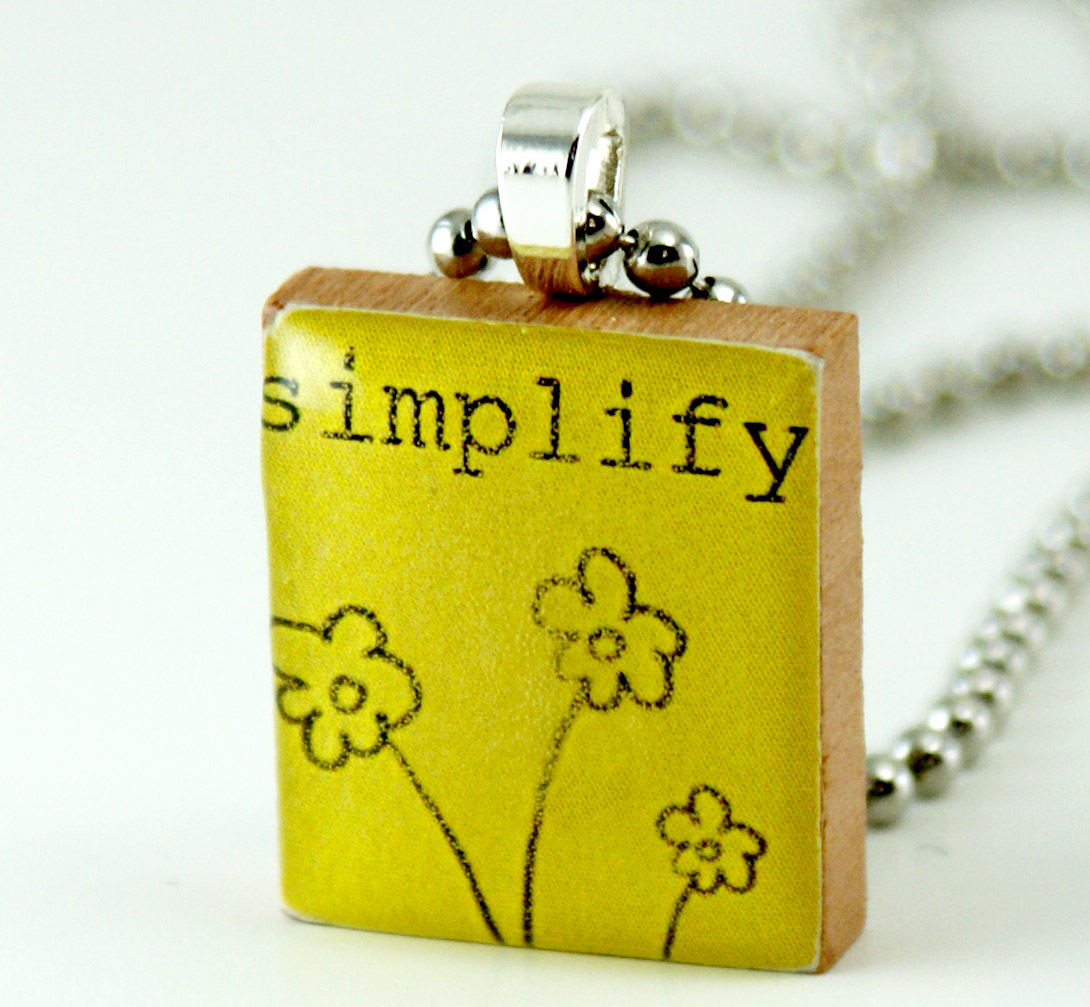
I have been revamping my online shops to introduce my new pendant designs. Throughout this process, it became apparent that my macro photos of my jewelry… well, sucked. I browsed other artists stores and wondered how on earth many of them were getting such nice shots of their work. I stumbled upon a solution that seems to be working for me. All it takes (aside from your camera) is a cardboard box, some white tissue paper, some tape, a couple of cheap desk lamps, and some 100W daylight energy smart light bulbs. Here is an in depth tutorial at Strobist. This is seriously worth doing. My pictures are improved significantly, and I am not restricted by the location of the sun (or lack thereof). Here are some of the pics I have taken with my rockin’ DIY photo light cube…


Very nice! The photos are great 🙂 Thanks for sharing that link too!
These are wonderful!
I made something similar before using foam board. It's nice, but a little much to store since we made it with the larger sized foam board. 5 pieces foam board, tape and lamp. Good work! These are so nice to have on hand.
Hi!
I'm following from the Weekend hops.
Visit me at posohonabudget.com
Have a great weekend!
My, what professional-looking photos you have there. Beautiful! Thanks for the link to the tutorial.
Pics look fantastic! Thanks for the link.
[…] gift fund! There are many versions of this contraption using cardboard boxes. I made one here, but it is small and therefore restrictive. Today, I will show you how I used white foam board to […]