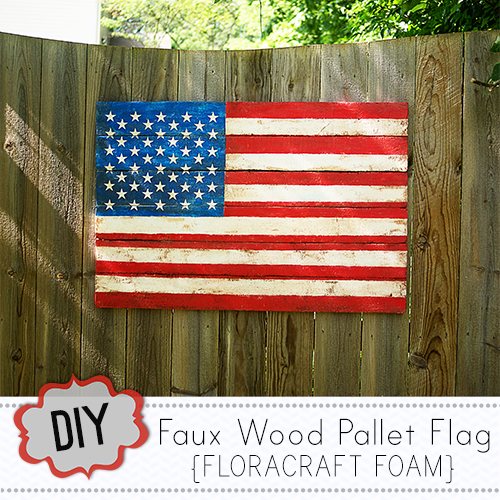
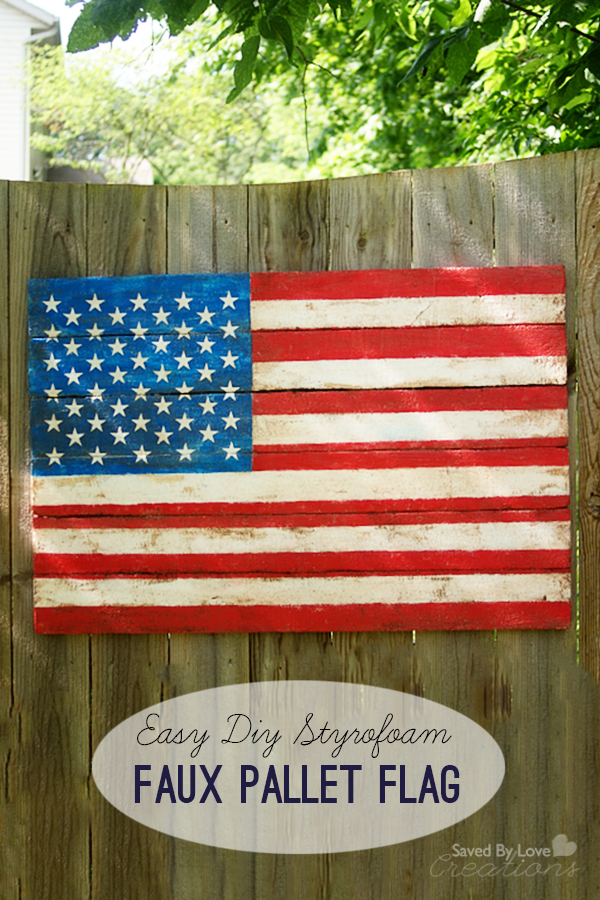
You have probably noticed that repurposed pallet decor is all the rage. I have been hooked since the first project I saw, and have created some pallet pieces myself. I will never forget the look on my husband’s face when he came home to find me mounting a pallet to the wall of my studio (Pallet Organizer DIY). His concern was it’s weight, and I have to say, they are pretty hefty. Some people are opposed to bringing pallets into their homes because of possible toxins, or they don’t have the tools to work with pallet wood. That is why I was so thrilled when I learned about Smooth Finish™, a paintable coating for FloraCraft® Foam. Learn to create this faux wood pallet flag that you could lift with your pinky, and enter to win a product pack from FloraCraft to make your very own!
SUPPLIES:

Make it Fun® Foam 2 – 1″ x 12″ x 36″ sheets
Styro Cutter Plus® (you don’t have to have a special cutter, but it makes the process much easier)
Serrated kitchen knife waxed with candle or soap if you don’t have a foam cutter
Red, white and blue acrylic paint
Mod Podge Mat Finish
Antiquing glaze
White star stickers or stencil
Yardstick and chalk pencil
Marker
Craft stick for stirring
Putty knife or spatula
1 inch paint brush
Measuring tape
Medium Grit sandpaper
TUTORIAL:
CUT THE FAUX BOARDS
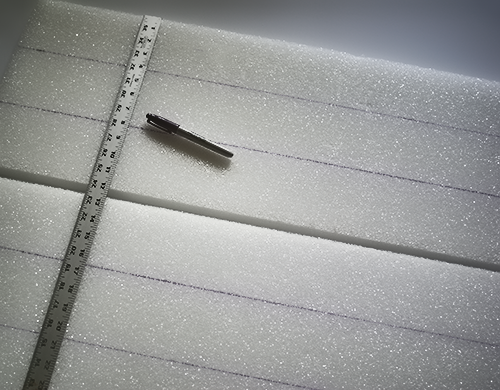
I divided the foam sheets into three 4 inch wide pieces (36 inches long). I measured each 4 inches and made my cut line with a sharpie.
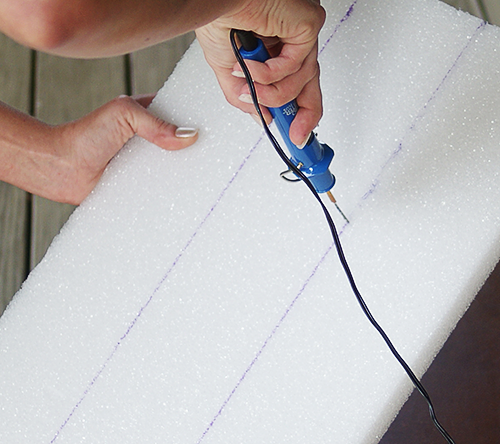
Plug in the StyroCutter Plus and it is ready to cut in 30 seconds. Be careful, it is quite hot. The cutter works well, just be sure to let it do the job for you. If you force it to move, there’s a chance that the wand/tip will snap off. If you don’t have the StyroCutter, you can use a serrated kitchen knife. Waxing the blade with a candle or bar of soap first will help make the cutting smoother. Just for fun, I cut one of the lines using my jig saw. It worked fine, but there was a lot of flying foam dust. The StyroCutter prevents this my cauterizing at the cut edge.
APPLY PAINTABLE COATING
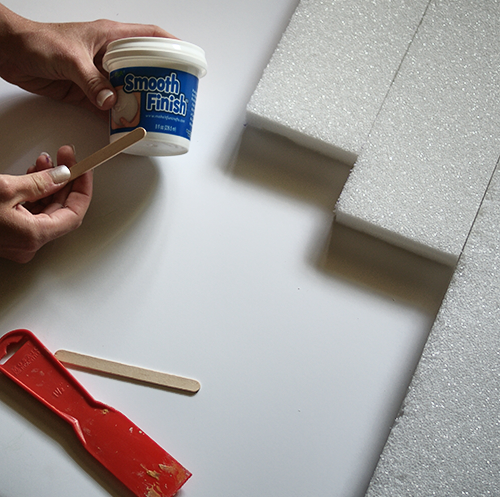
Open the smooth finish and stir with a craft stick. The consistency is like paste.
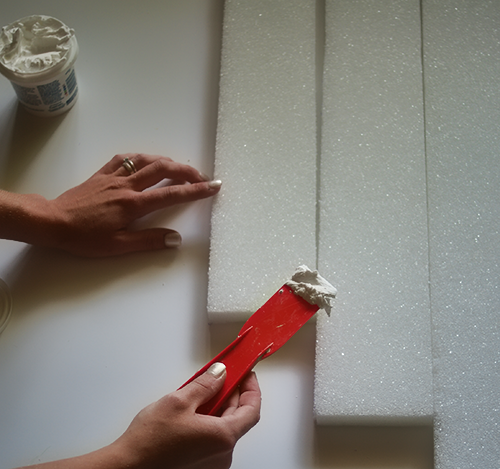
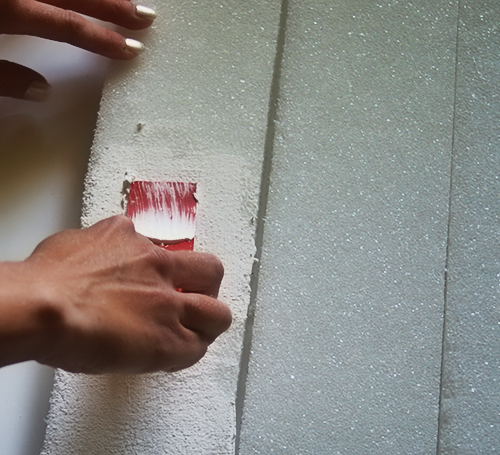
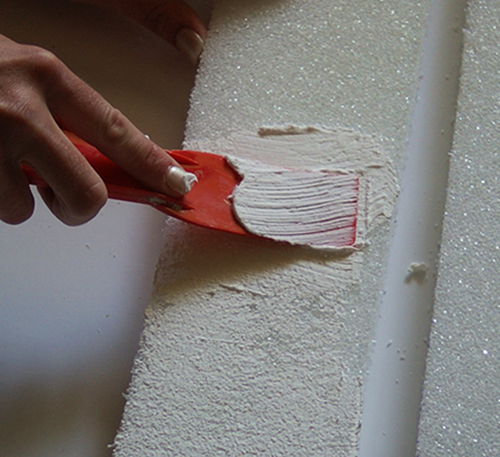
I spread it onto the foam in about 5 inch sections at a time since it becomes difficult to spread and stick as it is exposed to the air. Spreading in multiple directions helps fill more of the pockets in the foam for a smoother finish. I wasn’t too concerned about having a perfect surface since I knew I was going for a distressed look, so I worked fast. The coating was easy and quick to apply. Each sheet took one tub of Smooth Finish.
I let it dry overnight, but I am sure that wasn’t necessary. I would say 1 hour would be enough.
PAINT THE FLAG
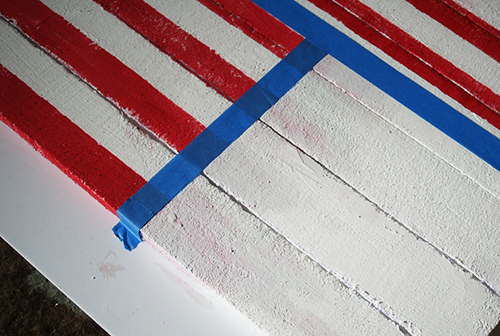
For 13 stripes, each one is 2.75 inches. I marked and taped them off with painters tape, and taped off the blue square. I painted with a flat brush using acrylic paint.
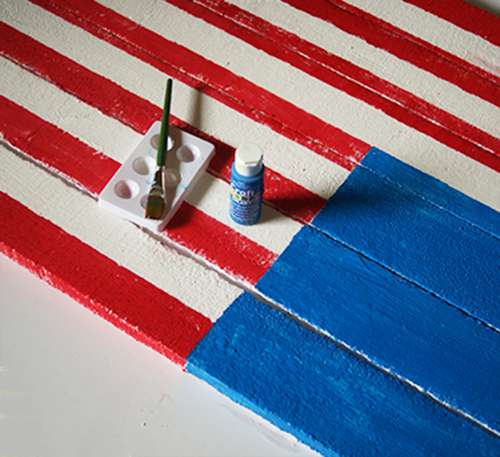
I did the blue last. The stars were cut using my Sizzix machine, out of Duck tape white sheets. I drew a grid with my ruler and chalk pencil to guide placement.
DISTRESS THE PLANKS
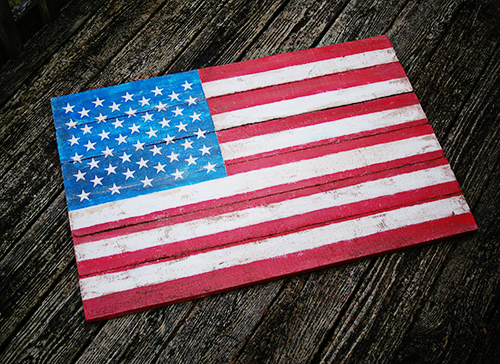
I wanted my pieces to look rough like pallet wood, so I sanded some edges to make them uneven, and removed paint in random areas to reveal the white layer. The texture i left with my spatuala, combined with the distressing provide recessed areas for the antique glazing to highlight at the end.
GLUE PIECES TOGETHER
I used StyroGlue since I know not a lot of glues work with foam. The workbench was the perfect spot for gluing. I used clamps to keep pieces pressed firmly edge to edge while the glue dried.
It holds perfectly!
SEAL WITH MOD PODGE
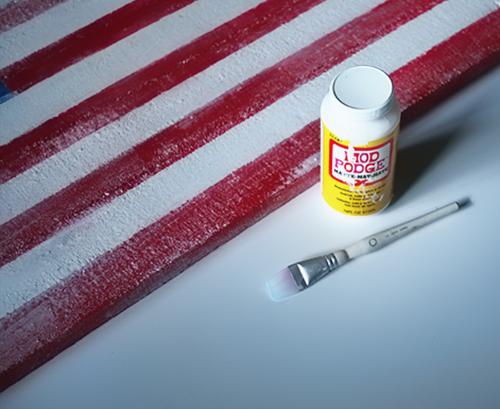
I sealed the piece with Mod Podge matte finish.
FINAL ANTIQUING
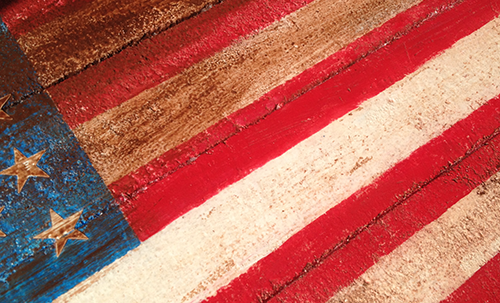
I used Scupley antiquing glaze, which is no longer in production. Any glaze is fine. Just apply and wipe away quickly with paper towel. If there is too much glaze left behind, use a damp paper towel.
Hot glue a loop of twine or wire to the back to hang. You only need a small nail or tack.
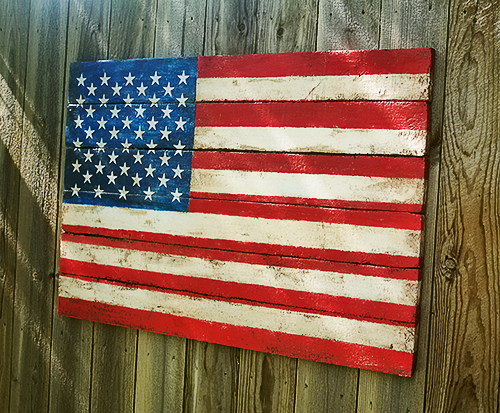
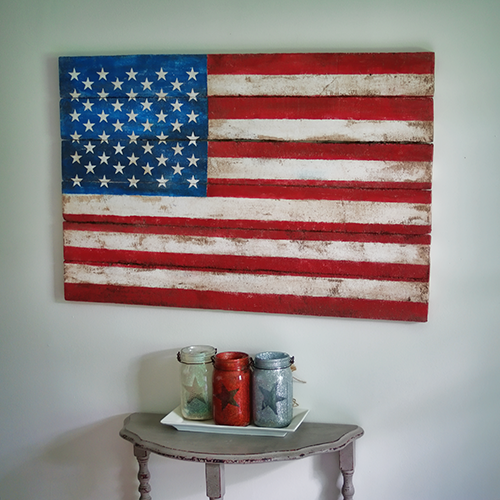
I love my flag, and my husband loves it’s weight. This is a great option if you want the reclaimed wood look, but don’t have power tools or if you prefer light weight pieces on your walls.
A big thank you to Sharon at Crafts n Coffee Blog for introducing me to the world of Styrofoam/Make it Fun Foam. She shared a piece with me at a conference that inspired me to make this faux pallet flag. She also sent me the products used in this tutorial, and is standing by to send them to one of you!!
For even more great foam projects to inspire you, check out Make it Fun on Pinterest: http://pinterest.com/makeitfuncrafts/


Oh wow, your flag is simply amazing — and beautiful! You did a fabulous job on this, Johnnie. I just love it. Thank you!
Thank you Sharon! I had so much fun with this project. Very cool product.
I must make this!
I have never tried this but would love to win this so I can try
Good Luck Laurel!
i just love the heart trio on the pinterest page: http://pinterest.com/pin/6262886953805505/
i have not yet tried to work with foam but i am excited to try after seeing this flag!
Wow Johnnie! We see a lot of great projects here at FloraCraft but your flag is one of the best I’ve seen. Simply beautiful! We appreciate your use of FloraCraft products!
Jim
Thanks Jim! I am so glad I ran into Sharon and saw the demo piece she had. I never would have thought of doing something like this with foam. Now I have lots of ideas. You will see more from me.
Very fun.. and it looks absolutely like wood pallet. I like the concept and the light weigh. Thanks for the creativity.
Very impressive!!! I love this project and your tutorial is so detailed…great work!
Genius idea…can’t believe how much it looks like a pallet.
I’ve never worked with foam but would love to give it a try! I wouldn’t have to wait on the hubs to help me with the power tools. I’m just a little too nervous with them. I leave that to him. 🙂
I love the idea of using this to make foam paintable it always seems to disintegrate otherwise.
its my 1st time to see this done AMAZING I love it! Can’t wait to try it!
Being particularly lazy, instead of cutting apart the foam sheets, I might just score them with the cutter. I think that putting in these scores, or horizontal grooves, would give a similar pallet appearance, and save some time. What do you think?
Fabulous idea, Penny. That would eliminate the need for glue. I like how you are thinking!
LOVE the foam flag with the jars & table. LOVE LOVE LOVE your ideas. 🙂
Your flag is fantastic. I would love to make one. I have not used these products but you have inspired me to give it a try.
I just love your flag. I just brought home 2 pallets and you are right, they are heavy. I’ll have to try the foam one.
Love your “faux” wood pallet flag!! Who would have known!!! 🙂 I noticed the star ball jars as well. Did you create them? I would love the directions on how to make them. I LOVE ANY PROJECT WITH BALL JARS!!!! I’ve made lamps, etc. with them.
Thanks for your great blog!
Ann
Hi Ann. Thanks for the flag love! I have tons of ball jar projects you can find here https://savedbylovecreations.com/2013/04/50-mason-jar-decor-ideas.html
The ones in the pic I show you how to make here: https://savedbylovecreations.com/2012/06/diy-patriotic-mason-jar-lanterns.html.
Thank you! I love the Make It: Fun website. I would also like to make the “A Berry Apple Wreath”.
what a great idea and effect….awesome!
I LOVE this flag. I have one room in my house that is all red, white and blue. It will look perfect in this room!!
I am definitely making this flag…great for the fourth and patriotism!
Oh good, Becky! So glad you are inspired.
I love this flag craft!
I would have never o guessed that that was foam! I love it and must try a project like this!
Out of all your projects I must say I love this flag. It was so creative of you especially how it looks like old distressed wood. What a great project in time for 4th of July. Love it!
[…] thing on a Saturday morning? How about this incredible, Faux Pallet Art Flag by Johnnie over at Saved by Love Creations? I am so enchanted by Johnnie’s artwork and tutorial, and I wanted to share it while you had time […]
[…] am so excited to announce our winner of the supplies used in this MakeItFunFoam faux pallet art piece has been randomly selected. Drum roll […]
[…] Cut along the outlines with your Styro Cutter Plus®, like I showed you in my faux pallet flag post. […]
[…] over the summer when I shared how to make a faux wood pallet American flag from foam? Today’s project, much like the flag, uses Smooth Finish™, a paintable coating […]
[…] Cut styrofoam sphere in half. I showed you how to use the styrofoam cutter in my Faux Wood Pallet Styrofoam Flag Tutorial. […]