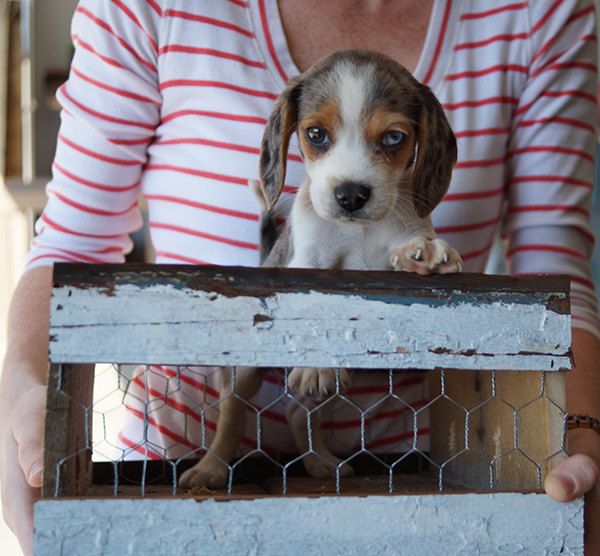
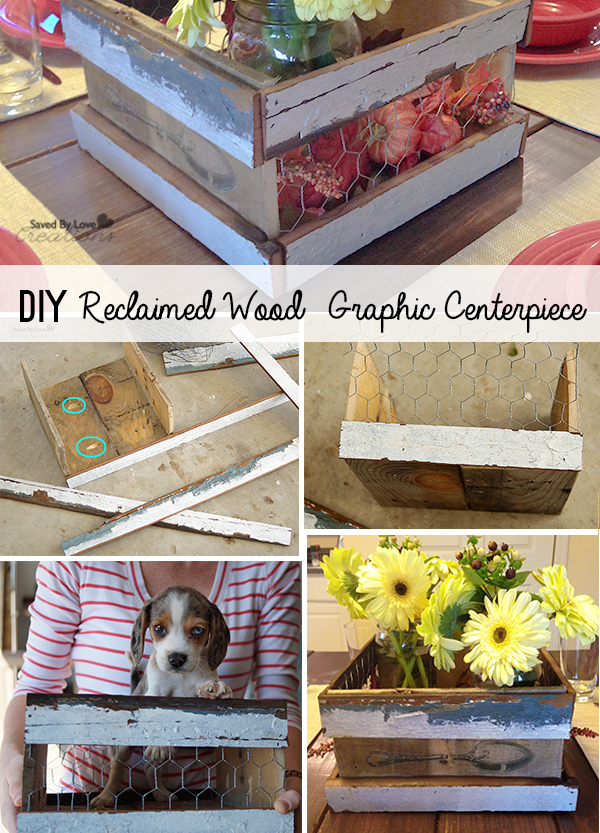
Now that I have your attention with a seriously adorable puppy and his one blue eye, I would like to show you how to make this chicken wire reclaimed wood graphic centerpiece! This piece definitely evolved as it was being made. My friend came over to see if we could come up with a centerpiece for her square kitchen table, and we started at my wood pile. We ripped some chippy painted trim, and added it to some pallet wood and wire. We thought we were finished there, but had the idea to visit The Graphics Fairy where we found the perfect vintage spoon and fork images to transfer onto the pallet wood sides. The result is just what she had in mind, and now I want to make one for myself!
SUPPLIES:
Scrap wood (we used wood pallets and old trim)
Chicken Wire
White Tissue Paper
Printer (laser jet or ink jet printer are fine)
Card stock
Painter’s Tape
TUTORIAL:
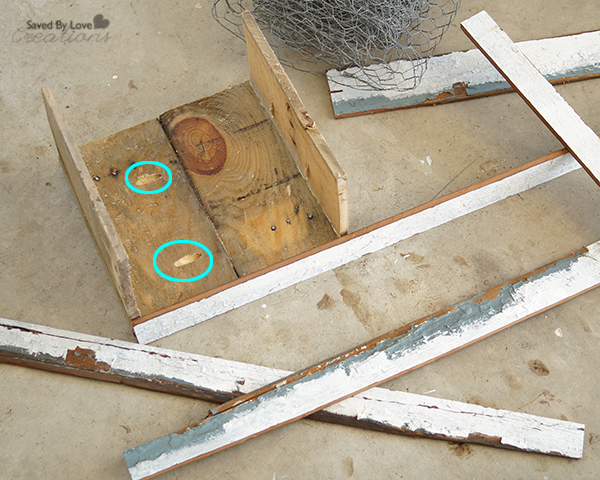
We knew we wanted a square crate. Starting with the bottom, we used two 5.5 inch wide pieces of pallet wood that we cut to 11 inches long with the mitre saw.
We attached the pieces together with the Kreg Jig Pocket Hole System and 1 inch screws (I showed you how to use that here: How to Use a Kreg Jig). The blue circles show the Kreg pocket holes.
We cut two pallet wood sides to 11 inches and attached them with pocket holes and .75 inch screws since the pallet wood sides were to thin for 1 inch screws.
Next we lined up the trim pieces we had ripped and marked them, cutting them with the mitre saw to the appropriate length.
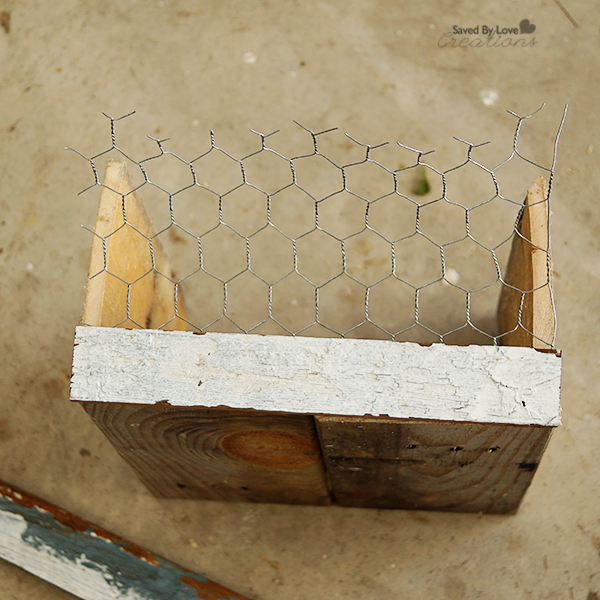
Next we cut the chicken wire with aviation snips to fit the sides of the crate. We attached the chippy painted trim piece over the chicken wire to hold it in place.
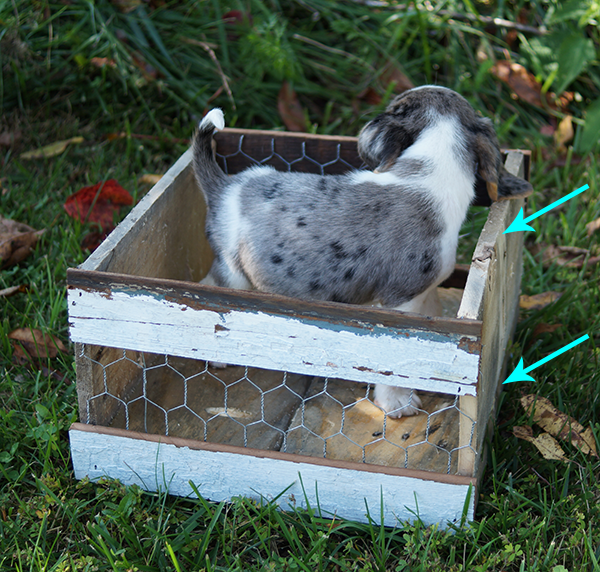
We thought we were finished, but then Victoria had the great idea of adding the chippy trim to the pallet wood sides where the arrows are in the photo.
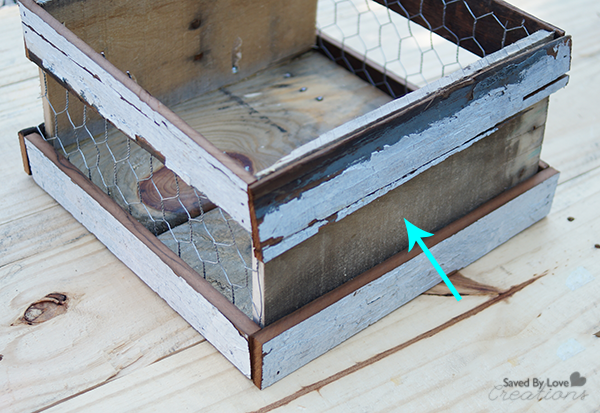
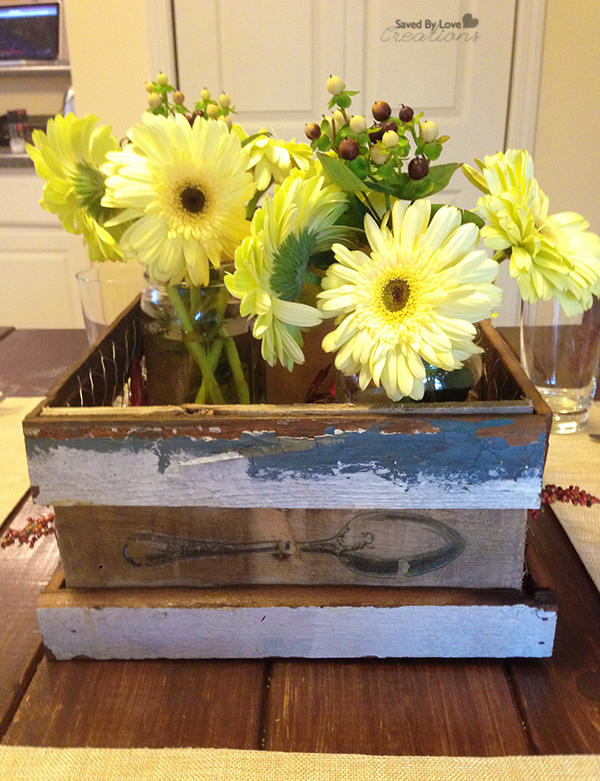
We cut the trim to fit and nailed it into place with the Ryobi nailer. This is what we were left with at that point. I decided the wood area at the arrow and the side opposite it were perfect for graphics. We chose the vintage spoon and fork graphics linked in the first paragraph and used the tissue paper image transfer technique I showed you here: DIY Image Transfer Recycled Glass Bottles.
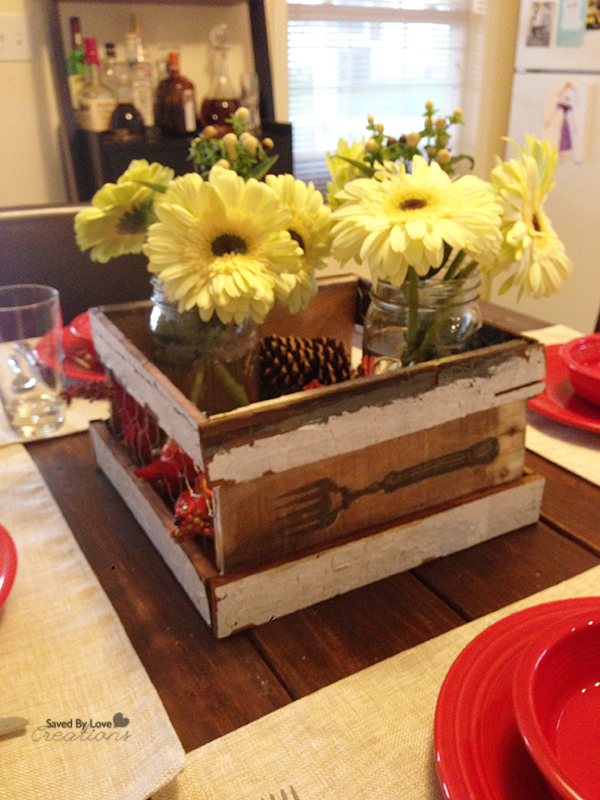
Not bad for a couple of hours and $0 spent!
For more inspiration, visit our 50+ Image Transfer Techniques!
![]()


Great project! The chicken wire is a great touch!
Thank you Cassie! I love how we worked together to create something neither of us would have come up with alone.
I love the idea of adding chicken wire on the sides. It makes the centerpiece visible till the end.
Thanks Hani!