
This tutorial covers incorporating an image into a polymer clay keychain, making great personal gifts. Total time is about 45 minutes. The project is easy and perfect for those new to the world of polymer clay.
Supplies:
- Polymer clay
- Translucent liquid sculpey and dedicated paintbrush
- Cookie cutters
- Heat gun
- clay blade
- texture stamps
- graphic image printed on glossy paper
- Mica powders (pearl ex or perfect pearls)
- Clear acrylic sealer or other finish
- Keychain fob and pendant bail
- E6000 Craft Glue
- craft dedicated toaster oven or conventional oven
Instructions:
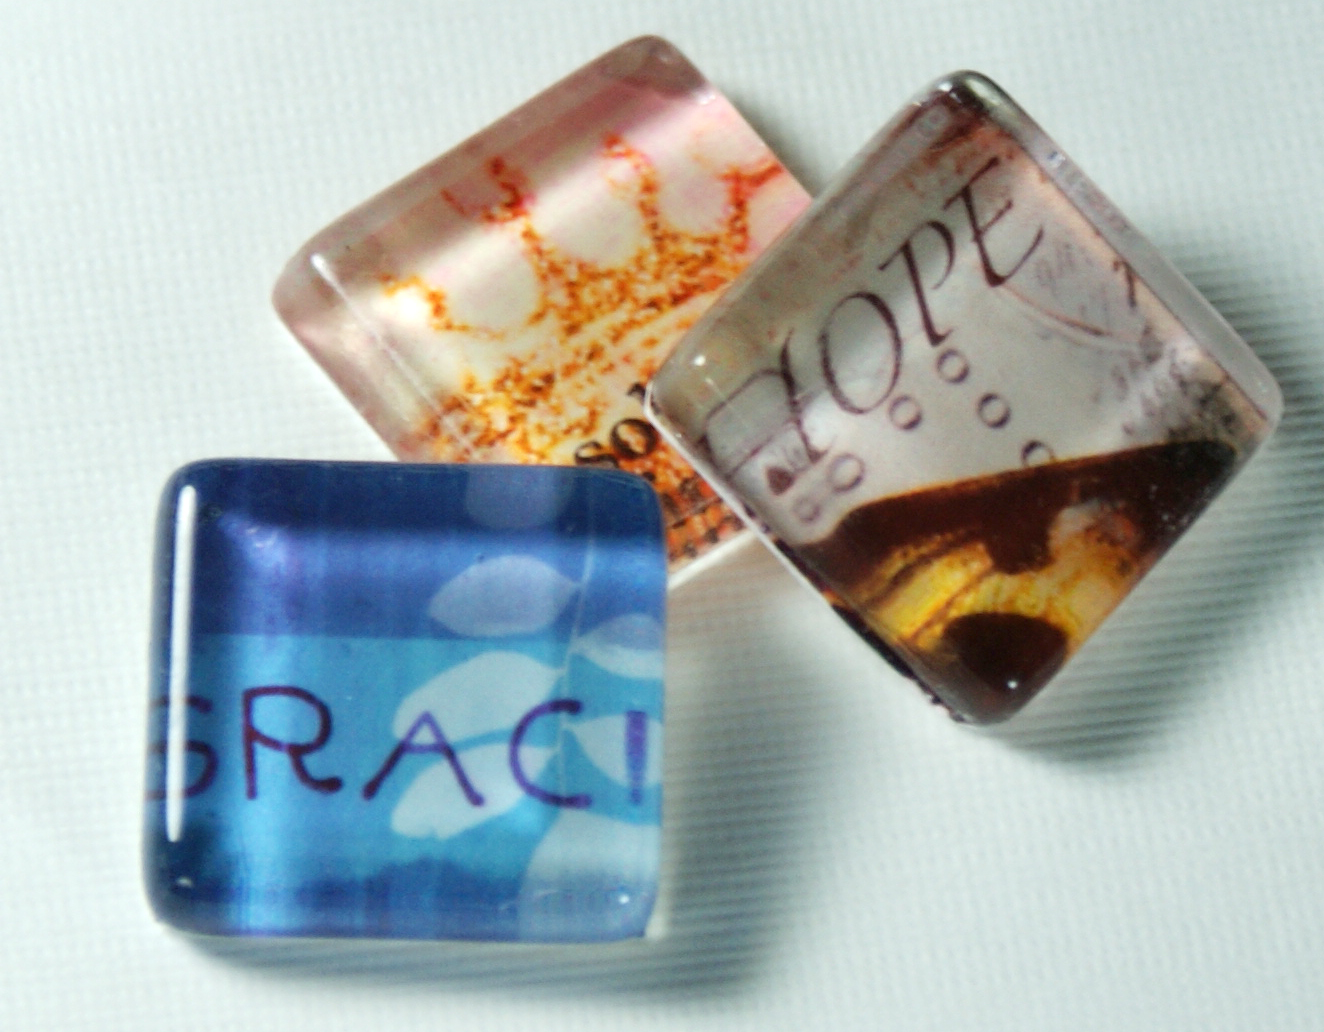
- Cut out your graphic images, leave a 1/8 inch border
- Lay the image face down on a tile and paint a thin layer TLS on the back
- Cure the TLS with your heat gun; hold the gun 3-4 inches away from the TLS covered image (it is much hotter than the temp needed to cure the clay, so you don’t want to be right up on the clay or it will burn); Do this for about 1-2 minutes, then flip the image over and repeat on the other side.

- Now your images are protected and your are read to put them in your clay frame. Cut a circle larger than your image from a sheet of conditioned clay. I used black on a setting of 2 (relatively thick).
- Place a thin layer of TLS on the raw clay and lay your image face up

- Now use the same cookie cutter, cut another circle from the same sheet of clay, then with a smaller circle, cut out a hole in the middle for your picture…

- Place the “donut” on top, being careful not to stretch it during handling. Adding texture with a stamp will hide the seam and any fingerprints or dings.

- I applied gold pearl ex powder, which looks snazzy with black clay. Bake at 275º for 20 minutes
- Once cool, sand and buff to your liking and seal (I use Krylon Clear Coat)
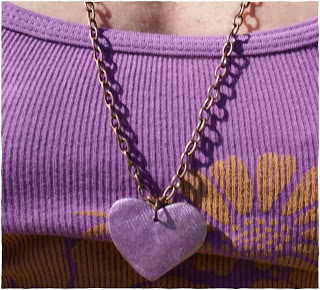
- Add pendant bail with E6000 Glue and hook to keychain fob


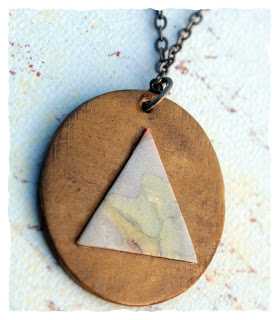
You are certainly not limited to photographs. I used this same process to make this custom order lighthouse pendant.

What projects have you done using Translucent Liquid Sculpey 2oz Bottle?


cute work
Thanks for sharing. I’m currently addicted to polymer clay..
I stumbled you, my post is “The Power of Mind” found in this link – http://www.lifeascending.info/the-power-of-mind/
Thanks for sharing this tutorial. I stumbled back.
Great idea, I love Polymer Clay. I stumbled this 🙂
That’s great!
I stumbled you. My post is http://booksyourkidswilllove.blogspot.com/2011/05/summer-reading-programs.html
Excellent idea. Wouldn’t this be a great craft for a girl’s Bday party?
I stumbled you, If you haven’t already, please stumble me. Also, Thanks for attending Stumble Tumble Tuesday. Please come back next week!
http://stillblondeafteralltheseyears.com/2011/06/stuff-i-dont-need-to-see-worlds-most-pierced-woman-2/
The Chief Blonde
Hi, I am your newest follower from the blog hop! Hope you stop by some time
Sabrina
http://www.sabrinassillys.blogspot.com
What a simple and adorable project!
Stumbled you, my post is:
http://www.mapleleafmommy.com/2011/06/five-ways-to-thank-fellow-blogger.html
(Yeah, I’m catching up.)