[pinit]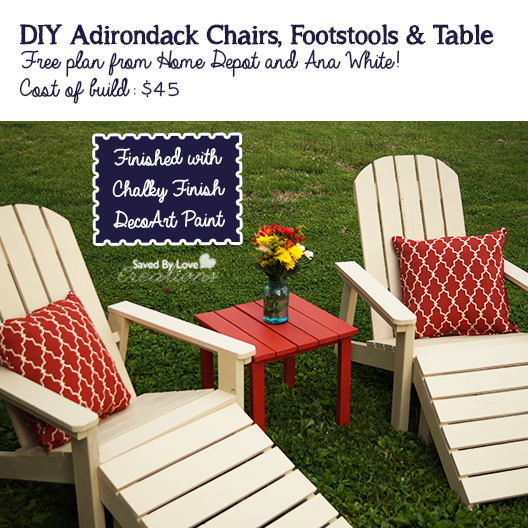 [pinit]
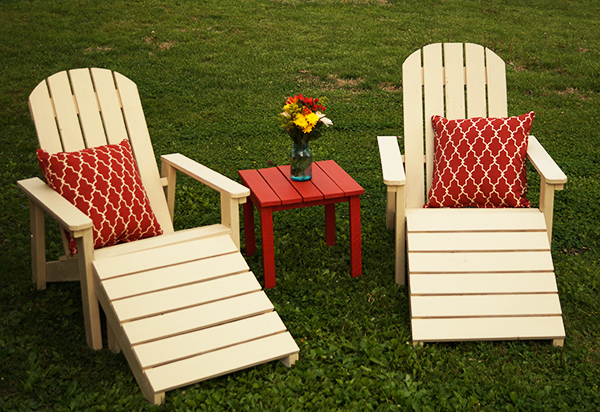
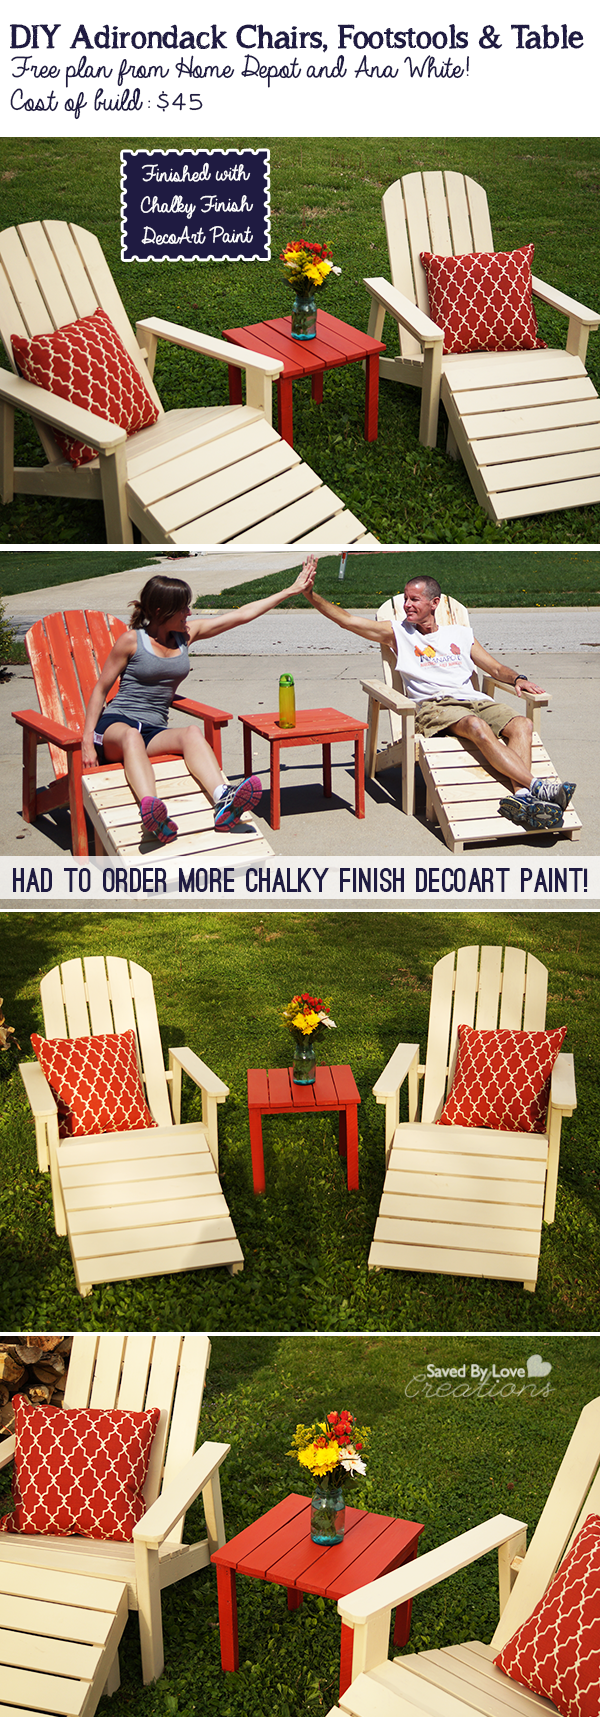
There is nothing quite like relaxing in a nice adirondack chair on a gorgeous day. That is why I decided to tackle this DIY Adirondack Chair Woodworking Plan from Ana White for Home Depot. Once we finished the chairs, we had to have the DIY Footstools to go with them! For the table, I loosely based the design on this DIY side table I shared with you in the fall. I had to wing it some to make the scrap wood I had on hand work for the project and I love its rustic look. Read on to see how I finished my 5 piece set using my new paint line obsession; Chalky Finish Paint From DecoArt Americana Home Decor.
Let’s talk about the table first. Check out the above link for the plan details. This wood was super rustic and scrappy, so I wanted the paint to be as well. I went for “Cameo” color from DecoArt Chalky Finish line. LOVE. It looks kinda coral, kinda barn red, 100% lovely.
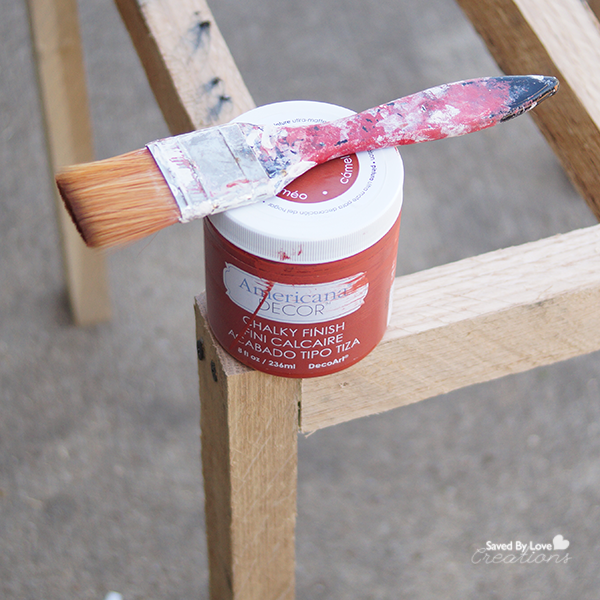
I love that you have to do zero prep with this paint. Even if you are painting an already finished surface, no sanding, no priming… just go for it, and have a gorgeous outcome.
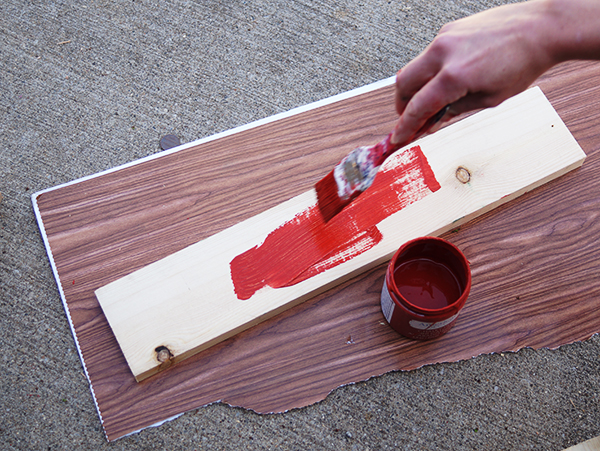
I recommend painting the individual table to slats before attaching them. It is easier to get to the sides and bottom when they are individual. You can still countersink your screws, fill the holes in with wood putty, sand away the excess and paint over just that area to touch it up after attaching.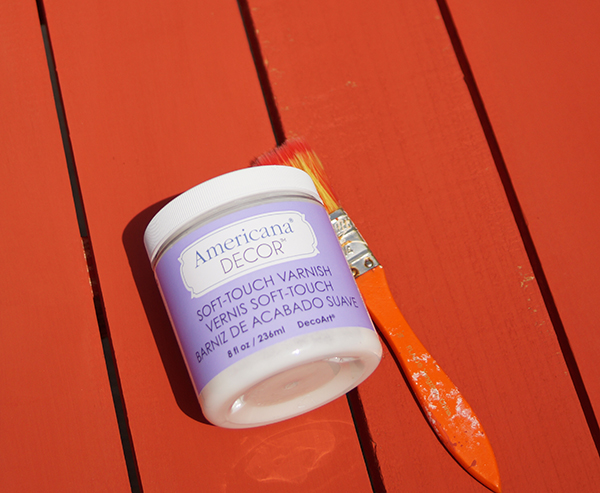
Since this project will live outdoors, my first choice of finish (Clear Creme Wax and Aging Wax) isn’t recommended since it won’t stand up to the harsh elements over time. That’s why we sealed the entire set of furniture with Americana Decor Soft-Touch Varnish, two coats! It is approved for outdoor use, and we want our pieces to last a long time.

At first we were going to do the whole set using Cameo, but decided to do the chairs and foot stools in “Timeless. Before I get into that, I want to save you some headache…

On page 5 of the Adirondack chair plan from Ana and Home Depot (linked in the first paragraph), the red circled area says 1/2 inch, which is totally not what it means to say. That measurement should be 1 1/2 inch, like it says in the text below the diagram. If you are a visual kinda builder, and don’t read the text (like me), you will be super frustrated. Let’s just say that these chairs almost didn’t happen! Finally dear husband realized the typo and the rest of the build went smoothly.

I had already painted Cameo on the chairs before deciding to go with Timeless. We just went over the red with the cream and one coat did it!
The other point I want to make sure I share is that using scrap cuts from your local hardware store cuts the price of this project way down, like more than in half. We went to Menards where they had 1×4 and 2×4 in various lengths from 12-36 inches from cuts they had made in store, for just $0.49 each!! This is less than half of what it would have cost to buy full length boards and cut them at home. Just take a tape measurer with you, your cut list and be ready to inspect and dig through the scrap stock. It is totally worth it!
I found the outdoor pillows at Menards, and don’t they look like they were made for this set?!?! I was planning to make my own, but come on.
Big thank you to DecoArt for providing the paint for this project. I am so in love with this line, and my new outdoor furniture!
What are you working on for your outdoor space? Have you tried Chalky Finish Paint yet?


This set of chairs was one of my first big builds when I started out. I made them for my brother, and I was so sad to send them away! I had trouble with Step 5 too, but I figured 99% of her plans are basically foolproof (and she doesn’t have to GIVE them away!),so I could deal with it! I love the finishes, I’ve heard great things about American Decor.
hey just wanted to say i really like the color you went with,looks great. i had to hold off on this project until i can figure out the 2″ cut on the front stringer (page 5 ) but i got a tip off the home depot thread and gonna try to tackle it tomorrow. might look for this paint as well im using lumber from a ripped up deck to make these chairs and i liked the fact you can go right over a old paint job with no primer though the jars look small. how many did you use to cover the chair? anyway great job,chairs look awesome
Charlie, you are not alone on difficulty with that cut! It was almost a show stopper for us too. You will get it. I used 3 of the paint total. The raw wood soaked it up, but maybe deck boards would take less paint since they are treated? You will love this paint. I am in the process of doing my kitchen cabinets with it and it is my favorite.
Make sure you show us a pic when you are done with your chairs!
[…] Get Project Detail […]