


 These are the clay colors I used for my faux jade project; Translucent, green and chocolate..
 I cut 4 of the conveniently serrated bars of the traslucent since I needed 4 translucent balls of clay…
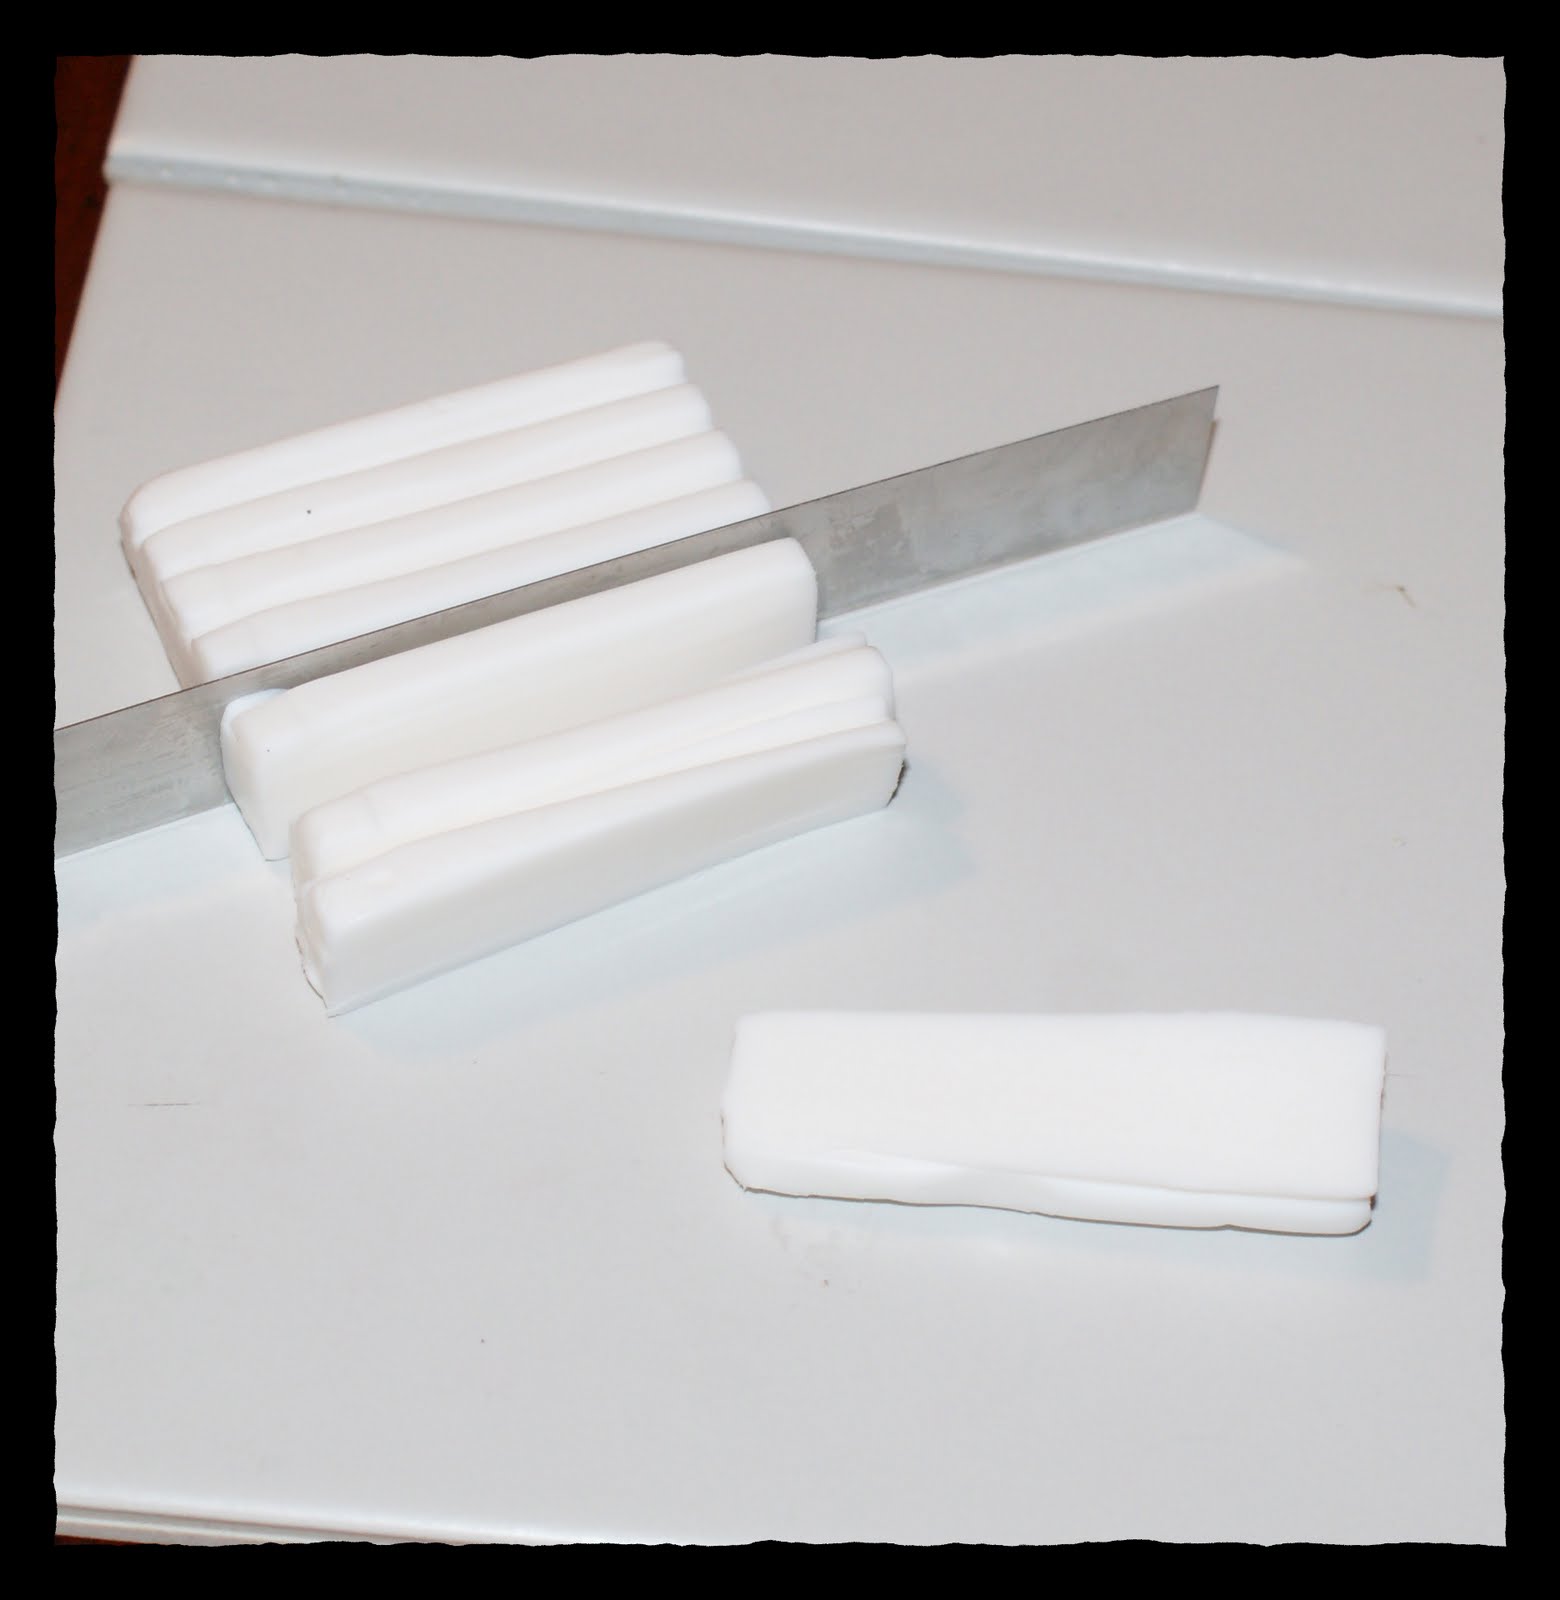 I rolled the each cut piece into a ball in the palm of my hand. They don’t need to be perfectly round. We are just going to mix the green and chocolate with them later.
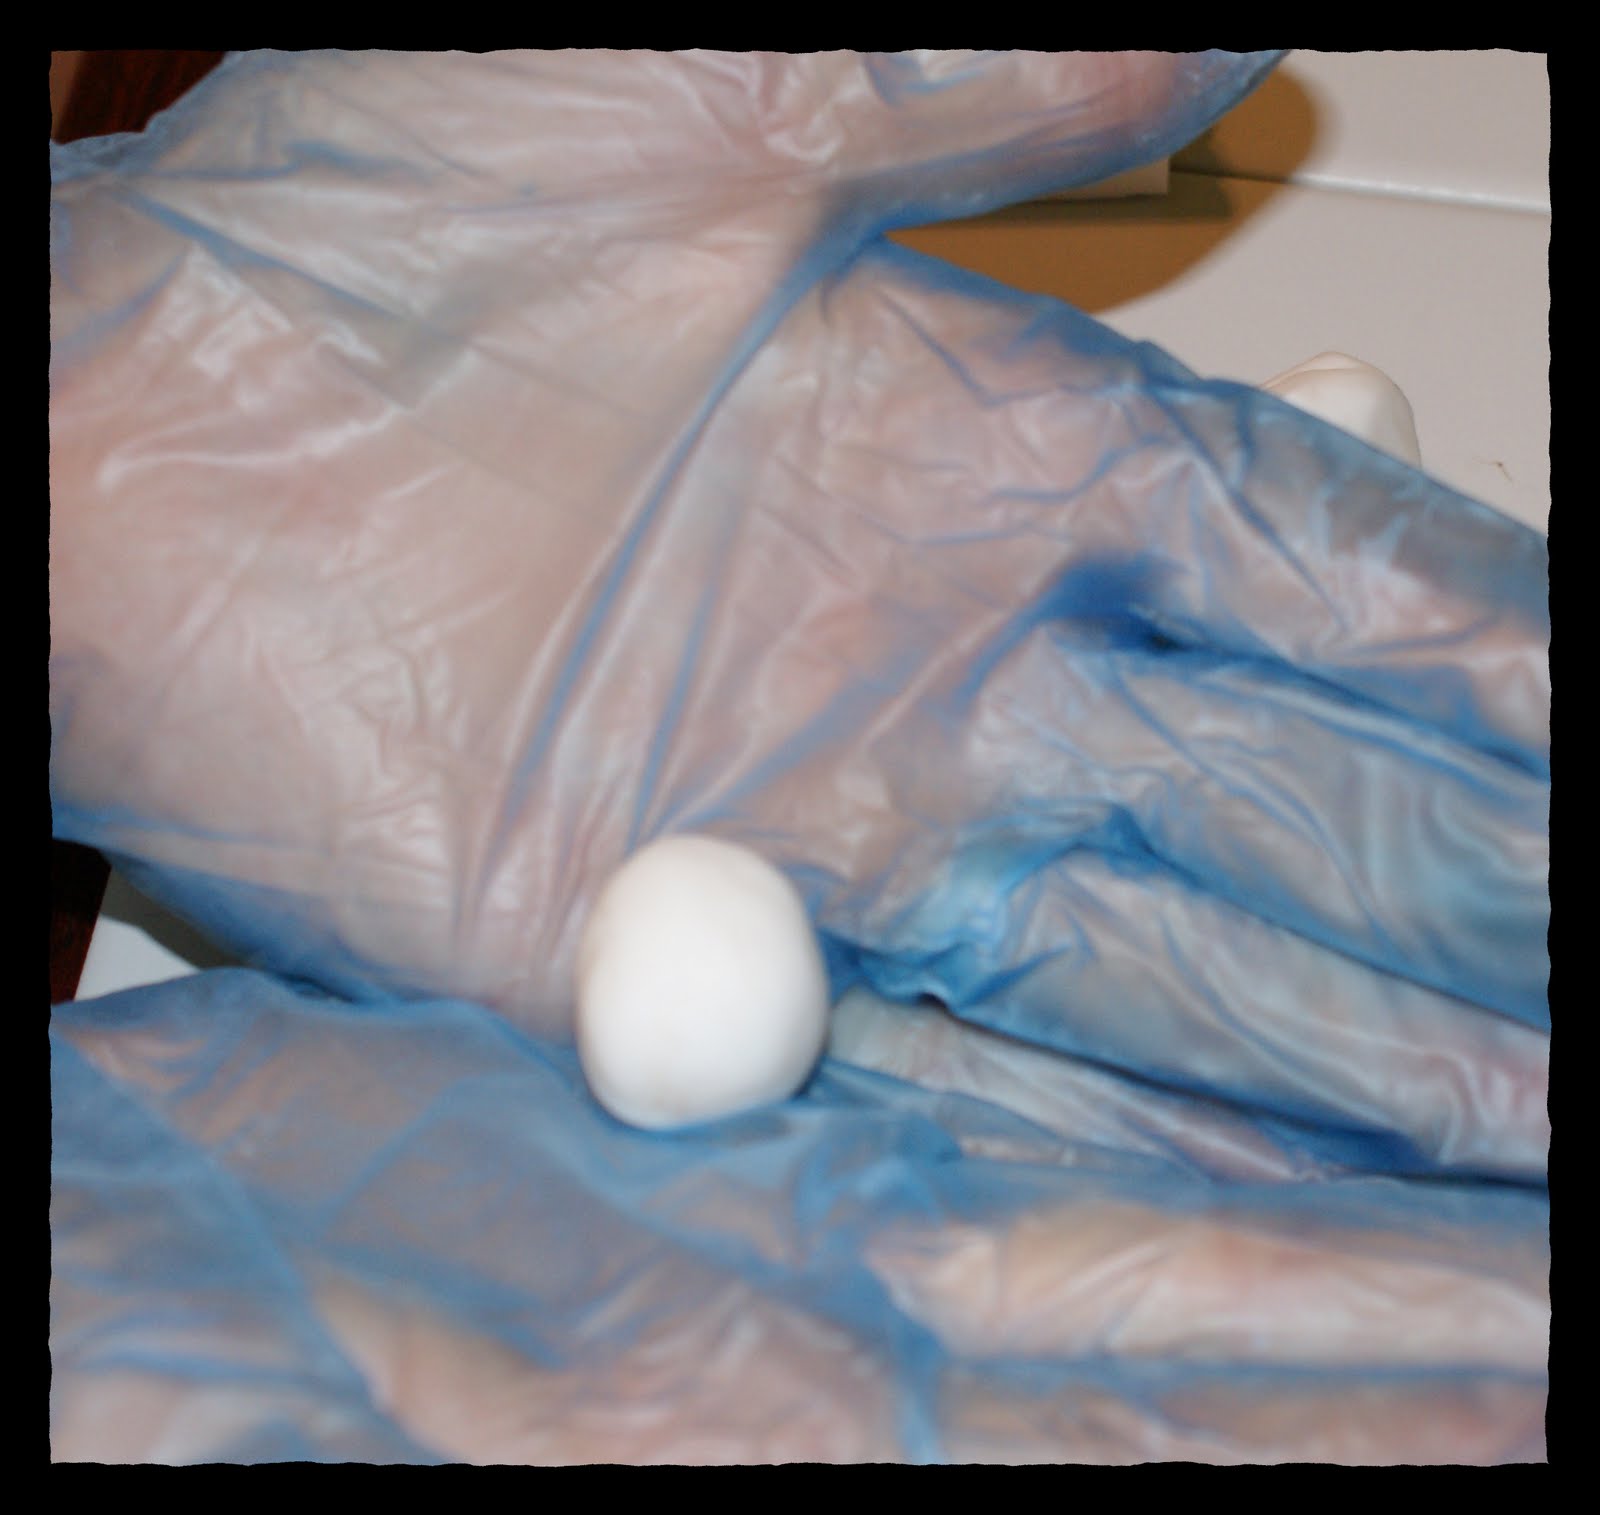 Next, I cut 2 pea sized piece of chocolate and made a ball from each of the 2.
 I repeated the same using the green clay, but cut 4 pea sized pieces to make four balls of green. Three of the translucent spheres were set aside to mix with 2 green peas and 1 chocolate, for the lighter shade of green. The remaining translucent ball was mixed with the same (2 green, 1 chocolate) for the darker shade of green to be used in the faux jade.
 To mix the green and brown with the translucent, I just twist them together and mush them in my hand, and when I get tired of that, I resort to passing it through the pasta machine on a thick setting, and so on until it is a uniform-ish color. Although for a faux jade project, it is cool to have variations as it adds to the realism.
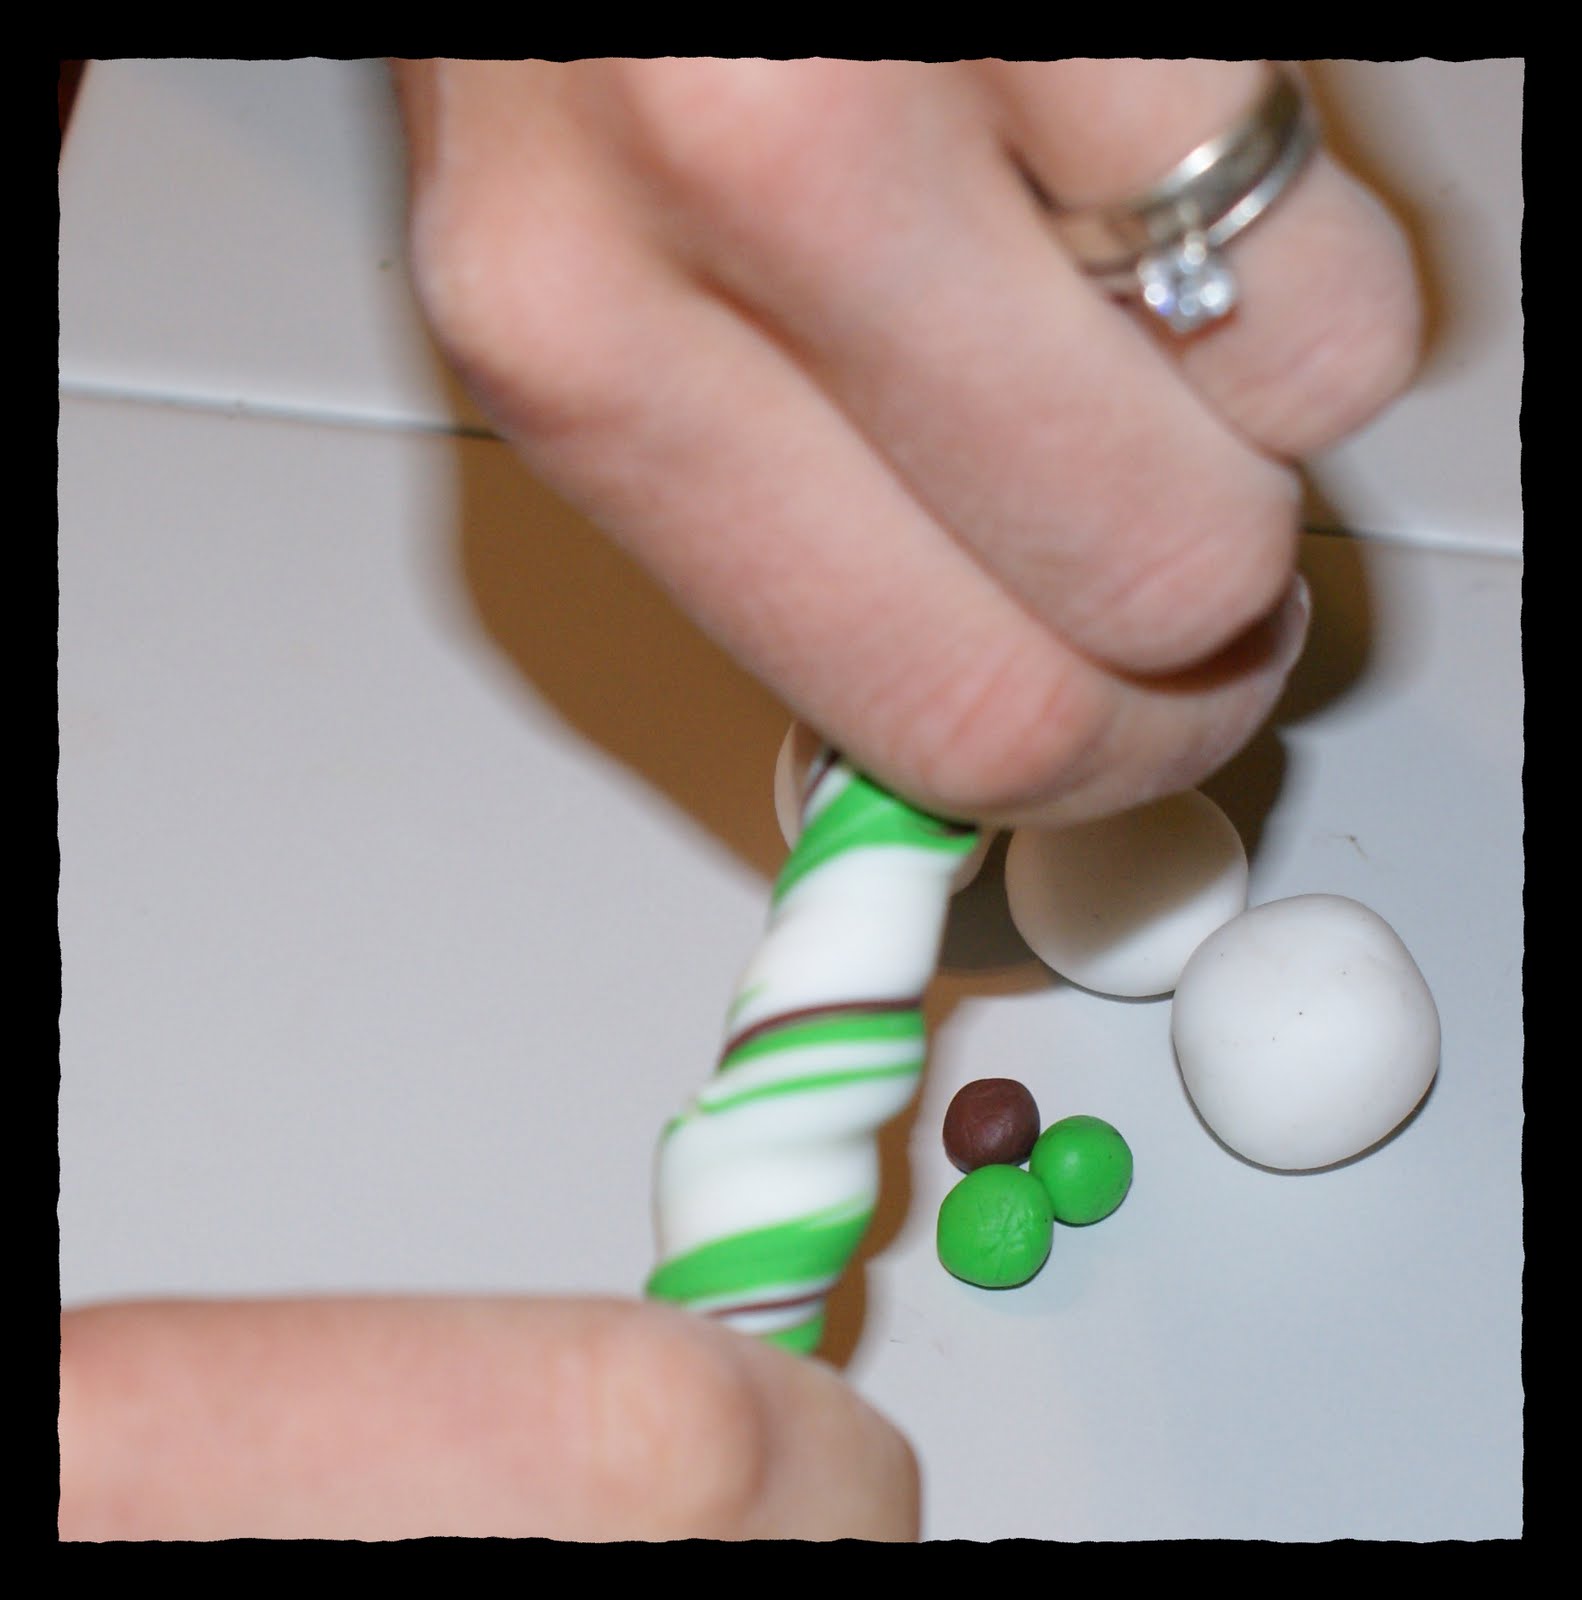 Here are the final sheets of lighter and darker green, which i chopped and mixed together next…
 I used a curvy blade which can be found in the clay section of any craft store. Some people use a food processor for this part, which I hear works great. I just don’t have one, so…
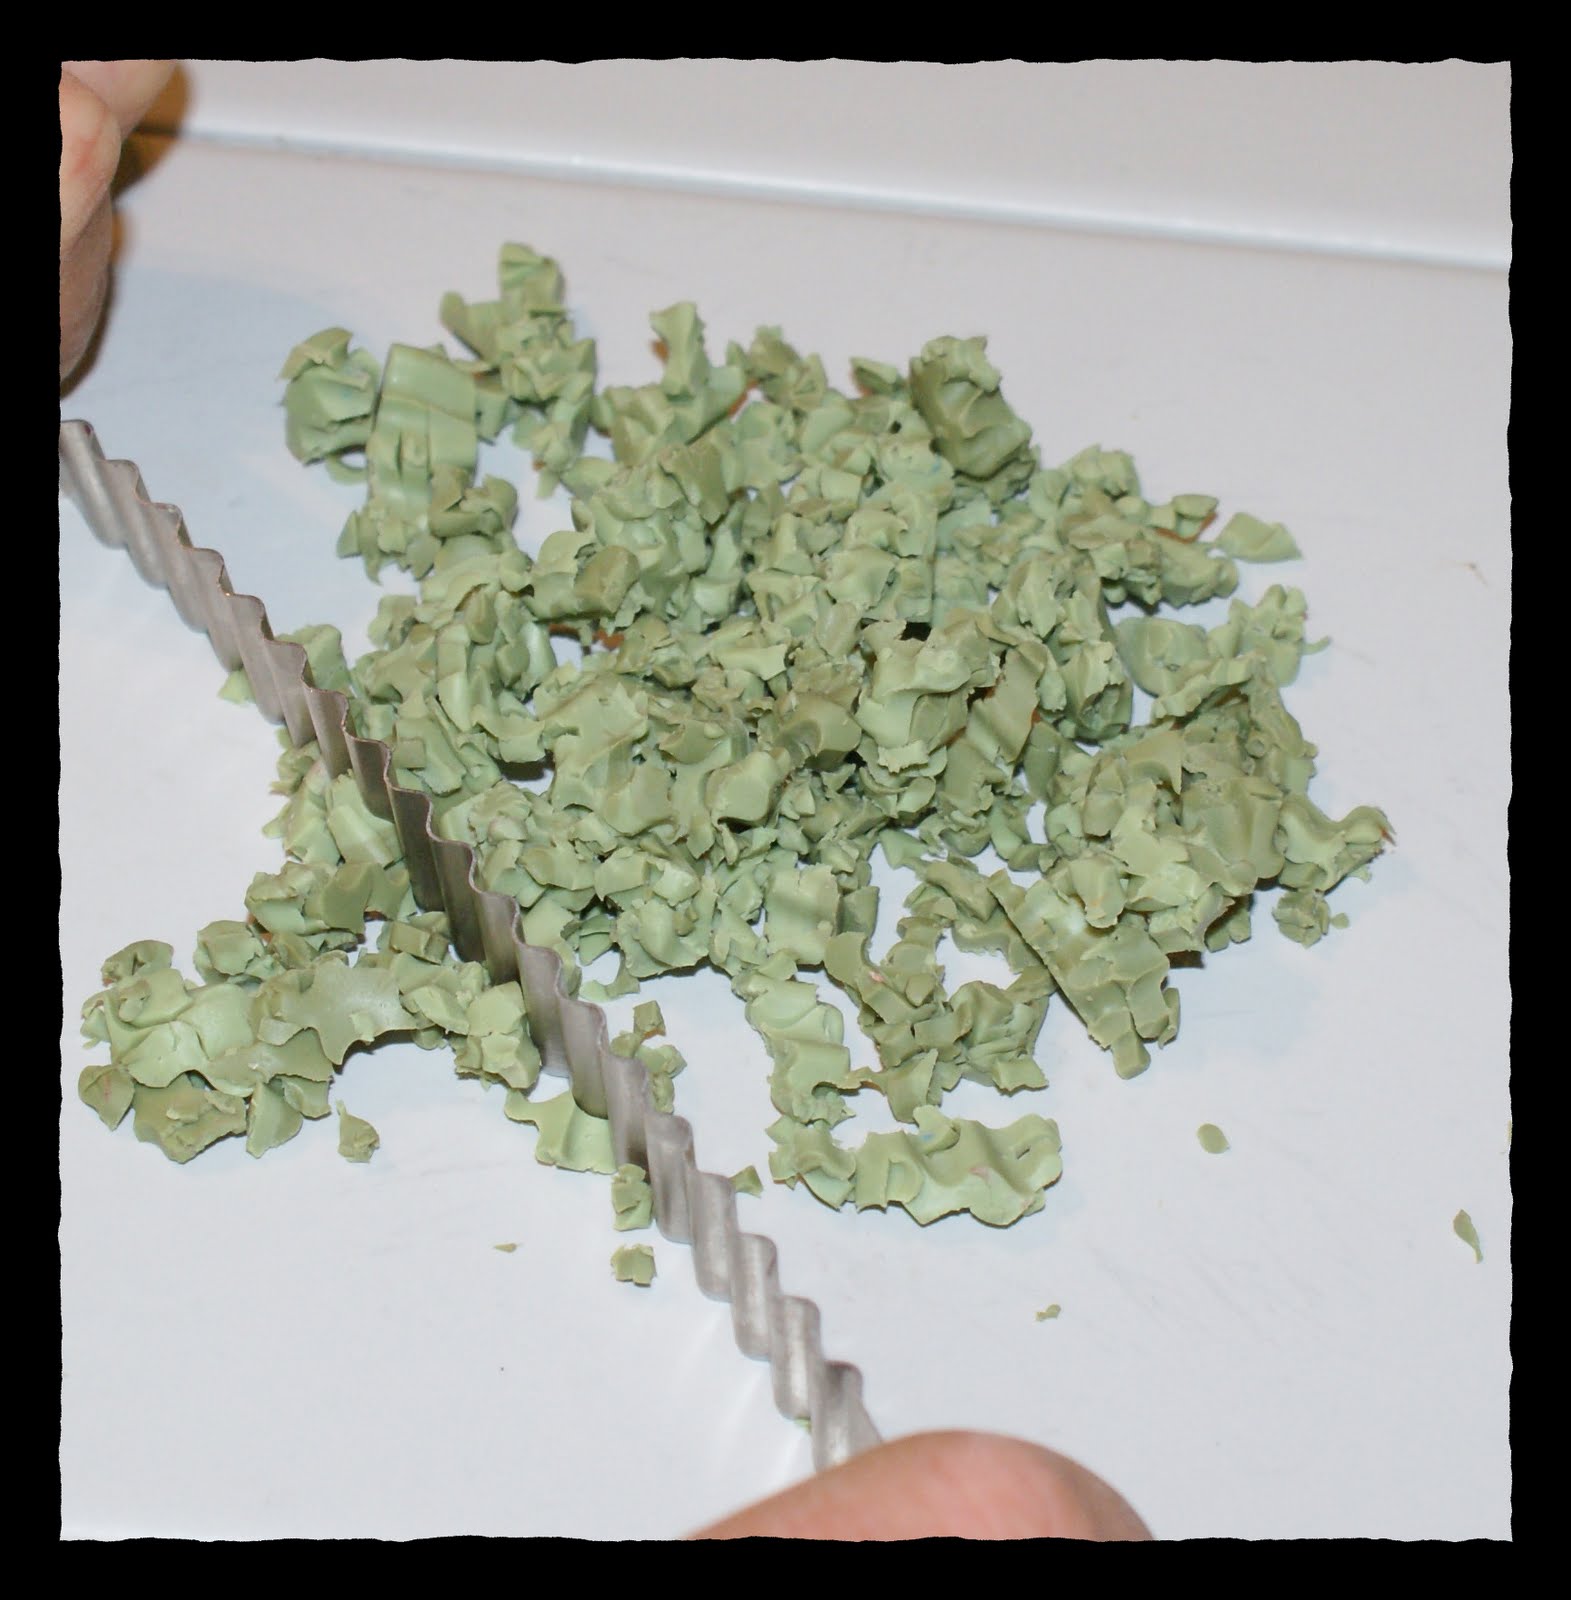 After chopping up both the light and dark sheets together, I smush them into a clump (see below), which I run through the pasta machine at the thickest setting (which on my machine is “1”).
 I take the above sheet which has been run through the pasta machine as described, and choppity chop with the wavy blade, smoosh together then run through the pasta machine at the thickest setting again.
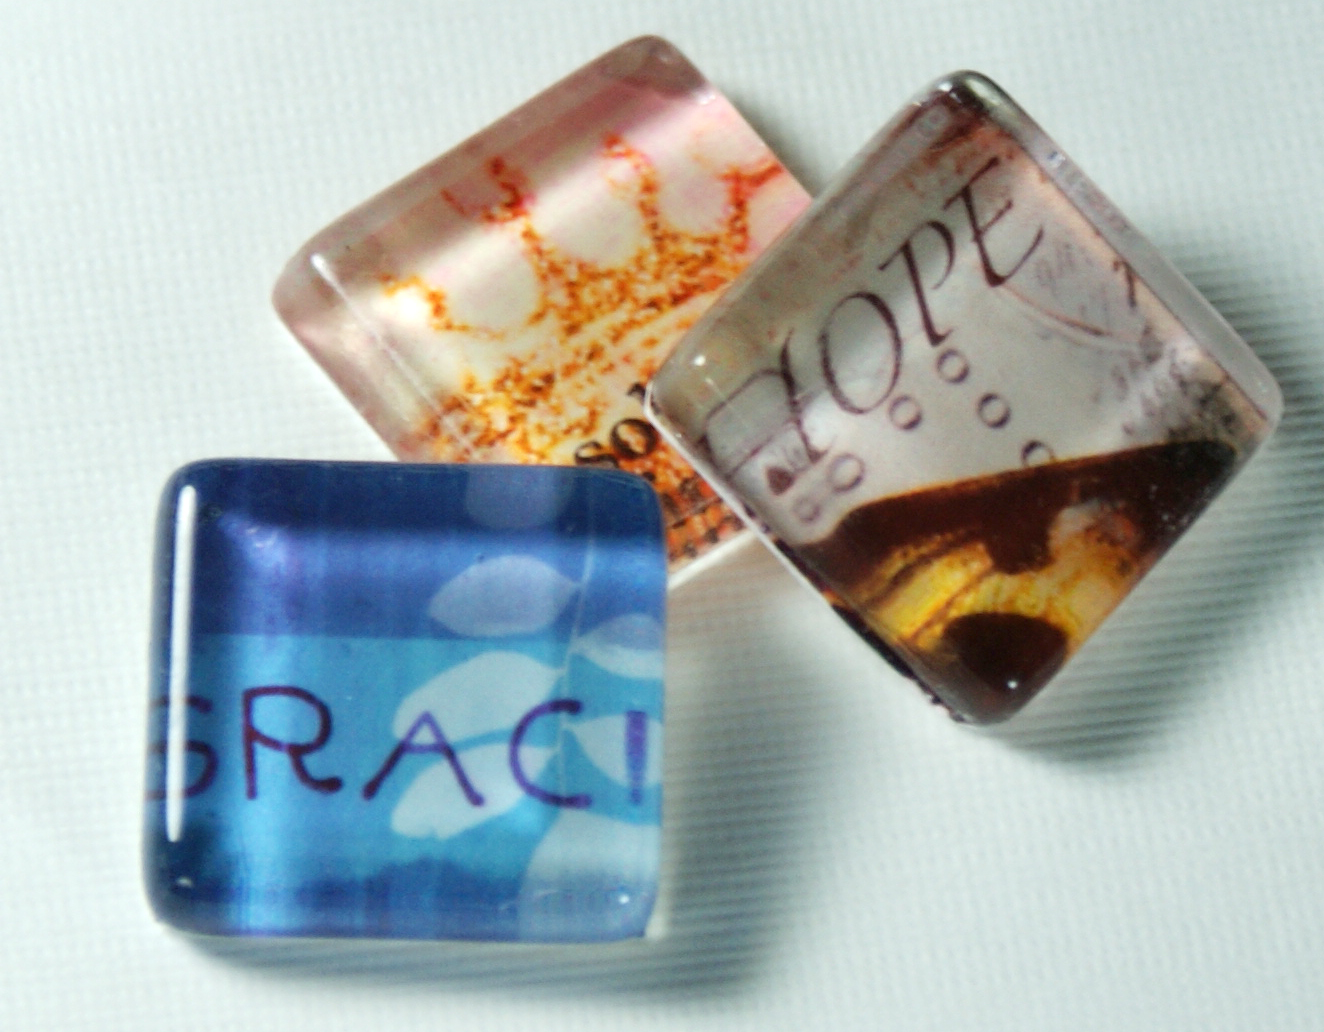
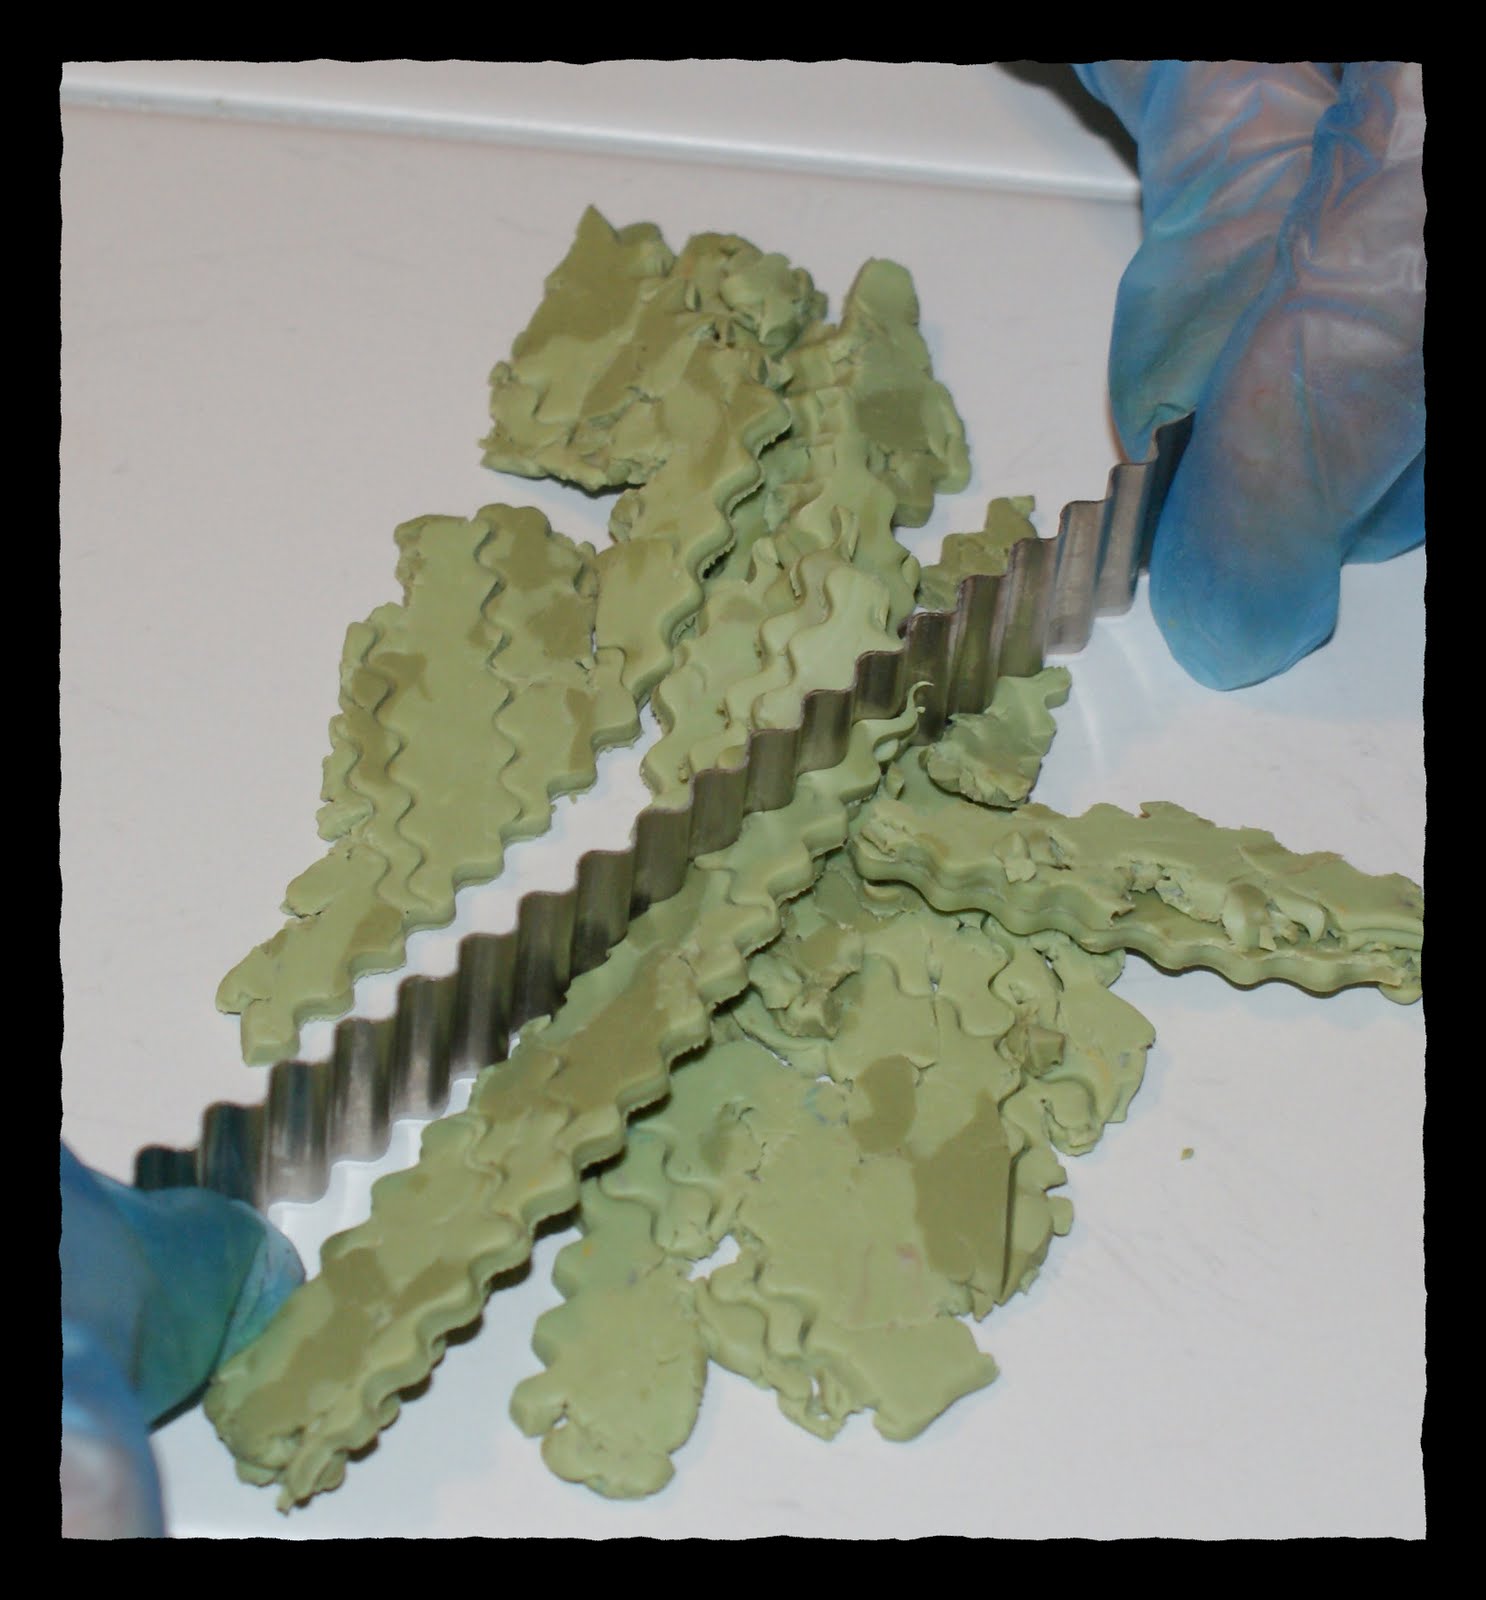 Below is the final sheet with which I will make my beads. Yippie. BTW, the baked piece will look much differently than this raw sheet, as you can see in the first pics above of the final beads.
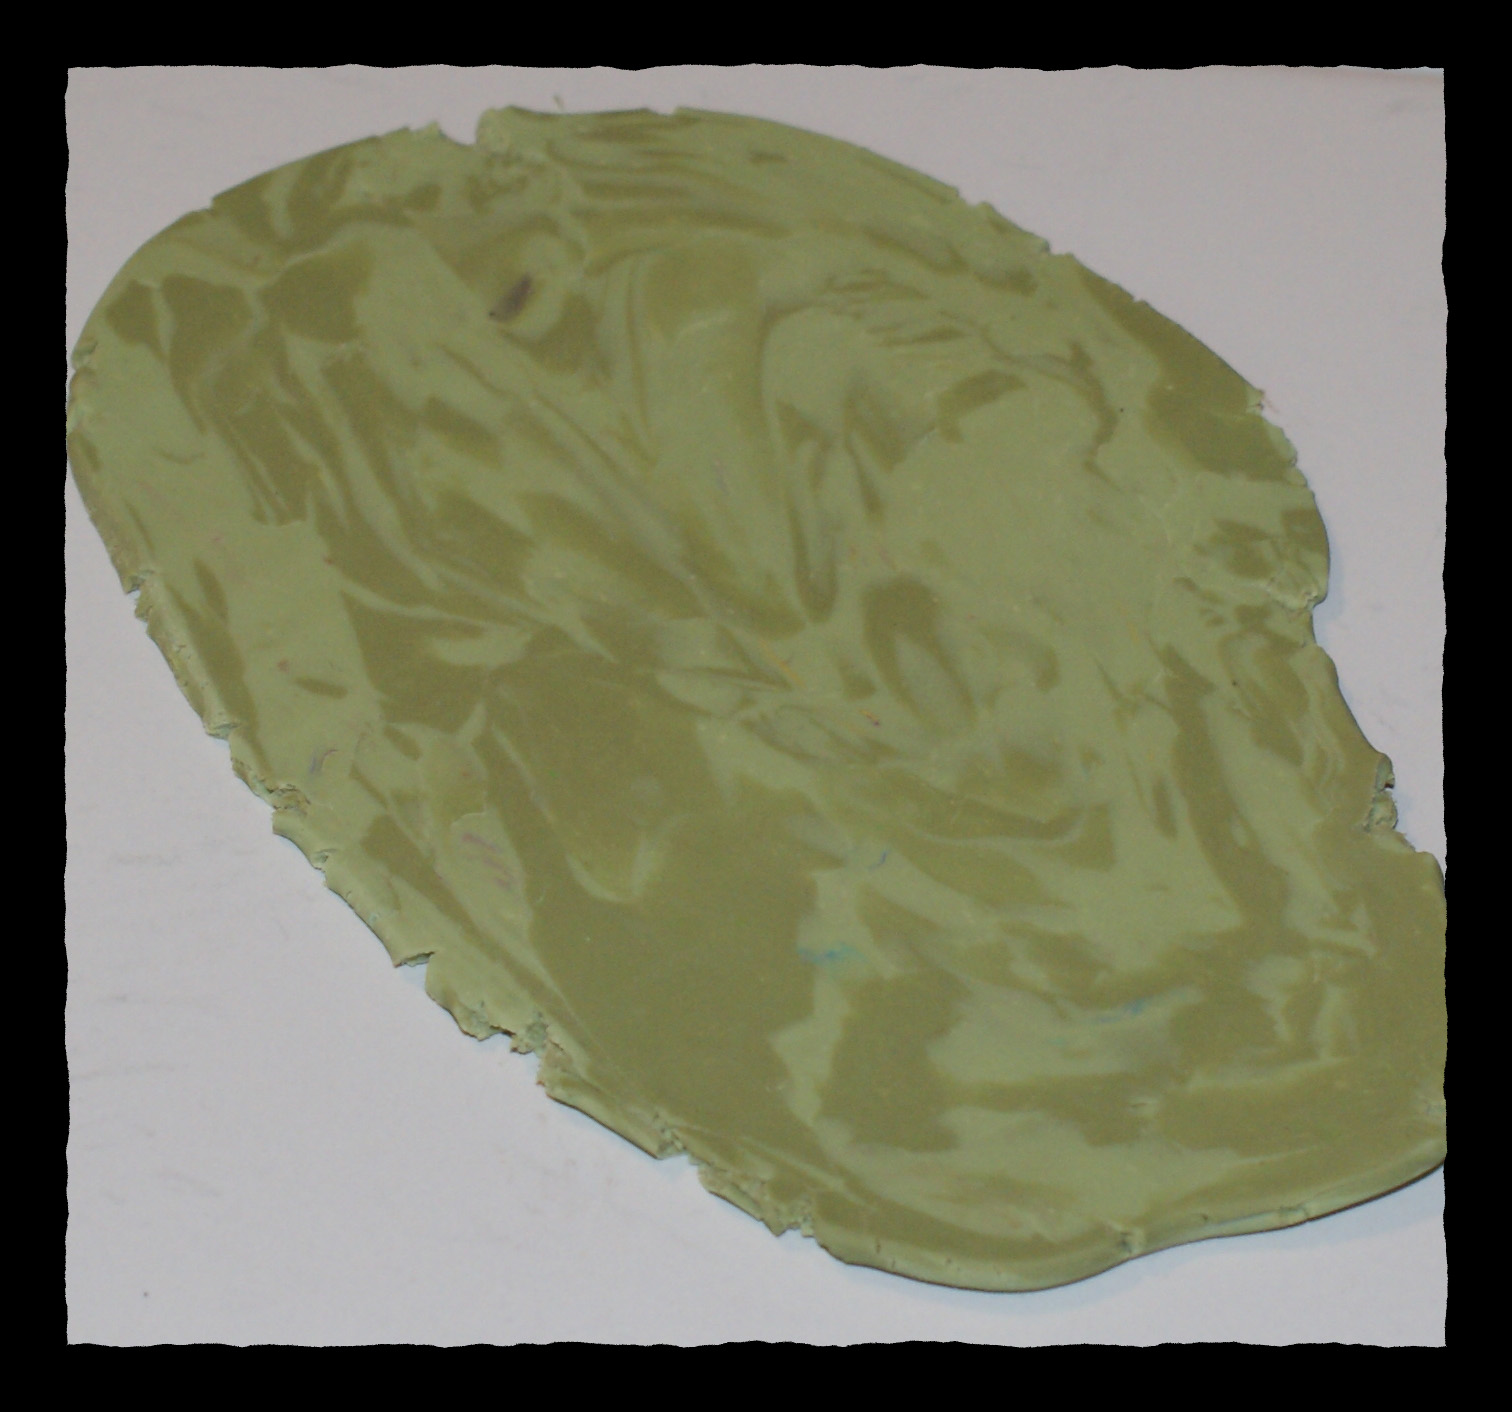 I used my small round cookie cutter and cut out 2 circles to make beads for my earrings. I do this so I can be sure the final beads are the same size.
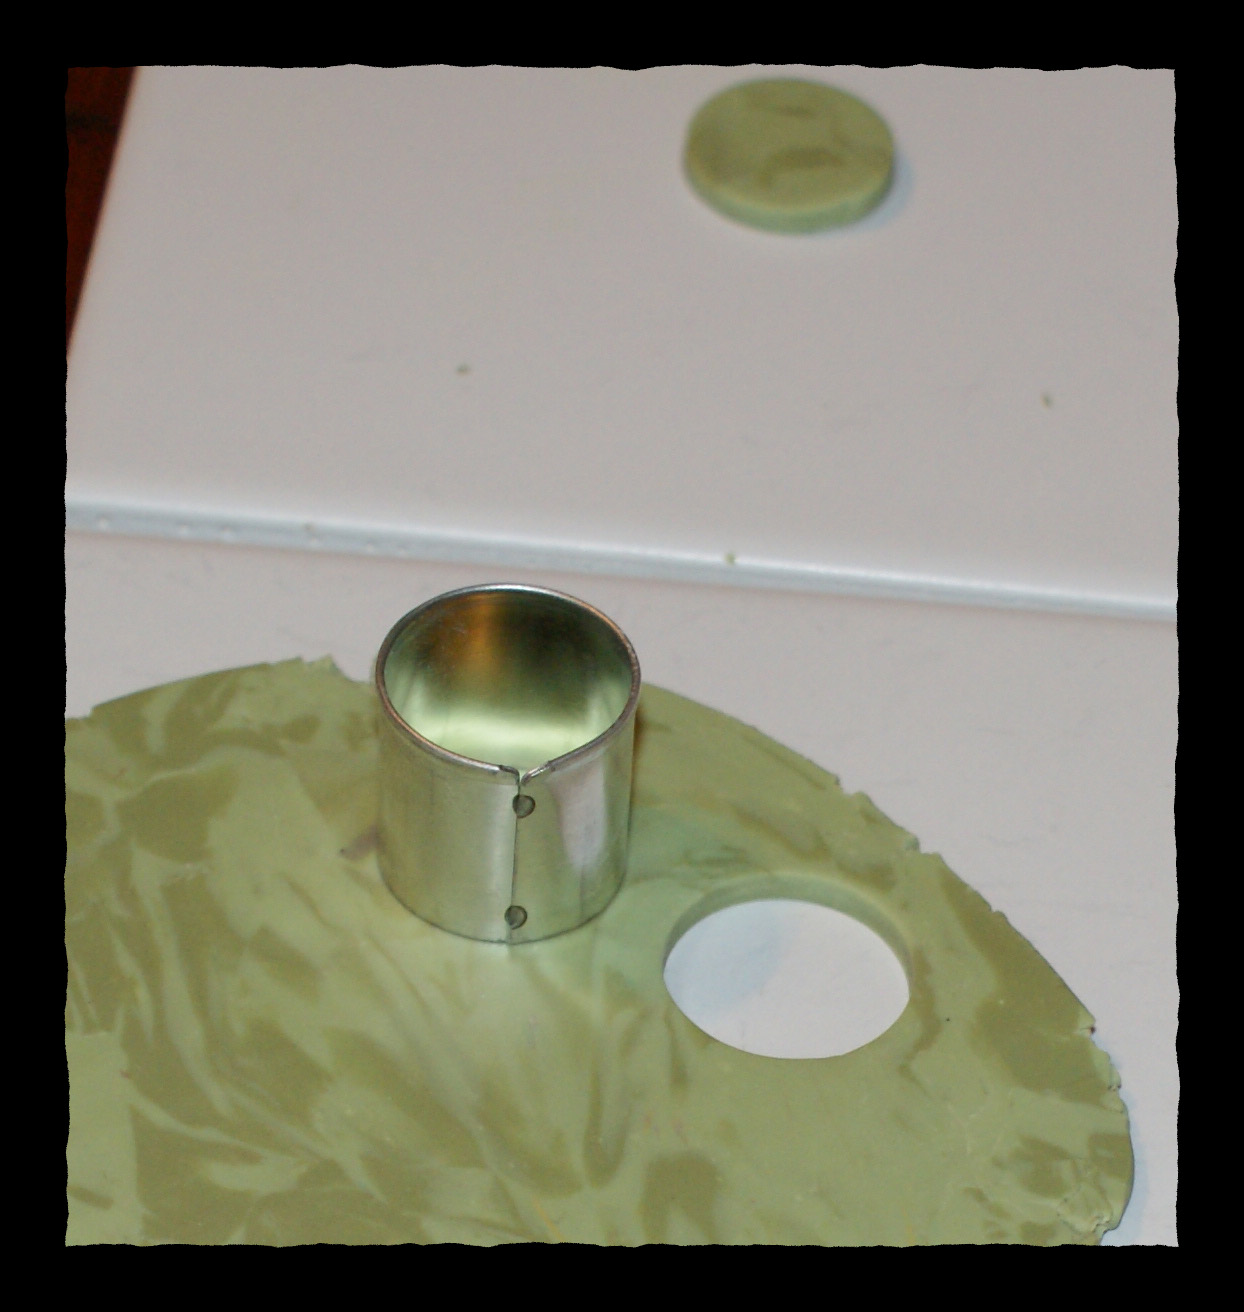 I cut tiny flecks of black clay with my craft knife and added them to the beads to give a more natural jade effect.
  Once I was happy with the shape of my beads, I pierced them on the ceramic tile on which I baked them at 275 degrees for 20 minutes. For the circle pendant, I used the big circle cookie cutter then impressed my Lisa Pavelka chinese character stamp on top using my acrylic roller at an even pressure. I pierced it as well and place all three in the oven. I then ran to the grocery store for milk, so I actually left them in the oven for 23 minutes. I have found if you are at the correct temperature, you can really bake too long, but you can definitely under bake.
 Once I removed the pendant and beads from the oven, I let them cool, then used 800 grit wet to dry sandpaper for smoothing the rough edges.
 I dried them off and buffed them by rubbing them back and forth quickly on denim for 2 or 3 minutes. This brings out the shine, especially since the beads are composed of translucent clay.
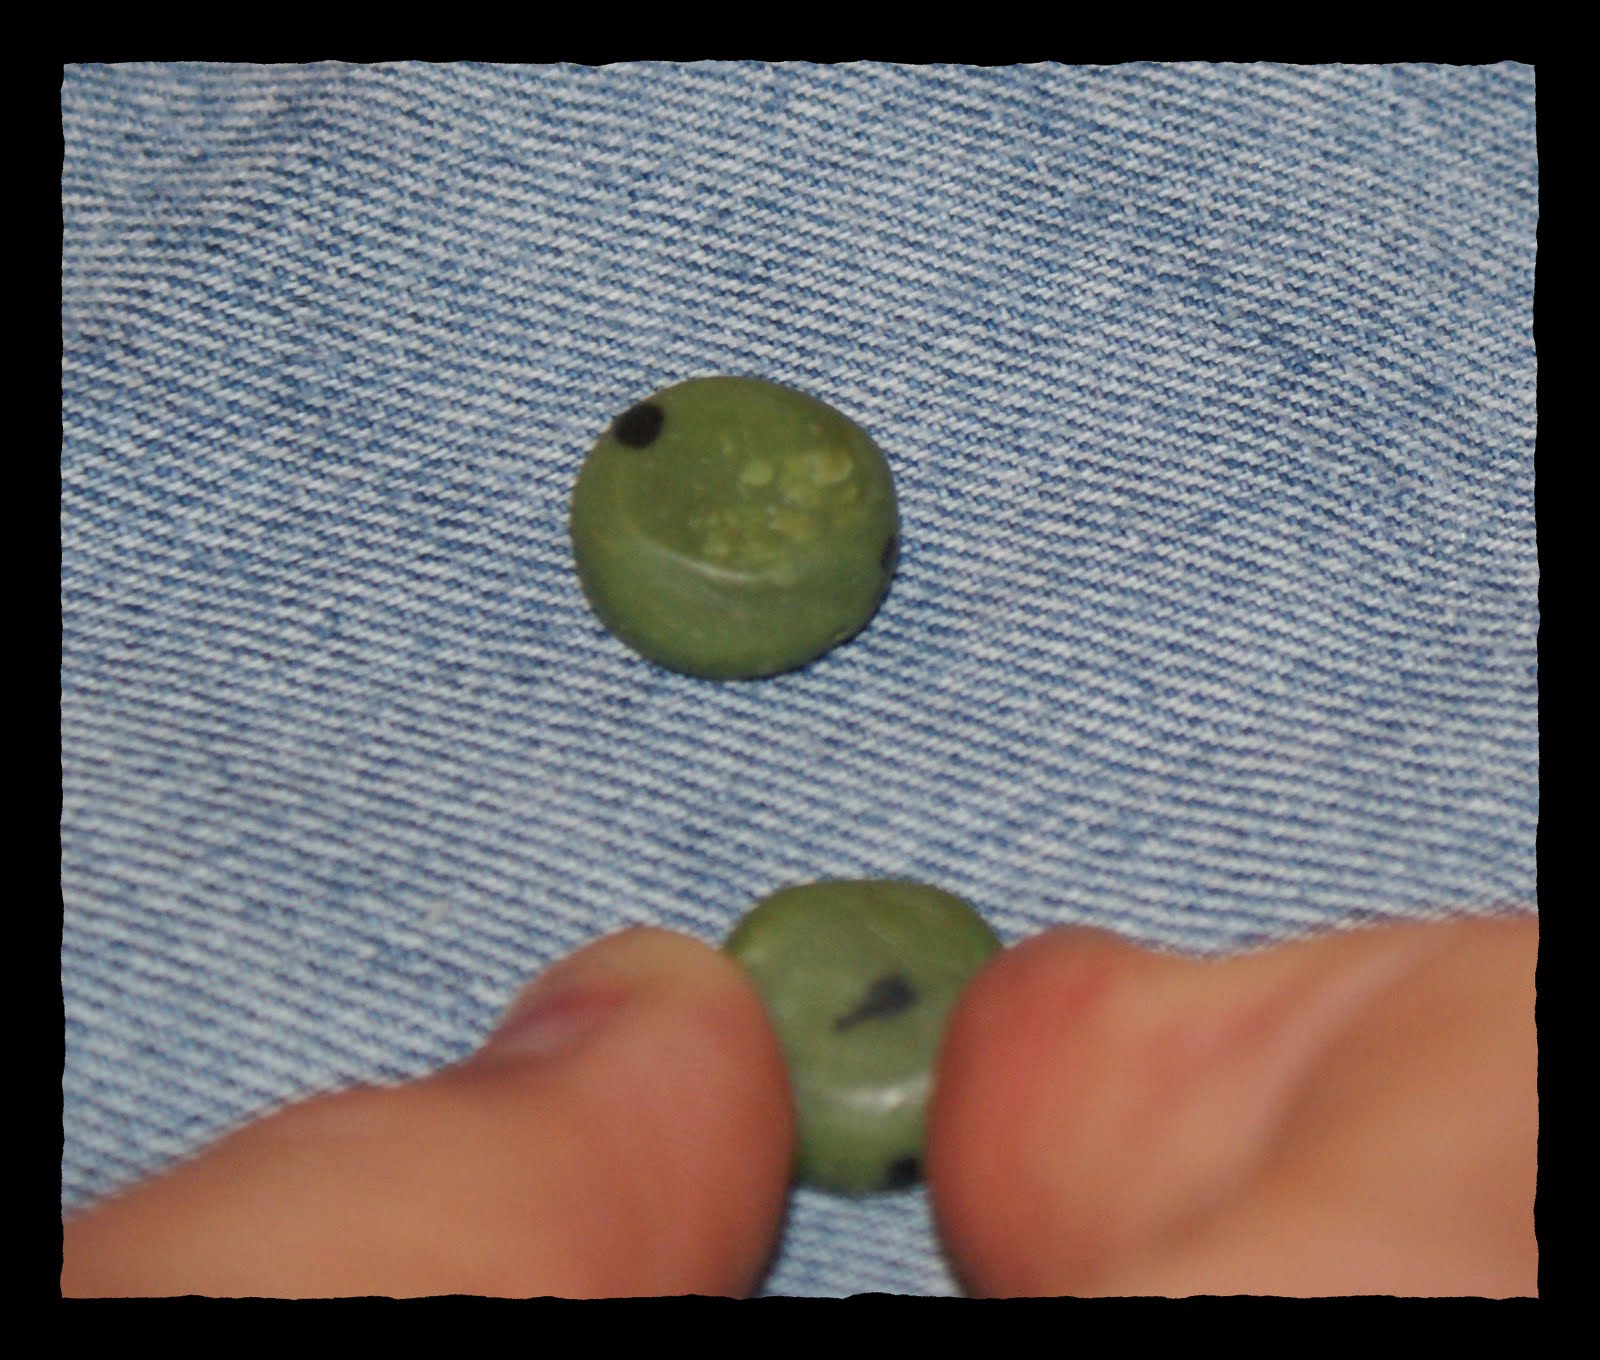 I antiqued the chinese character pendent by wiping burnt amber acrylic paint, then wiping it off immediately, leaving the color in the impressed parts. I sprayed each piece with 3 coats of varathane by rustoleum, allowing drying between coats.
 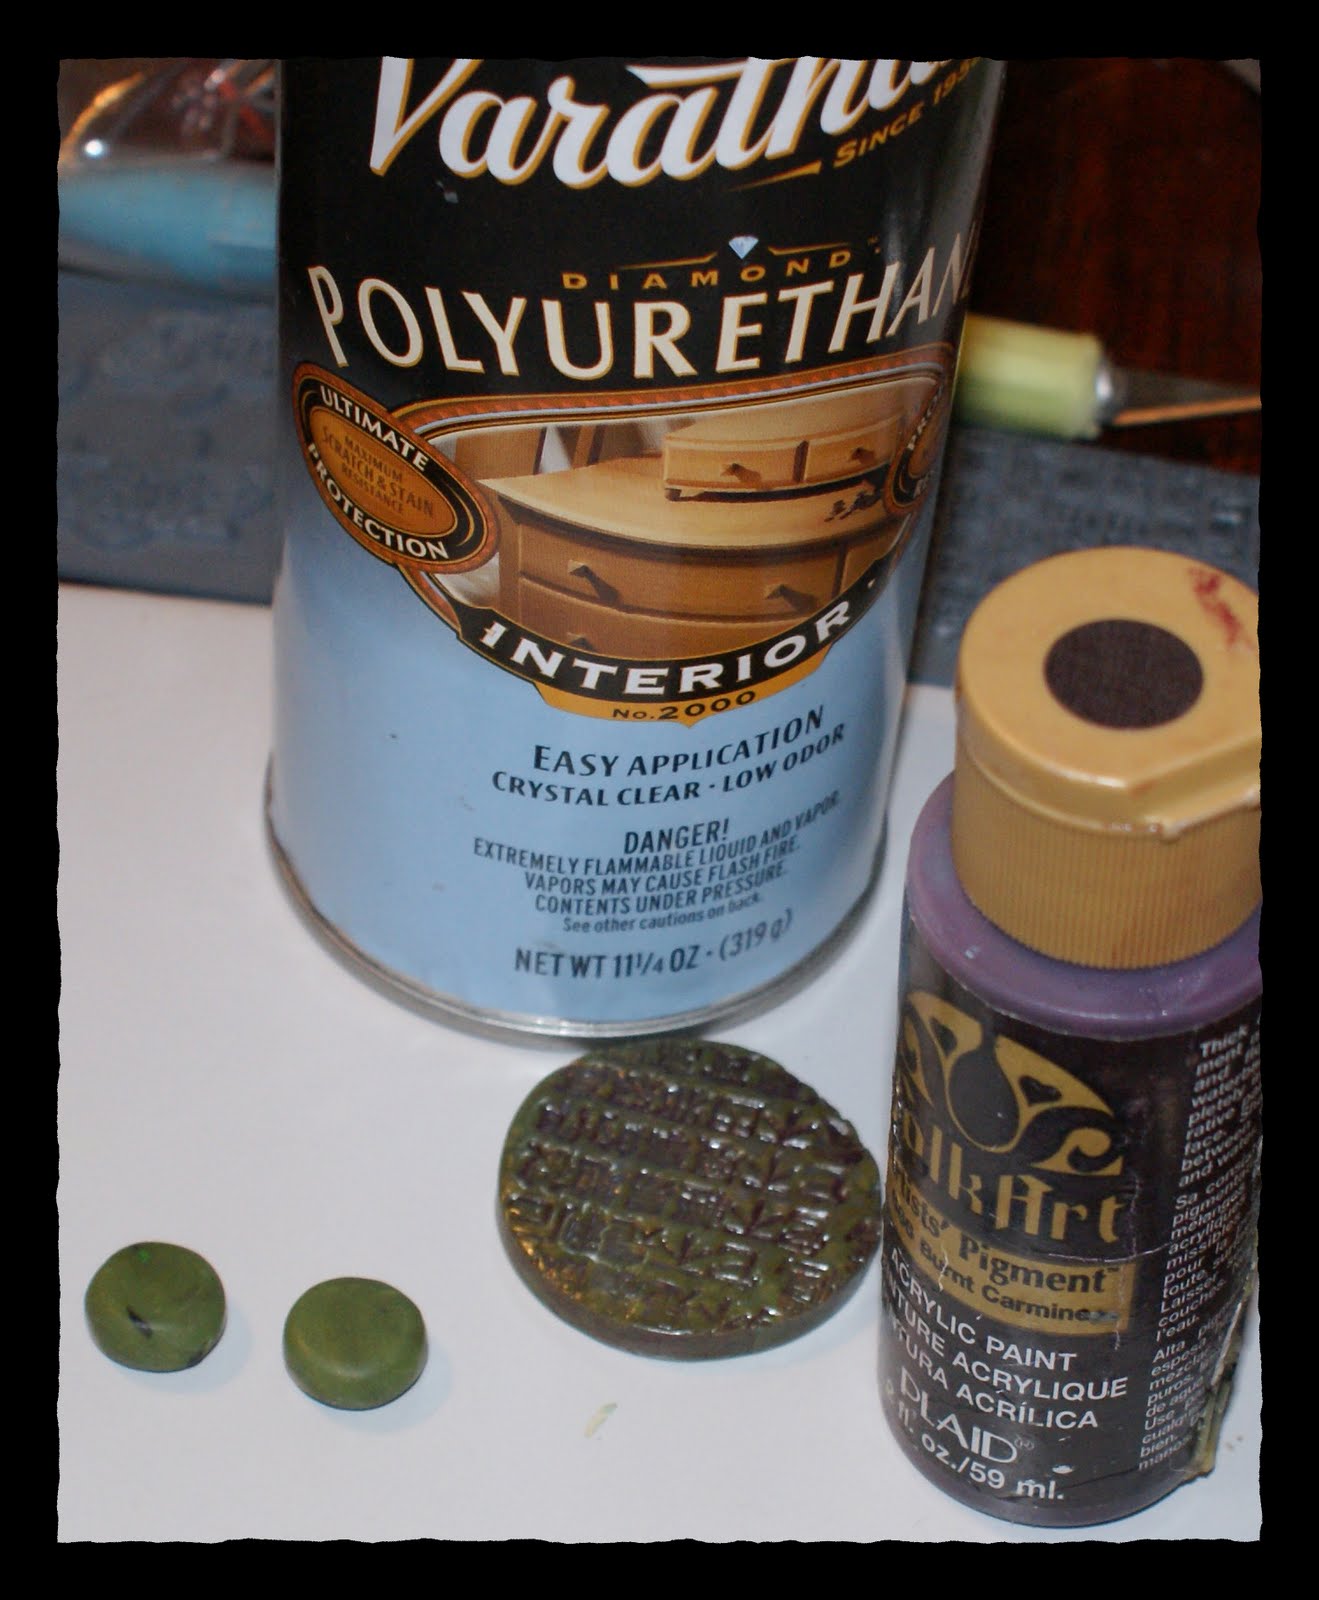 The possibilities are endless with this jade. Go crazy, crafters!


This is so cool. Visiting from FFF. Glad to discover another fellow crafter:)
love this! 🙂
Unbelievable! I am going to have to try this!
This is absolutely beautiful!!
very nice
Since we loved your blog so much we decided to add it to our “Sites to Visit” list at http://www.bigimproductreviews.info/sites-to-visit. Enjoy!
Wow this necklace is beautiful! Great tutorial!
Jewelry Rage
Hi Johnnie (once ‘gin!)
I almost forgot — had noticed that you had mentioned Cindy’s Polymer Clay Tutorial Website. I really think that she is unique, and have been a member for quite some time.
I wanted to mention that you had mentioned a food processor. They also have them in a smaller version, and that is what I have. I just happen to be Diana the Tool Gal. Ha! Ha! Seeing that I’m a Senior, I enjoy using gadgets to save myself from Arthritis. It’s so much easier with a Food Processor (on the hands). I found mine marked down somewhere, and am glad that I invested in it. In this way, I can make more things. Ha! Ha!
Thanks ‘gin for sharing!
L
Diana (Mermaid)
p.s. I’m relatively new at clay, but take classes from time to time. I also have alot of clay books too, and Magazines on the subject.
[…] Polymer Clay Jade Tutorial […]