


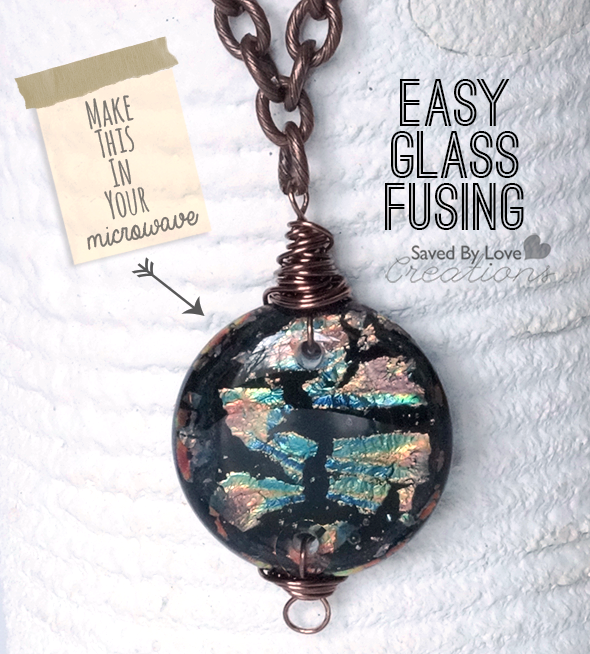
Can you believe these fused dichroic glass pieces can be made in your microwave in 3 minutes? I showed you these fused glass dichroic wire wrapped earrings a few weeks back, and I have pretty much been at it ever since. I have upgraded to an electric kiln for bigger projects, but we won’t get into that right now. Today I will show you how to stack precut fusible glass to get the dichroic pieces you see here.
SUPPLIES:

Fuseworks Beginner’s Microwave Fusing Kiln
Fuseworks Fusible Clear Circles
Fuseworks Fusible Black Circles
Fuseworks Fusible Dichroic Circles
Jewelry findings of your choice for clasp and chain
TUTORIAL:
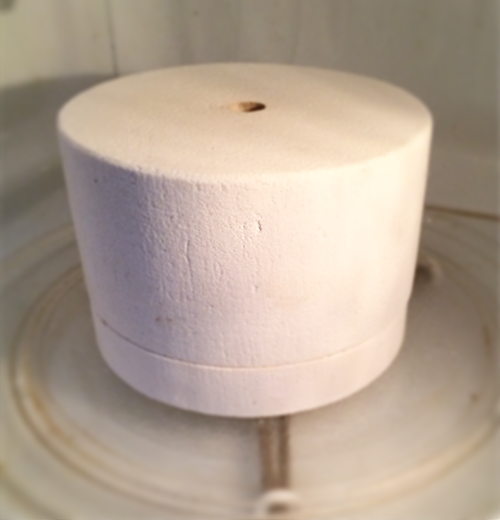
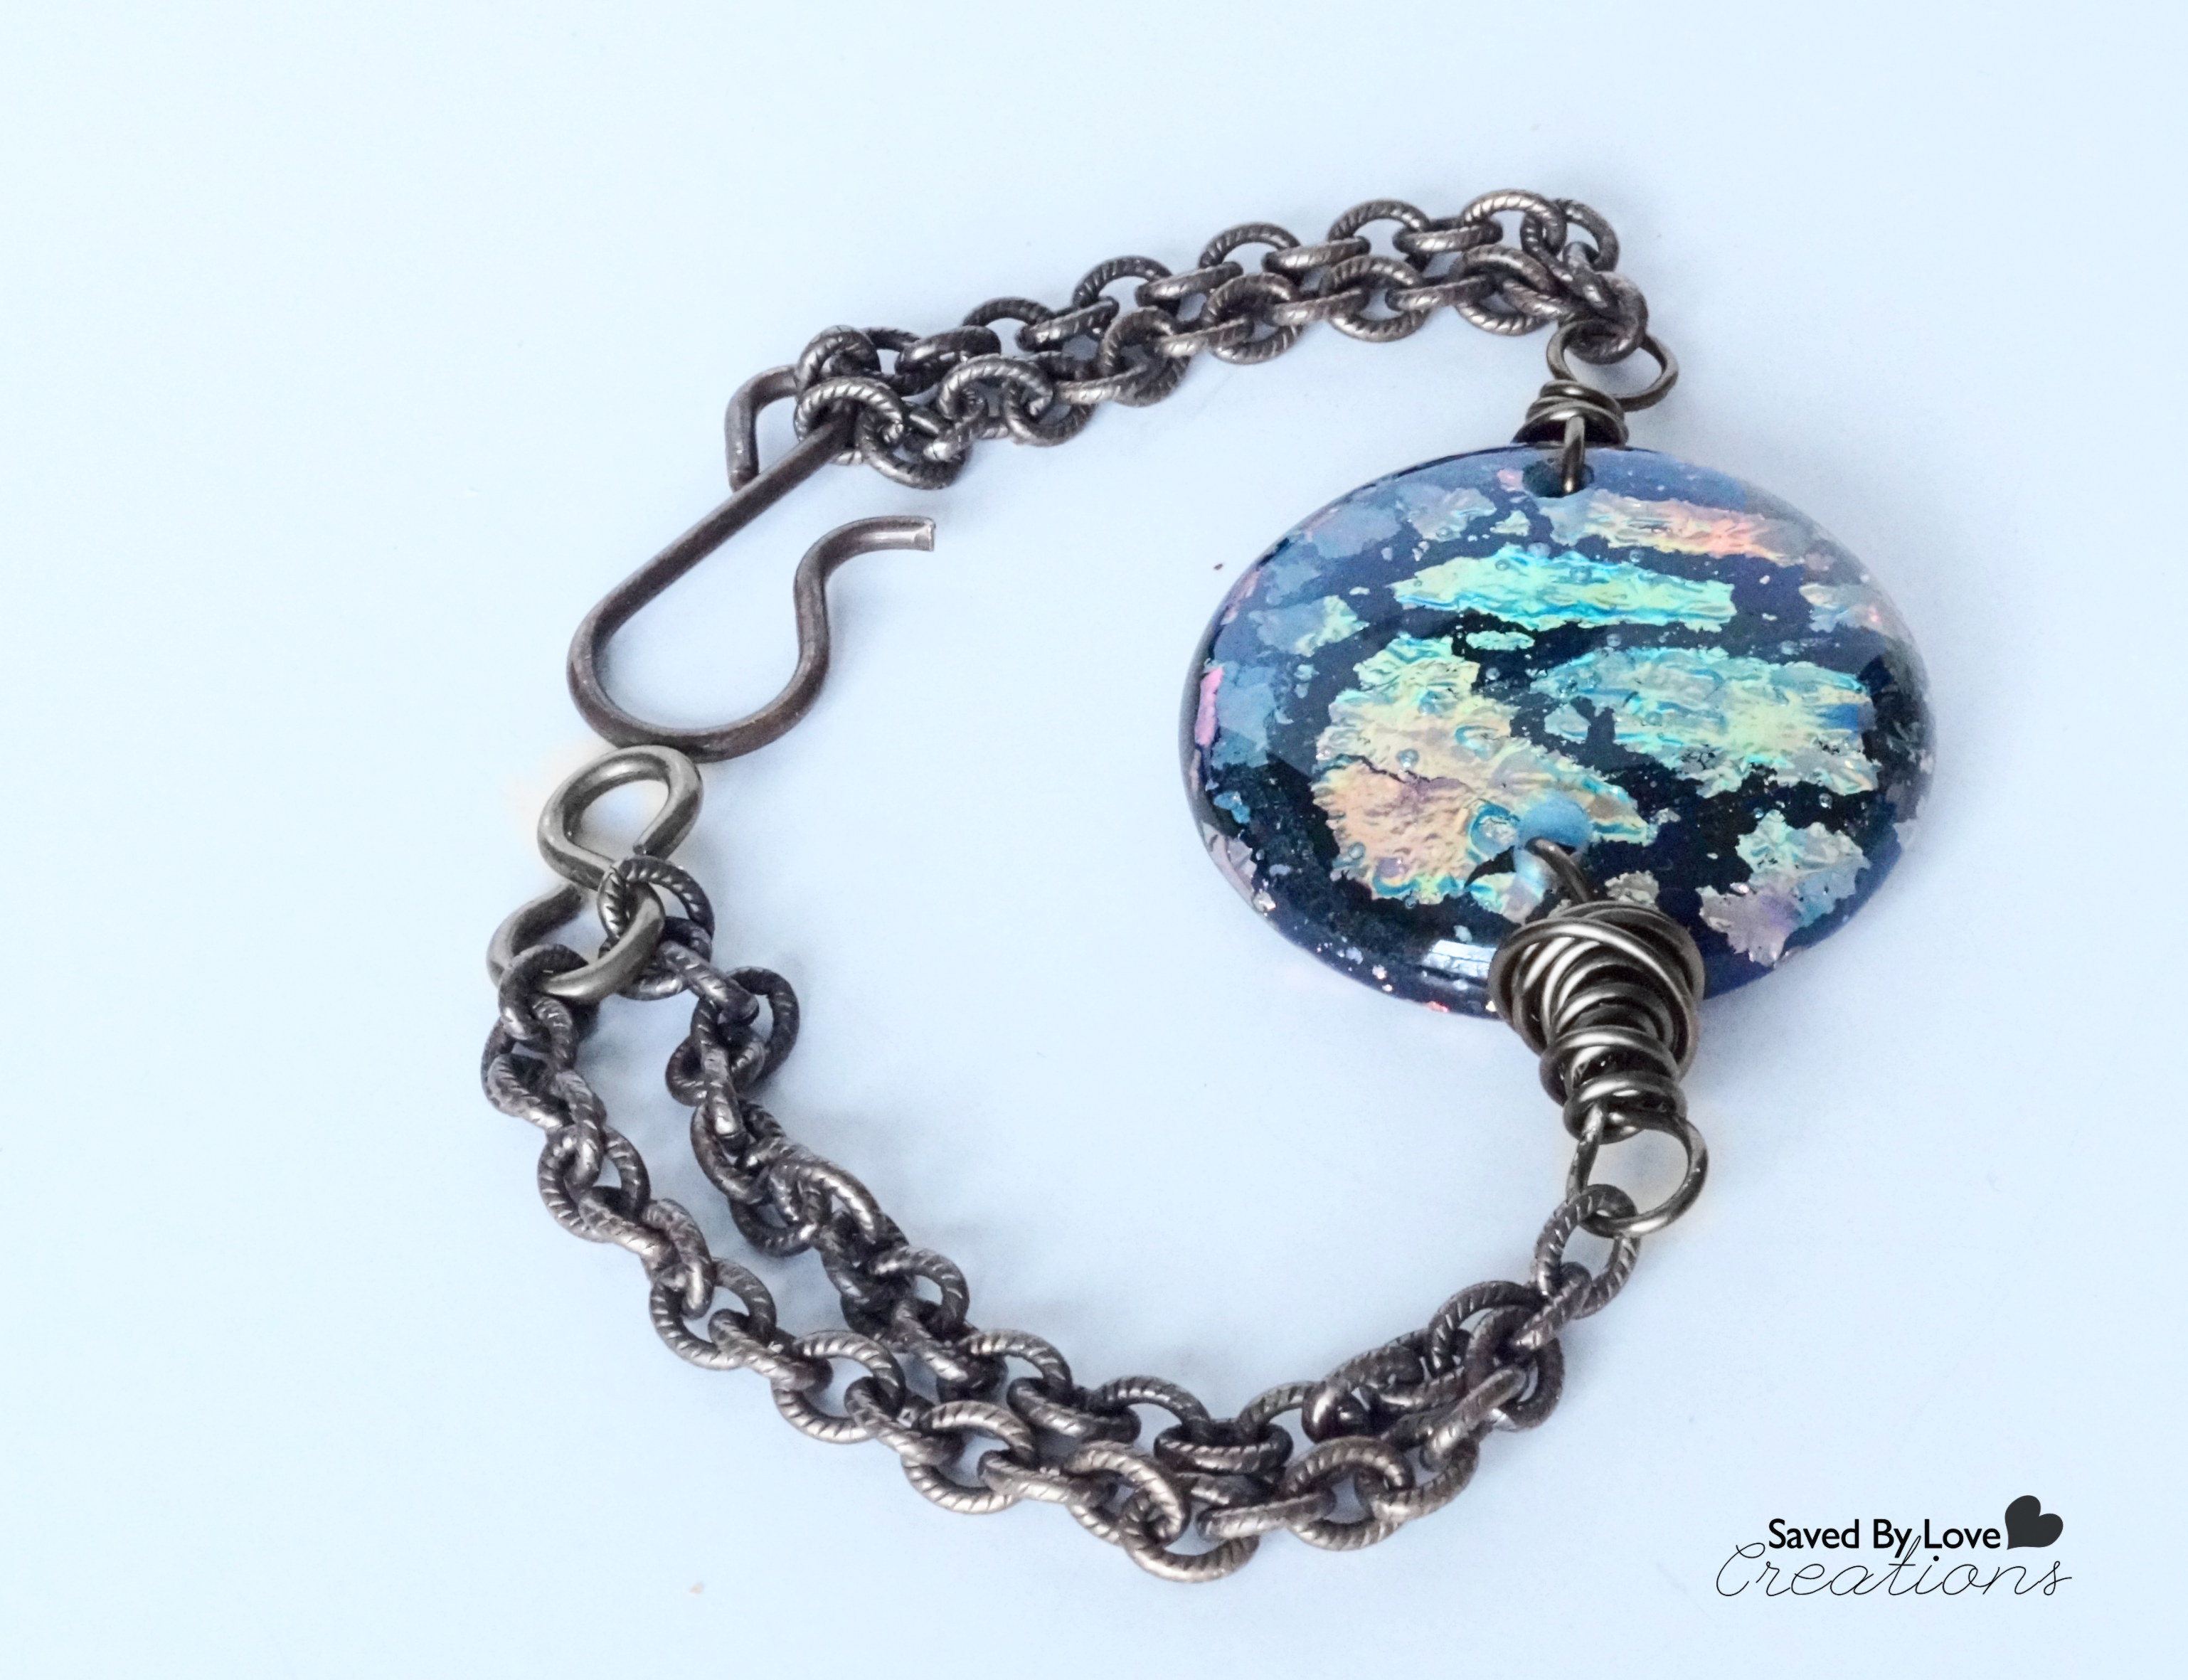
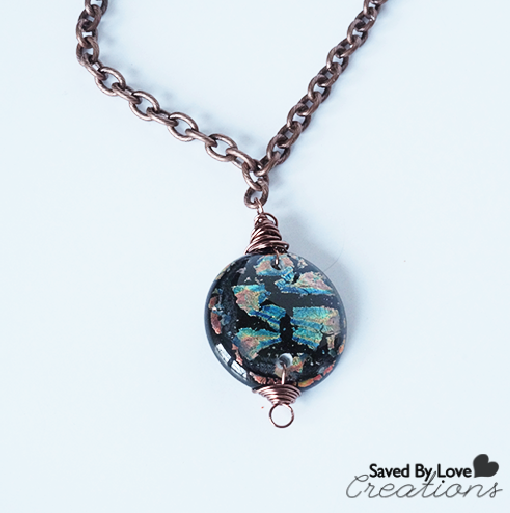
Stack from bottom to top; black, dichroic (foil side up), clear onto fiber paper in kiln and place in microwave. You can make 2 of these in the microwave kiln at the same time. Following instructions, begin microwave and monitor for glow. Mine took about 3 minutes. Let cool per instructions.
Drilling Holes in Glass
Let your piece cool completely, and drill holes as shown in the following quick video from Glass Fusing Made Easy:
Wire Wrapping Your Piece
I used the technique in this video from Beadaholique to wrap my pieces. The process is simple, even if you have never worked with wire.
I hope you enjoyed. Please let me know if you have fused glass and what you like to make!


[…] wire wrap your pieces like I did, visit this DIY Dichroic Fused Glass Pendant I shared with you […]