*This is a sponsored post written by me on behalf of Blue Print Social for Ed Roth Stencil1 Stencils and FolkArt Multi-Surface Paint by Plaid Crafts. All opinions are 100% mine and honest.
[pinit]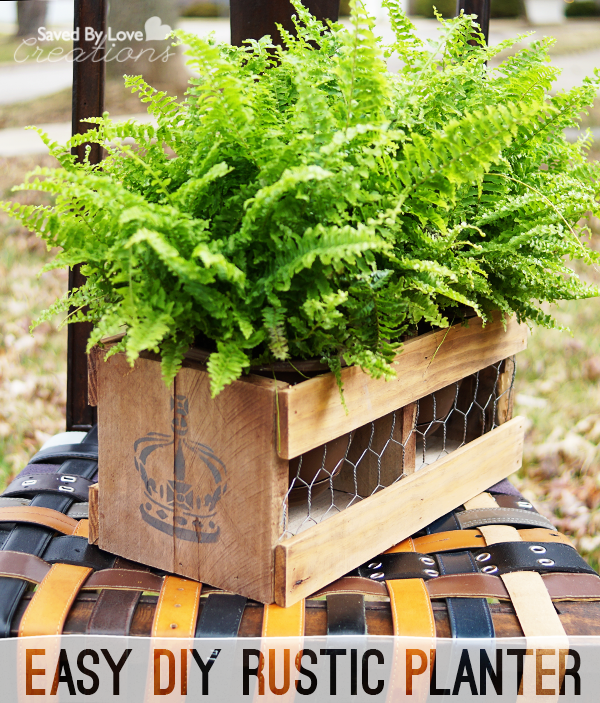 [pinit]
Today’s project is a simple, inexpensive stenciled planter box made from reclaimed wood . Use this rustic crate for house plants, flower bouquets, to display vintage bottles, candles and more! I used FolkArt Multi-Surface Paint and an Ed Roth Stencil1 stencil with some scrap wood and chicken wire I had on hand to build this versatile rustic home accent. Read on to find out how you can make your own version!
SUPPLIES:
Scrap Wood
Chicken Wire
Metal Snips
Wood glue
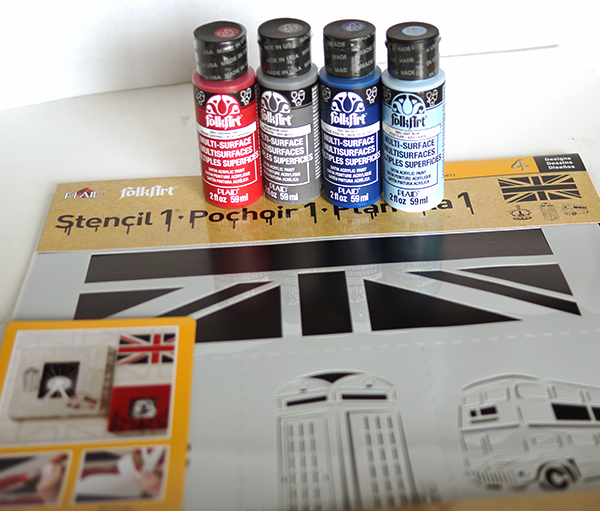
Ed Roth Stencils
FolkArt Multi-Surface Paint
FolkArt Antiquing Medium
Foam Brush
Lint Free Cloth
Stencil brush
Masking Tape
Table Saw
Nailer or hammer and nails
TUTORIAL:
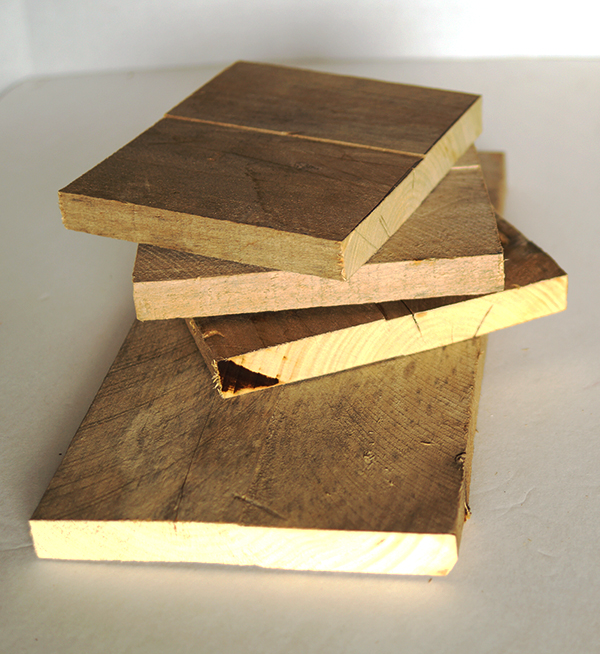
Cut wood for the bottom, 2 ends and divider of your crate. I these all from the same piece of pallet wood.The two ends should be the same height, and the middle divider should be that height minus the thickness of the bottom piece.
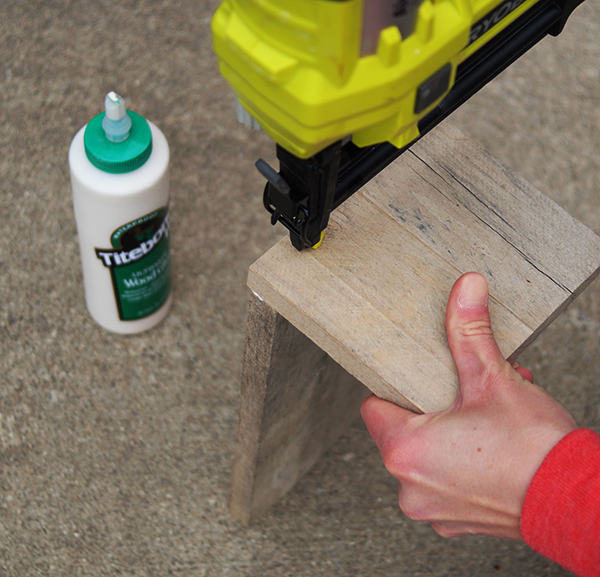
Attach the ends to the bottom as pictured, placing a strip of wood glue at the contact point before nailing together. I used one inch brad nails with my nail gun.
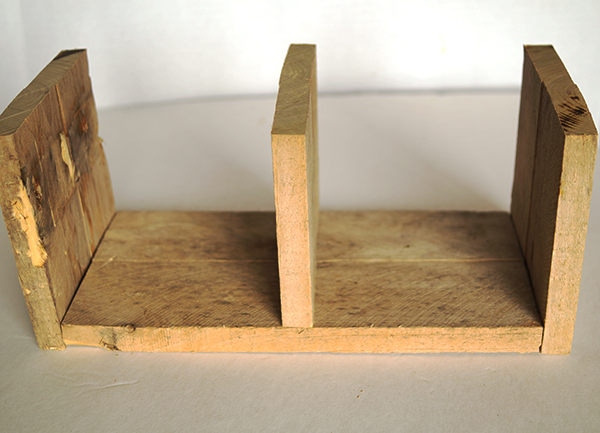
Attach the divider by flipping box over so that the bottom is up and nailing through the bottom into the divider so you are left with the above image.
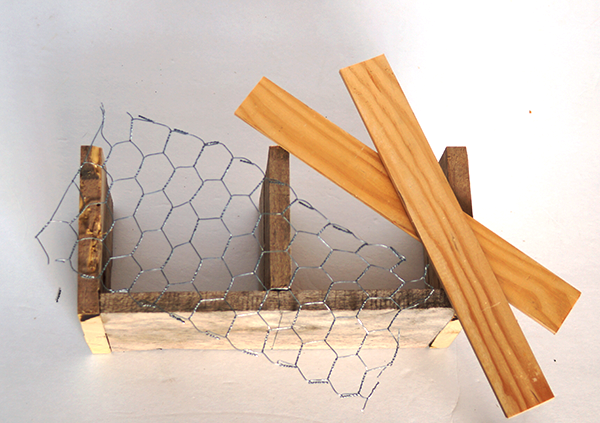
For the sides of the crate, I used a wood shim like scrap piece from my stash. You could use paint stirrers or vintage yard sticks here too. Cut four of them (2 for each side) the same length. To get the length just hold the wood up to the crate with one edge flush and mark the other edge to cut.
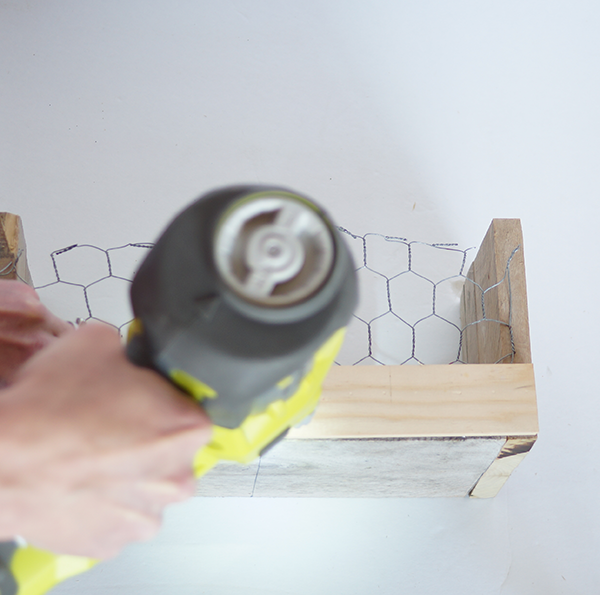
Cut chicken wire with metal snips to same length and height as crate. Put the wire in place and secure by nailing side planks in place over the top of the wire.
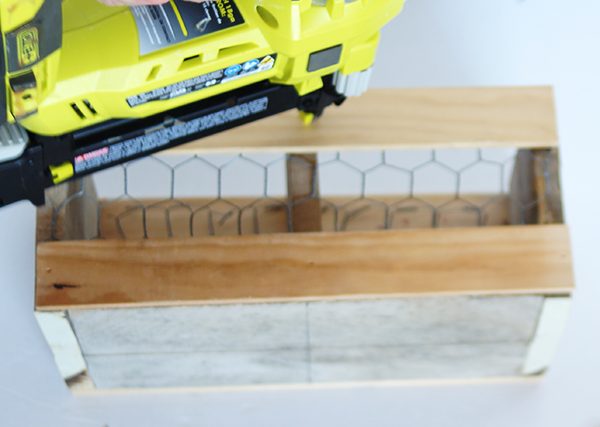
Repeat with the remaining side plank at the top, then flip the crate over and repeat on the other side.
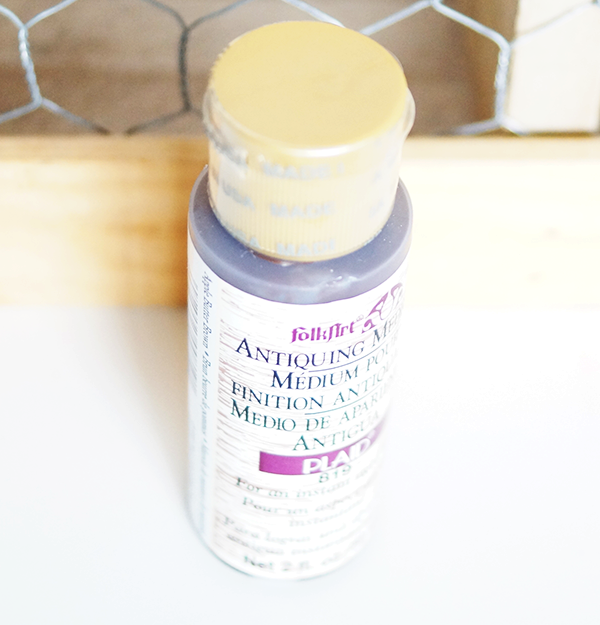
Since all of my wood was random and mismatched, I decided to pull it together with FolkArt Antiquing Medium. This stuff is super easy to use and I love the aged effect, on top of how it unifies the various wood pieces.
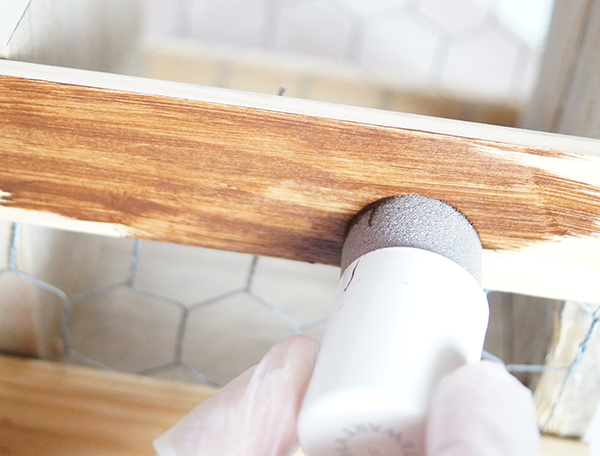
Apply the medium with a sponge brush in a few inch sections at a time, then wipe back with a lint free cloth until you get the desired effect.
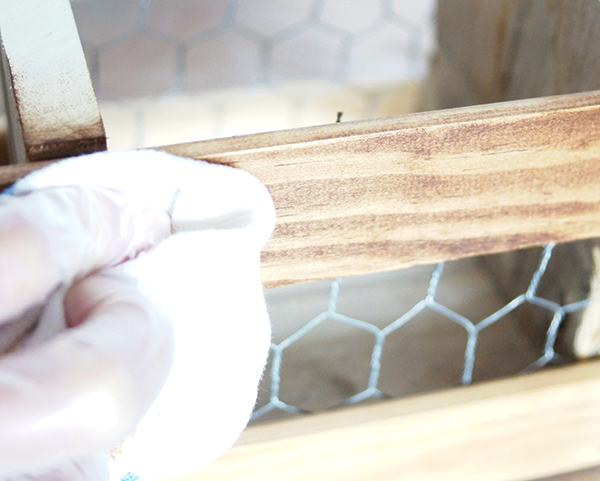
If you find it too dark, use a damp cloth to remove more of the stain.
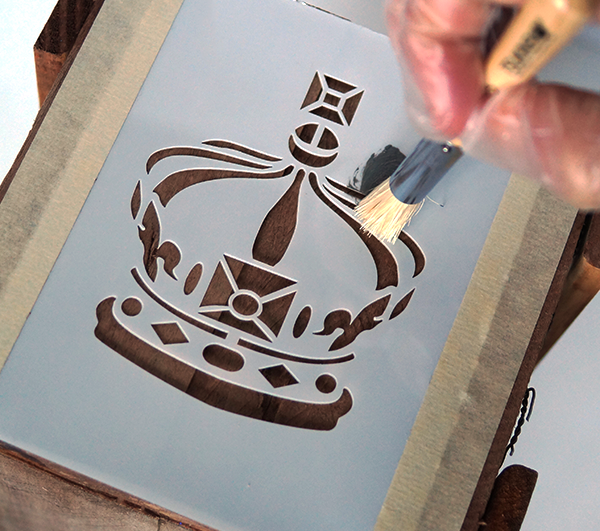
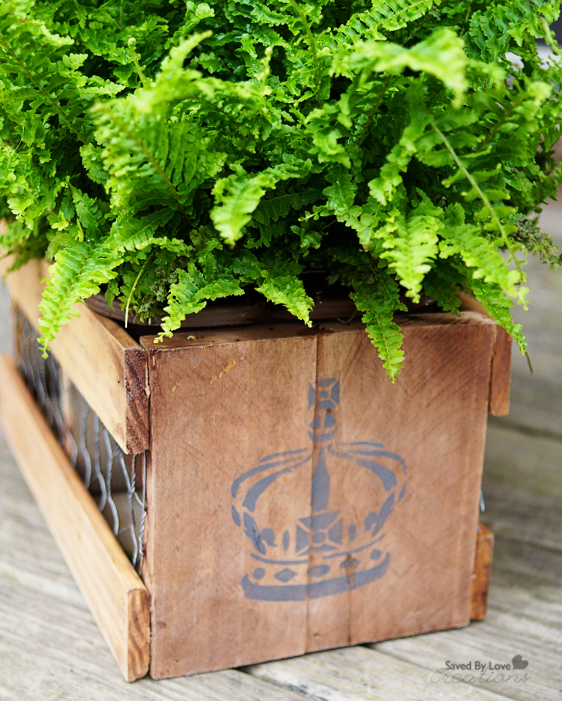
Once that is dry, tape your stencil into place and apply the FolkArt Muti-Surface Paint using a stencil brush.
I found the stencil I tried easy to use. The lines were crisp and there was no bleeding.
The Ed Roth Stencil1 Stencils come in large formats that are ideal for walls, floors and furniture, and are made of durable, reusable mylar that is super easy to clean. These stencils will be available at Jo-Ann Fabric & Craft stores soon.
As for the paints, they work on any surface, are dishwasher safe and can be used indoor and outdoor. I personally can’t wait to try them on glass so I am sure you will be seeing that around here in the near future!
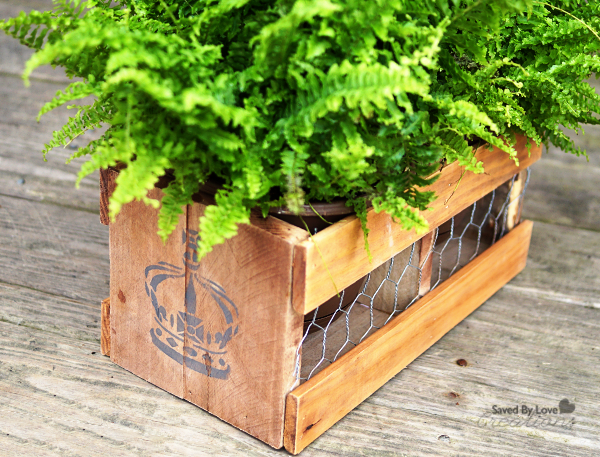
Once that is dry, you are ready to use your awesome handbuilt crate! I went with ferns, but the customization options are endless. Make it all you.
If you loved this project, you may want to fcheck out Plaid Crafts on Facebook, Twitter, YouTube, Pinterest, and Instagram or visit their blog, The Plaid Palette.
Want more projects with Ed Roth Stencil1 Stencils and FolkArt Multi-Surface Paint from your favorite bloggers? Here you go…


The antiquing medium is nice. I love the result. I’d love to do something like this, but I’m petrified of saws…
Lindsey, thank you! I was once petrified of saws too. You can do it, and it is so empowering. I went to a blog conference and heard Ana White speak, and was inspired to give building a try. I have never looked back. Check out her site if you decide you want to get started. She tells you exactly where to start and how to keep all of your limbs intact 🙂
What a great little scrap project! It’s so great when you can create something so adorable using what would otherwise just collect (saw)dust!
I love crates/boxes and this one is gorgeous! I think I need to buy the stencils ~ love them.
Thanks Mary Beth! I love the stencils and I have a feeling you will too.
This is a gorgeous planter!! I love the detail of the chicken wire! So cool!
I love it so so cute!!
Thanks for the love, Mindi! xo
[…] Wood Planter from Saved by Love Creations: Follow the easy step-by-step to make this planter from pallet wood and wood glue – the finishing […]
[…] Easy DIY Rustic Planter | Saved By Love Creations […]