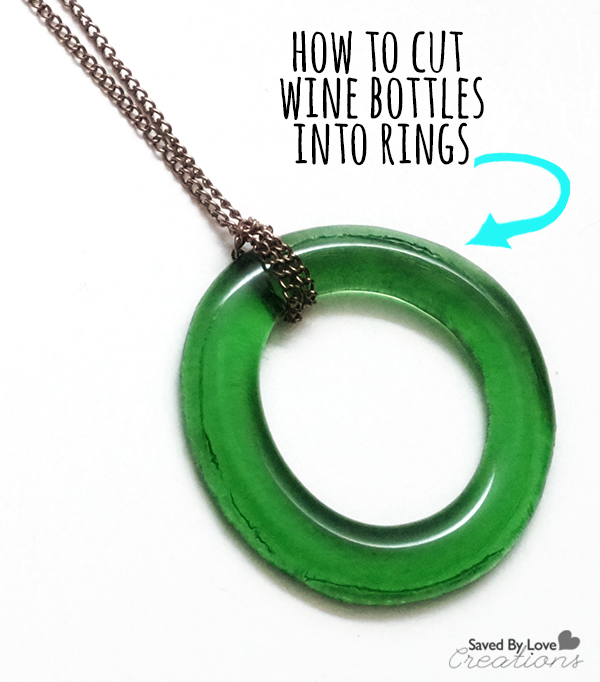
I am cutting the heck out of wine and beer bottles these days as I create recycled bottle art. There are several ways to approach this task. You can score the bottle with one of the many bottle cutting jigs available, or you can go the tile saw route. Today I am going to show you the best wine bottle cutter I have found, and how I separate the glass cleanly after making the score line. You will learn the best way to cut a wine bottle, as well as how I make the rings, then fuse them in my kiln to get the smooth “donut” like the one I made for the pictured necklace.
This is the cutter I use. I love it. I have tried several, and this one gives me the best score line with the least hassle.
PROS: It is easy to get an even score line all the way around the bottle since the bottle is supported well and you have both hands free to rotate it. It is great for cutting several rings of the same height from a bottle because you can easily adjust the blade location an even amount using the ruler on the blade guide.
CONS: I wish I could cut the bottle neck with this cutter, but sadly, I can’t. The blade doesn’t reach high enough for that.
This video from Delphi Glass shows you how easy it is to cut with the Creator’s Bottle Cutter. After making the score line, the video shows heat applied to the score line with a candle. I started out that way, but then found a quicker way that produces very clean breaks.
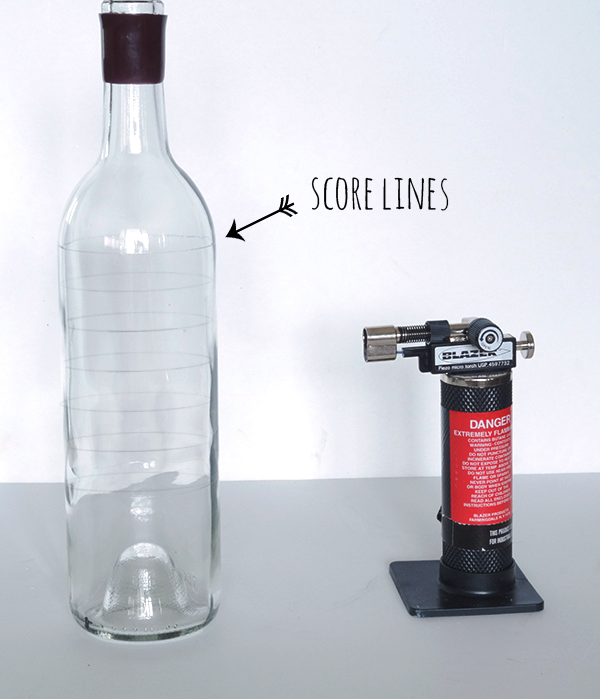
First make all of the score lines for getting several rings from one bottle. I like to make my rings 0.5-0.75 inches tall, so I just move the blade that distance for each line.
Once the score lines are made, I put the bottle back on the roller and heat the bottom score line. I hold the torch in my right hand and spin the bottle on the rollers with my left hand on the neck of the bottle. It is important to keep the bottle moving because applying the torch in one spot for very long will cause the glass to splinter and shatter.
Sometimes a few rotations with the torch on the score line will be enough to separate the glass. After 30 seconds of heat if the glass is still intact, I submerge in a bucket of cold water and that does it. Now the bottom is off of the bottle and I move on to the next score line. When it breaks, I have my first ring.
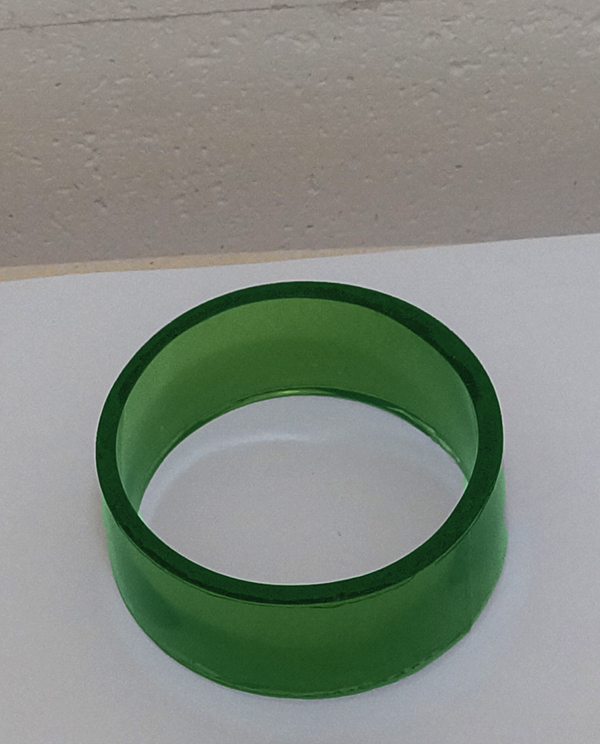
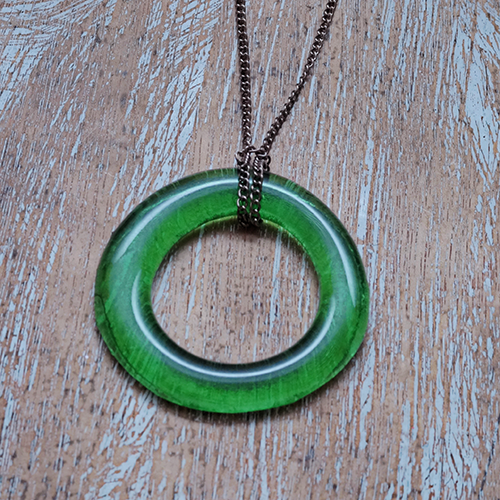
To get the smooth, flat ring shown in the beer bottle necklace, I put my rings in my kiln (I have a Paragon Fusion 14) and run to full fuse. You could do these one at a time in your a microwave kiln. That is how I started!
I showed you my first microwave kiln project here:


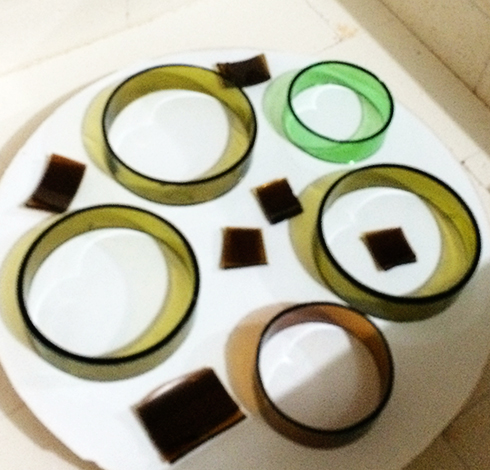
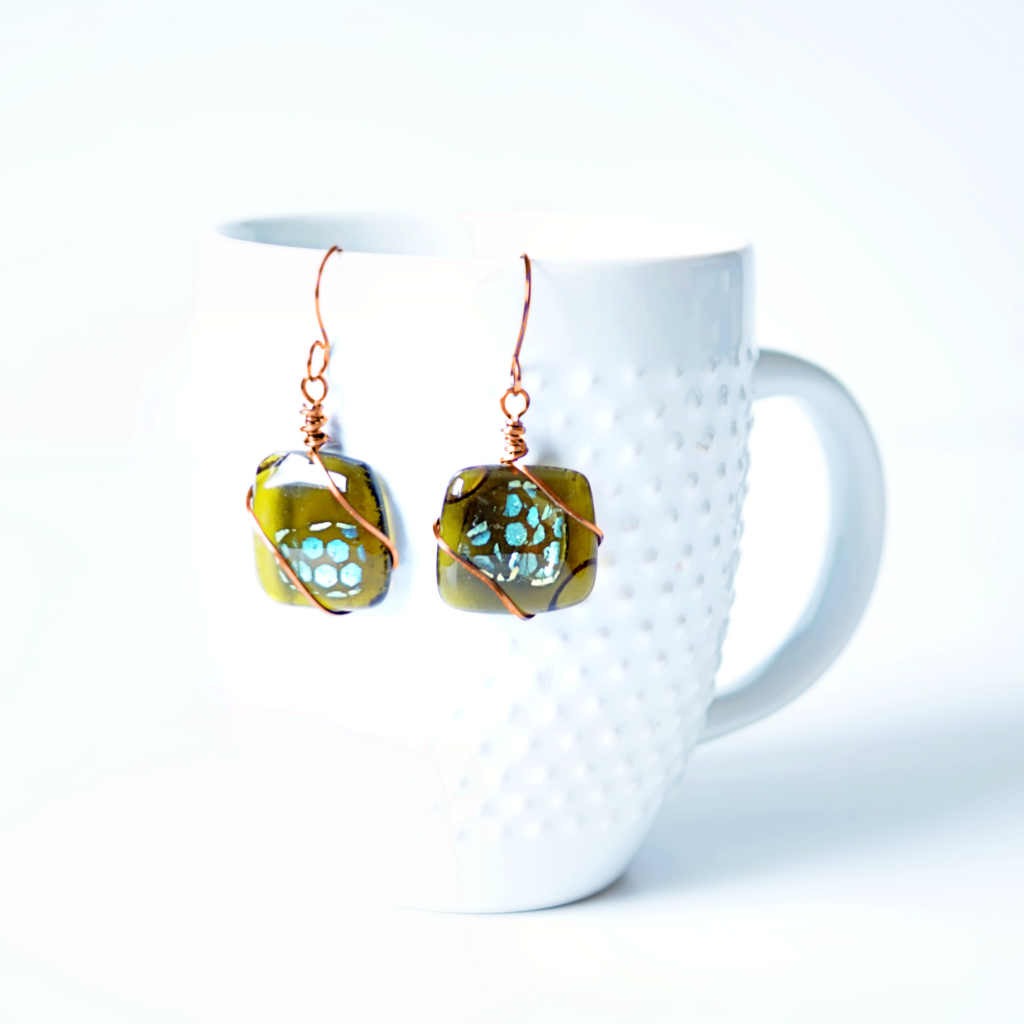


How did you “fuse” the beer bottle rings in your microwave oven? I saw the tutorial on the micro earrings. Do you put them in that microwave kiln and for how long? These are just so cute and neat.
You do it the same as you fuse anything in the microwave kiln. Just cut the ring like I showed you in the tutorial and fuse it per your kiln instructions!
Can you fuse other bottles or are you restricted to using wine bottles? I don’t drink.
Hi Vickie:
If we had to drink all the bottles we cut, we wouldn’t be able to cut our way out of a paper bag.
You can use any bottle to cut. I have an ongoing order at my local Lone Star Steakhouse for
any of their empty, fancier vodka bottles and unique bottles. Like Absolut, Grey Goose, Saphire. etc.
They just give me a call when they have a case and I coordinate picking it up after I dine there. We have a real good relationship with them now.
Check out my new website at http://www.bestbottlecutter.com
And special thanks to Johnnie for all you do. 🙂
Ray Nicholas President – Creator’s Stained Glass Inc.
You are not limited to wine bottles by any means. I haven’t had a drink of alcohol in years. I go to my local recycle center and they are happy to let me dig through their bottles. Friends save bottles for me as well. Drinking alcohol and cutting glass are not good activities to combine!
could you tell me if youmade the glass pendant that is on the how to wire a pendant tutorial or can they be purchased. thanks, jimmy
Hi Johnnie:
I am Ray. I invented the Creator’s Bottle Cutter.
Kudos to you for your perseverance and awesome jewelry.
You can always email me. raynicholas@comcast.net if you need anything.
Your friend,
Ray Nicholas President — Creator’s Stained Glass Inc.
Hi, could you tell me what your firing schedule is to get the rings so smooth?
Thanks,
Heidi
So I have been trying my hardest to get multiple rings from one bottle and I cannot do it to save my life. The first score at the bottom comes off with no issue. After that, none of my scores will separate. I’ve tried candle, tea pot, a pot of simmering water on the stove, followed by a cold shock…. Nothing. Any ideas/hints? I have so many things I want to make as gifts!
Hi Laurie. I hate to hear you are having trouble getting the rings to separate. I have to use the micro torch to get it to work. None of the other heating techniques worked for me, and believe me, I tried all of them. Hope that helps.
[…] Glass beads or wine bottle rings (see my Wine Bottle Rings tutorial) […]
[…] Wine bottles cut to the size you want (I have showed you how to cut theme HERE: How to Cut Wine Bottles) […]
[…] You can make your own set of these chimes by visiting the link in the first paragraph that teaches you how to cut the mason jar, drill holes in it and string/attach the dangly beads. The three rings in the middle are created from recycled wine bottles. I showed you how to make them HERE: How to Cut Wine Bottles for Perfect Rings: […]
[…] Apply heat to score line and submerge in cold water to separate the stem at the score line like I showed you in this DIY Wine Bottle Rings tutorial. […]
[…] -Cut wine bottles with varying heights (See How to Cut Wine Bottles) […]
[…] -bottle cutting supplies (See How to Cut Glass Bottles) […]
[…] Saved by Loved Creations turned parts of a wine bottle into a necklace! This is a great gift for loved ones, especially when that bottle comes from a special moment in time! […]
[…] can turn your wine bottles into rings – with the help of a bottle cutter. There are so many things you can do with the material like […]