

I had the opportunity to try out a cool new product called Scrapbooking Attitude, and am excited to tell you about it. This is a printable, transparent film you use with your inkjet printer for endless creative possibilities. Being a huge fan of image transfers, I was thrilled to give this a whirl.

Image transfers are done onto glass, wood, paper, polymer clay, ceramic and more, using a variety of techniques, from acrylic mediums to packing tape. What I love about Scrapbooking Attitude is that it is simple to use, the results are fantastic (even on the embossed, textured surface I used in this project), and it requires an inkjet. In my experience, inkjet transfers techniques compared to laserjet are not as abundant, are more difficult, and don’t come out as nicely. This is bad news since most people, myself included, have the less costly inkjet printer at home. Scrapbooking Attitude is a fantastic solution. My only problem was focusing in on a single project. You will be seeing me use this product more in future projects. For this post, I went all Halloween on you.

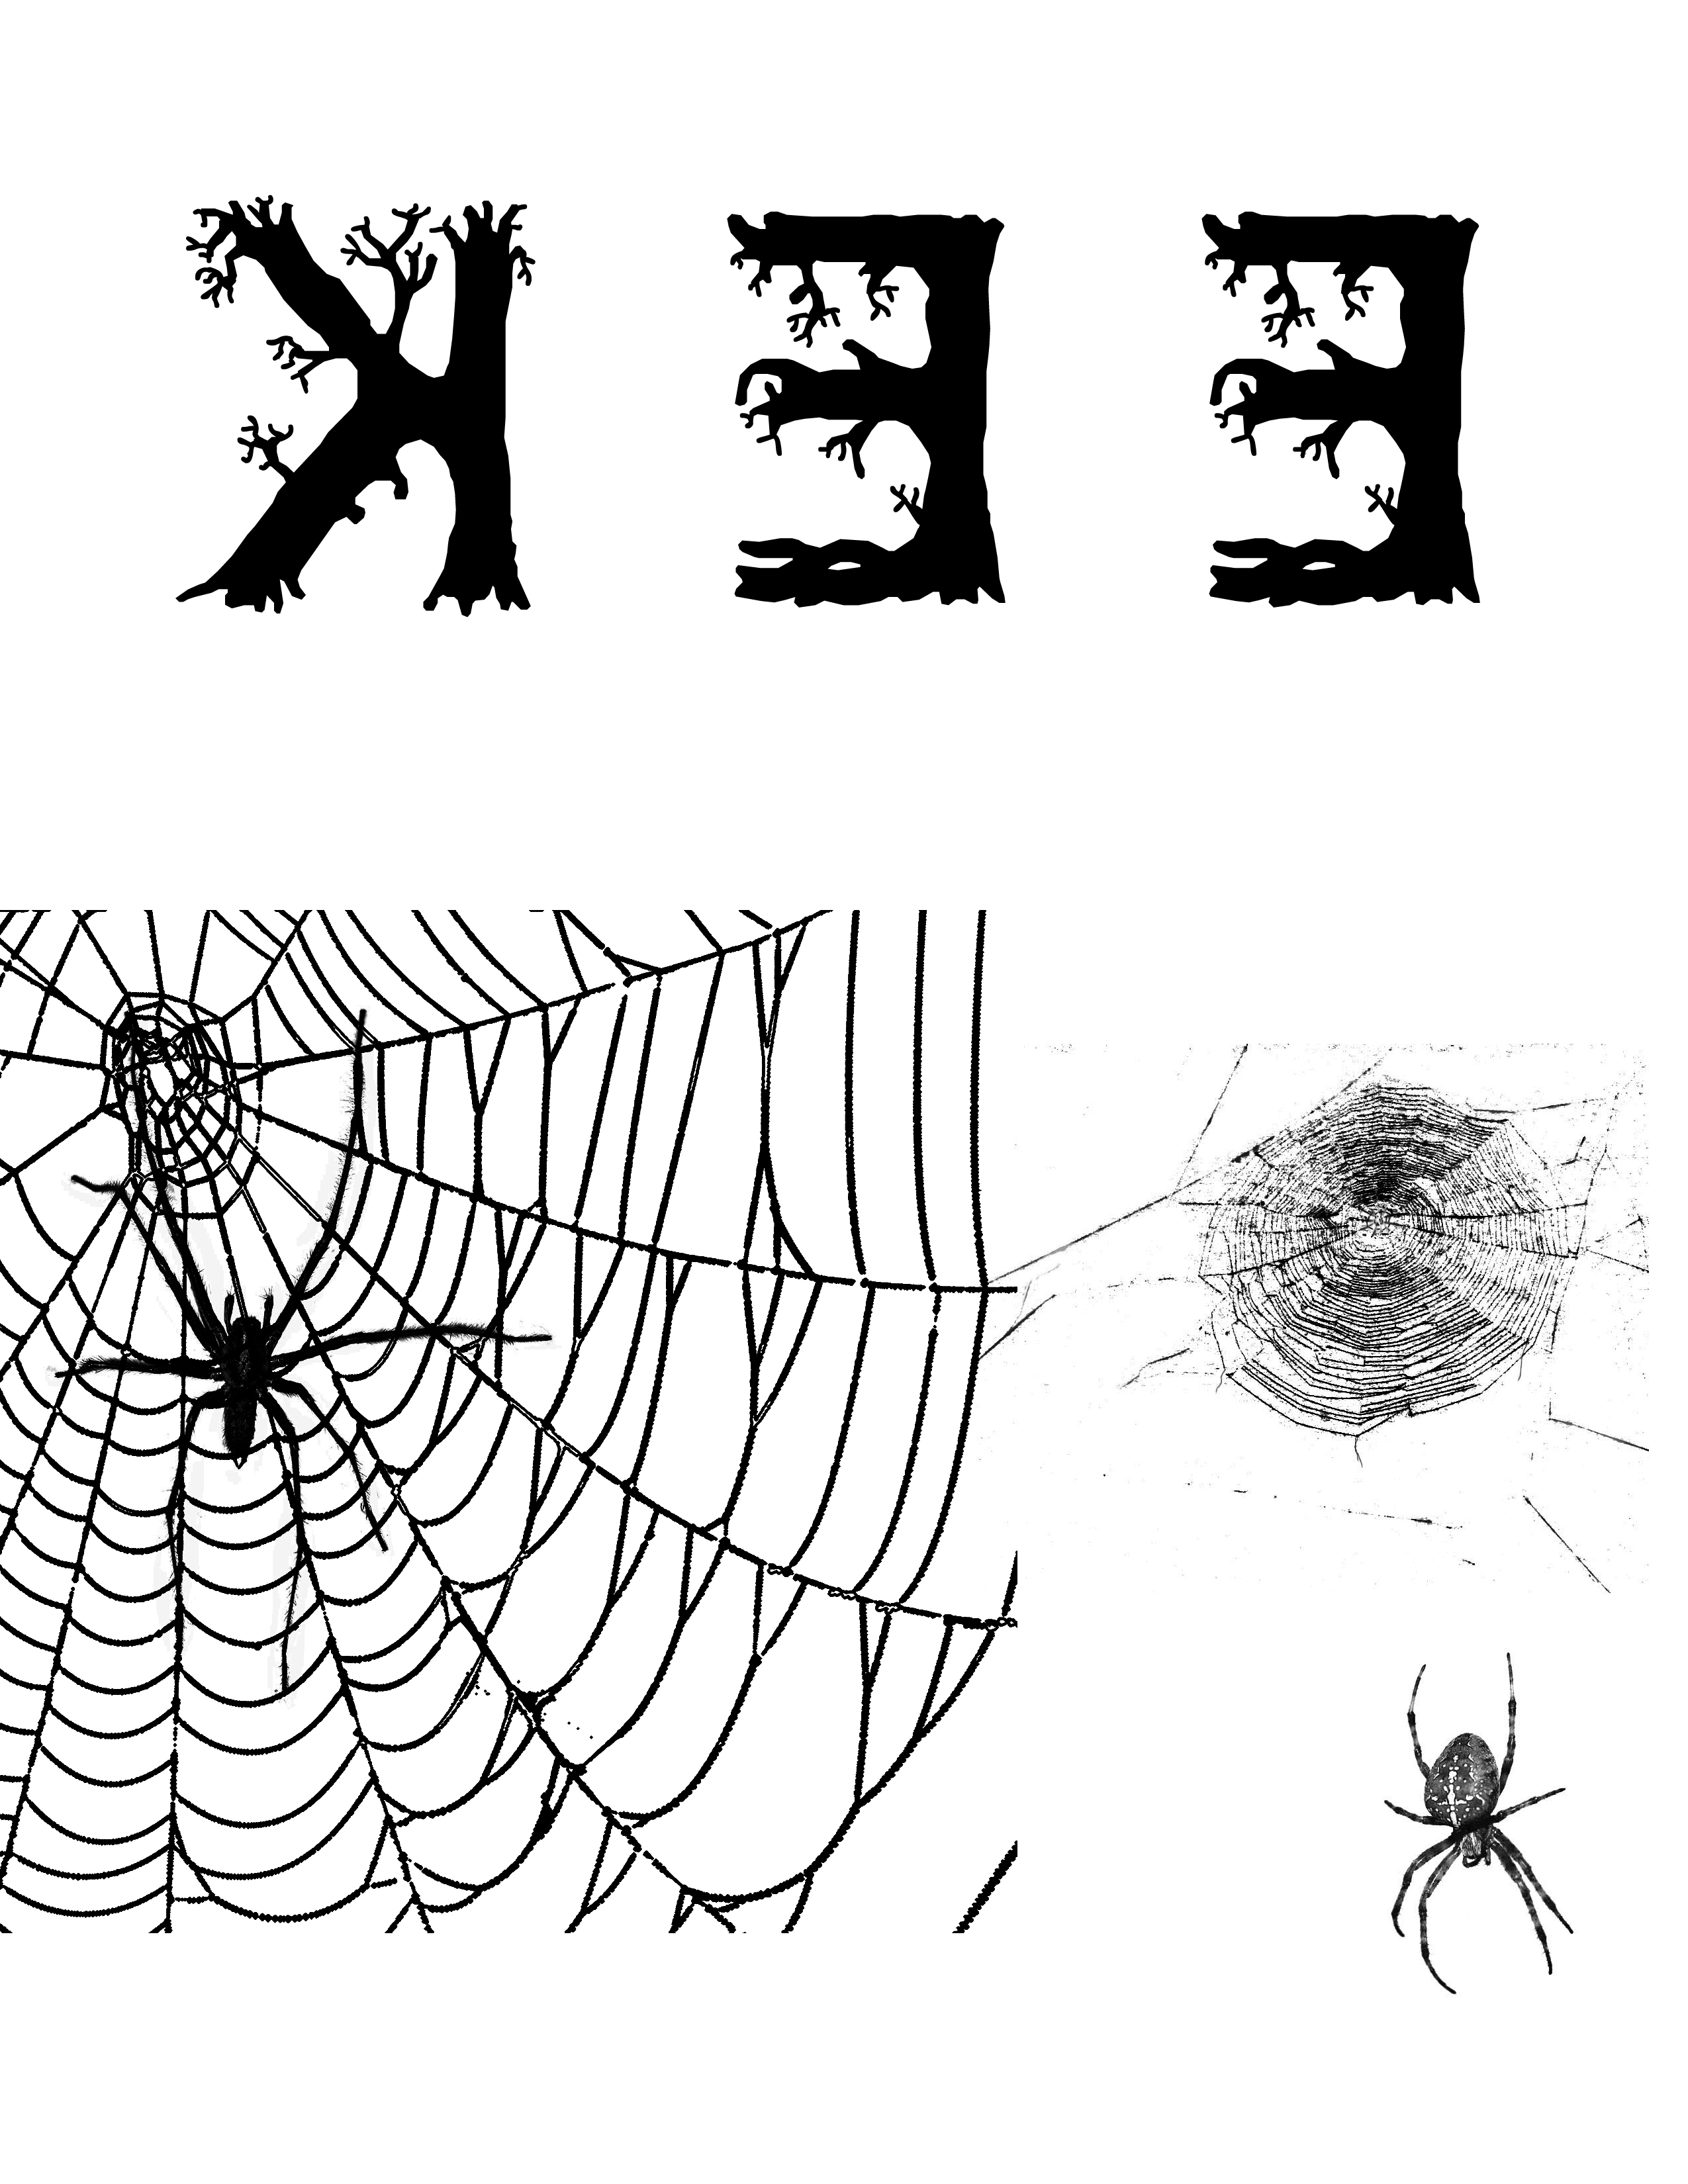
The following step-by-step photo tutorial shows you how I transfered “EEK” and spider graphics I created in Photoshop (available for you use as a free Halloween Printable) onto die cut, embossed paper for the banner. I used the same steps to transfer the spider web graphics onto an old book with a solid orange cover.


![]()
SUPPLIES:

Scrapbooking Attitude
Die Cut, embossed white cardstock (I used this Tim Holtz die for Sizzix, and this Tim Holtz embossing folder)
Antique Linen Distress Ink Pad to ink the raised areas of the embossed cardstock
Mod Podge
Foam brush
Twine
Tiny white clothespins
Black Cardstock Die Cut Scalloped rectangle (I used a Sizzix scallop rectangle die)
Antique Linen Distress Ink Pad
Scissors
Inkjet Printer
Mod Podge 3D foam mounts
TUTORIAL:

Once dry, I layered the transferred image and shape onto a black cardstock scalloped rectangle cut using Sizzix. I used Mod Podge 3D foam mounts to adhere the layers. Then I just clipped them into place on the twine with my tiny white clothespins.
I just love how this transferred into the grooves of the texture. It looks like it is one with the paper and you can see the background through the image. You can achieve the transfer with a lamination machine, an iron, or a glue stick, or use Mod Podge like I did here. The instructions with the product are extremely detailed, and my craft blogging cohorts are posting their techniques, tips and tricks as well. At the end of this post is a gallery of other blogger’s creations usiing Scrapbooking Attitude for you to see more of what is possible.

To purchase Scrapbooking Attitude packs, visit the website linked. While you are at it, join me in following them on Facebook, Twitter and YouTube for the latest tips and projects.
*I wrote this post as a part of a paid campaign with Scrapbooking Attitude and The Blueprint Social. All opinions are mine and honest.


I had not heard of Scrapbooking Attitude, but you’ve convinced me it is a product I will have to try. I love how your Halloween banner turned out, and the book cover. (OK, the entire piano display is awesome!)
Thanks Laura. You will have fun with this stuff! BTW, my new canvas faux pallet art is boomin’!
I love that!! It turned out so great!
Absolutely adorable! Looks great 🙂
Love what you did! The product is AWESOME! I love it!
What cute decor! I love that banner.
Thank you, Janssen!
I love it!! And I love that I can use my inkjet printer with this. Gonna have to try it. Thanks for your awesome tutorial! Everything looks fantastic! 🙂
Creepy and cute! Would love to try that image transfer stuff!
That’s really cool! What a great product!
[…] Saved By Love Creations, I shared this fun Halloween “EEK” banner with printable template. Head over to see how I used the new product, Scrapbooking Attitude, from Avatrex to transfer my […]