[pinit]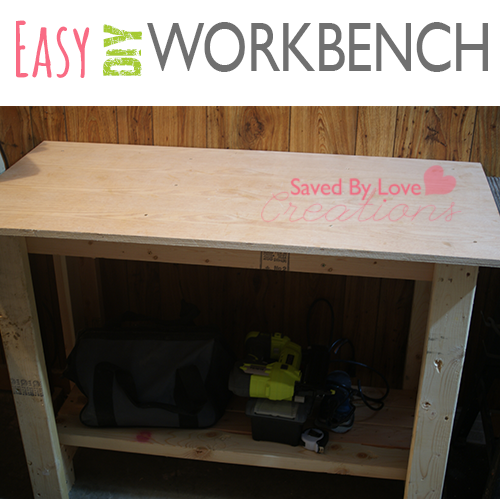
[pinit]
After my first woodworking project, it became obvious that this was going to be a thing for me. Since I was already knee deep in woodworking project #2 (which you previewed if you follow Saved By Love Creations on Instagram), dear sweet husband stepped up and built me a workbench using this woodworking plan from Ana White.
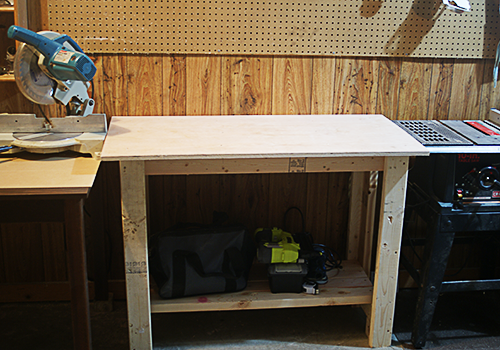
One thing he notices was that he only needed 7 of the 9 2×4 pieces called for in the plan’s materials list. He even used extra on the shelf down below to increase storage space. We couldn’t see anything we were missing. I will let you know how it holds up! So far so good. I love having the mitre saw on the left and the table saw on the right, all flush with the workbench top.
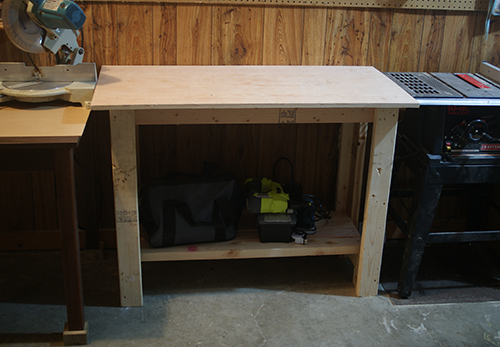
We cut 4×4 scraps to elevate the table on the left so that the mitre saw would be flush (see on the bottom left of the pic). The table came from Habitat Restore and was $8! The total cost of the work area was under $50 (not including the saws; table saw was given to us and mitre saw I snagged from a garage sale for $25). You don’t need to invest a ton of money to begin building your own awesomeness!


Your workbench looks great! I have been wanting to make one for a while, pinning!!
xo, Tanya