[pinit]
[pinit]
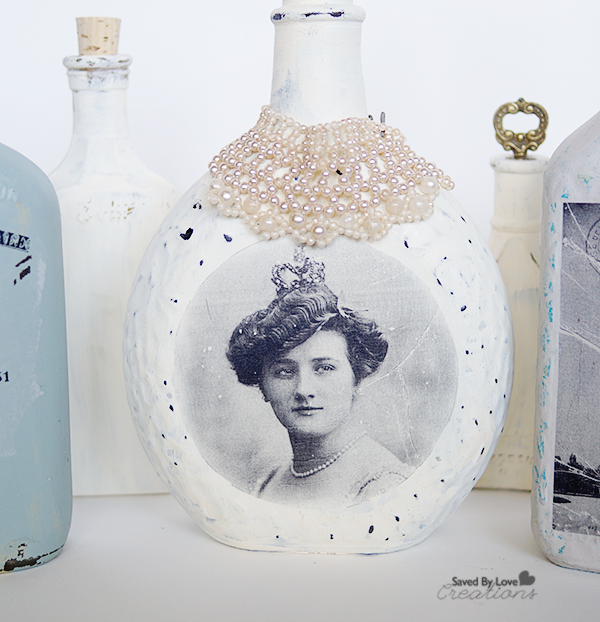
Bring a touch of vintage chic into your décor with this chalk finish image transfer technique. This project works particularly well on bottles with texture, as you can sand after painting to remove the paint from raised areas for a chippy, old world feel. Head to The Graphics Fairy for thousands of free images to transfer to your bottles with this simple tissue paper transfer technique I am sharing today!

MATERIALS:
-Textured glass liquor bottles
-Chalk paint in several colors
-Printer (inkjet or laserjet is fine)
-White Tissue Paper
-Decopauge medium
-Medium Grit Sandpaper
-Flat paint brush
-Wax brush or lint free cloth
-Rubbing alcohol or glass cleaner and towel
-Clear wax or other sealer
-Images for transfer (I got all the images used in this post from www.graphicsfairy.com)
-masking tape
-cardstock or photo paper
DIRECTIONS:
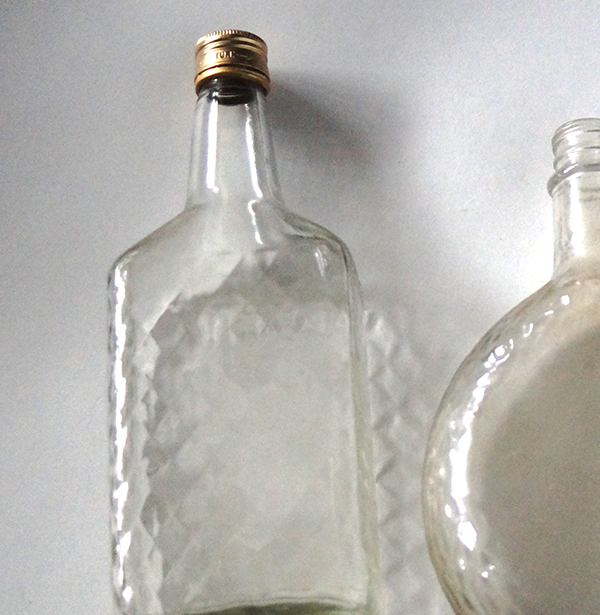
1. Remove any labels from the bottles and clean the glass with hot soapy water or use Krylon Spray Adhesive Remover. This stuff works great!
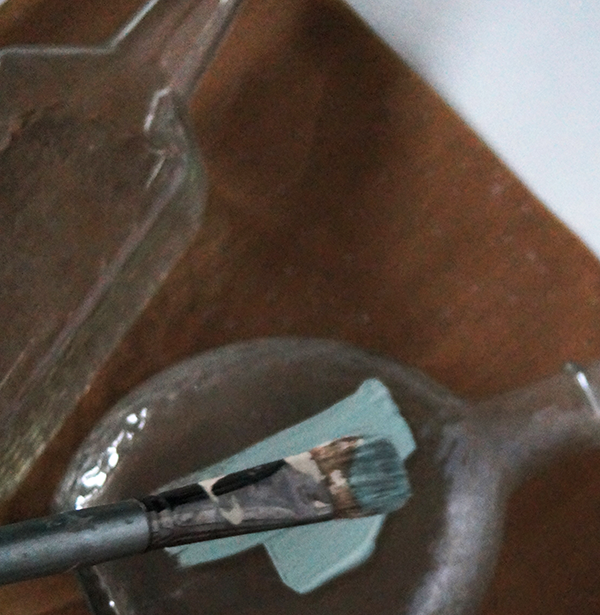
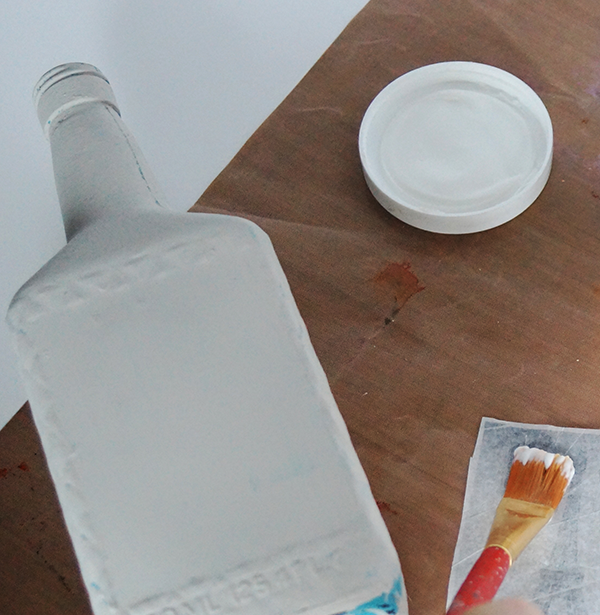
2. Paint on chalk paint layer. This can be cross hatched and messy since we are going for a distressed look. Do several layers in different colors if you want different the sanding in a later step to reveal base colors. It is also fine to just do one layer.
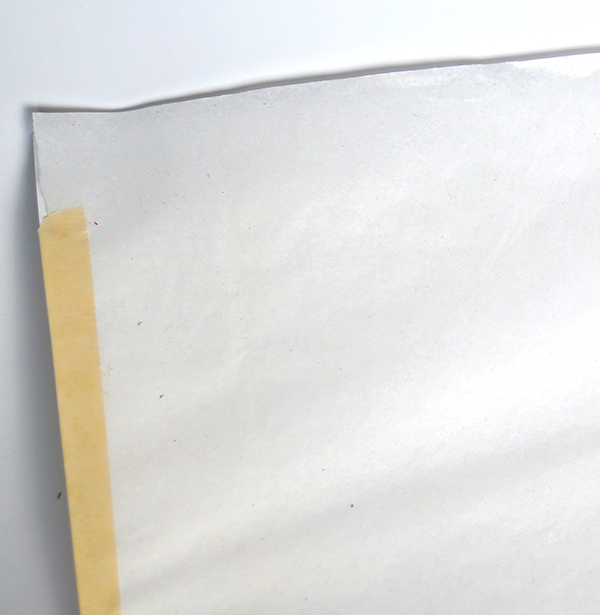
3. Prepare image transfer by using masking tape to adhere tissue paper to a piece of cardstock or photo paper sized for your printer and image.
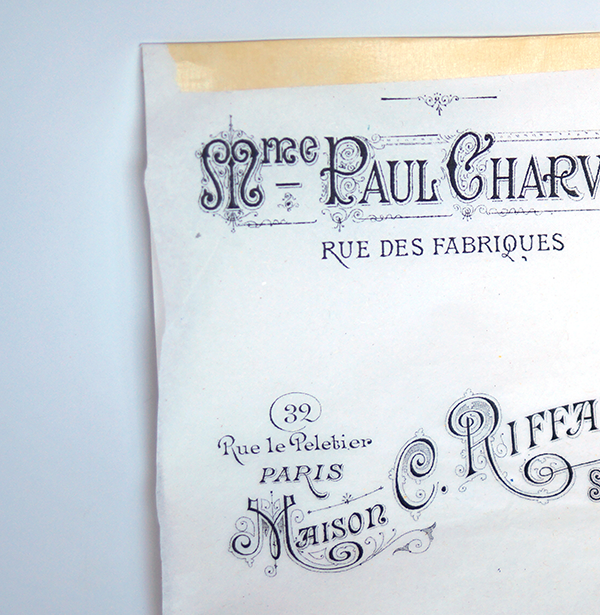
4. Print images, making sure you have sized them to fit your bottles.
5. Cut out image and apply a thin layer of decoupage medium to the back of it with your flat brush or sponge brush. Be careful not to rip the tissue. If the medium is too thick, you may need to thin it with a small amount of water.
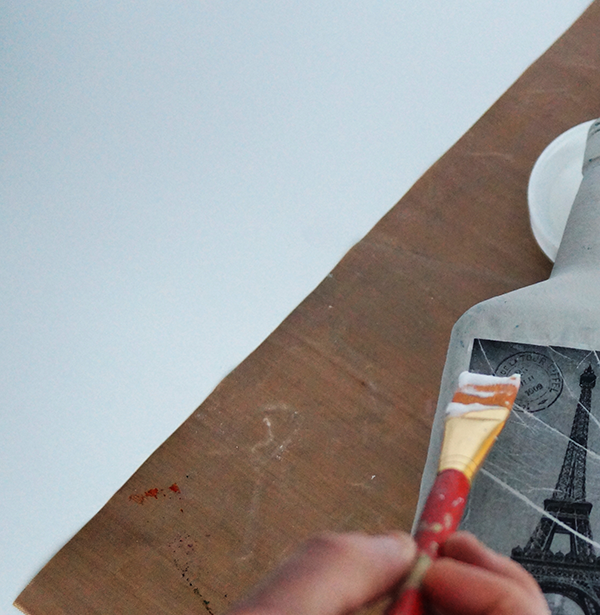
6. Apply a thin layer of decoupage medium to the painted bottle and carefully place your image, ink side up. Smooth out any wrinkles with your fingers and apply a thin layer of the medium over the top of the image.
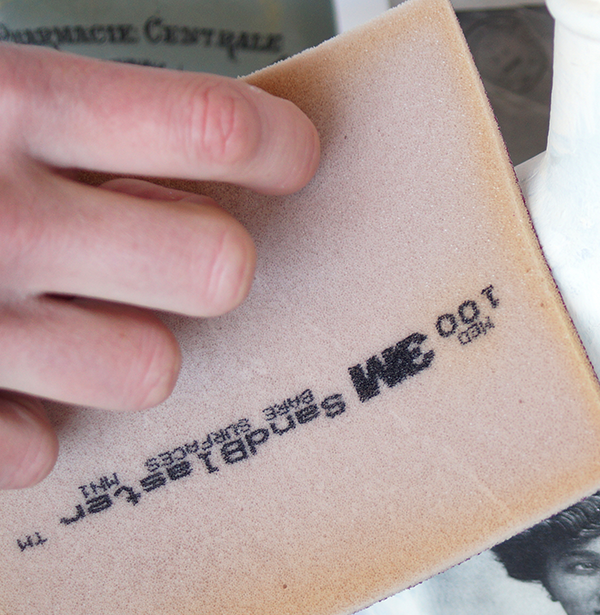
7. Once the decoupage medium is dry, lightly sand distress the texture areas of the bottle until you are happy with the degree of distressing.
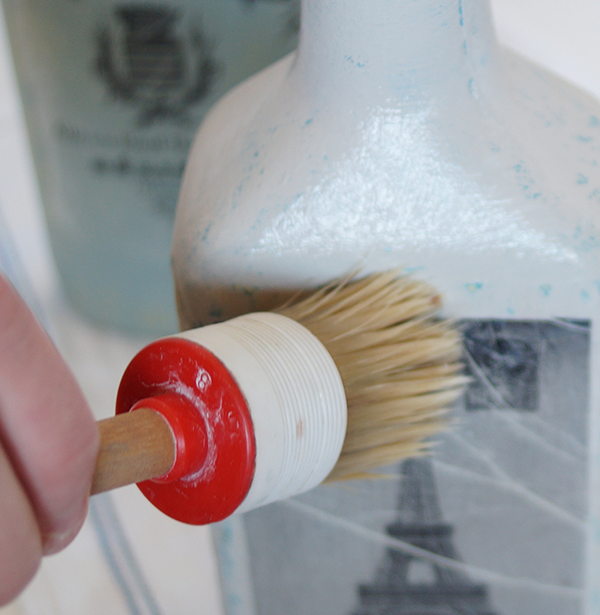
8. Wipe away the sanding debris with a lint free cloth and seal entire bottle with clear wax using your wax brush. Another option is to seal the piece with the decoupage medium. I prefer clear wax with chalk paint. I love the unique shine it brings, and the fact that you can buff it to a shine when it dulls.
EXTRA TIPS
○ Use antiquing wax after clear wax to create more of an aged look. This project would be great with photos of family made to look aged in photo editing software, like I showed you in the “Photo in a Bottle” project.
For more inspiration, visit our 50+ Wine Bottle Upcycle Projects and 50+ Image Transfer Techniques!
![]()


Think how cute this would be for different holidays, using a vintage picture. Great for any décor!
Thanks for the nice intro and inspiration to new projects.
I have one question though. Maybe I’ve missed something, but what is the purpose of tissue paper being taped to the back of printing stock? It looks as if it stays on and gets glued together to the bottle with printed image on top.
The tissue is taped to the printing paper so you can put it in the printer and print on it. Have you ever tried to stick just tissue paper in your printer? It is a no go.
Do you keep tissue and cardstock together when after you print image on it? Do both tissue paper and cardstock get glued to bottle?
[…] a large, open space where the labels used to be. Add a monogram or decal – how cool! I found this post from Saved By Love Creations inspiring so I added a few vintage labels to the front of the bottles […]