[pinit]
[pinit]
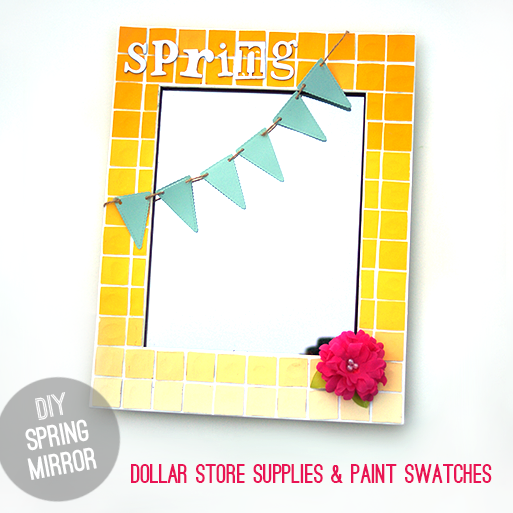
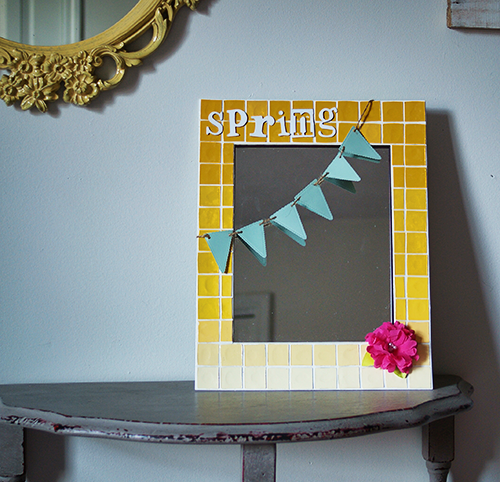
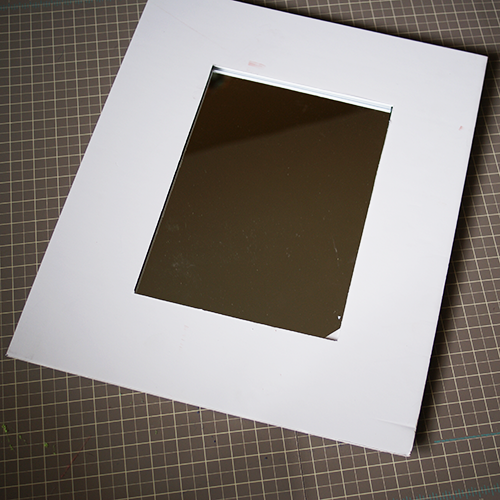
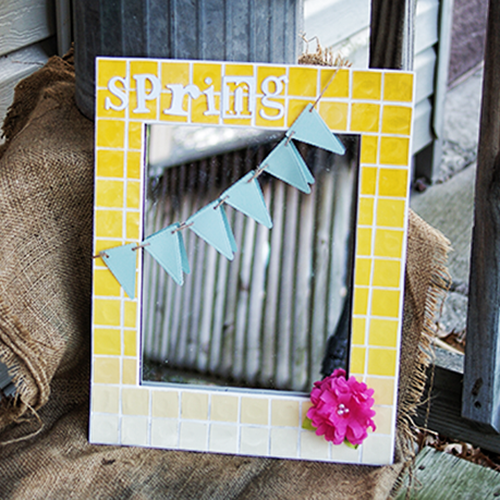
Today I am excited to share with you a project I came up with while playing with my new Sizzix dies. This spring themed mirror is made using a dollar store mirror, an old photo mat and paint swatches. Add a little die cut magic and it doesn’t take expensive materials to easily create your own stylish spring accent piece!
SUPPLIES
Cheap dollar store mirror
Mat board with opening big enough to cover mirror
Sizzix Dies: Tim Holtz Word Play Alphabet, Banners and Keys Sets, Squares #3, Flower Layers and Leaves
Glossy Accents or your favorite craft glue
Scissors
Crepe Paper in color you want for flower
Paint chips – (Don’t steal them from a store! Ask your friends and family and gather a stash.) I used yellow shades for an ombre effect, and green for the flower leaves.
Embellishments for flower center (I used Dew Drops)
Crop a dile or other hole punch
Jute or other string for banner
TUTORIAL
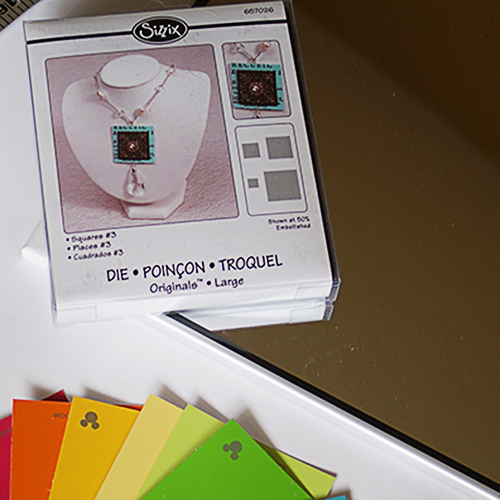
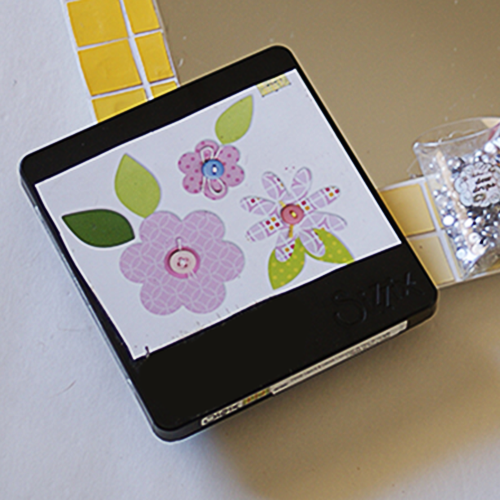
I used the second smalles square size for my paint chip “tiles”. You can cut about 4 paint chips at once. That is one of the reasons I love Sizzix so much. The steel rules die cut through several layers of card stock at once, which comes in handy when you need lots of the same die cut shapes for your project. They also cut leather, fabric, felt, aluminum and thinner gauge metal sheets.
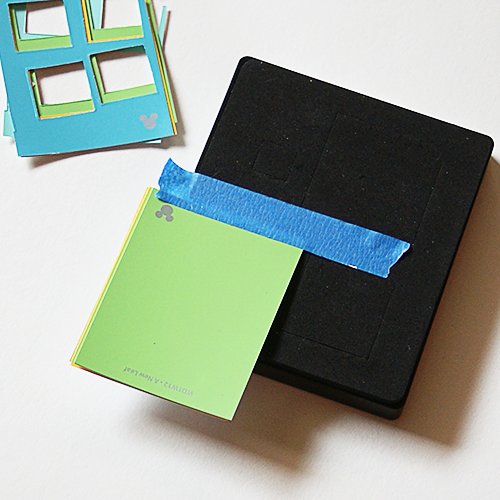
I started out cutting greens, yellows and blues, but then decided to go with shades of yellow. The blue masking tape holds the material to be cut in place so that it doesn’t shift and run off the edge. This helps me cut in precise spots on the material so I can get as many shapes as possible from it.
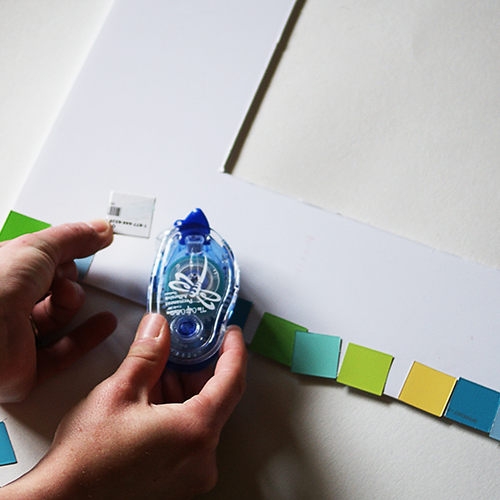
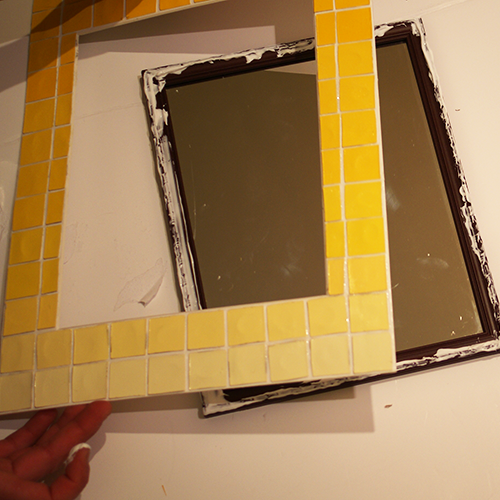
You can use a tape runner or craft glue to adhere your tiles to the mat. Start at the outside and create a border around the entire mat. Lay them out before adhering so you can get the spacing right. Work your way in towards the opening in the center of the mat.
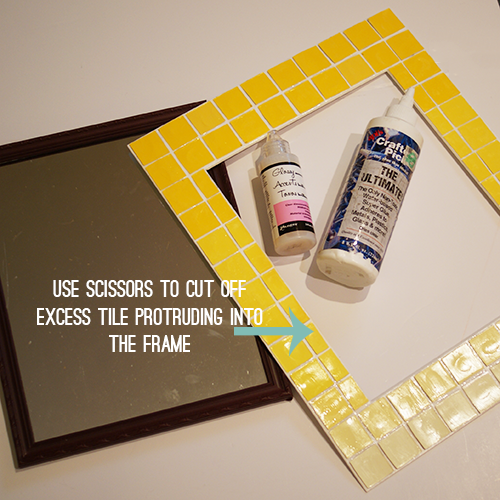
It is unlikely that your tiles will fit perfectly on the mat area. Use scissors to cut excess tile like in the picture. I brushed on a coat of Glossy Accents for shine and to seal. Mod Podge would work great too. Let dry before moving onto next step.
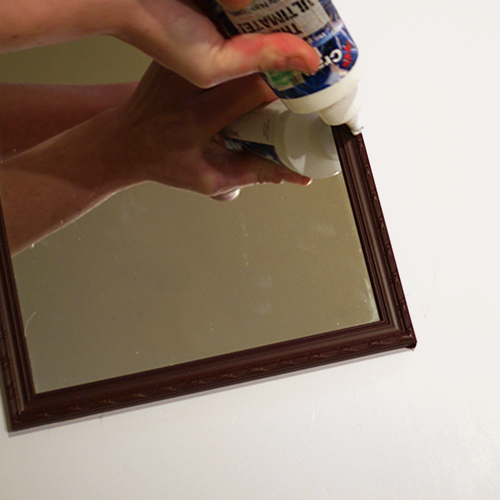
Apply a generous amount of Crafter’s Pick or other strong adhesive around the frame of the dollar store mirror.
Place your tiled mat on the adhesive and center the mirror in the opening.
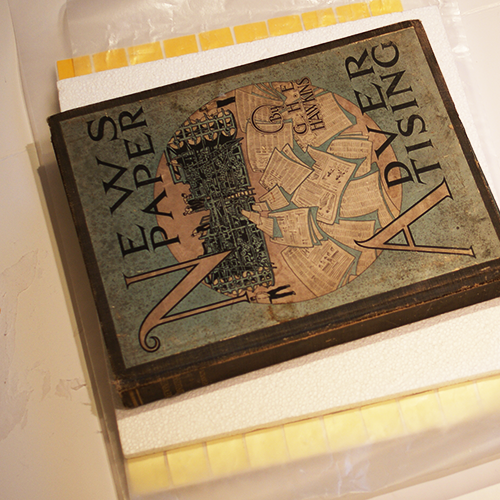
Place a piece of wax paper on top of the mosiac frame and then some books or something heavy for weight to aid in adhesion.
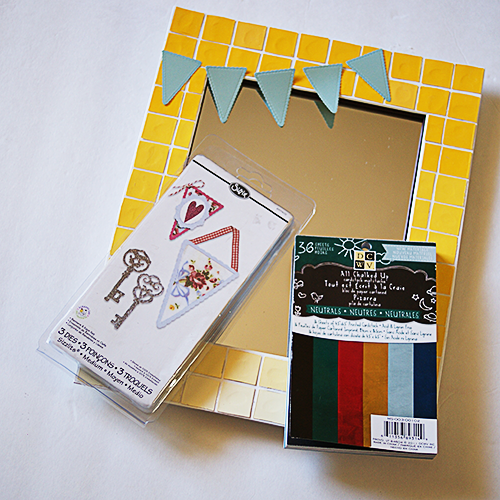
I cut triangle banner using the Banners and Keys die (linked in supplies above). You can cut these from paint chips or any paper you like. I used All Chalked Up by DCWV. Punch a hole in the top corners of the flags and thread jute or string of your choice to drape on frame.
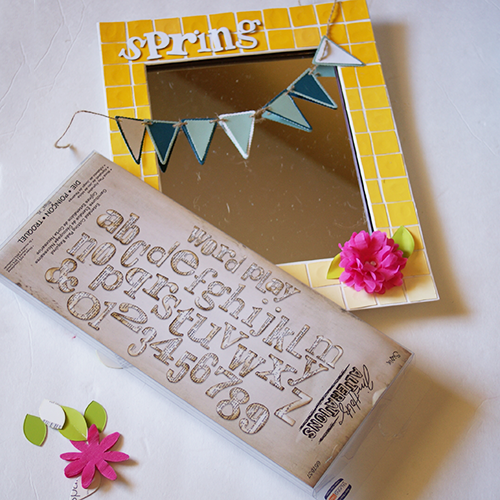
Cut out letters from heavy white cardstock or chipboard using Word Play die (linked in supplies above). Adhere in place with tape runner or craft glue.
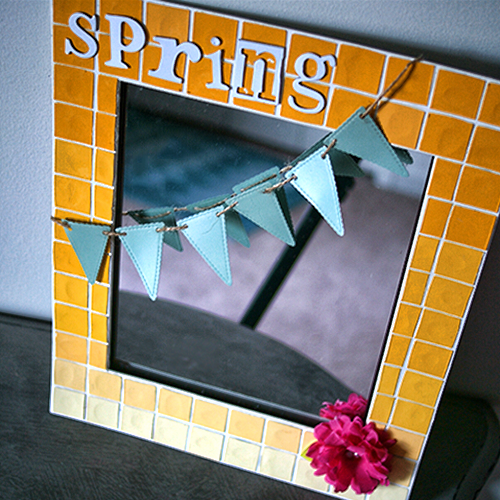
You can see in the final piece, I used the leftover shape after cutting for the letter “n”.

To create the flower, cut crepe paper (several layers thick) using the 8 skinny petal shape on the Flower Layers & Leaves die (linked above in supplies). Separate the layers and stack them with petals alternating, gluing each layer to the next with Glossy Accents or other craft glue. I love Glossy Accents for paper to paper because it dries super fast. Fluff the petals with your fingers until you are happy with the shape.
Using the same die, cut leaves from paint chips or cardstock. Crease them lenthwise by pinching them with fingers. Glue leaves into place, then flower on top, then jewels or beads in flower center.


How clever is that! Great job!
Love it Johnnie!!! 🙂
So cute…I have a sizzix, so I think I’m going to make my own!
What a fun idea!! I don’t have a sizzix, that may have to change. 🙂
So cool Johnnie! My Sizzix is my fave. I LOVE.
This is fabulous, Johnnie!
Love the gradient color. So pretty!
Genius, as always. Love this!
It looks almost like gradient ceramic tile! Absolutely love this look, great project.
First off awesome project! Super cute springy and fun! I love how you used the negative space for one of the letters…it’s like 2 dies in 1! I also will be using the painters tape trick…you just saved my sanity (I’m always shifting my paper and performing circus tricks to get it to stay…duh…tape!). Oh yes and I now have all of these dies on my wish list especially the banners and keys!
Amy*
That is absolutely stinking cute as heck! I always marvel at your talent!!
Hi Johnnie! What a great project. I love how you make Sizzix your centerpiece product and pulled some other unexpected items in to create a really cool mirror! Your extreme creativity is inspiring. xo
Creative and inexpensive! Great project Johnnie!
So very cute and creative! This would be a great recycle/upcycle idea for an old frame too!
Thanks for the inspiration Johnnie!
Pinning this one…
That is so cute – I think I need that Sizzix!
Kelly
[…] that take the plain to wow in no time flat! This frame is a perfect example. Check it out at: https://savedbylovecreations.com/2013/04/diy-dollar-store-paint-chip-spring-mirror.html. Leica Forrest: Scrapbookers looking for ways to incorporate die cutting into your pages are […]