 [pinit]
This week’s 50+ round-up is all about DIY shelves. It is amazing what you can use to create shelving, so think outside of the box and keep your eyes peeled while you are out there junking!
Upcycling DIY home decor, woodworking and Crafts

[pinit]
This week’s 50+ round-up is all about DIY shelves. It is amazing what you can use to create shelving, so think outside of the box and keep your eyes peeled while you are out there junking!
[pinit]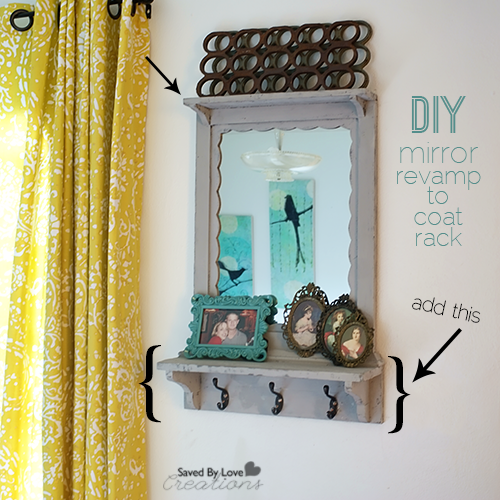 [pinit]
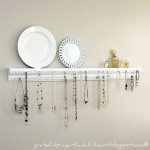
With some scrap wood and chalk paint, you can revamp a junky thrift store mirror into this handy, distressed entryway coat rack. This entire project was pulled off for less than $10! I am always in need of more shelves for my pictures and knick knacks. When I saw a similar mirror in Ana White’s book of woodworking projects for the home – “The Handbuilt Home”, I it called to mind a mirror I picked up at a garage sale for $2.

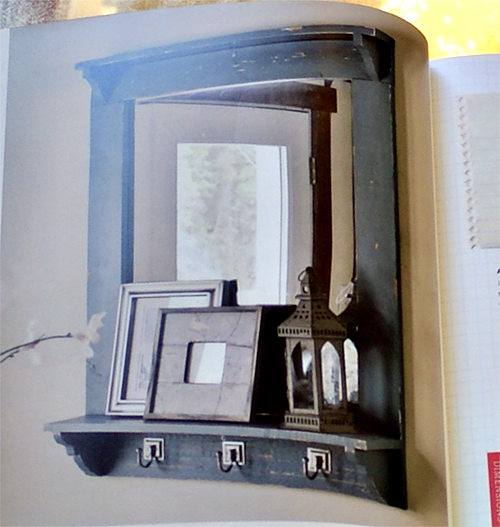
This is the picture of Ana’s Version from the book.
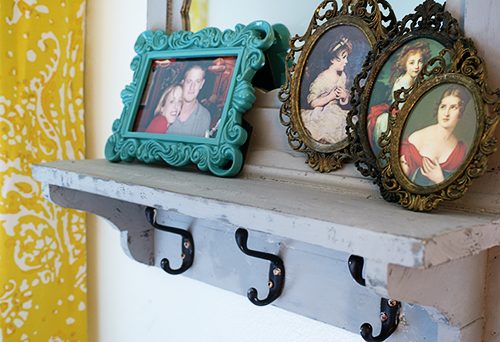
All I did was use pallet wood scraps and cut 3 planks to fit the width of my mirror, using my mitre saw. Two of the planks I placed perpendicular at the bottom and one horizontally at the top for a bonus shelf. Using my scroll saw, I cut out the decorative shelf brackets for the top and bottom shelves. To attach the shelving pieces to the mirror, I used my Kreg Jig for pocket holds, and wood glue. The brackets I placed with my Ryobi Air Strike Nailer and wood glue. I painted the mirror with Annie Sloan Paris Gray Chalk Paint and sealed with clear wax after sand distressing. To finish, I added three coat hooks I picked up from the hardware store.


[pinit]
[pinit]
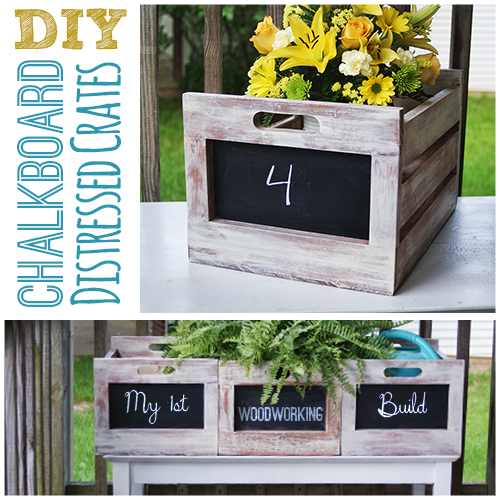
You may have heard me mention Ana White one or a million times and if so, you know that I am a big fan of her woodworking plans. Reading her blog convinced me that I could build, and that turned out to be true. I was hooked immediately with my first project; DIY Chalkboard Crates:
That was in may (5 months prior to the writing of this post), and since then, I have built:
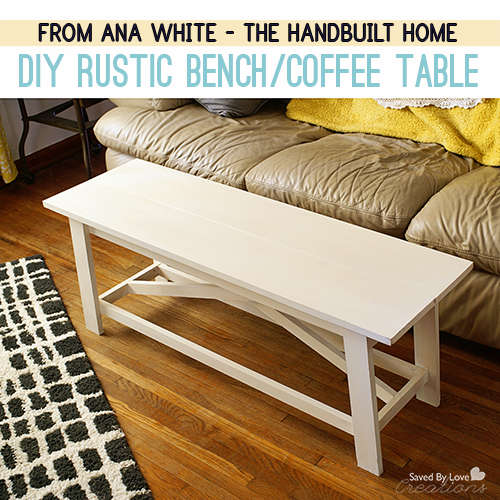
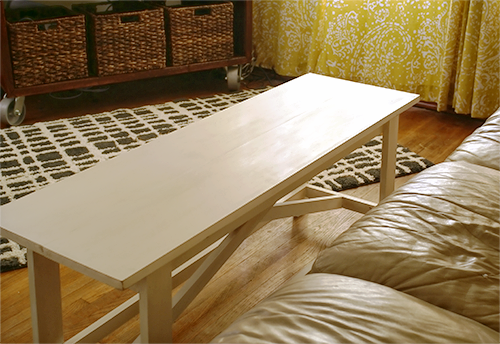
This table is from Ana’s book The Handbuilt Home, and can be found on page 64. The plans in the book are detailed with shopping list, tools, cut list, step by step instructions and “Notes” or tips. I particularly love the fact that each project is labeled with icons so you can quickly see the skill level, cost and time for completion.
I completed the build in about 2 hours, twice as long as Whitney from shanty2chic took according to the book, and I am thrilled with that! I have watched her build in person, and she wastes no time.
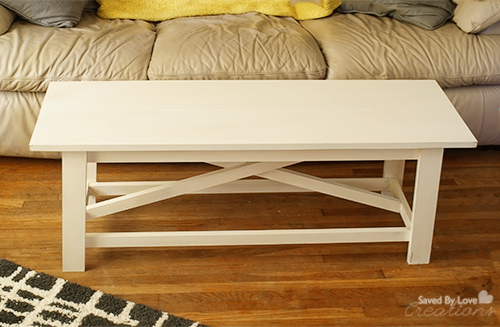
I finished with Chalk Country Paint. I found it on Amazon and hadn’t used it before. Since it was considerably cheaper than Annie Sloan and CeCe Caldwell, and I had some Amazon Credit, I thought I would give it a go. Not bad, but it is no CeCe.:
To finish I sand distressed the edges and sealed with CeCe Caldwell Clear wax and Aging cream. So happy with this. Stay tuned for more projects from The Handbuilt Home. Order your copy and while you are waiting, visit Ana White’s website for tons of free woodworking plans, tips and tricks. You will find everything you need to get stared. You can build!!
[pinit]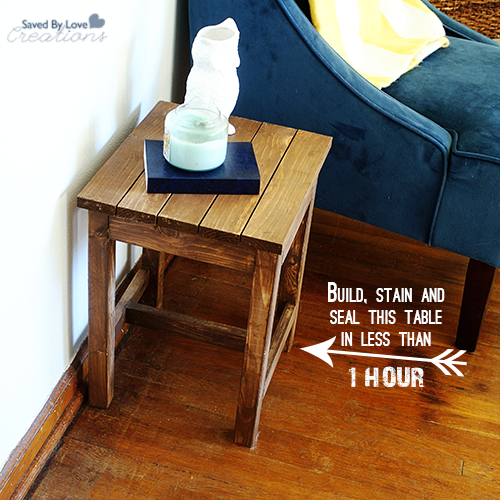 [pinit]
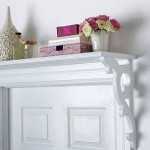
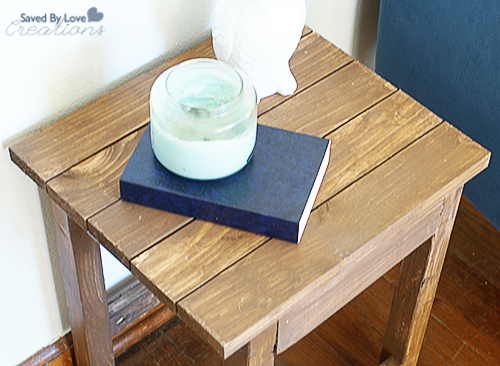
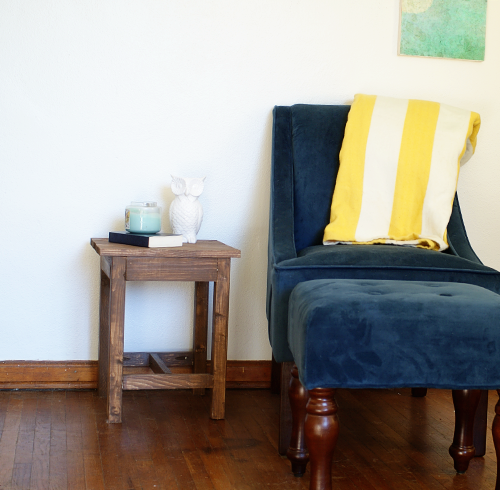
If you are looking for an easy, quick, mission style side table to build, you are going to love this project. You can build, stain and seal this bad boy in under 1 hour, provide you stay focused, and use your Kreg jig and Minwax wood finishing cloths! Even if you don’t have those things, you can build this pretty quickly. For the plan details, visit Ana White’s Adirondack stool or side table free woodworking plan.
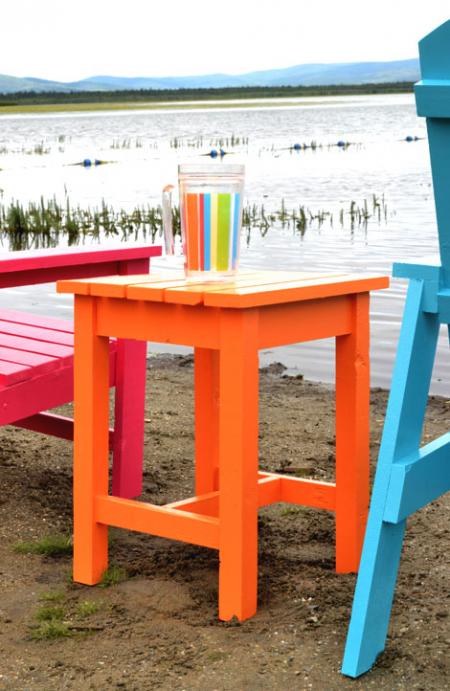
Ana painted hers. I went with walnut Minwax Wood Finishing cloths. I recommend staining the wood after you make your cuts and drill your pocket holes. I did that for the top five pieces, but had already assemebled the rest of the table before deciding to stain. I get a much better look with the finishing wipes when I don’t have to deal with corners and joints. I end up with blotches, streaks and/or crevices I can’t get to at the joints. I love that these wipes stain and seal all at once! Work smarter – not harder, right?


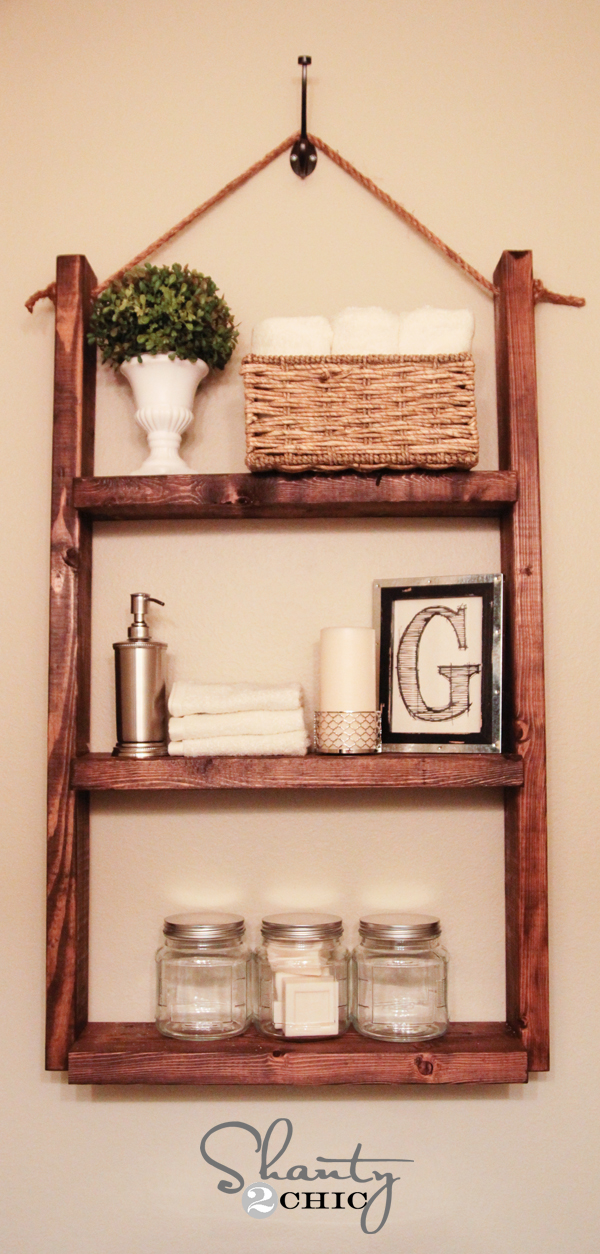
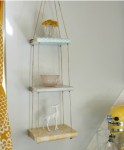
If you have seen any of my wood working posts, you probably know that I love the Shanty 2 Chic girls. They know their way around some power tools, and they come up with great, stylish, functional and DO-able projects to share with us. In my new home, I am in desperate need of some bathroom storage, and their DIY bathroom shelf is calling my name. I love how easy it is, and that it makes use of vertical space.
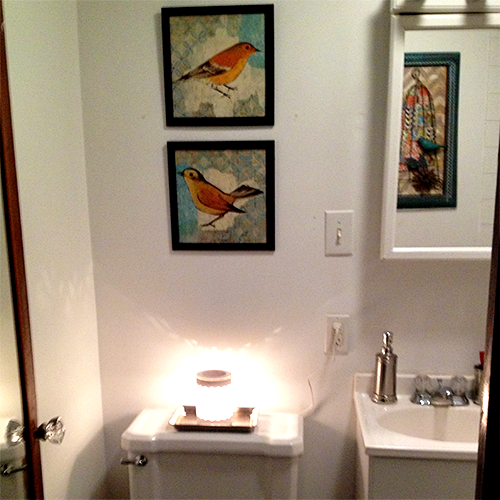
I am going to place mine where the birds now reside! If you have never braved a building project, this one is a great one to start.
