DIY Distressed Starburst Mirror for $5

[pinit]Distressed Starburst Mirror DIY #upcycle #paintstickcrafts #diy #repurpose #reclaimedwood @savedbyloves
[pinit]

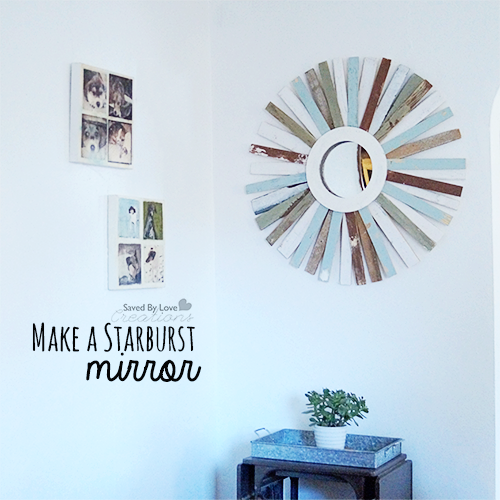
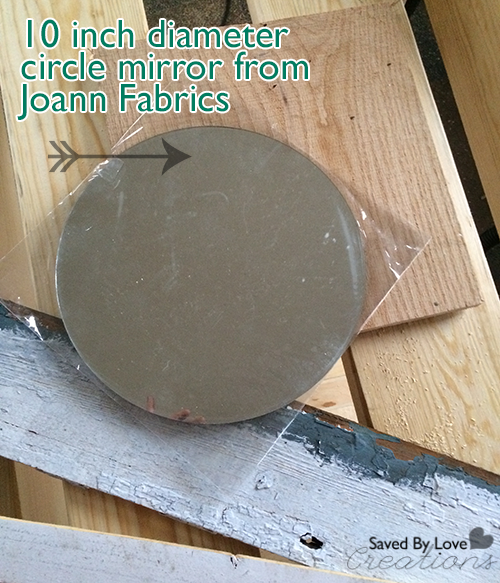
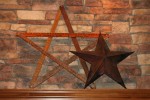
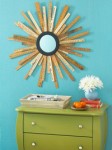
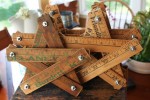
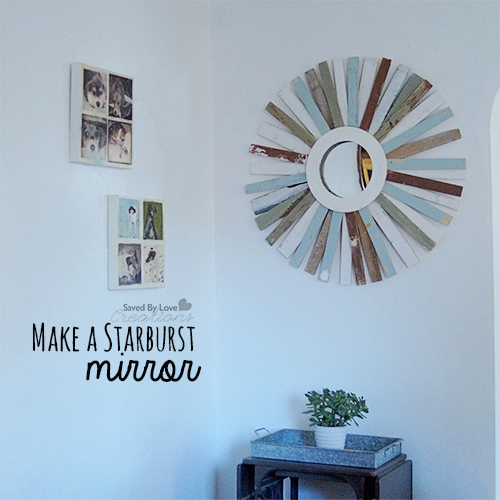
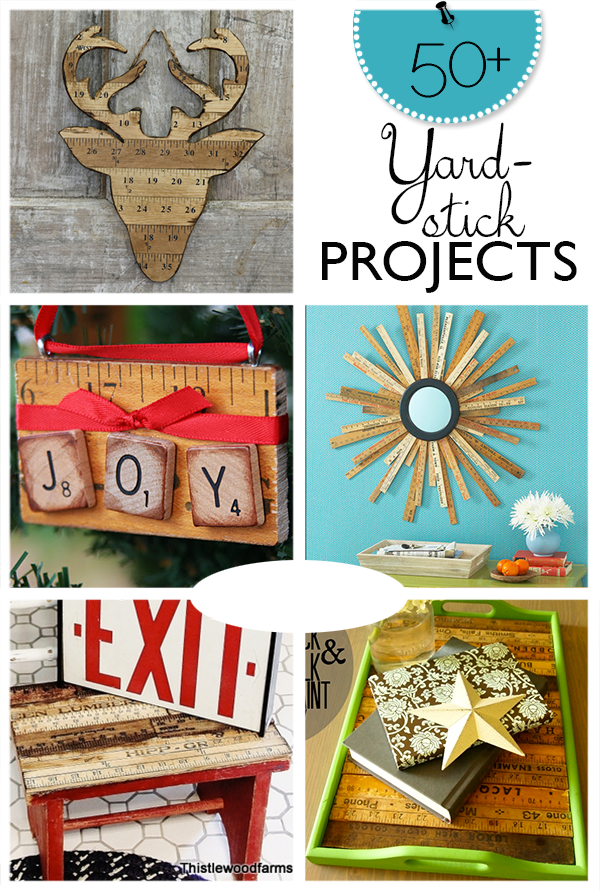
This project has been on my to do list for months and months.  I finally got around to making a distressed, chippy starburst mirror from recycled paint stirrers and other reclaimed wood I have collected from various discard piles.  The hold up was finding a circle mirror, which I ended up finding at Joann Fabrics for just a few dollars.  This piece took about an hour to make start to finish and cost under $5!

Knock off decor

 Pretty amazing when you consider this similar mirror at Iron Accents is $410!  If you are considering paying that price for something like this… don’t!  Make your own version for way cheaper, and feel awesome about it.

SUPPLIES:

*** NOTE:  I used a cordless Ryobi AirStrike Nailer which is not a must have, but makes this project (and most of my woodworking projects) go smoothly and quickly.  Work smarter, not harder!

***Oh yeah, and also:  The wreath form on top of the mirror is optional.  I preferred the project with it, but it looks cool without as well.

10 inch diameter round mirror
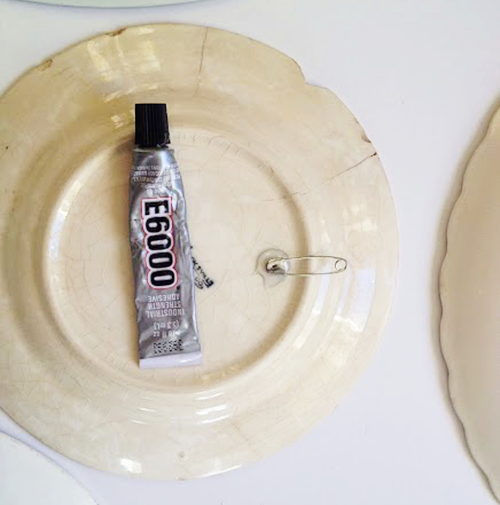
E6000

Scrap wood about 12×12 inches

Ryobi Airstrike nailer

Wood Glue

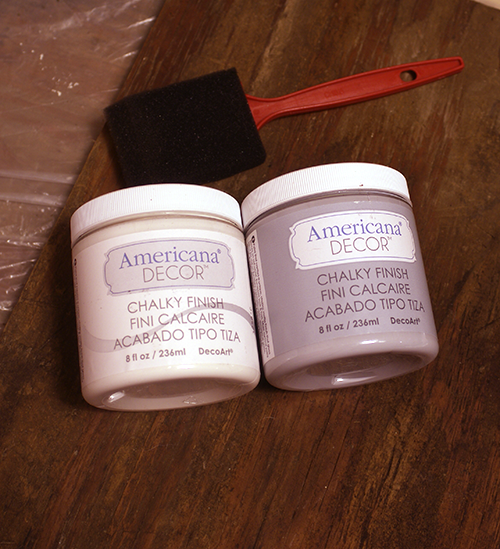
Paint stirrers or other wood scraps painted with your favorite colors (I used Chalky finish paint from Americana) – I cut mine to about the same length with my chop saw.  You can have them random lengths or create your own pattern of rays.  Lay out your pieces and play with the design until you love it.

10 inch chipboard wreath form or other circle to place over mirror for a more finished look

Wire or other picture hanger hardware

TUTORIAL:

How to make a starburst mirror

Paint Stirrer Craft

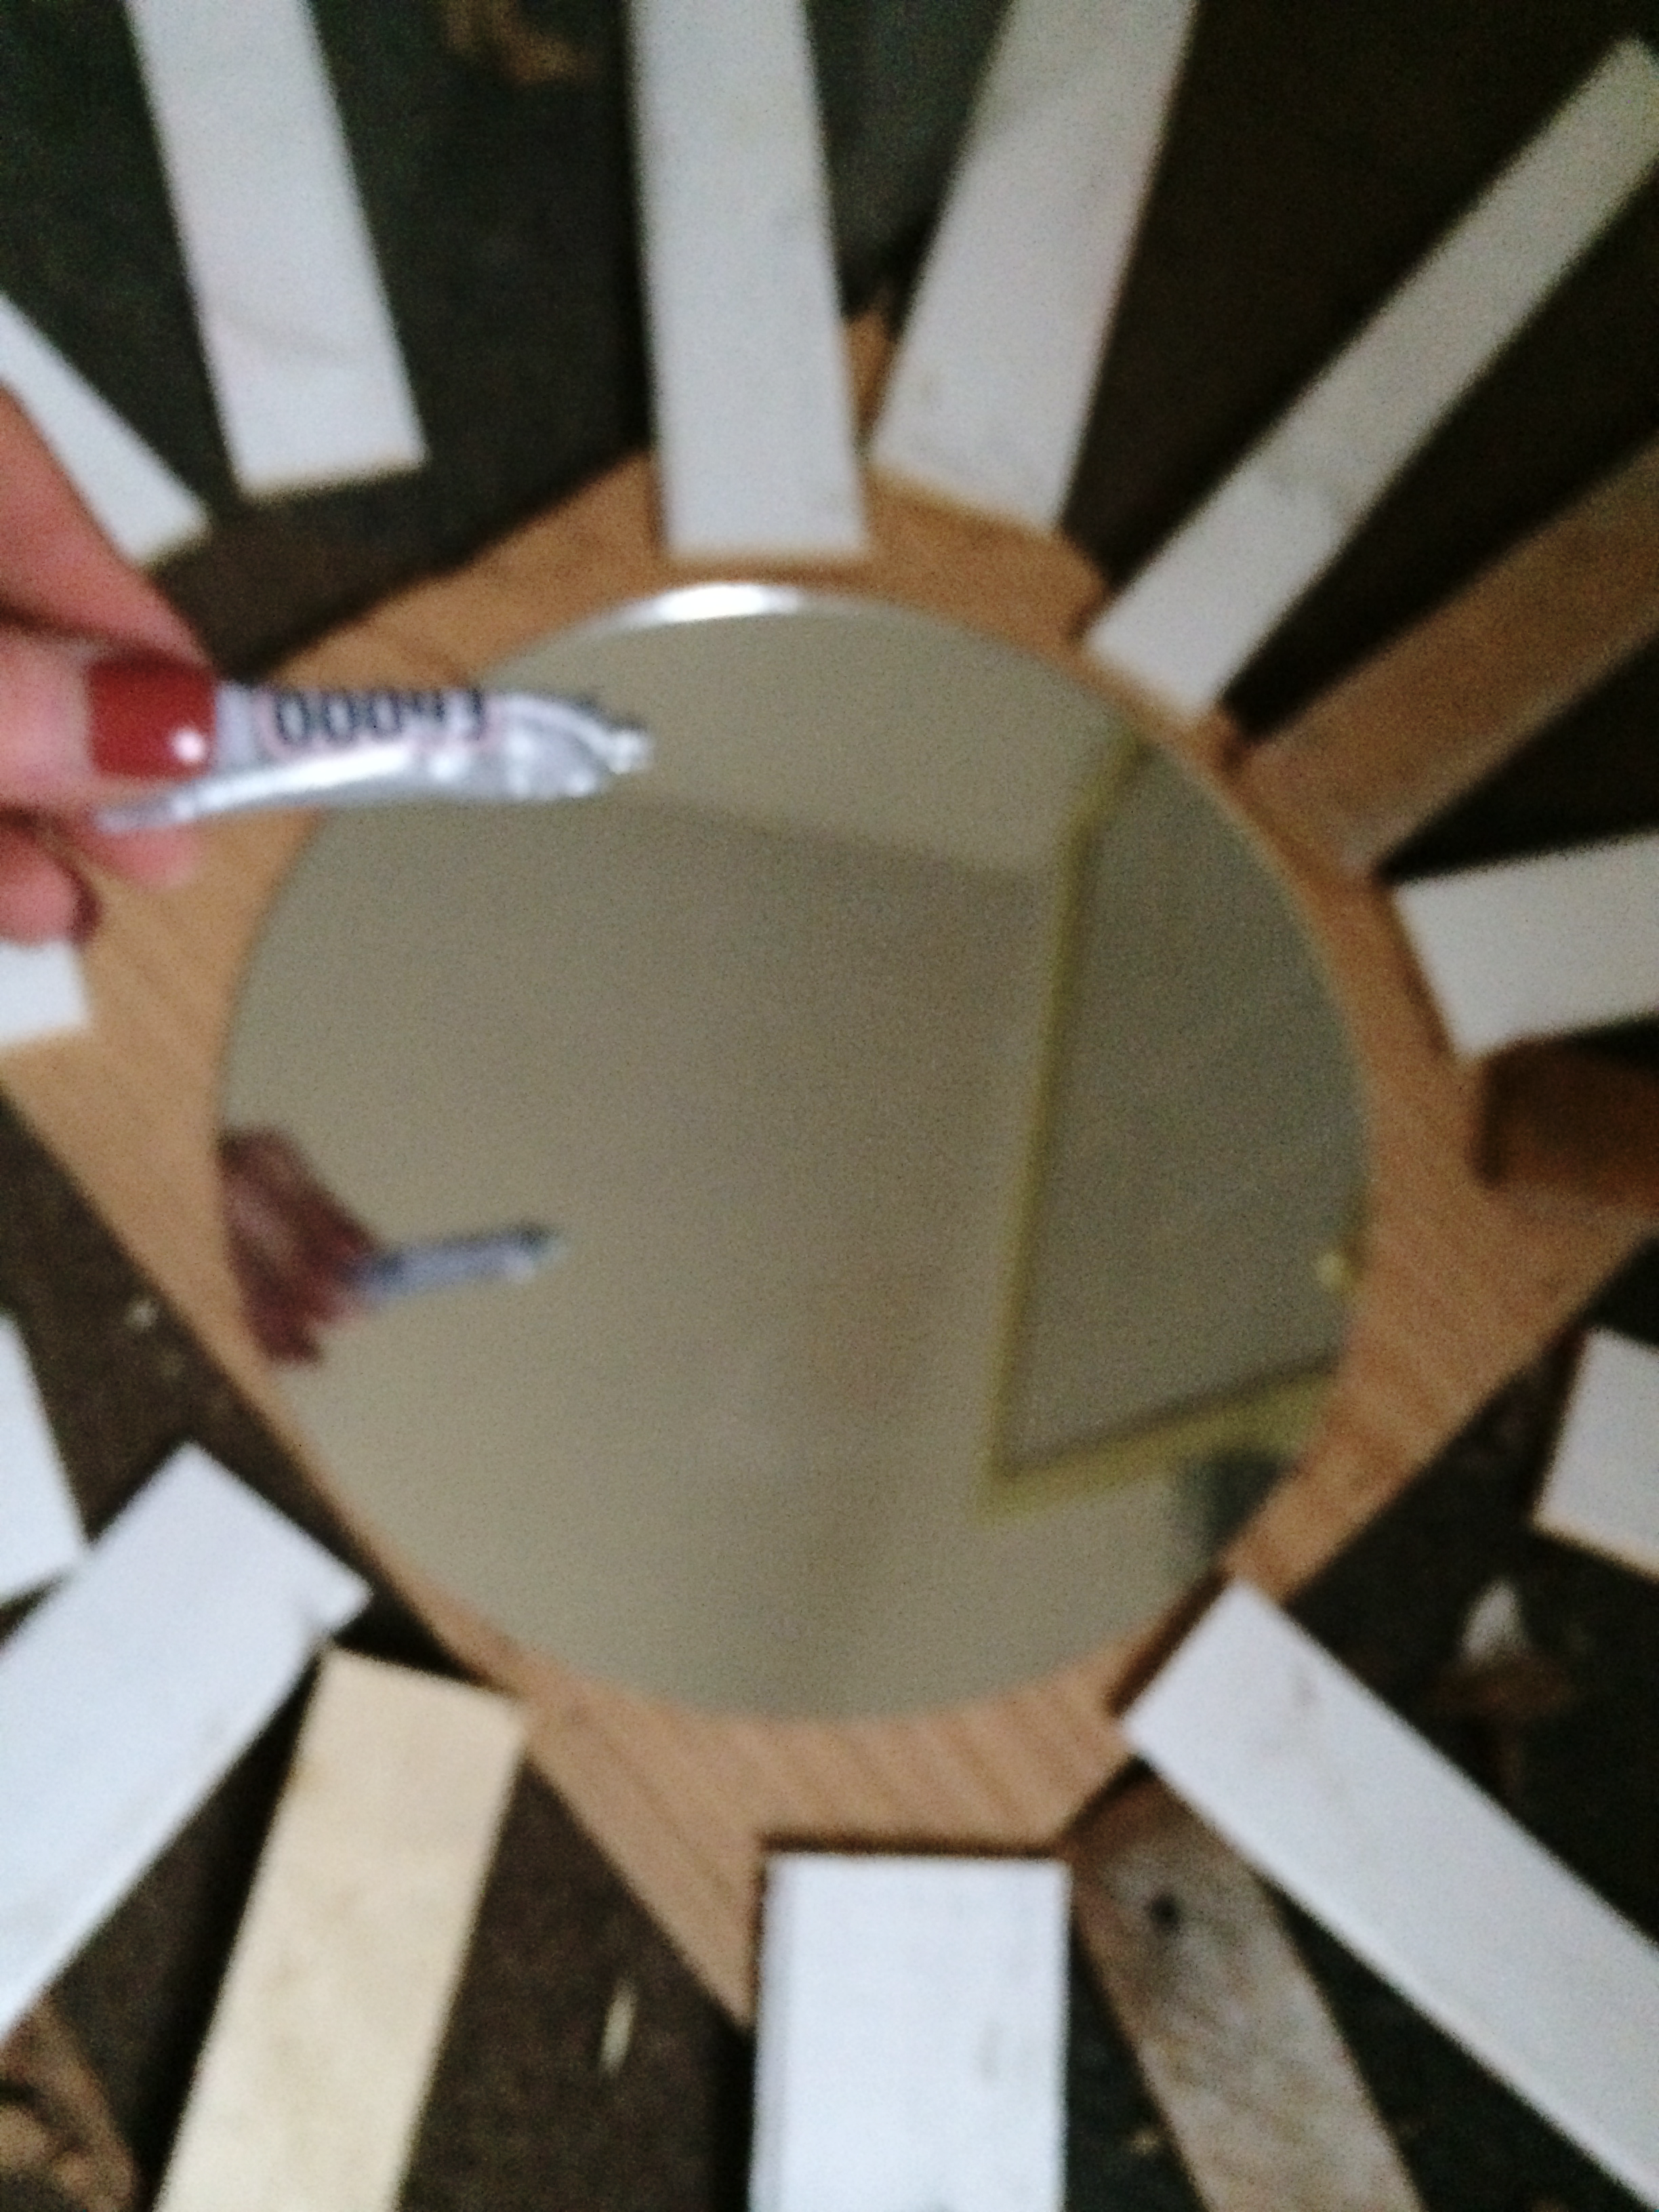
Use E6000 on the back of the mirror to attach it to the 12×12 inch wood scrap.  It doesn’t have to be exactly 12×12, but there needs to be enough wood all the way around the circle mirror for nailing paint stirrers to.

DIY Mirror

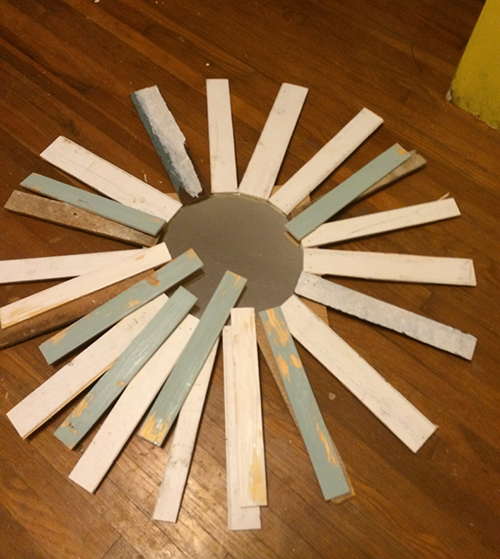
Lay out “rays” to determine placement.  I did two layers.  I applied wood glue and nailed the bottom rays into the 12×12 inch wood with 18 gauge 1/2 inch brad nails in my nailer.

How to make an upcycled starburst mirror

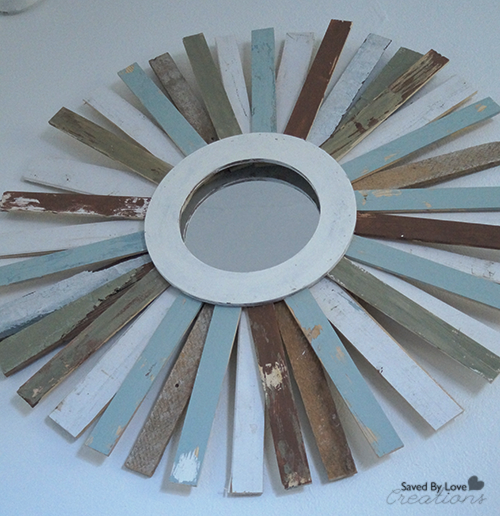
I placed the second layer or rays using the nailer, no glue.  I painted the wreath form with “lace” Chalky Finish Americana paint and nailed it to the underlying rays to frame the mirror.

Upcycled Home Decor Starburst Mirror @savedbyloves

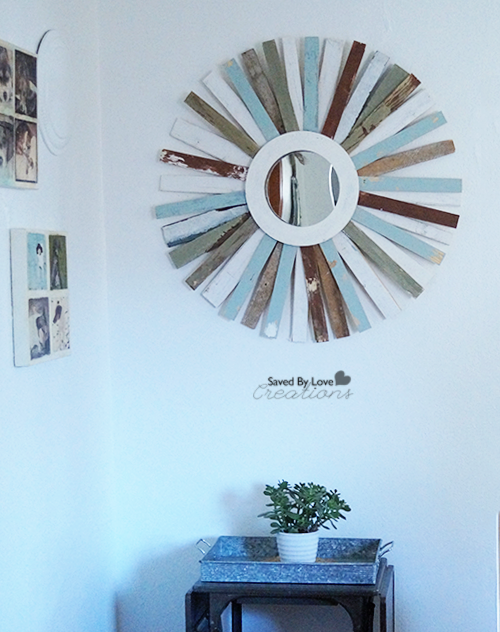
Staple craft wire to the back for hanging and enjoy!

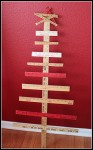
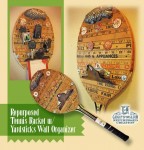
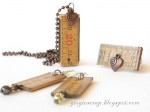
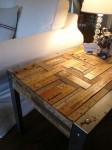
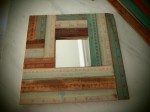
Want more?  Visit our 50+ Paint Stick Projects:


50+ Repurposed Yardstick Crafts and Projects

[pinit]

50+ yardstick crafts to make #repurpose #upcycle @savedbyloves[pinit]

Yardsticks aren’t just for measuring anymore.  You can repurpose cool vintage yardsticks into some unique upcycled decor, jewelry and accessories.  Here are 50 of our favorite repurposed yardstick projects from around the web.  If we missed yours, send us a link so you can be included!


Dollar Store Framed Reindeer Silhouettes

Reindeer Crafts


[pinit]


Reindeer Dollar Store Christmas Craft @savedbyloves #quickcrafts #christmascrafts

[pinit]

This Dollar Store Christmas Decor DIY is super fast, cheap and pretty awesome looking.  If you are looking for a quick way to create a festive Christmas feel for your holiday get together, this is your project!

Dollar Store Christmas Craft Idea

All you need:

The sparkly, glittery reindeer come in 2 a pack for $1

Grab as many 5×7 frames as you will need

Foam Mount Stickers

Scissors

Christmas Patterned Paper

Instructions:

Cut out the paper to fit the frames and stick inside just like you would a photo.

Dollar Store Framed Reindeer Quick Christmas Craft

Tape the reindeer to the outside of the glass with foam mount stickers, which you can get at any craft store and most department stores.  You are ready to display!  See, I told you it was fast and easy.

Dollar Tree Christmas Craft DIY

DIY Starburst Dollar Store Pencil Wreath With @Floracraft

[pinit]DIY Starburst Christmas Wreath with Dollar store supplies and @FloraCraft @savedbyloves[pinit]

I am a member of the Make It: Fun® Team. This DIY Starburst Christmas Wreath is sponsored FloraCraft® Make It: Fun® Foam. All opinions are honest and mine, like always.

Incorporate the chalkboard craze into a fun starburst Christmas wreath made with dollar store Christmas patterned pencils and a FloraCraft® Make It: Fun® Foam wreath form!  This project is easy, quick and cheap.  Use it for gift lists, holiday greetings or a letter for santa!

SUPPLIES:

Flora Craft Dollar Store Christmas Wreath DIY


FloraCraft® Make It: Fun® Foam wreath form

Dollar Tree Christmas Pencils

Hot Glue Gun and Sticks

Cardboard cut in a circle the size you want your chalkboard

Burlap Wire Ribbon

Black chalkboard paint

one inch foam or paint brush

TUTORIAL:

How to make a Christmas Wreath

 Put a dab of hot glue on the end of the pencils and shove them into wreath at varying depths.  It doesn’t matter if the eraser comes through to the center of the wreath because you are covering the hole with your chalkboard later.

Make a starburst wreath

Continue all the way around the wreath.

Make a Chalkboard Wreath

Paint your cardboard with chalkboard paint and let dry.  I did 2 coats, sanding lightly between.

How to make a chalkboard Christmas Wreath

Tie your burlap ribbon in place, then hot glue your chalkboard circle.  Hang and enjoy!

Dollar Store @FloraCraft Starburst Wreath DIY

For more inspiration on creating with FloraCraft® Make It: Fun® Foam, please also check out Crafts n’ Coffee or follow the hashtag #MakeitFunCrafts.

DIY Hand Painted Christmas Sign with Printable

[pinit]
Merry and Bright DIY Sign with printable template and video[pinit]

These hand painted rustic signs are a little addictive, and pretty easy to make.  Pam from Little Red Porch came over and showed us her technique in this  DIY Rustic Wood Sign .  I made a video showing you how to use Photoshop to print your text in sections so you can tape them together for transferring large art to wood in this Americana Chalky Finish Paint Sign Tutorial.  Today I am sharing this Merry and Bright sign, as well as the text file for you to print off to create your own like I showed you in the links above mentioned.

Merry And Bright Handpainted Christmas Sign


To download the printable, right click the thumbnail and the full resolution file will pop up for you to print.

 Merry and Bright Printable Template


Make Wood Pallet Christmas Trees

[pinit]DIY Wood Scrap Christmas Tree Tutorial-Recovered[pinit]

Today I have another  scrap wood/ pallet wood project to help you get in the Christmas spirit.  There is a video showing how to create adorable trees from your scrap pile that you can use as decor, card holders, advent calendars, outdoor decor, gifts and more.  The larger one I am using as a card display.  Super cute, quick and easy to make, these primitive trees are the way to go.

SUPPLIES:

Scrap wood

Wood glue

Mitre saw

Brad Nailer

Wire and hooks for Christmas card holder

Paint if you want to paint your trees

TUTORIAL:

DIY Handpainted Signs With New Americana Decor Chalky Finish Paint

[pinit]DecoArt Chalky Finish Paint Tutorial[pinit]

I had the wonderful opportunity to try out the new Americana Decor Chalky Finish paint, available online at Home Depot.  You can have it shipped to your home, or to your local Home Depot for free pick-up!  This product is perfect for creating distressed signs, which is what I am sharing with you today.  I am most impressed by the huge color palette, the high quality of the paint, the ease of distressing and the variety of mediums and finishing options.  There are so many things I plan to do with this stuff, but for now…

Diy Rustic Sign tutorial at saved by love creations

The technique is the same as this rustic sign DIY from guest artist Pam of The Little Red Porch, using the chalky finish paint.  I also added a video illustrating how to use Photoshop to print sections of your sign for taping together and transferring onto the wood.  We had several questions on that part in the first post, so hopefully things will be clearer, at least for those of you who use Photoshop.

DIY Chalk Painted Sign

Begin with a piece of scrap wood in the size you want your sign.  I have tons of the stuff lying around here.  The 2 signs I am using for this tutorial are on very different wood.  The Proverbs verse is on rough MDF, and the other is on smooth ply wood.  Both have their place, depending on the look you are trying to achieve.  I prefer the smoother, I discovered.

Chalky Finish Paint Primitive

My cheap foam brush worked great for the background.  I used the chalky finish paint in “Primitive” for my background.  Great coverage, especially on this chippy, rough surface!  While that is drying…

DIY Tutorial Signs

Create your text using your favorite software.  Print your artwork in sections if your sign is larger than your printer will print.  Here is how to do that with Photoshop:

DIY sign with chalky paint


Tape image sections together.  You may need to cut off any border your printer added where the sections meet.

Transferring image to wood

Place transfer paper between text and wood and trace letters with stylus or pen.

DIY tutorial using chalk paint

Once your text is transferred, fill it in with your color of choice.  I used Carbon for the black, Everlasting for the white, and a mixture of Romance and Innocence for the pink color.

DIY painting letters

Just use a small round paintbrush.  I like to use watercolor brushes for hand lettering with paint.  I wet them first and it seems to help the flow.  Play around until you figure out what works best for you.
DIY how to make wood signs

Once you are happy with your lettering, you may want to sand distress the piece, and frame your sign like we showed you in Pam’s DIY sign tutorial previously.

Clear wax for chalky finish paint

I applied clear wax and let that dry for about one hour.

Dark aging waxI applied the dark brown creme wax over the top of the clear creme wax, with a lint free cloth.  Wipe back to remove excess, working in a few inch sections at a time.  If you find you have overdone it with the dark and can’t wipe away enough, you can use the clear wax to pull it up.  Just dip a clean cloth in the clear and wipe the area that is too dark.

SONY DSC

For the “Awesome” sign, I cut the text out and made a stencil with my Cricut.  Also, I painted it on smooth ply sheets.  I used the soft varnish finish instead of wax, and it is velvety fabulousness.

I heart it so much I want to make a thousand more.

DIY subway art on wood

Decoart chalky finish Awesome sign

Visit DecoArt for more chalky finish project ideas.

Stay tuned as I am planning projects using the Americana Chalky finish image transfer and crackle mediums.@DecoArt_IncChalky finish handpainted rustic sign DIY with video tutorial on printing sections of large artwork with Photoshop

Easy DIY Number Vintage Plate Wall

[pinit]Make a Number Plate Wall @savedbyloves[pinit]

I saw this idea in Flea Market Magazine and had to give it a go.  It is super fast and easy, and costs not much.  You don’t even need to buy plate wall hangers.  I will be showing you a cheap way to display your plates on the wall using safety pins!

DIY Plate Wall

Supplies:

Collect old plates from flea markets, thrift stores, garage sales

E6000 Industrial Glue

Safety Pins

Numbers cut from Scrap paper

Glossy Accents or other craft glue

TUTORIAL:

Plate Wall Tutorial

Glue your numbers onto the plates.  I cut mine from scrapbook paper using my cricut.  I measured each plate diameter to determine what sizes to make the numbers.

How to Hang A Plate

Using E6000, glue safety pin onto back of plate, making sure it is centered so your number hangs upright.  Let dry overnight.

DIY Tutorial Numbered Plate Wall

Hang on wall in desired design.  That is it!

DIY Numbered Plate Wall

DIY Faux Wood Pallet Sign With Foam

[pinit]How to Make a Faux Pallet Sign @savedbyloves @floracraft[pinit]

Remember over the summer when I shared how to make a faux wood pallet American flag from foam?  Today’s project, much like the flag, uses  Smooth Finish™, a paintable coating for FloraCraft® Make It: Fun® Foam to create what looks like wood pallet art, but weighs much less and doesn’t require power tools!  Follow along and see how to create this “LOVE” faux wood pallet piece.

Make a Faux Wood Pallet Sign

SUPPLIES:

Flora Craft Products

Smooth Finish™

Make it Fun® Foam 2 – 1″ x 12″ x 36″ sheets

StyroGlue®

Foam Cutter (you don’t have to have a special cutter, but it makes the process much easier)

Serrated kitchen knife waxed with candle or soap if you don’t have a foam cutter

Antique white chalk paint

Mod Podge Mat Finish

Antiquing glaze

Lint free cloth

Yardstick/straight edge and sharpie

Craft stick for stirring

Putty knife or spatula

Pre cut Chipboard letters or Die cut machine and cardboard

Black Screws

TUTORIAL:

Making wall art with styrofoam

I used three 6 inch planks for my wall art piece.  That means I cut the 12×36 inch pieces in half long ways.  Use a straight edge and marker to draw the line.

How to Cut Styrofoam

 I clamped two of the foam sheets together to cut them in half both at once.

How to Use Smooth Finish

Stir the Smooth FInish with a craft stick and apply with putty knife to foam.

How to Paint Styrofoam

Once the Smooth Finish is dry, paint with your choice of paint color.

How to make a DIY pallet sign

How to glue styrofoam

Insert connectors (about 3 for each connection site) and glue along entire slat edge.

How to attach styrofoam

I prepared my letters by cutting several of each from cardboard and gluing them together with paper cement.  I cut one each out of coordinating scrapbook paper, glued that as top layer, and sanded/inked the edges.  I used clamps and scrap wood to apply pressure to glued planks and let that dry overnight.

MakeItFun Foam Faux Pallet Project

I used short black screws for aesthetics, and glued letters to planks using Fabri-tac.  I hung my piece by piercing it with a single nail in the wall.  That’s it!  I adore my new piece!

Visit  Sharon at Crafts n Coffee Blog for great tips, tricks and project ideas using foam.

Revamp a Mirror into A Coat Rack for Your Entryway

[pinit]DIY Coat rack from Mirror #chalkpaint @savedbyloves[pinit]

With some scrap wood and chalk paint, you can revamp a junky thrift store mirror into this handy, distressed entryway coat rack.  This entire project was pulled off for less than $10!  I am always in need of more shelves for my pictures and knick knacks.  When I saw a similar mirror in Ana White’s book of woodworking projects for the home – “The Handbuilt Home”, I it called to mind a mirror I picked up at a garage sale for $2.

How to Revamp a Mirror

Ana White Wood Working Plan

This is the picture of Ana’s Version from the book.

How to Build a Mirror

All I did was use pallet wood scraps and cut 3 planks to fit the width of my mirror, using my mitre saw.  Two of the planks I placed perpendicular at the bottom and one horizontally at the top for a bonus shelf.  Using my scroll saw, I cut out the decorative shelf brackets for the top and bottom shelves.  To attach the shelving pieces to the mirror, I used my Kreg Jig for pocket holds, and wood glue.  The brackets I placed with my Ryobi Air Strike Nailer and wood glue.  I painted the mirror with Annie Sloan Paris Gray Chalk Paint and sealed with clear wax after sand distressing.  To finish, I added three coat hooks I picked up from the hardware store.

More of SBLC’s woodworking adventures:

Powered by CGView

Privacy Policy