
[pinit]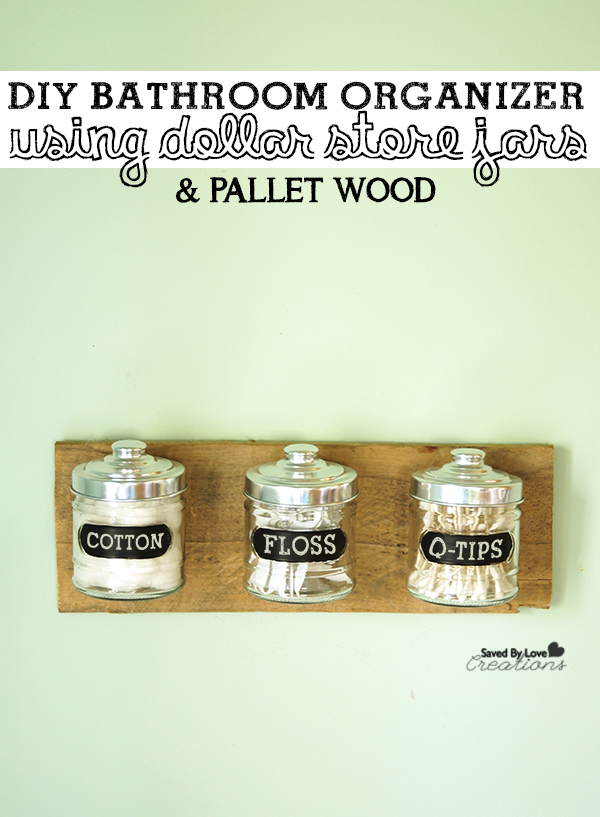 [pinit]
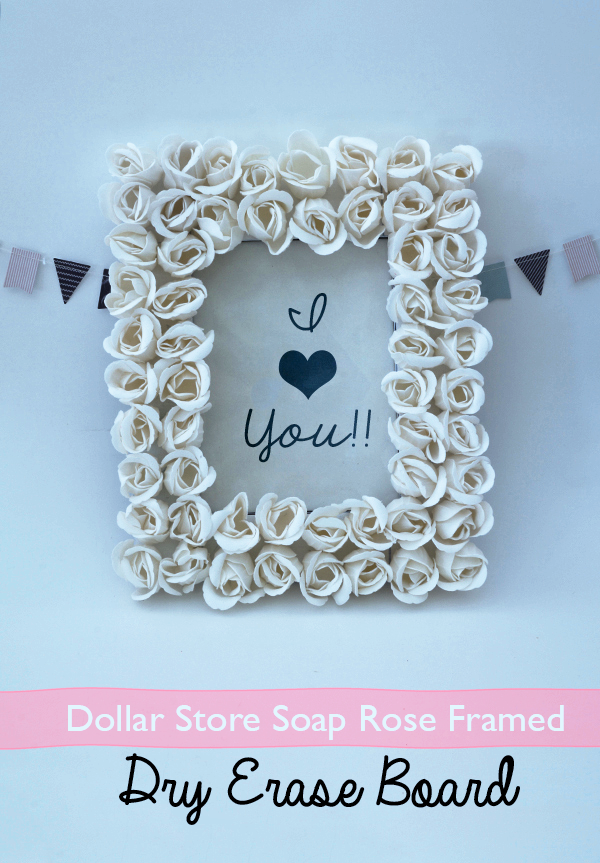
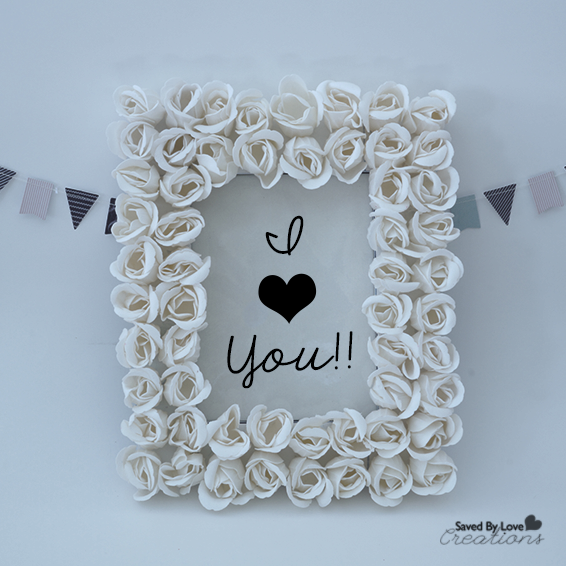
Could you stand to be a little more organized in your bathroom? I know I could. I find organizing rather boring, unless I can combine it with creating a cool home decor accent. Today I am sharing a project fitting that bill- a rustic, chalkboard reclaimed pallet wood bathroom organizer using cute little jars I scored at the Dollar Tree recently! For only $3 and some supplies I had on hand, this project packs a big punch on the cheap. You can totally make this. Give it to Mom for Mother’s Day!
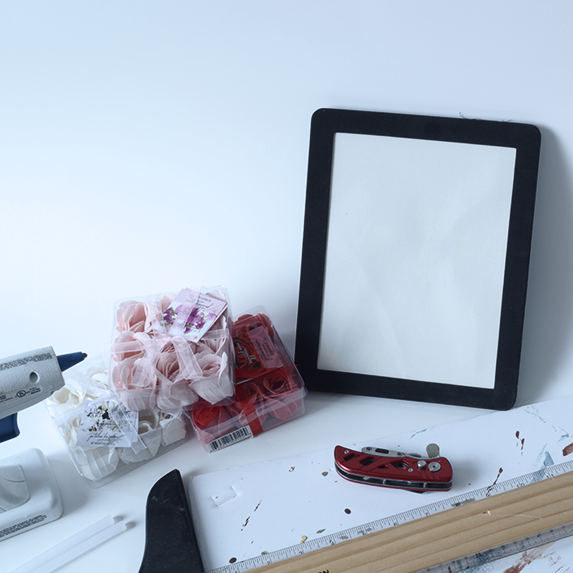
SUPPLIES:
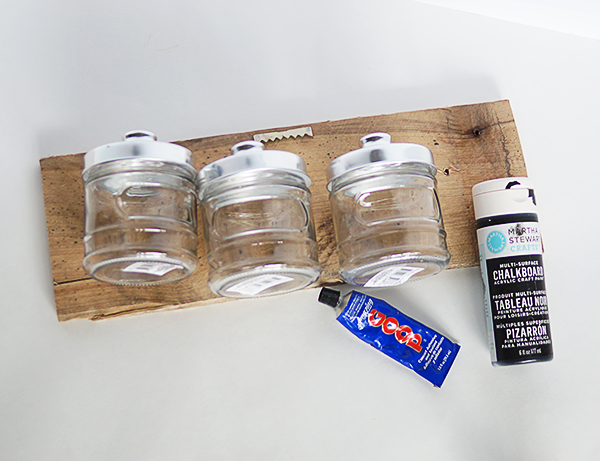
Pallet wood plank about 15 inches
Amazing Goop or E6000
Saw tooth hanger
Hammer
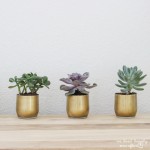
3 Dollar Tree Jars
Chalkboard Paint
Small Paint Brush
Tape Measurer
Marker or pencil
TUTORIAL:
Begin by hammering the sawtooth hanger in the middle upper back of the wood. You want to do this before gluing the jars in place.
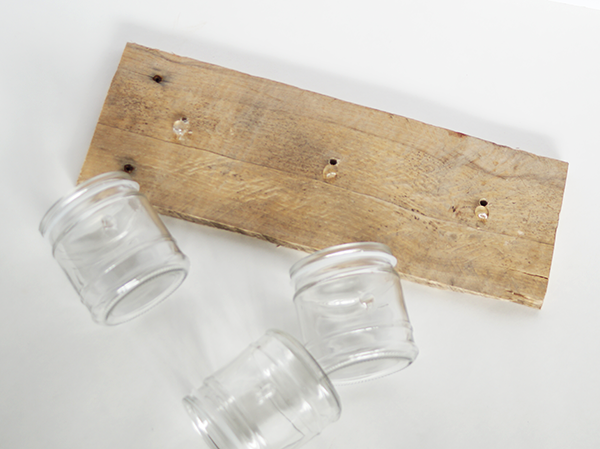
Measure placement for the jars and mark three evenly space dots on the front of your board with pencil or marker. This board already had 3 evenly space holes drilled for a project that never happened. Apply a generous dot of Amazing Goop on the board on the marked spots and on the jars in the middle back. Let this sit for 2-10 minutes, then place jars, holding gentle pressure on each for about 1 minute. Let this cure for a couple of hours before the next step.
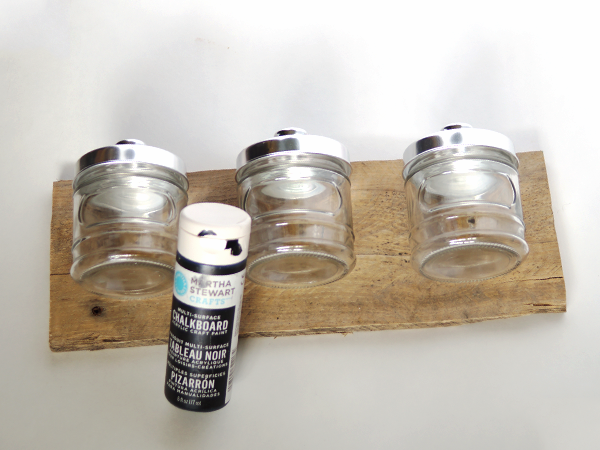
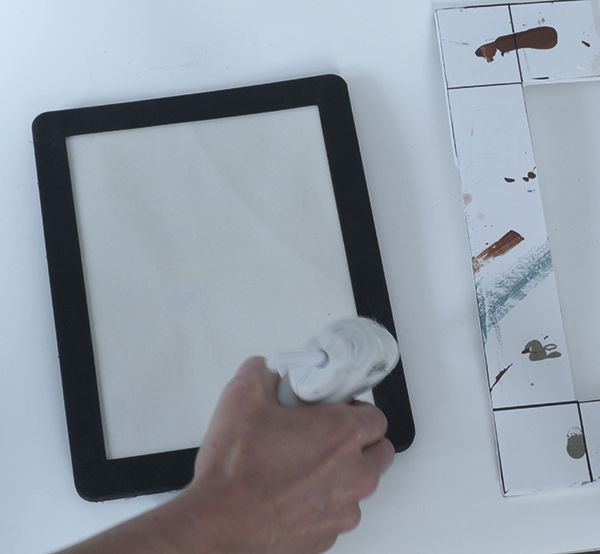
Paint the indented area with Chalkboard paint. This took several light coats, drying 15 minutes between each.
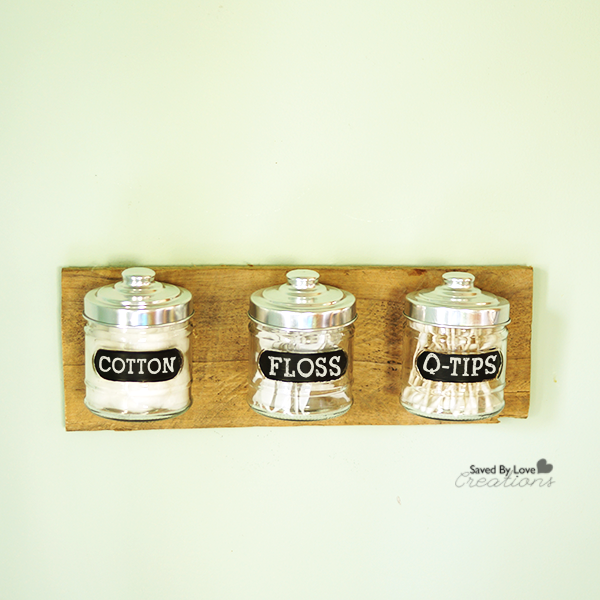
Label with chalk and hang on wall!
Do you love it? I do!
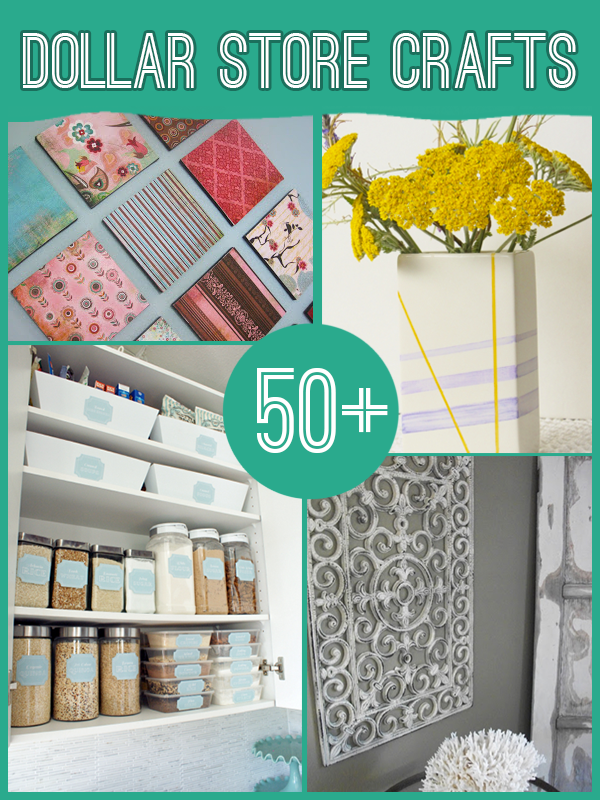
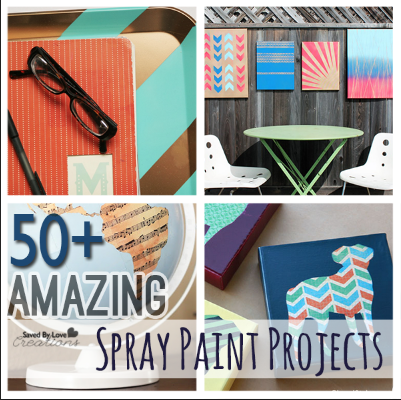
Be sure and visit our 60+ Dollar Store Crafts Roundup:
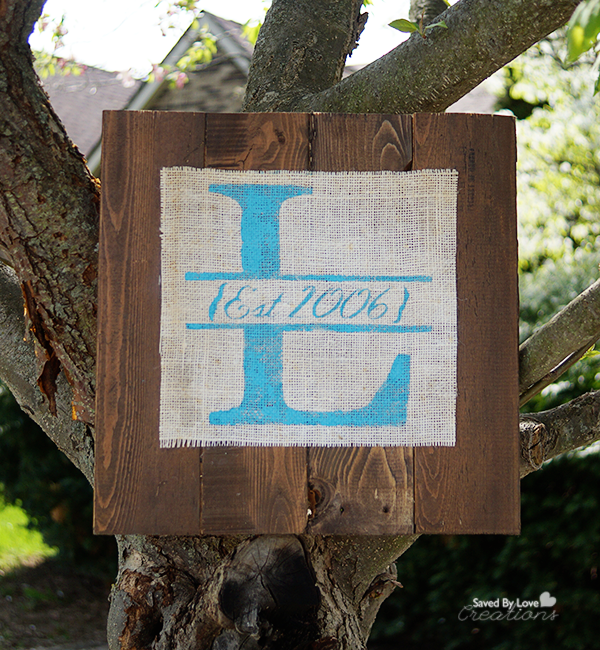
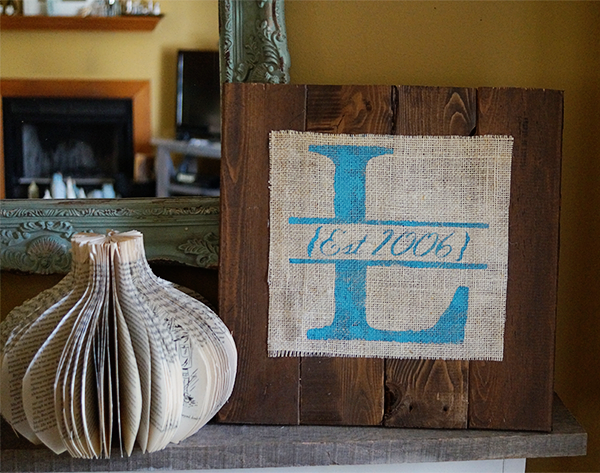
And our 50+ Wood Pallet Projects Roundup!


