3D Snowman Framed Art

Let it Snow Christmas Wall Art

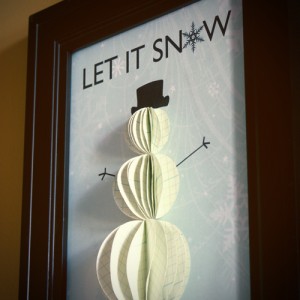
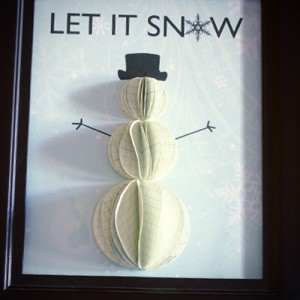
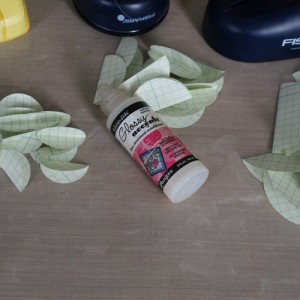
Oh my, I am loving these paper spheres.  Here, I showed you garland made from stringing them together.  Today, I will show you how to make this precious snowman framed winter art.  This is a quick, easy project, perfect for those last minute Christmas gifts to check off of your list.  Can we say frugal?  Absolutely.  Pop on over to the dollar store and get some 8×10 frames.  Aside from that, all you need is paper, a printer, glue and some circle paper punches, or some other way to cut precise circles in 3 sizes.

Framed Christmas Art Tutorial

Christmas Paper Decorations

Instructions:

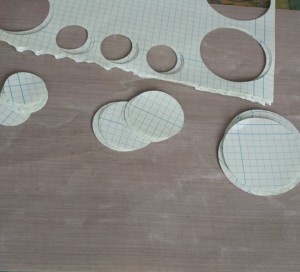
Cut out 3 circle sizes for each ball of the snowman.  You will need 12 of each size.  I used 3 circle punches: 1 inch, 1.75 inc and 2.8 inch.

Let it Snow Framed Winter Art

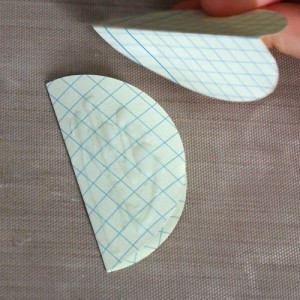
Fold the circles in half.  If you are using patterned paper, fold so that the patterned side is inside.

DIY Christmas Decor

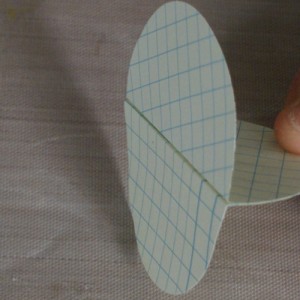
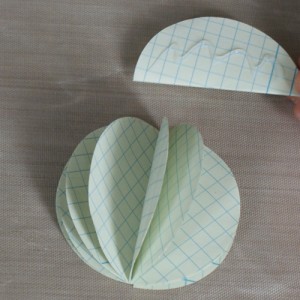
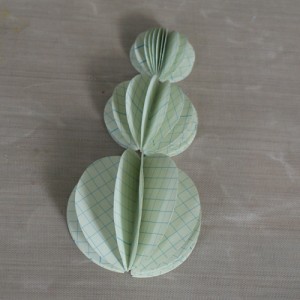
Start gluing flaps of circles together until you have glued all 12 for each size:

How to make paper snowman

Handmade Christmas Decorations

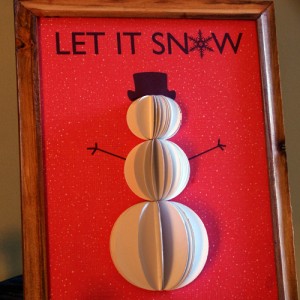
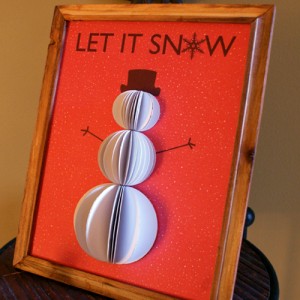
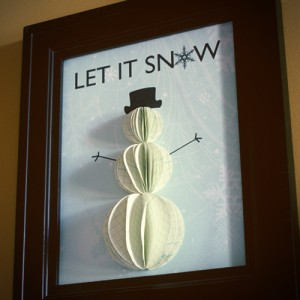
Once you have all of your snowman balls ready, print this file from Printable Decor onto 8.5×11 inch paper.  It is the “Let it Snow” text and the snowman hat and arms.  I used scrapbook paper, light blue with snowflakes for a wintery background and a snowy red for Christmas.  Keep in mind that if your circles are much different in size than mine, you will need to adjust the size of the background graphics.  I made mine for an 8×10 inch frame.

How to make paper Christmas decorations

Glue your half spheres onto the paper, lining them up with the hat and arms of the snowman you just printed onto decorative paper.  Frame and hang!  You are obviously not going to put the glass in when you frame it since you want your snowman to be 3D.

Paper Snowman Tutorial

Let it Snow Printable

Homemade Christmas Ornaments

I am so excited to send these as Christmas gifts.  They are great decor for the entire winter season!

Dollar Tree Snowflake Garland DIY

How to make snowflake garland

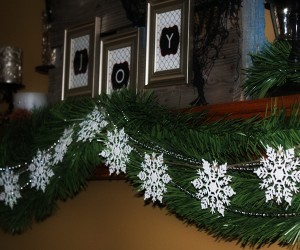
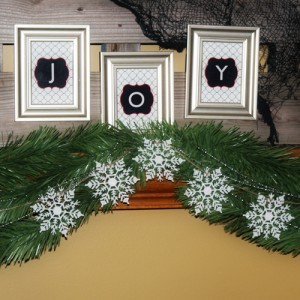
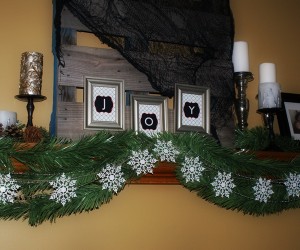
This project takes about 20 minutes and costs about $2. The glittery white plastic snowflakes are available from the Dollar Tree (got mine this morning) in packs of 10 for $1. I grabbed 2 packs since I wasn’t sure how long I wanted my garland to be. The strand pictured here uses 12 of the snowflake ornaments, some jute string and that is it!

Snowflake garland how toI just looped the jute around a spindle on each snowflake and hung them over the pine I already had on my mantel.

Making Christmas Decorations

What do you think?  Are you already decorating for Christmas?

Snowflake Christmas Decorations

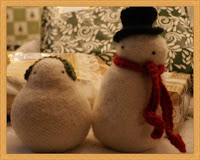
Cutest Felted Snowmen from Knit Picks

FeltedSnowmenPictured is my version of the Knit Pick snowmen pattern, available for free download! I used Moda Dea bamboo wool in cream, and it felted fine in the washer on hot (2 cycles, with detergent). I abandoned the pattern in terms of accessories, mainly because I find crochet to be faster than knitting, and I was in a hurry. I just crocheted the earmuffs, hat and scarf.

I am in love with these little guys. This pair is going to my grandparents for Christmas. The shorter one will have a scarf, or a nice winter poncho of sorts. I will post when finished! Just wanted to get something posted today, and there is still time to whip up a couple of these for last minute gifts. I am happy to write out a pattern for the hats and earmuffs, but since I have 2 followers including myself, and Unholy Nancy doesn’t crochet, you will have to message me and request it!
Many holiday blessings!
Privacy Policy