

*This is a repost. Bringing it back cause it is that time of year, and fall is in the air today. Are you ready to decorate, harvest style?
I spent $9 at the Dollar Tree and made this harvest wreath for my front door. I got the inspiration after googling “fall decor ideas” and running across this post over at House of Hepworths. I put my own lil’ spin on it. Here is what i did…
Supplies:
6 assorted floral leaf packs
1 18 inch garland wreath
1 package fall centerpiece decor variety (three pictured here, but only used one for
wreath – you will see the other 2 soon enough)
Add it up – $9!!
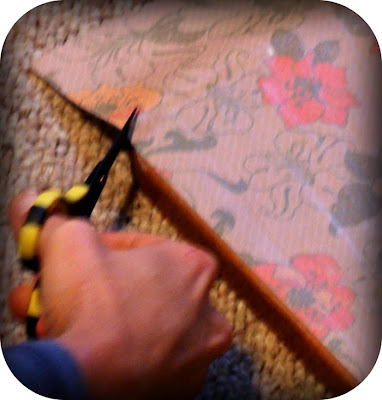
 I used some organza I had on hand to tame down the green garland, which i wasn’t real fond of, but it was all I had to choose from at Dollar Tree. I just wrapped it all the way around the wreath, cut it, and secured it with a dot of hot glue.
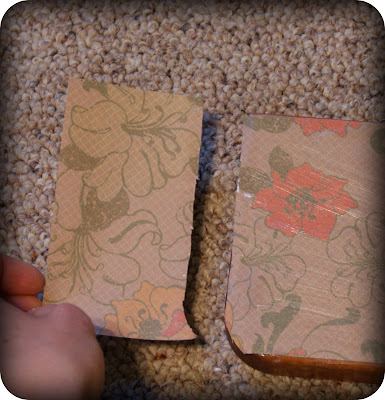
 Next, I began tearing apart my florals and hot gluing them around my wreath, onto the organza fabric. I cut small holes in the fabric to stick stems in for extra security, but I am pretty sure the hot glue would have sufficed.
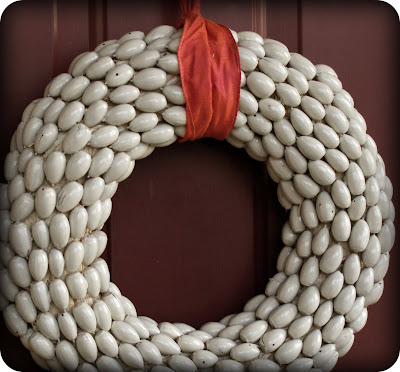
 Once I was satisfied with the fullness and balance, I hung it from a hook with a piece of lovely orange ribbon I had on hand.

 I love how this turned out. It was easy and cheap, just the way I like it. Yep, I just typed that sentence. Wow. Anyway, it was a perfectly beautiful fall day, as I put this together on my front porch, belly full of homemade turkey chili.
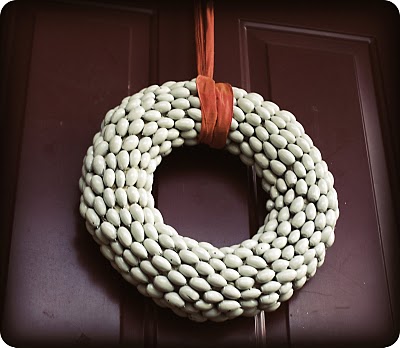


